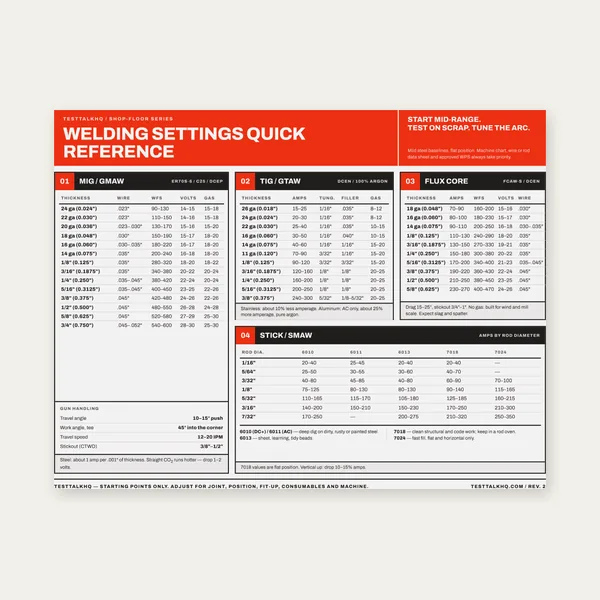
Welding Reference Card
One page. MIG, TIG, stick and flux core settings by thickness.
$3.99
BuyWire speed, voltage & shielding gas flow from material and thickness

One page. MIG, TIG, stick and flux core settings by thickness.
$3.99
Buy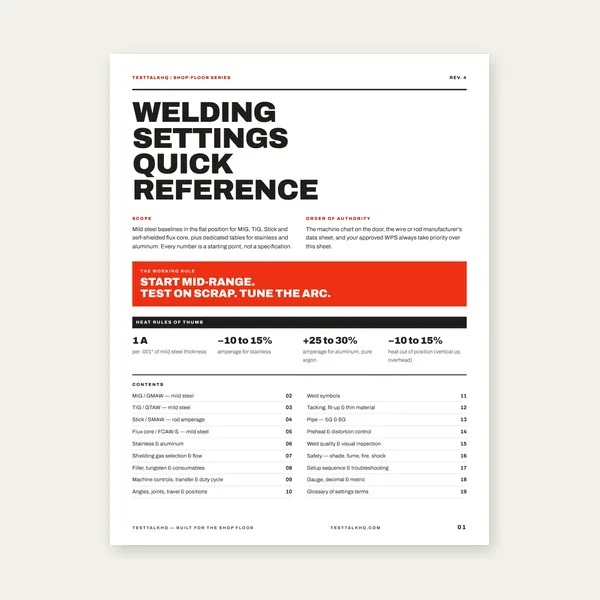
19 pages. Four processes, stainless and aluminum, symbols and inspection.
$12.99
Buy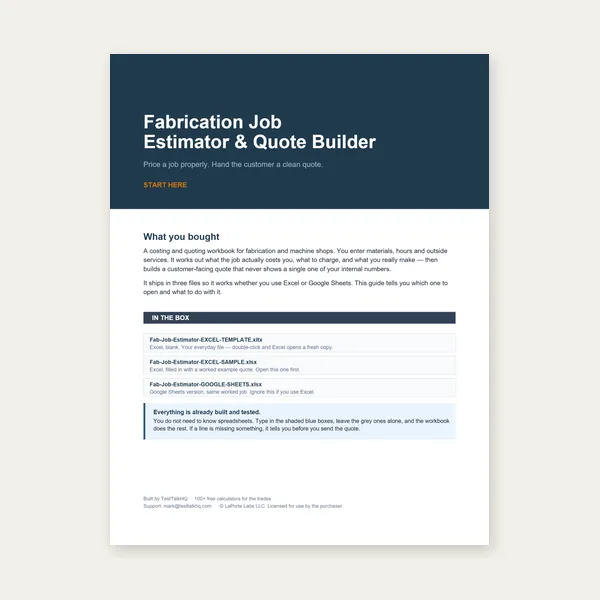
Price the job, then hand over a quote with no internal numbers.
Excel or Google Sheets. Best on a computer.
$29.00
Buy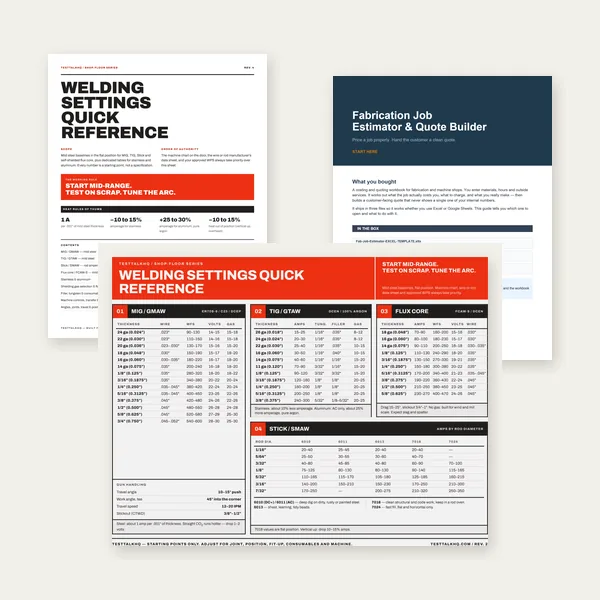
Card, 19-page guide and the estimator workbook. All six files.
Excel or Google Sheets. Best on a computer.
$34.99
$45.98 if bought separately — save $10.99
BuyCheckout opens here — you stay on this page.
Five picks for machines, wire, and shielding gas setup—matched to MIG workflow
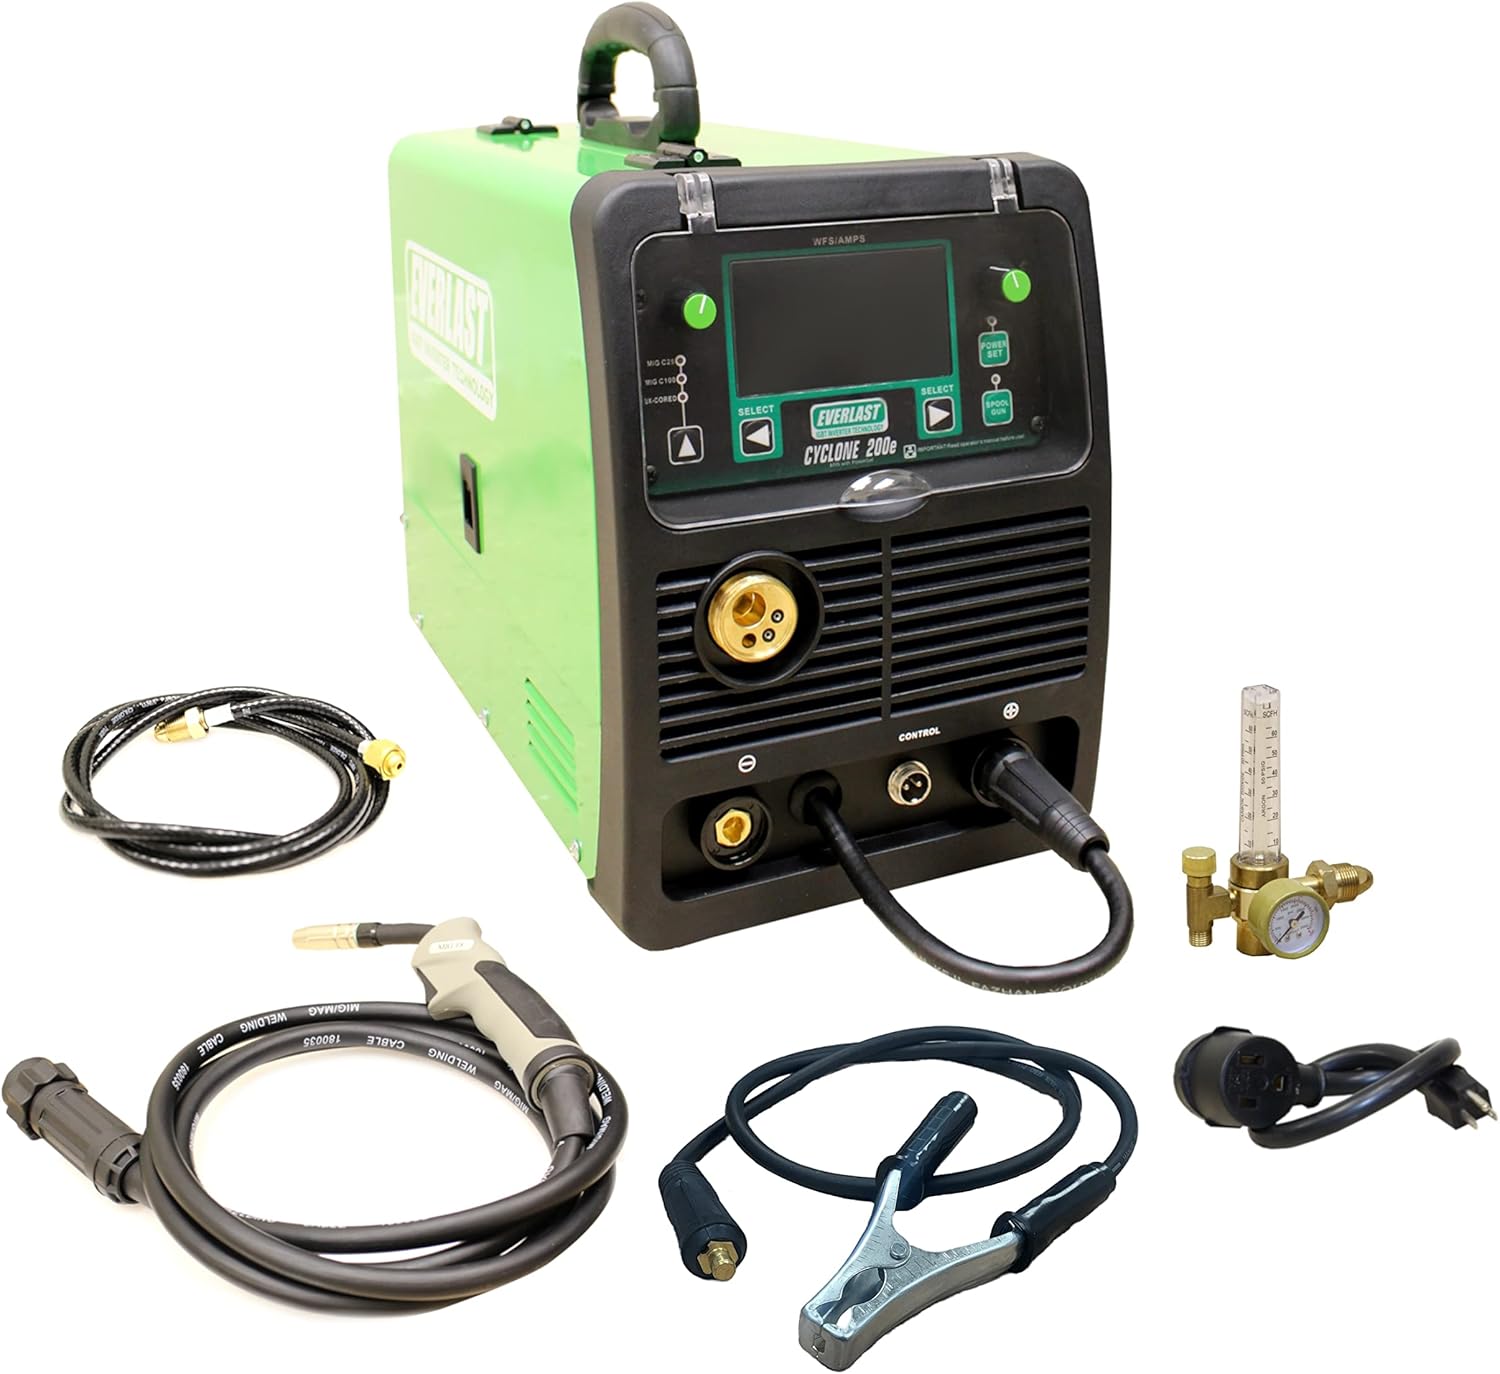
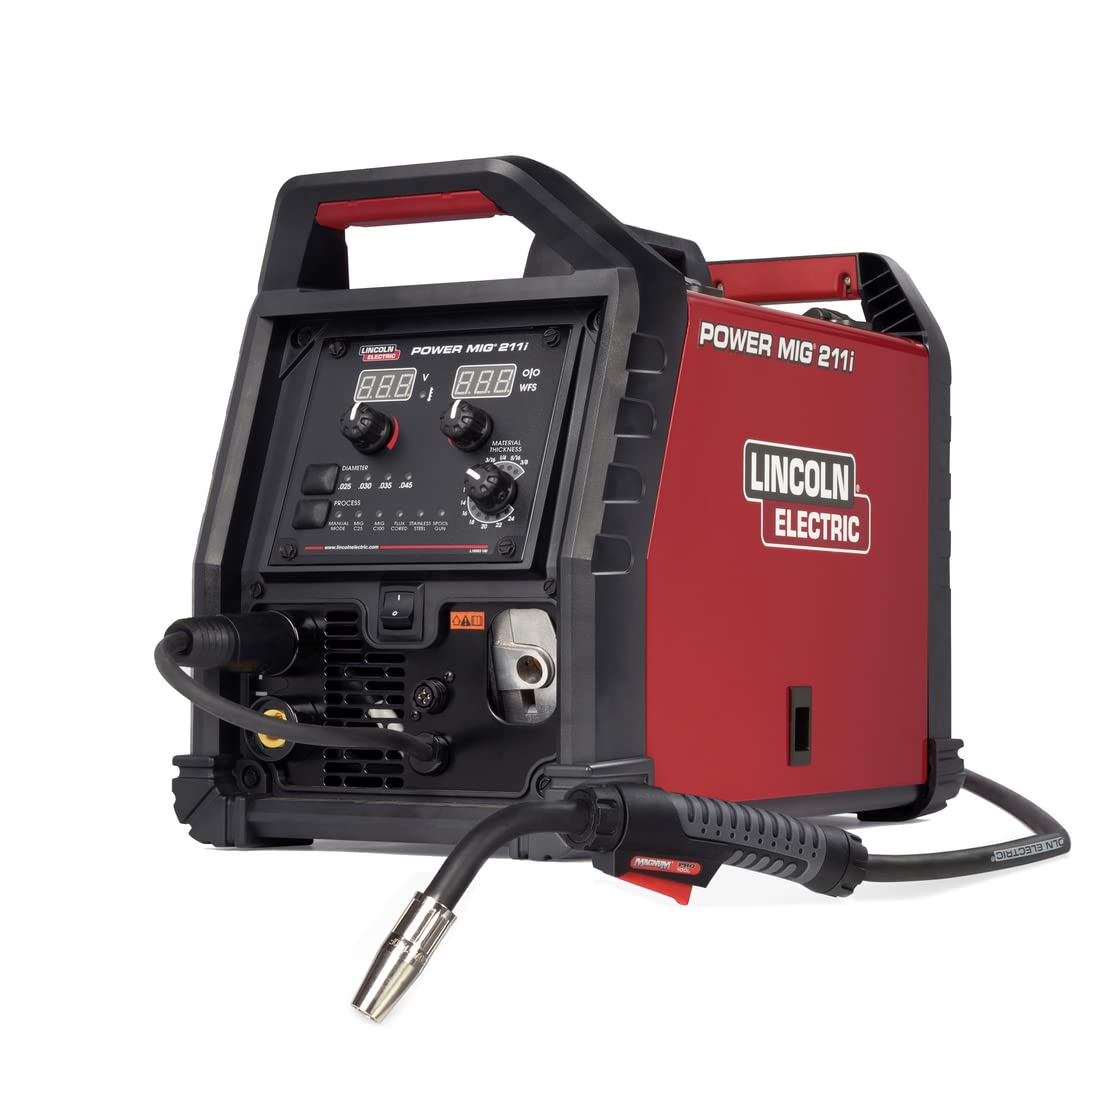
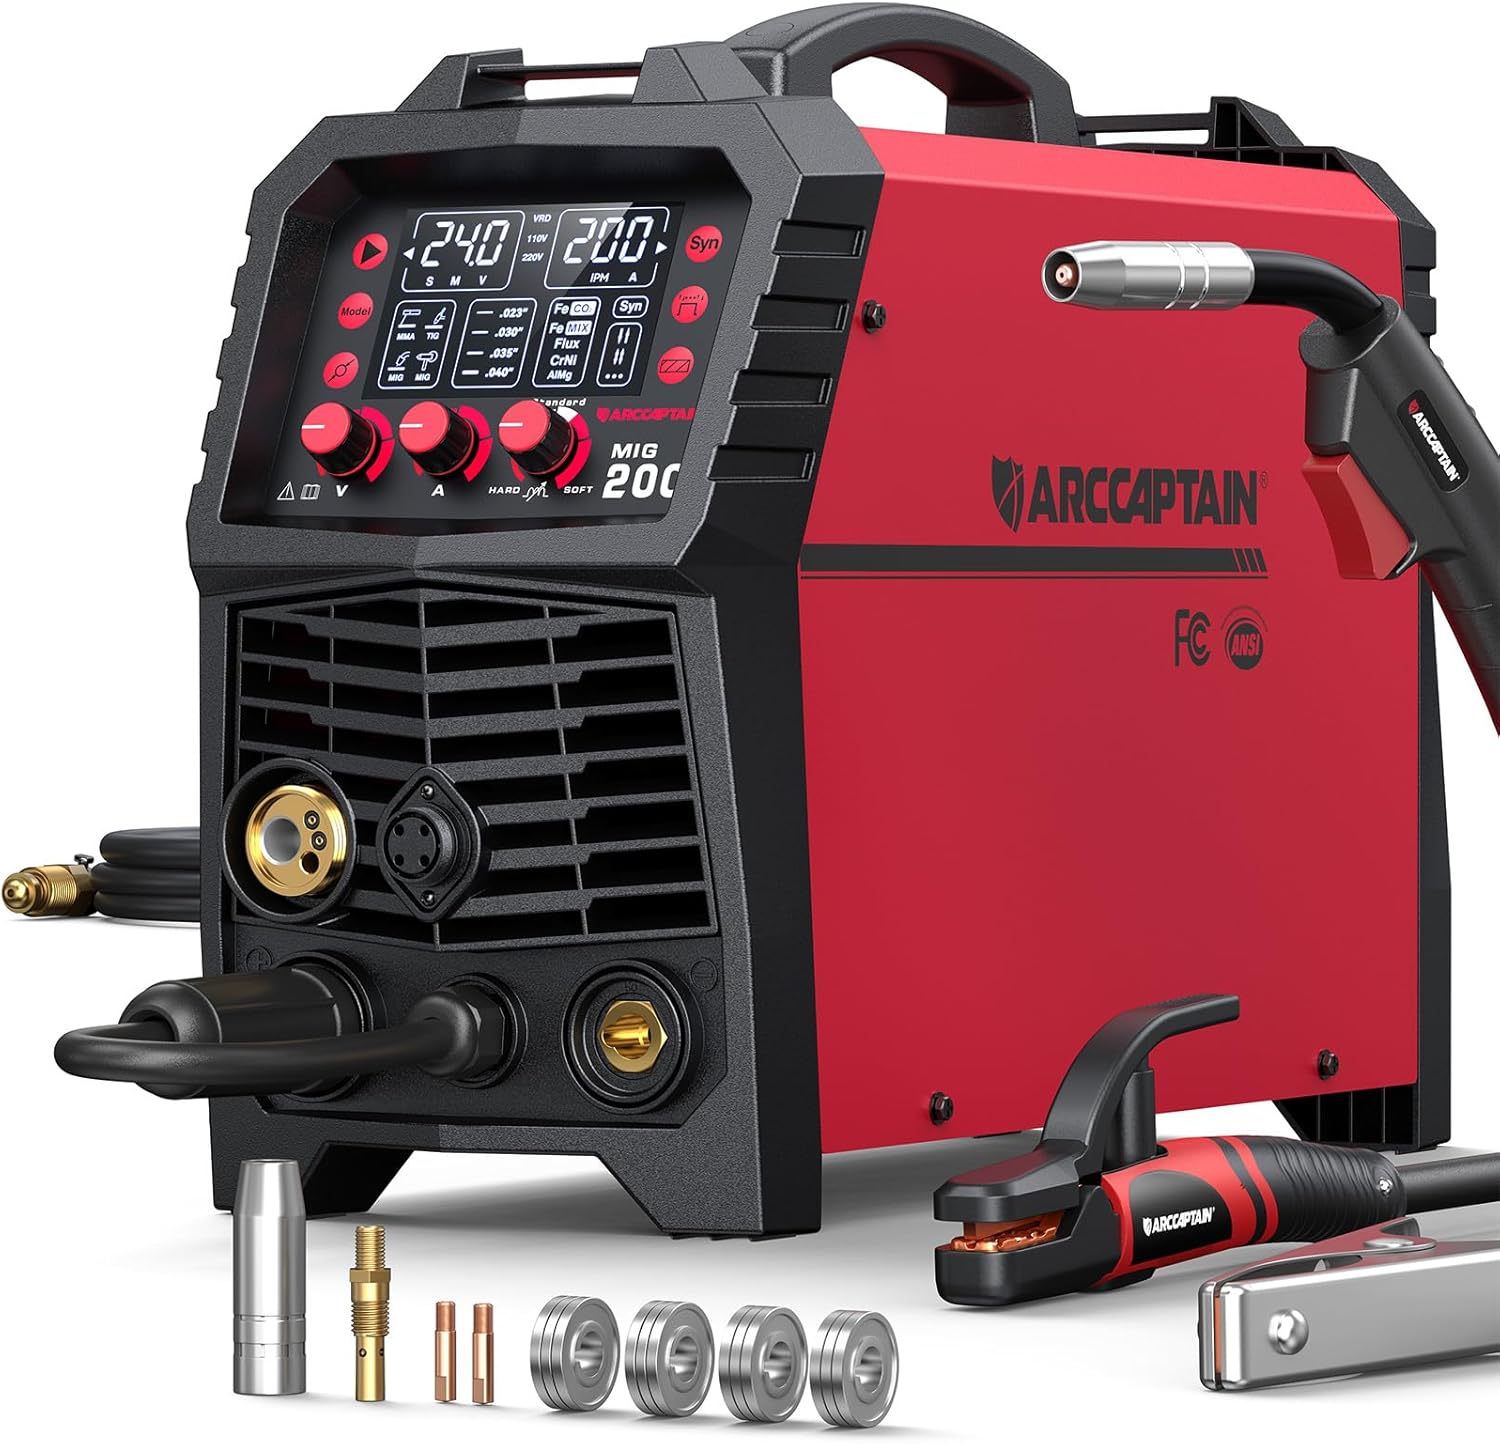
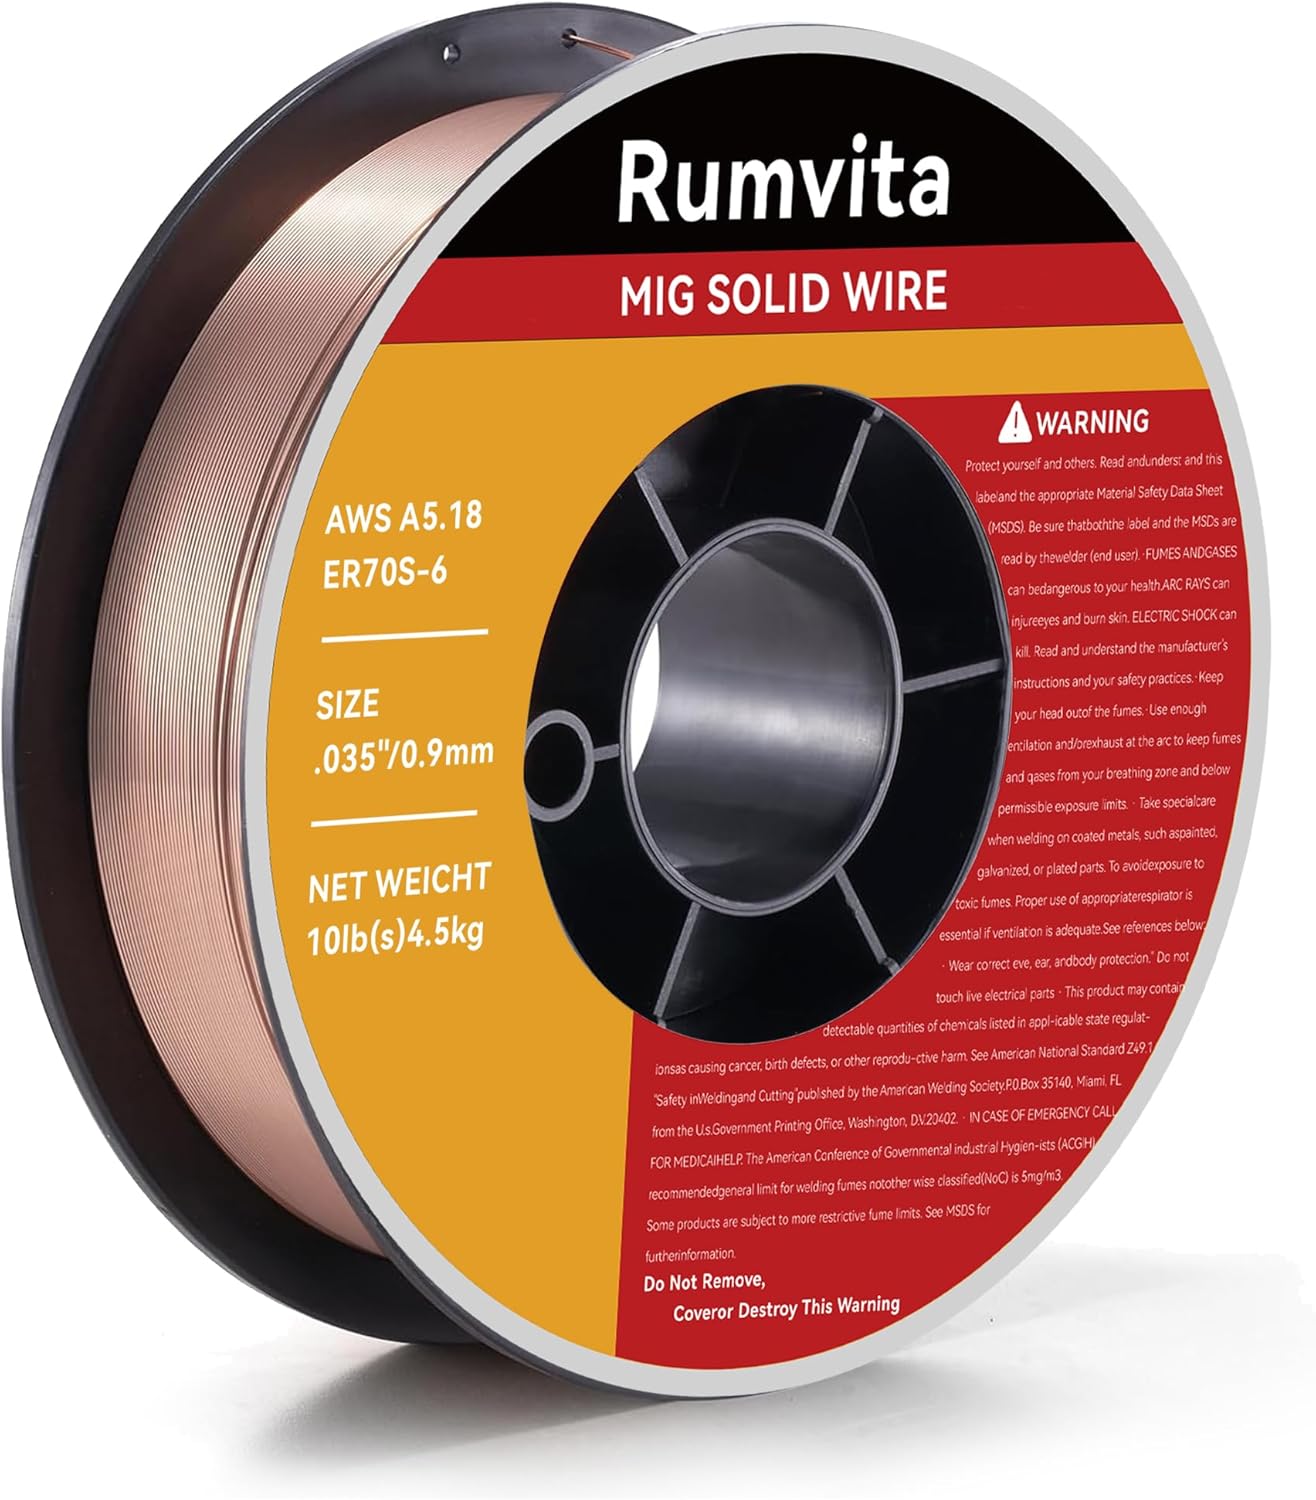
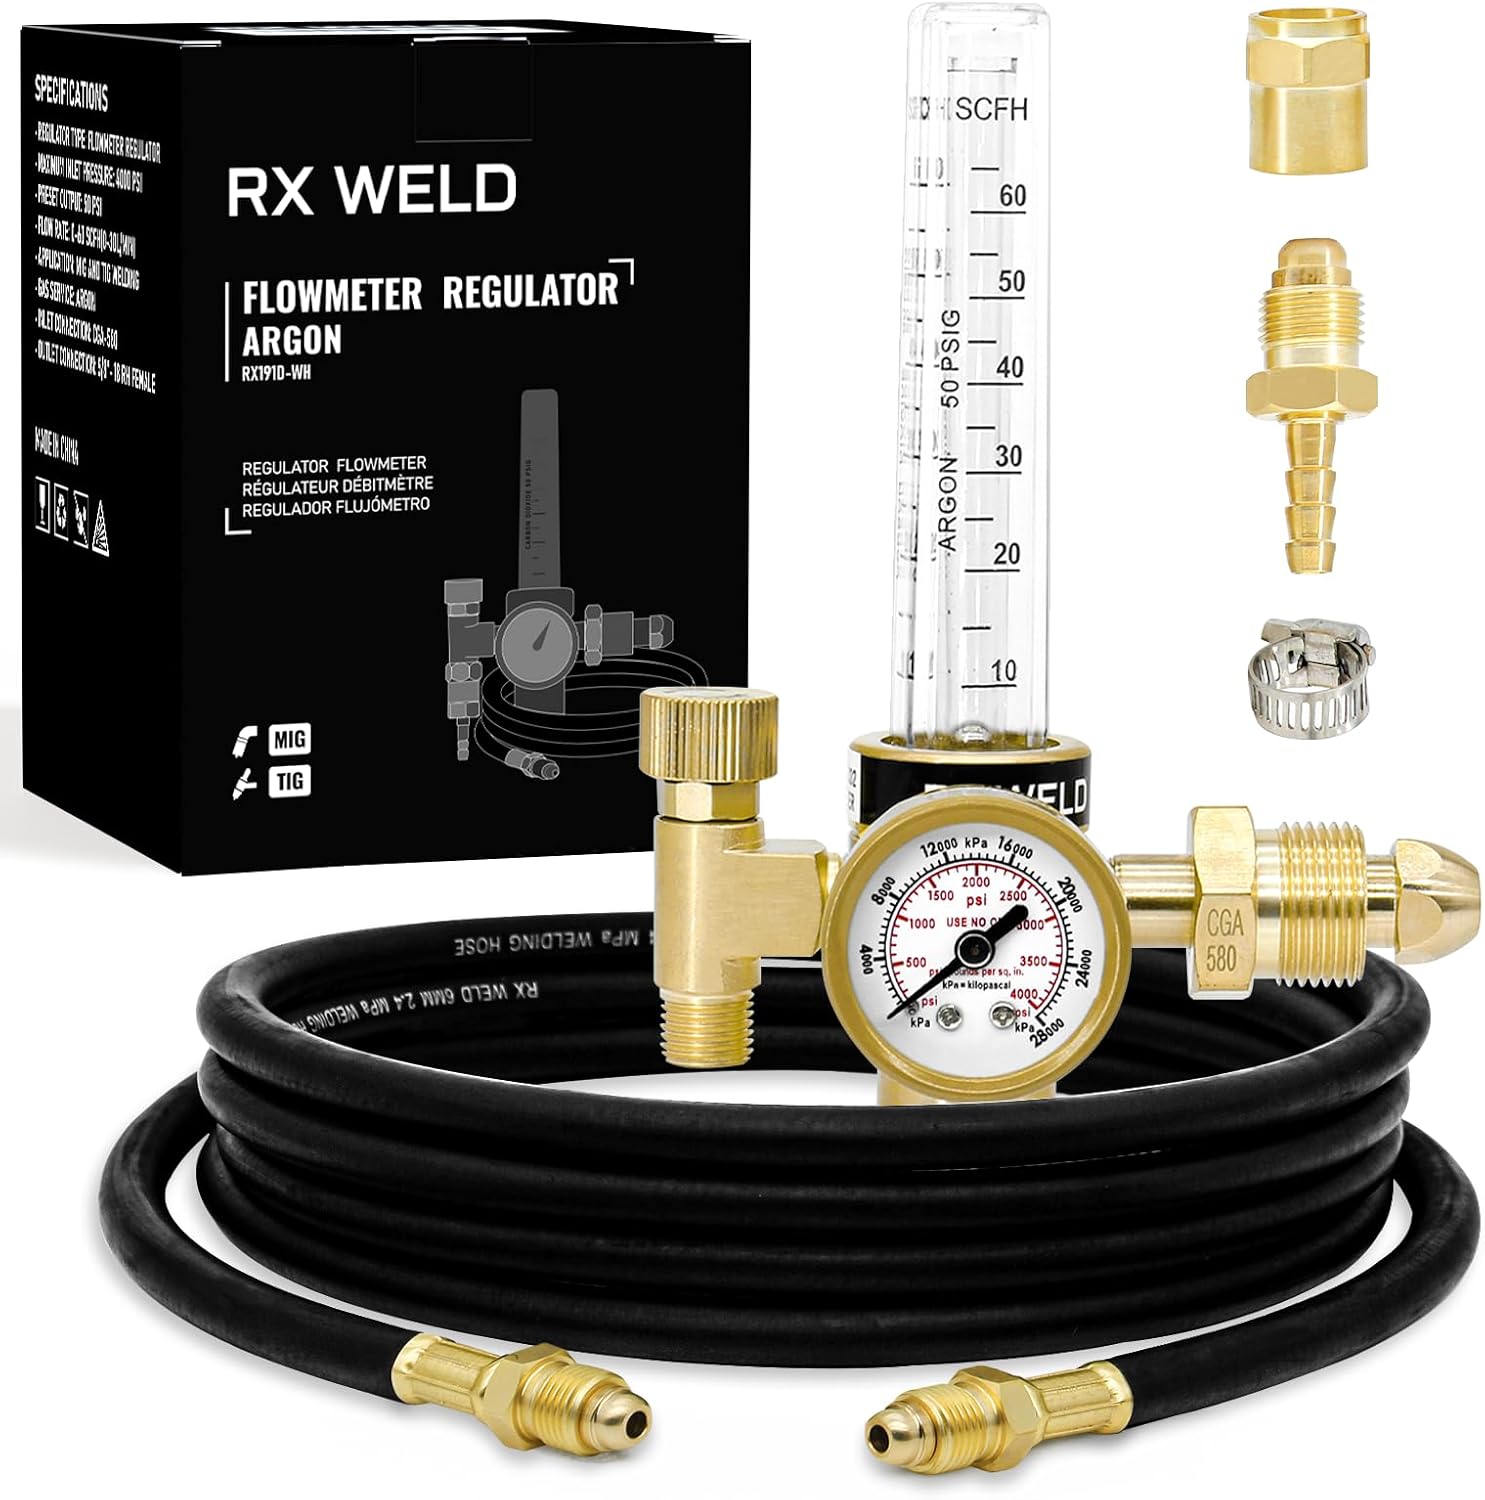
As an Amazon Associate, TestTalkHQ earns from qualifying purchases.
Want these settings on a page you can tape to the machine? MIG, TIG, Stick, and flux-core starting points on one printable card.
View on Etsy →Using this calculator is simple. Select your material type (mild steel, stainless steel, or aluminum), enter your material thickness, choose your wire diameter, and select your shielding gas. The calculator instantly provides optimized settings for wire feed speed, voltage range, and gas flow rate.
Wire Feed Speed (IPM): This is how fast the wire feeds through your MIG gun, measured in inches per minute. Start at the recommended setting and adjust based on your puddle appearance. If the puddle is too cold and ropey, increase wire speed. If you're burning through, decrease it.
Voltage Setting: Voltage controls your arc characteristics. The calculator provides a range – start in the middle and fine-tune. Higher voltage gives a flatter, wider bead with more spatter. Lower voltage creates a narrower, more convex bead with less spatter but potential for lack of fusion.
Gas Flow Rate (CFH): Proper shielding gas flow protects your weld from contamination. Too little causes porosity, too much creates turbulence and wastes gas. The recommended 15-25 CFH works for most applications, but increase to 25-30 CFH in drafty conditions.
Metal transfer mode is set by the combination of arc voltage, welding current (wire feed speed), and shielding gas. Short circuit works for thin stock and out-of-position welds; spray needs higher current and argon-rich gas; pulsed spray gives spray-like transfer in all positions on pulse-capable machines. Pick a mode in the calculator’s Advanced options block above — the tool biases voltage and wire speed toward that operating window.
| Transfer Mode | Voltage | Current | Positions | Notes |
|---|---|---|---|---|
| Short Circuit | 14–22 V | 50–175 A | All | Thin sheet, roots; CO₂ or Ar/CO₂ OK |
| Globular | 22–28 V | 150–250 A | Flat | Transitional; higher spatter |
| Spray | 26–35 V | 200–500 A | Flat / HZ | Needs >85% argon mix |
| Pulsed Spray | 25–35 V peak | Wide | All | Pulse-capable machine required |
Enter travel speed in Advanced options to unlock heat input; wire diameter and WFS drive deposition rate using the same formulas as our Heat Input Calculator and Weld Deposition Rate Calculator.
Porosity (holes in weld): Usually caused by contaminated base metal, insufficient gas coverage, or drafts. Clean your material thoroughly and check gas flow. Make sure your gas hose isn't kinked.
Excessive spatter: Too much voltage or dirty wire can cause spatter. Lower your voltage slightly and ensure you're using quality, clean welding wire. Also check that your ground connection is solid.
Burn-through on thin metal: Reduce wire speed and voltage. Use a push technique and move faster. Consider pulse MIG settings if your welder has them, or use a thinner wire diameter.
Mild Steel: The easiest material to MIG weld. Use C25 gas (75% argon, 25% CO2) or pure CO2 for deeper penetration. ER70S-6 wire is the standard choice.
Stainless Steel: Requires tri-mix gas (90% helium, 7.5% argon, 2.5% CO2) for best results. Use ER308L or ER316L wire depending on the grade. Stainless conducts heat poorly, so reduce your settings by about 15% compared to mild steel.
Aluminum: Needs 100% argon gas and a spool gun or push-pull system. Aluminum wire is soft and feeds differently than steel. Clean aluminum aggressively – it forms an oxide layer instantly.
Looking for a quality MIG welder? Check out our welding equipment reviews where we test and compare the best machines for every budget and skill level.
This MIG welding calculator turns material thickness, wire diameter, and transfer mode into starting voltage, wire feed speed (IPM), and amperage ranges you can set on the machine before you strike an arc. It is built for short-circuit and spray-style MIG on mild steel, stainless, and aluminum—use the numbers as a defensible baseline, then tune on scrap for your gun length, gas mix, and joint fit-up.
Short-circuit MIG is what most shop floors run daily: lower heat, better control on thin sheet and out-of-position work. Spray transfer needs more current and a higher wire-speed window for thicker plate and flat or horizontal fillets. The calculator separates those modes so you are not running spray wire speed on 18-gauge or short-circuit settings on 1/4-inch plate.
Set wire speed first to land in the recommended amperage band, then adjust voltage until the arc sounds steady—a consistent crackle or light sizzle, not popping or stubbing. If the wire pushes into the puddle and stutters, wire speed is usually high or voltage low. If the arc is long and spattery with poor tie-in, voltage is often high or wire speed low for the thickness.
On the floor, mark your “known good” settings on the machine with tape when a scrap test passes: thickness, wire size, IPM, volts, and gas flow. Gun length matters—longer cables need slightly higher wire speed to deliver the same heat at the arc. When you change gas from CO2 to argon blends, revisit voltage before production passes.
For out-of-position welds, reduce wire speed 5–15% from the flat recommendation and keep travel speed up so the puddle does not overrun. Stainless and aluminum have their own calculators on TestTalkHQ; this tool focuses on carbon steel MIG baselines most fab shops use every day.