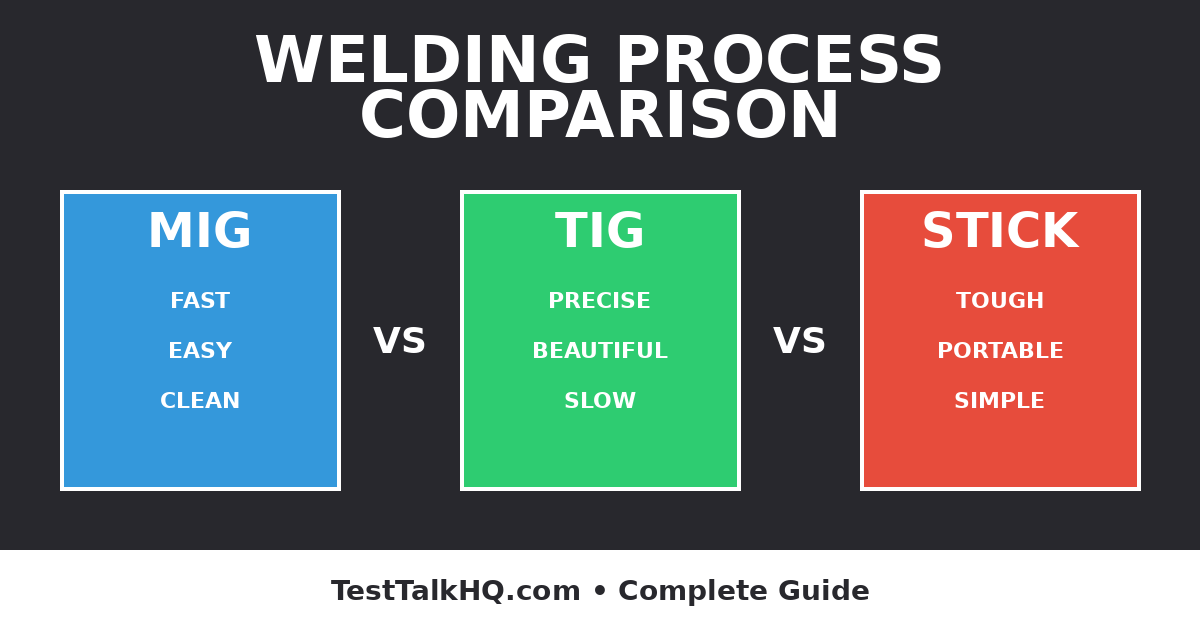
You’re standing in front of a 1/4″ steel frame needing welding, with a MIG welder, TIG welder, and Stick welder all sitting in your shop—which one do you grab? The wrong choice means spending 3 hours TIG welding what could take 45 minutes with MIG, or trying to MIG weld stainless exhaust tubing that ends up looking like a kindergartener’s art project instead of using TIG for clean, professional results. The difference between MIG (Metal Inert Gas), TIG (Tungsten Inert Gas), and Stick (Shielded Metal Arc Welding) isn’t just about the equipment—it’s about matching process capabilities to project requirements: MIG excels at production welding on clean steel where speed matters (auto body, fabrication shops, structural steel), TIG dominates precision work on any material where appearance and control are critical (stainless exhaust, aluminum welding, artistic work), while Stick wins for outdoor work, dirty material, and portability where you need a process that doesn’t care about wind, rust, or working off a generator in a field.
Understanding which welding process to use prevents three common mistakes that waste time and money: using TIG when MIG would finish the job in 1/3 the time with identical strength (happens constantly with hobbyists who think TIG is “better” for everything), attempting to MIG weld aluminum without proper equipment when Stick can’t touch aluminum at all and TIG is the only viable option, or choosing MIG for outdoor structural work where wind blows away shielding gas creating porosity while Stick would handle the same job flawlessly. Professional welders select processes based on specific criteria—material type and thickness, required weld quality and appearance, working position and environment, production speed requirements, equipment cost and portability needs, and operator skill level—not based on which welder they like best or what someone told them was “the best” process.
This guide shows you exactly when to use MIG, TIG, or Stick welding by comparing all three processes across every critical factor: speed and production rates (MIG welds 3-5X faster than TIG on production work), quality and appearance (TIG produces superior aesthetic welds, MIG and Stick are functional), cost analysis (equipment, consumables, and operating costs for each), ease of learning (MIG beginners productive in hours, TIG requires weeks of practice, Stick somewhere in between), material compatibility (what each process can and cannot weld), and real-world application examples showing which process professionals choose for auto body repair, structural fabrication, stainless work, aluminum welding, and outdoor construction. You’ll learn why trying to use one process for everything is like using only a hammer when you need an entire toolbox, and the specific decision criteria that tell you instantly which process your project requires.
Compare welding processes and get optimal settings with our MIG Welding Calculator, TIG Welding Calculator, and Stick Welding Calculator.
Jump to what you need
How Each Process Works
Understanding how MIG, TIG, and Stick welding work reveals why each process excels at different tasks and why you can’t just pick one and expect it to handle everything.
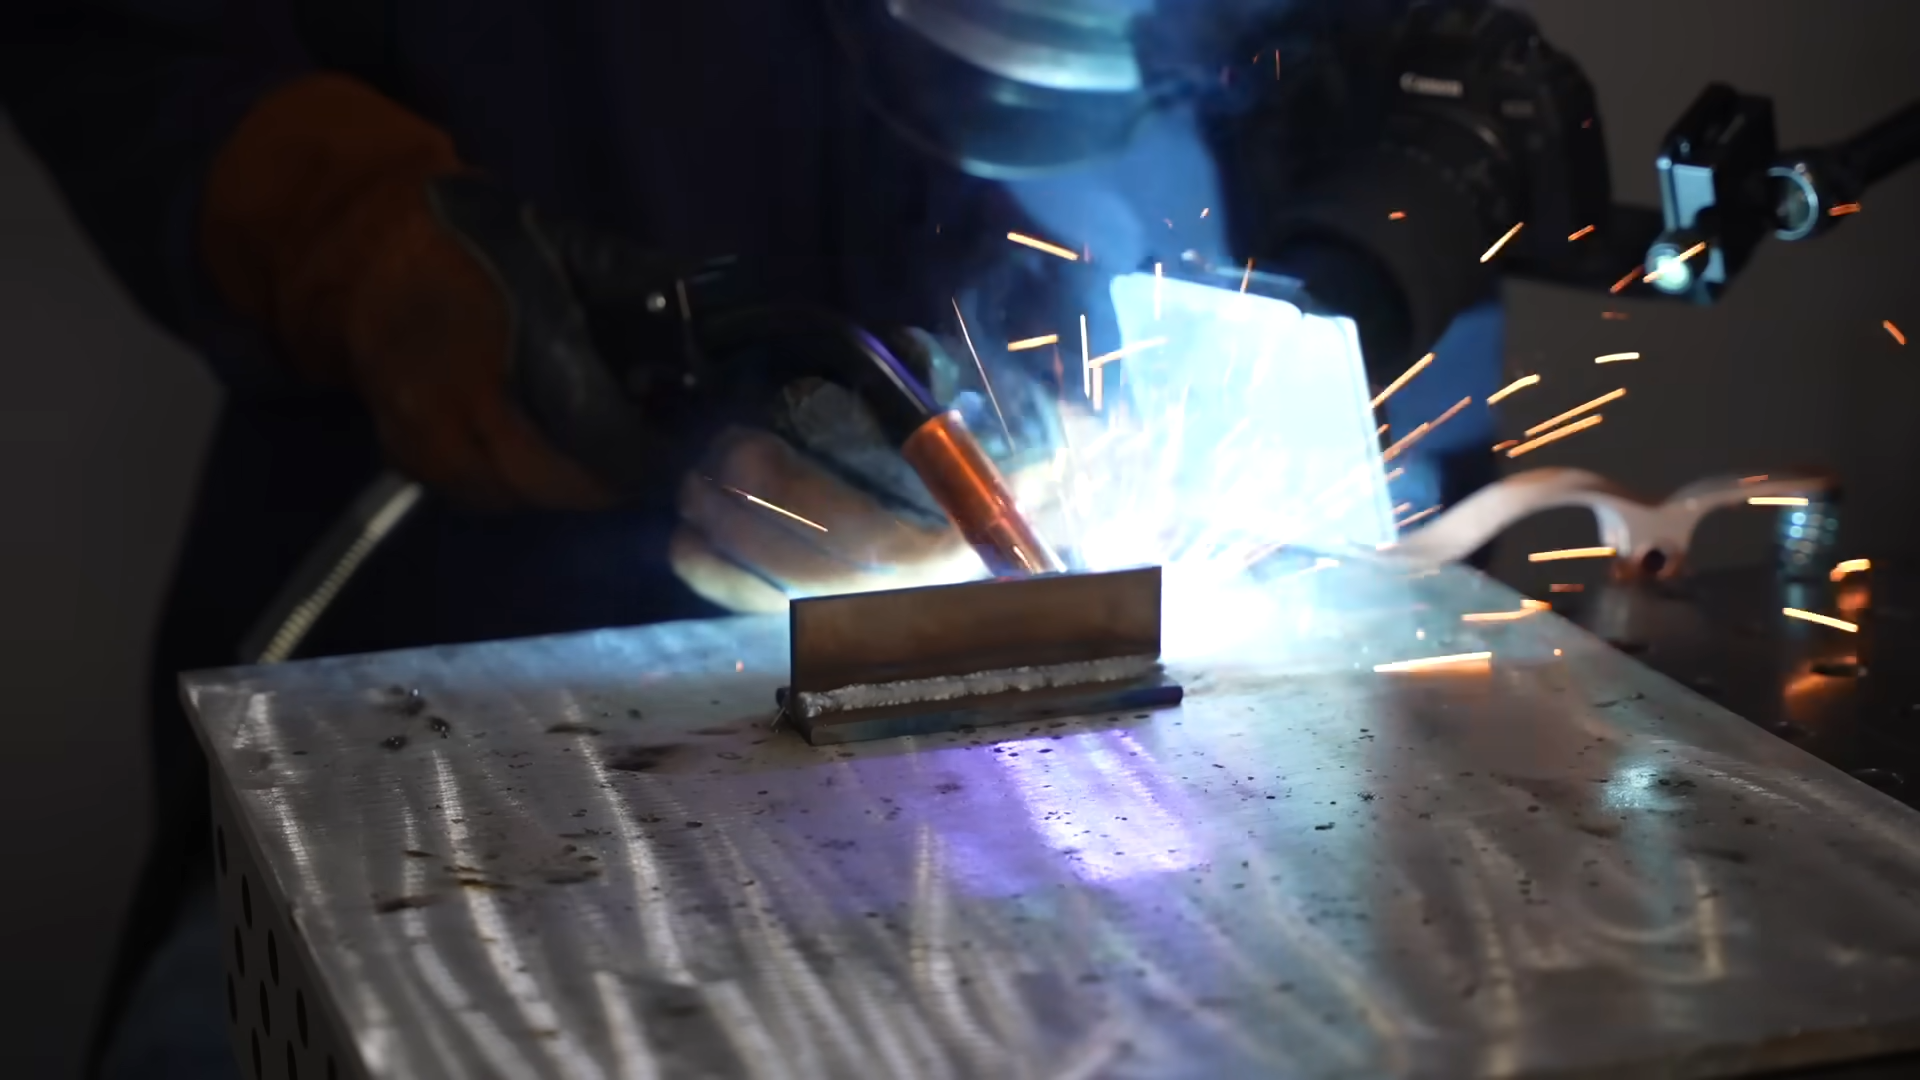
MIG Welding: Semi-Automatic Wire Feed Process
How MIG works:
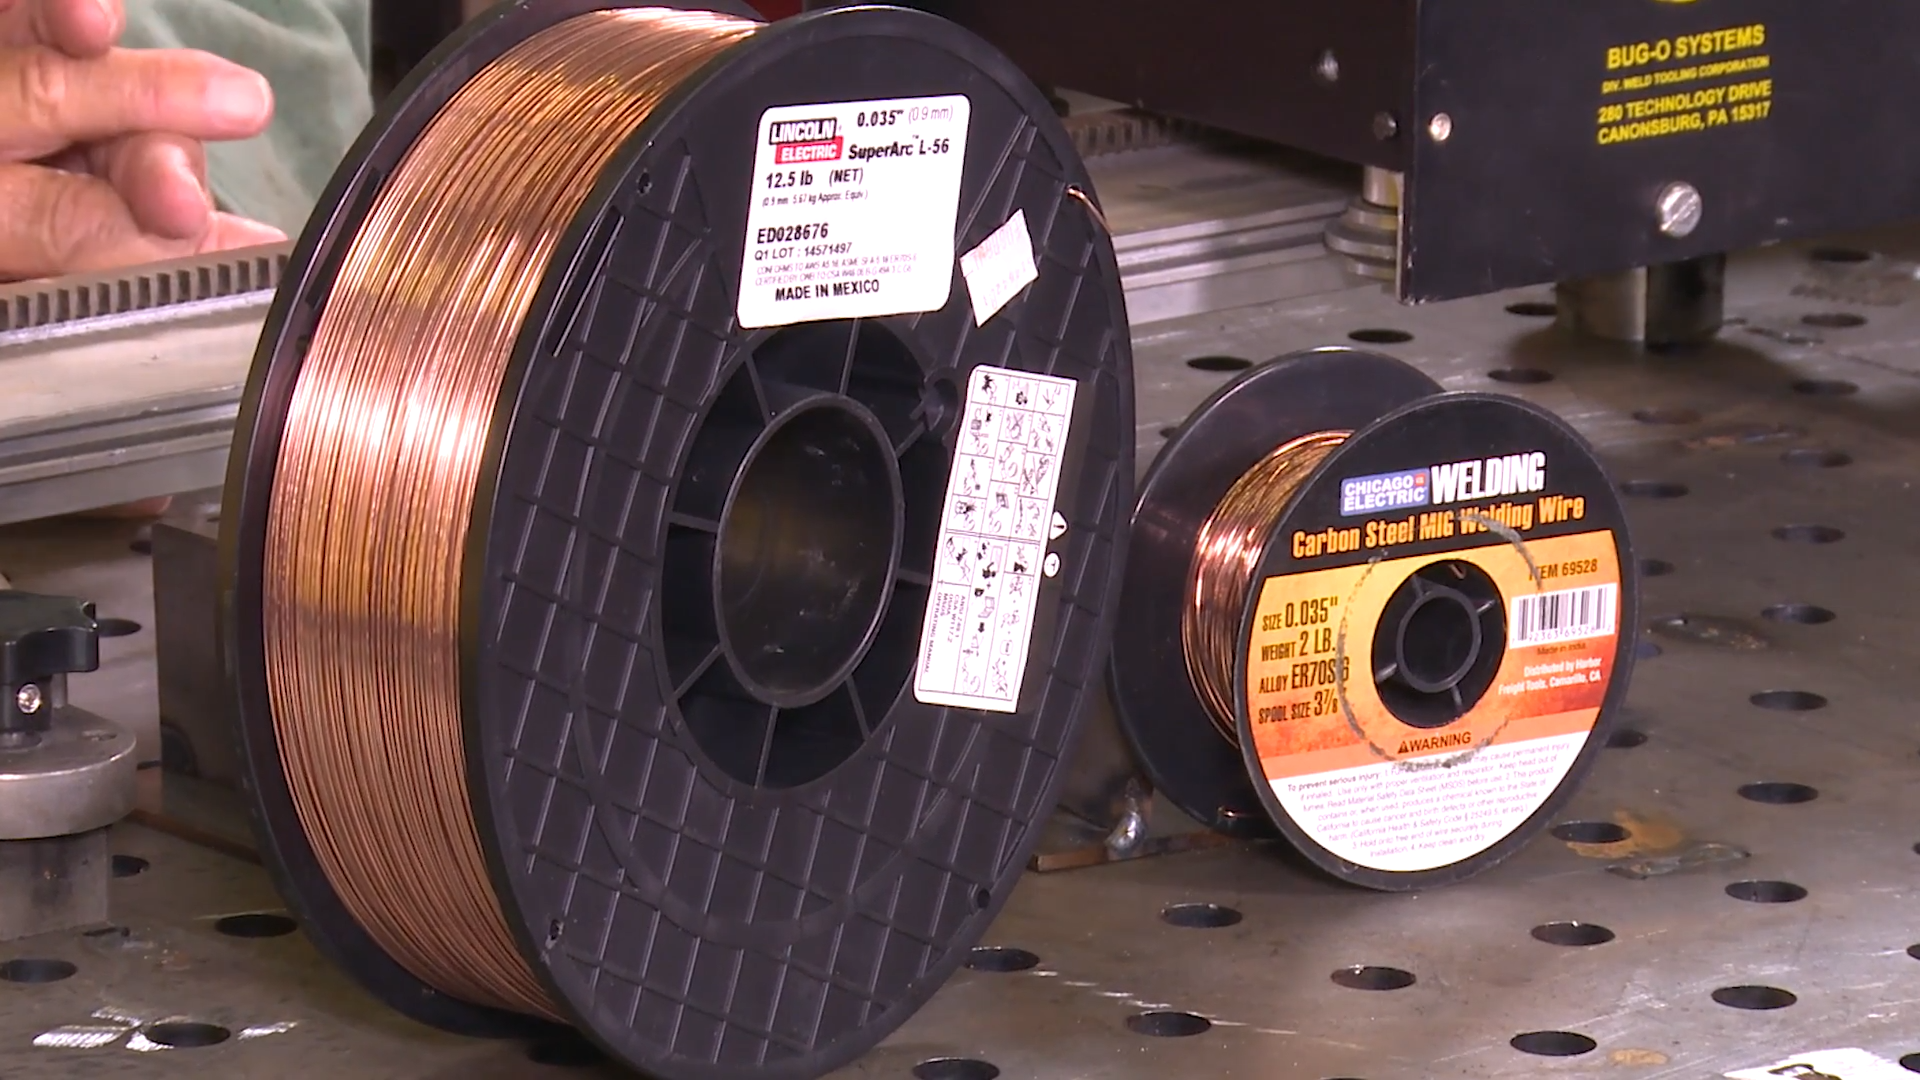
MIG (Metal Inert Gas, also called GMAW – Gas Metal Arc Welding) uses a continuously-fed wire electrode that melts to become your filler metal:
- Solid wire feeds through gun from spool (electric motor drives wire)
- Electricity flows from machine through wire to workpiece
- Arc forms between wire tip and base metal, melting both
- Shielding gas flows from gun nozzle protecting molten weld pool
- Trigger controls wire feed and gas flow (pull trigger = weld, release = stop)
MIG electrode and shielding:
- Wire IS the electrode AND filler metal (dual purpose)
- Bare wire (no coating) requires external gas shielding
- Common gases: 75/25 Argon/CO2 for steel, 100% Argon for aluminum/stainless
- Gas protects weld from atmospheric contamination
Why MIG is semi-automatic:
- Wire feeds automatically (you don’t manually add filler)
- Arc length self-regulating (wire speed vs. voltage balance)
- Operator controls travel speed, gun angle, position
- Faster than manual processes (TIG, Stick)
Learn optimal MIG settings for your material with our MIG Welding Calculator.
TIG Welding: Manual Gas Tungsten Arc Process
How TIG works:
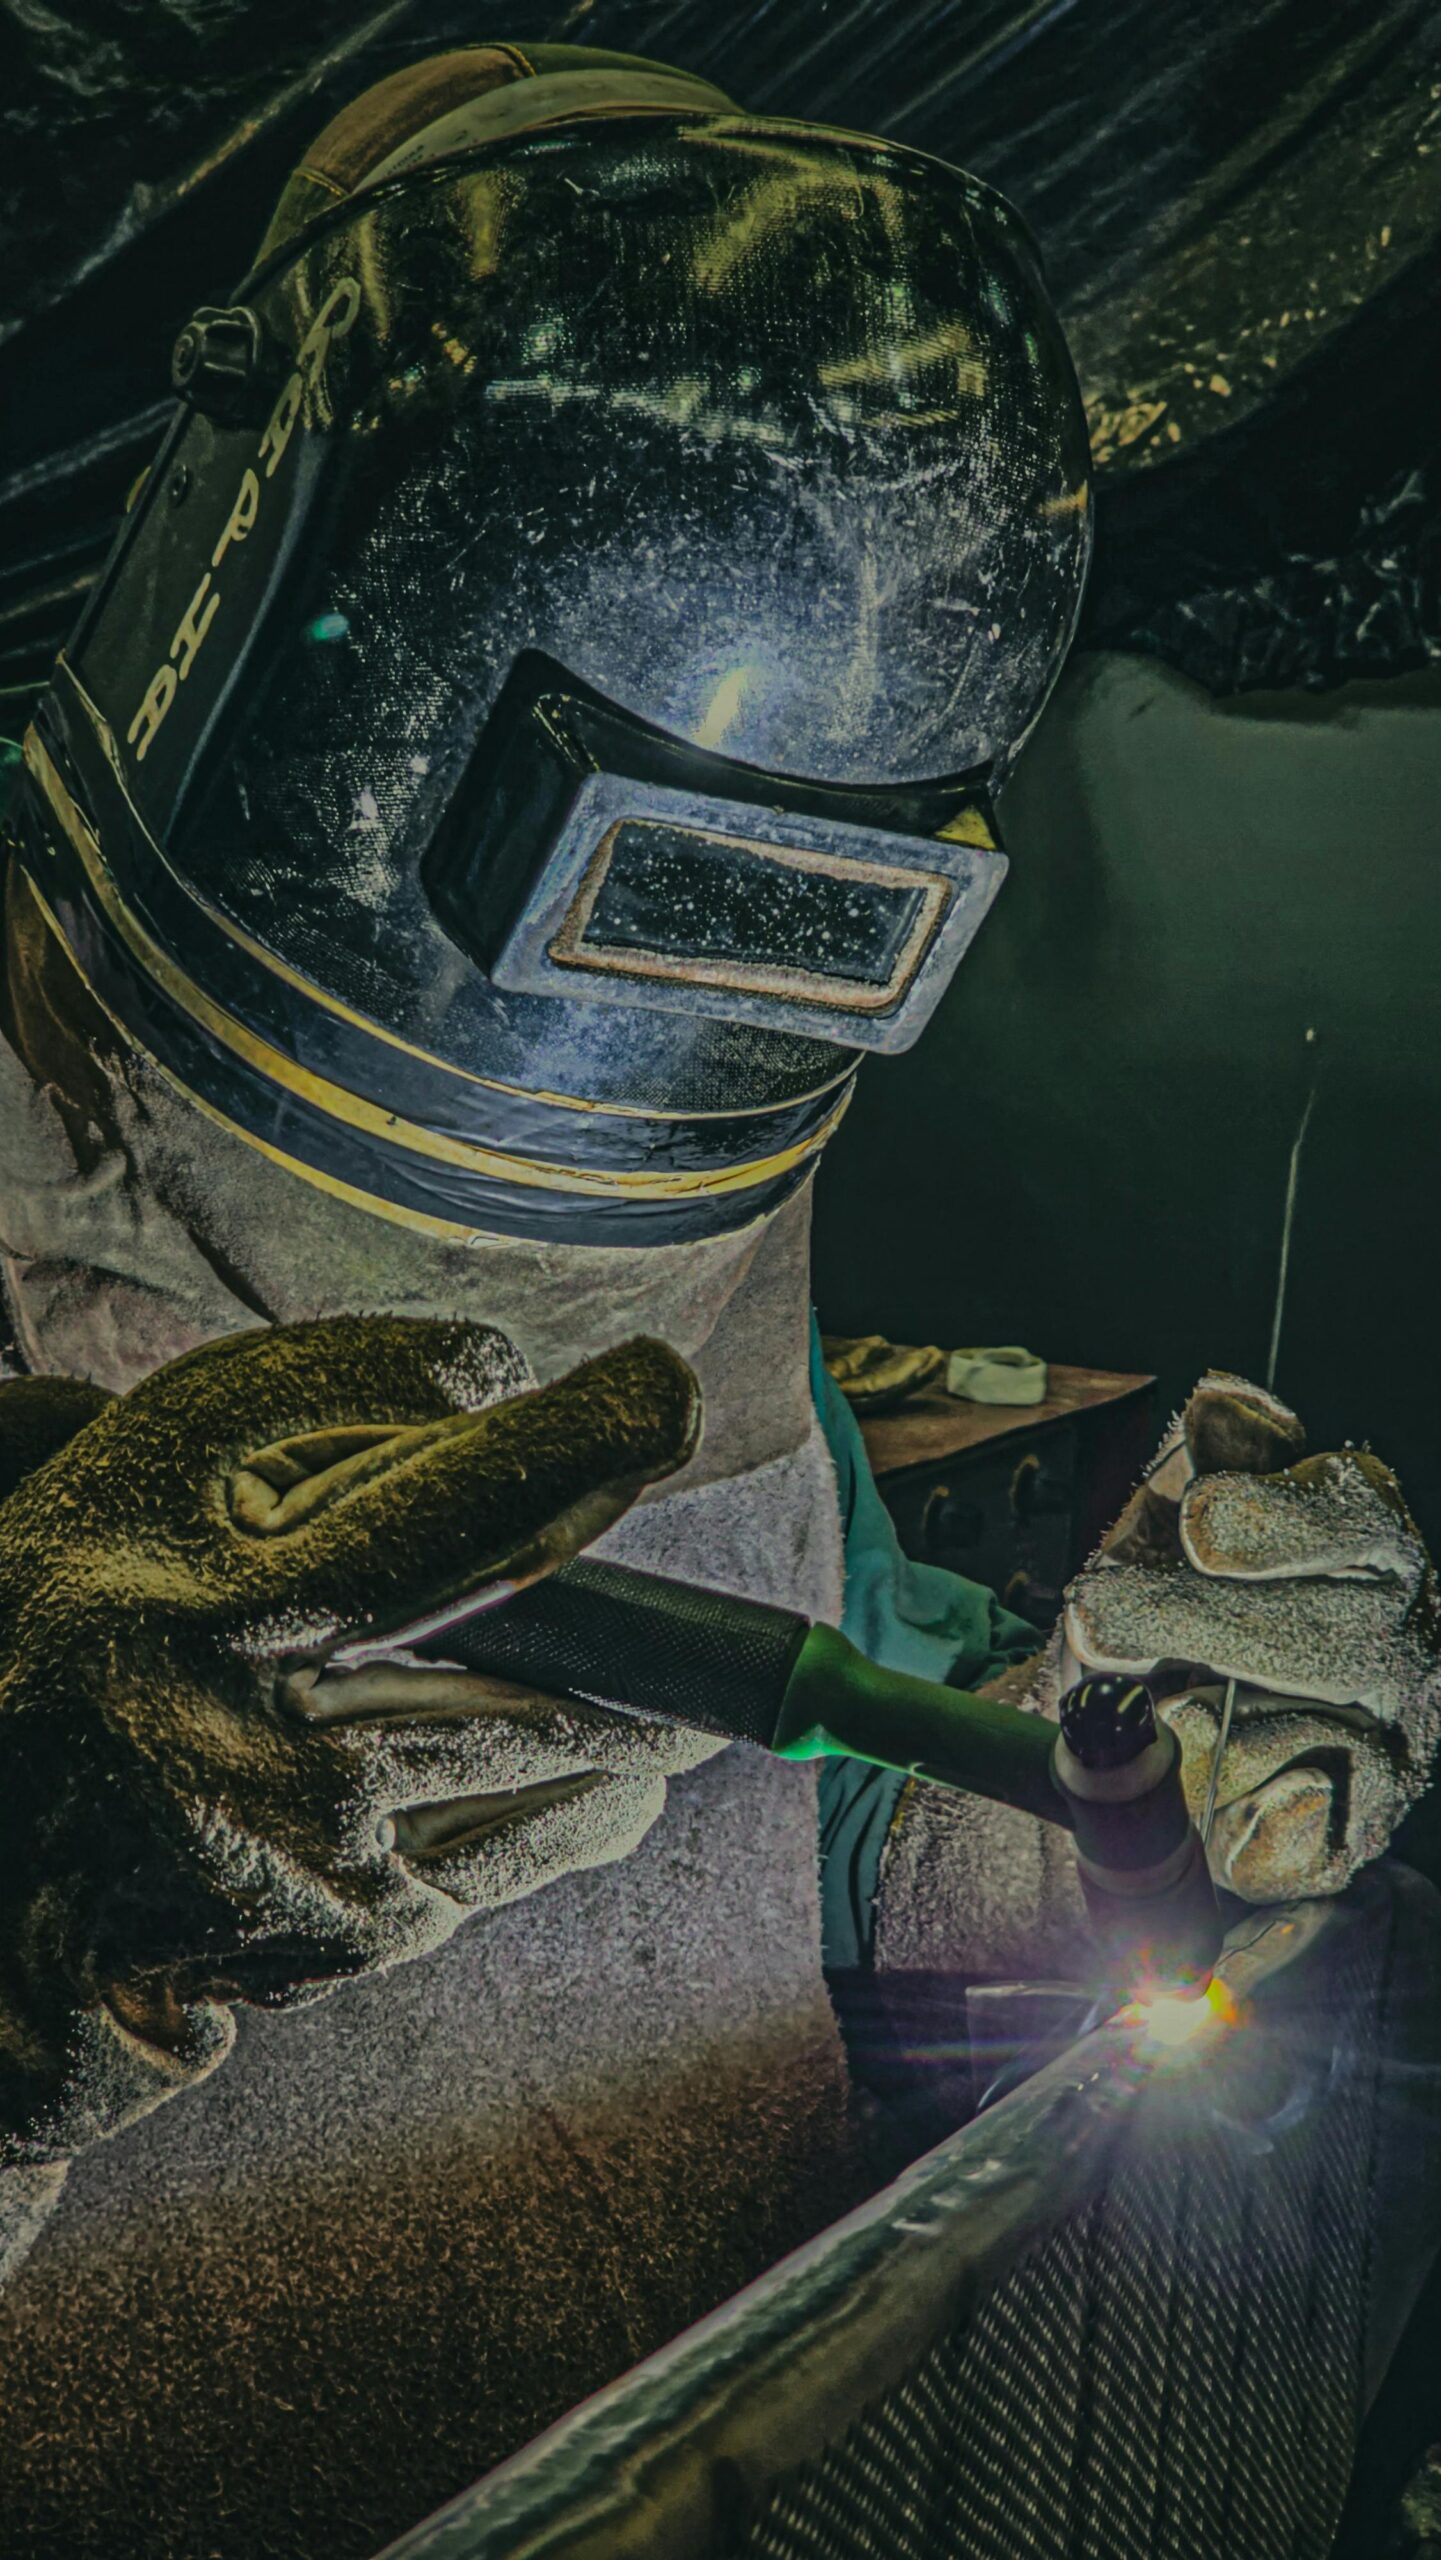
TIG (Tungsten Inert Gas, also called GTAW – Gas Tungsten Arc Welding) uses a non-consumable tungsten electrode to create the arc while you manually feed filler rod:
- Tungsten electrode creates arc but doesn’t melt (melting point 6,192°F)
- Electricity flows from machine through tungsten to workpiece
- Arc melts base metal, you manually dab filler rod into puddle
- Shielding gas (pure Argon typically) flows around tungsten protecting weld
- Foot pedal or torch button controls amperage (heat input)
TIG electrode and shielding:
- Tungsten electrode conducts electricity but doesn’t become filler
- Filler rod separate (you feed by hand like welding with a clothes hanger)
- 100% Argon gas for most applications
- Can weld without filler (autogenous welding) on thin material
Why TIG is fully manual:
- You control amperage with foot pedal (more pressure = more heat)
- You feed filler rod manually (timing and amount)
- You control travel speed, torch angle, arc length
- Three things to coordinate: pedal, filler, torch (like driving stick shift)
DC vs AC TIG:
- DC (Direct Current): For steel, stainless, most metals
- AC (Alternating Current): Required for aluminum, magnesium
- AC machines cost more but weld everything
Calculate precise TIG settings with our TIG Welding Calculator.
Once you choose Stick over MIG/TIG, electrode failures (sticking, arc blow, 7018 porosity, undercut) are diagnosed here: Stick Welding Rod Troubleshooting.
Stick Welding: Shielded Metal Arc Process
How Stick works:
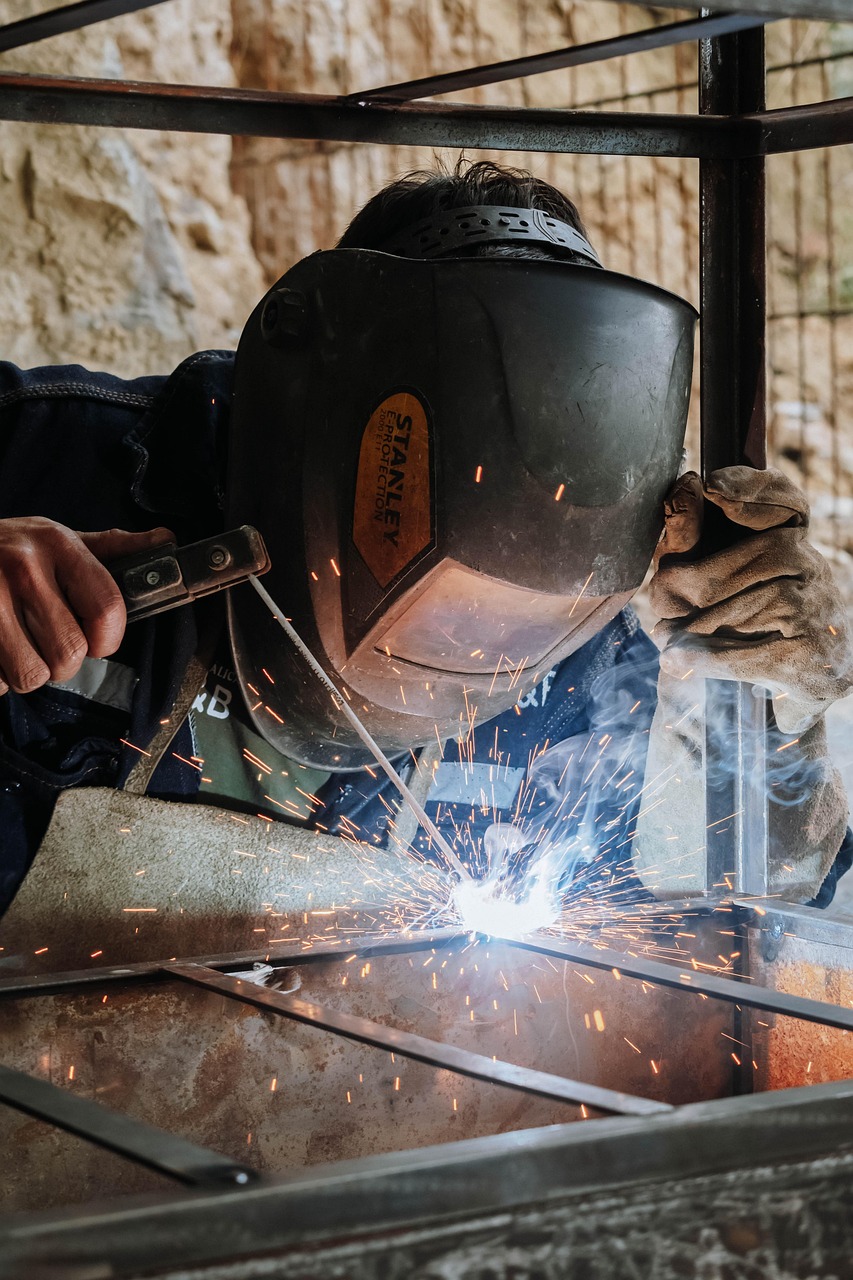
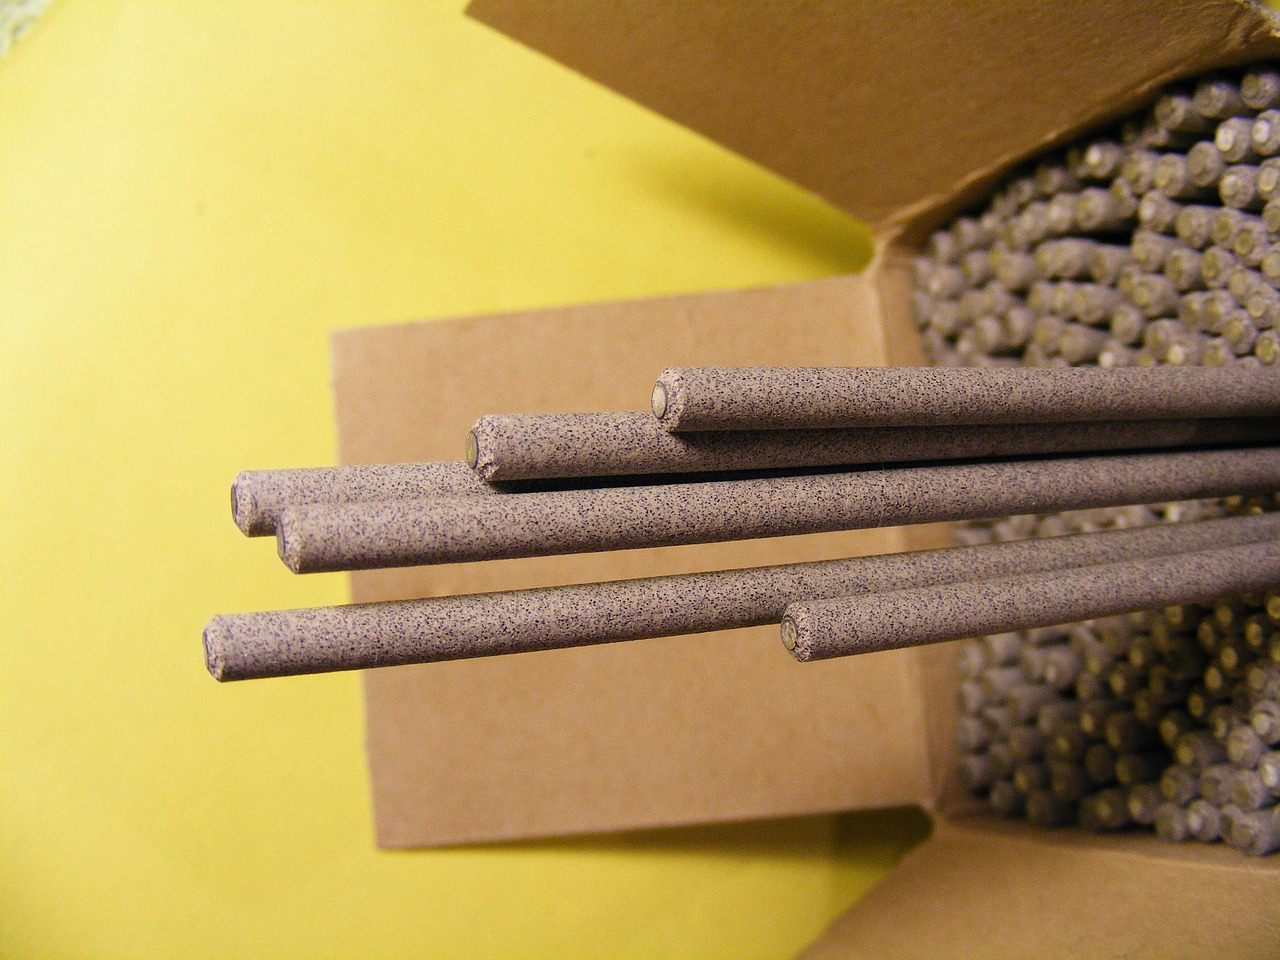
Stick welding (SMAW – Shielded Metal Arc Welding) uses a consumable coated electrode rod that you hold in a stinger (electrode holder):
- Electrode rod has steel core (becomes filler metal)
- Flux coating on outside (creates gas + slag protection)
- Electricity flows from machine through electrode to workpiece
- Arc melts electrode core and base metal
- Flux coating burns, creating gas shield and slag layer over weld
Stick electrode and shielding:
- Electrode IS filler metal (core melts into weld)
- Flux coating provides gas shielding as it burns (no external gas needed)
- Slag forms over weld (must chip/brush off after cooling)
- Self-shielded (works in wind, outdoors)
Why Stick is simplest equipment:
- No wire feed mechanism
- No shielding gas cylinders
- No regulators, hoses, complicated setup
- Just machine, cables, electrode holder, electrodes
Stick electrode types:
- E6010: Deep penetration, all-position, runs on AC or DC
- E6013: Easy arc starts, good for beginners, thin material
- E7018: Low-hydrogen, smooth bead, structural/code work
- E7024: Heavy slag, fast deposit, flat/horizontal only
Different electrodes for different applications – must match rod to job.
Get correct Stick welding amperage with our Stick Welding Calculator.
Speed Comparison: Production Rates
Welding speed directly impacts labor costs, project completion time, and which process makes economic sense for your application.
Production Welding Speed Rankings
Speed from fastest to slowest:
1. MIG – FASTEST (2-5X faster than TIG)
MIG production rates on clean steel:
- Auto wire feed eliminates manual filler rod addition
- Higher deposition rates than manual processes
- Continuous welding (no stopping to change electrodes)
- Example: 12″ of 1/4″ steel weld = 2-3 minutes MIG
Typical MIG speeds:
- Thin sheet metal (18-20 gauge): 8-12 inches per minute travel
- Medium steel (1/8″-3/16″): 6-10 inches per minute
- Thick steel (1/4″+): 4-8 inches per minute
2. Stick – MEDIUM (1.5-2X faster than TIG, 2-3X slower than MIG)
Stick production rates:
- Faster than TIG (no separate filler rod manipulation)
- Slower than MIG (must stop to change electrodes frequently)
- Slag removal adds time after welding
- Example: 12″ of 1/4″ steel weld = 4-6 minutes Stick (including electrode changes)
Stick electrode consumption:
- 14″ long 1/8″ E7018 electrode welds approximately 10-12 inches
- Stop every 10-12″, change electrode, chip slag, resume
- Interruptions reduce overall production speed
3. TIG – SLOWEST (2-5X slower than MIG)
TIG production rates:
- Manual filler rod addition takes time
- Precise control means deliberate, careful travel
- Setup and tungsten preparation adds time
- Example: 12″ of 1/4″ steel weld = 8-15 minutes TIG
When TIG speed acceptable:
- Short welds where setup time dominates anyway
- High-value work where quality justifies time
- Thin material where MIG would burn through
- Critical welds where appearance or precision required
Real-World Production Comparison
Project: Welding 40-foot steel railing (2″ square tube frame)
| Process | Welding Time | Prep/Cleanup Time | Total Time |
|---|---|---|---|
| MIG | 2-3 hours | 30 min (setup/cleanup) | 2.5-3.5 hours |
| Stick | 4-6 hours | 2 hours (slag removal) | 6-8 hours |
| TIG | 10-15 hours | 1 hour (setup/cleanup) | 11-16 hours |
Labor cost impact (@$50/hour labor):
- MIG: $125-175 labor
- Stick: $300-400 labor
- TIG: $550-800 labor
Unless TIG quality is required, using TIG costs $375-625 more in labor for identical structural strength.
When Speed Matters vs When It Doesn’t
Speed IS critical:
- Production fabrication (repetitive parts)
- Auto body repair (shop rates $100-150/hour)
- Structural steel (long seams, high footage)
- Any commercial work (time = money)
Speed LESS critical:
- One-off custom work (quality over speed)
- Visible welds (appearance matters)
- Critical applications (aerospace, pressure vessels)
- Hobby projects (your own time)
Calculate welding costs including time with our Welding Cost Calculator.
Quality and Appearance Comparison
Weld quality means two things: structural integrity (strength, soundness, no defects) and aesthetic appearance (how it looks). All three processes produce structurally sound welds when done correctly, but appearance varies dramatically.
Appearance Quality Rankings
From best to worst appearance:
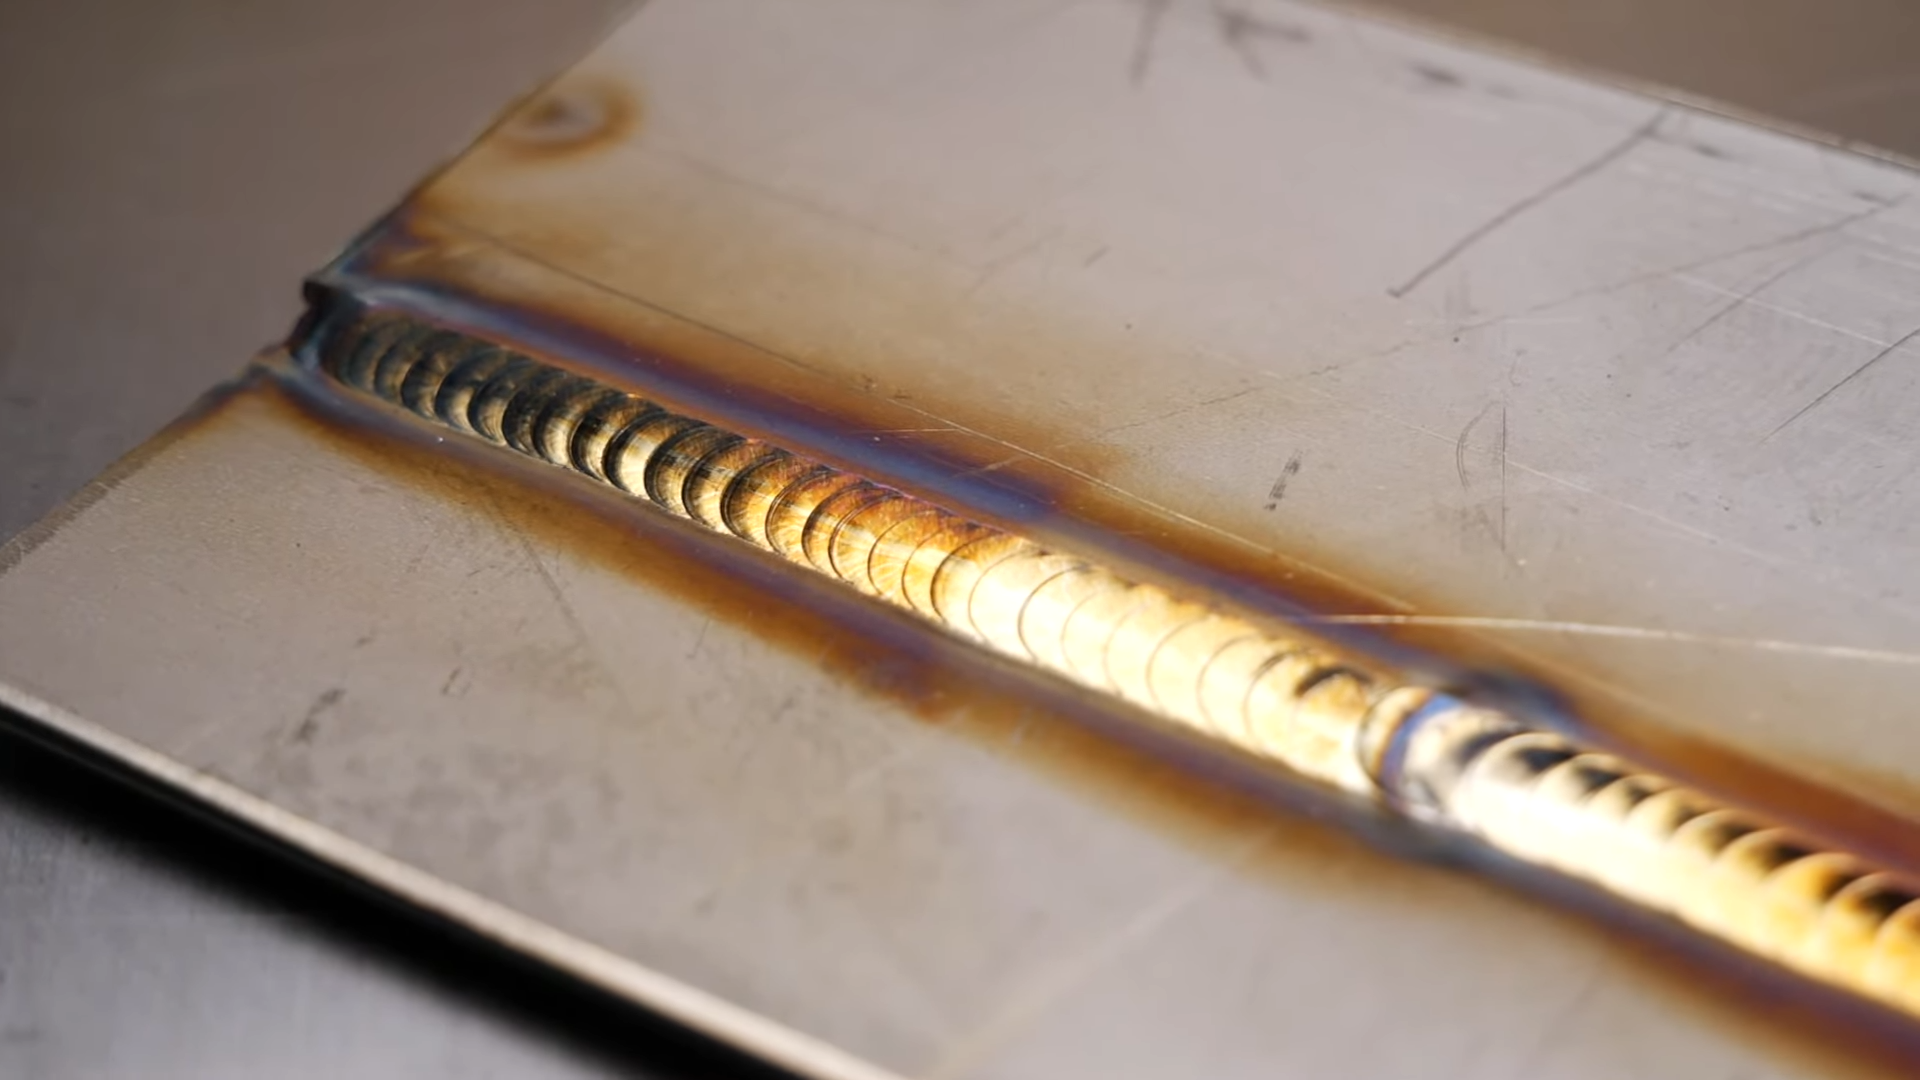
1. TIG – BEST APPEARANCE (show-quality welds)
TIG weld appearance characteristics:
- Smooth, uniform ripples (stack-of-dimes appearance)
- Precise bead width control
- Minimal spatter (essentially zero with proper technique)
- Clean, shiny finish (no slag to remove)
- Welds often left as-welded (no grinding needed)
Why TIG looks best:
- Complete control over heat input (foot pedal)
- Independent filler addition (add exactly what you need)
- Excellent gas shielding (100% Argon, large cup coverage)
- Slow deliberate process allows precision
TIG appearance applications:
- Stainless exhaust systems (visible welds)
- Aluminum fabrication (polished appearance)
- Artistic metalwork (sculpture, railings, furniture)
- Aerospace components (critical visual inspection)
2. MIG – GOOD APPEARANCE (functional, acceptable)
MIG weld appearance characteristics:
- Fairly smooth bead with consistent ripple pattern
- Some spatter (BB-sized balls around weld)
- Clean surface (no slag removal needed)
- Acceptable for most fabrication work
- Can be ground flush for painted applications
Why MIG looks good but not great:
- Wire feed sometimes irregular (causes ripple inconsistency)
- Spatter unavoidable (voltage/wire speed balance never perfect)
- Less precise control than TIG
- Fast travel = less time to perfect each section
MIG appearance applications:
- Auto body panels (will be painted over)
- Structural fabrication (function over appearance)
- Shop equipment, carts, fixtures
- Most production welding
3. Stick – FUNCTIONAL APPEARANCE (requires cleanup)
Stick weld appearance characteristics:
- Rough surface texture
- Slag coating must be chipped/brushed off
- Some spatter (less than MIG typically)
- Irregular bead width (electrode consumption affects arc length)
- Almost always requires grinding for appearance work
Why Stick looks roughest:
- Slag inclusion risk (slag trapped under bead surface)
- Arc length varies as electrode burns down
- Flux coating creates rough texture
- Designed for function, not appearance
Stick appearance applications:
- Structural steel (will be painted)
- Pipeline work (buried or coated)
- Agricultural equipment (function matters, looks don’t)
- Repair work (strength required, appearance secondary)
Structural Quality (Strength and Soundness)
All three processes produce code-quality structural welds when:
- Proper settings used for material thickness
- Correct technique applied
- Appropriate filler metal selected
- Joint properly prepared
Defect susceptibility:
MIG defects:
- Porosity from poor gas coverage (wind, low flow)
- Lack of fusion from travel too fast
- Burn-through on thin material (too much heat)
TIG defects:
- Tungsten inclusion (dipping tungsten in puddle)
- Lack of fusion from insufficient heat
- Porosity from contamination (dirty material)
Stick defects:
- Slag inclusion (slag trapped in weld)
- Porosity from damp electrodes
- Undercut from amperage too high
Bottom line on quality: Operator skill matters more than process choice for structural integrity. Appearance is where processes differ—TIG for show, MIG for go, Stick for function.
Cost Comparison: Equipment and Operating Costs
Total welding costs include equipment purchase, consumables, shielding gas, electricity, and maintenance—costs vary dramatically between processes.
Equipment Costs (Initial Investment)
Entry-level hobby machines:
| Process | Machine Cost | Additional Equipment | Total Setup Cost |
|---|---|---|---|
| Stick | $200-400 | Helmet, gloves, electrodes ($50) | $250-450 |
| MIG | $400-800 | Gas cylinder, regulator, wire ($150-250) | $550-1,050 |
| TIG | $600-1,200 | Gas cylinder, regulator, filler rods, tungsten ($200-300) | $800-1,500 |
Professional-grade machines:
| Process | Machine Cost | Total Professional Setup |
|---|---|---|
| Stick | $800-2,000 | $900-2,200 |
| MIG | $1,500-4,000 | $2,000-5,000 |
| TIG | $2,500-6,000 | $3,000-7,000 |
Cheapest to most expensive initial investment: Stick < MIG < TIG
Consumable Costs (Ongoing Expenses)
Per pound of deposited weld metal:
MIG consumables:
- Wire: $2-4 per pound (ER70S-6 common steel wire)
- Shielding gas: $0.50-1.50 per pound deposited (75/25 Argon/CO2)
- Contact tips: $0.50-2.00 each, replace every 10-20 lbs wire
- Total: $3-6 per pound deposited
TIG consumables:
- Filler rod: $4-8 per pound (ER70S-2 common steel rod)
- Shielding gas: $0.80-2.00 per pound deposited (100% Argon)
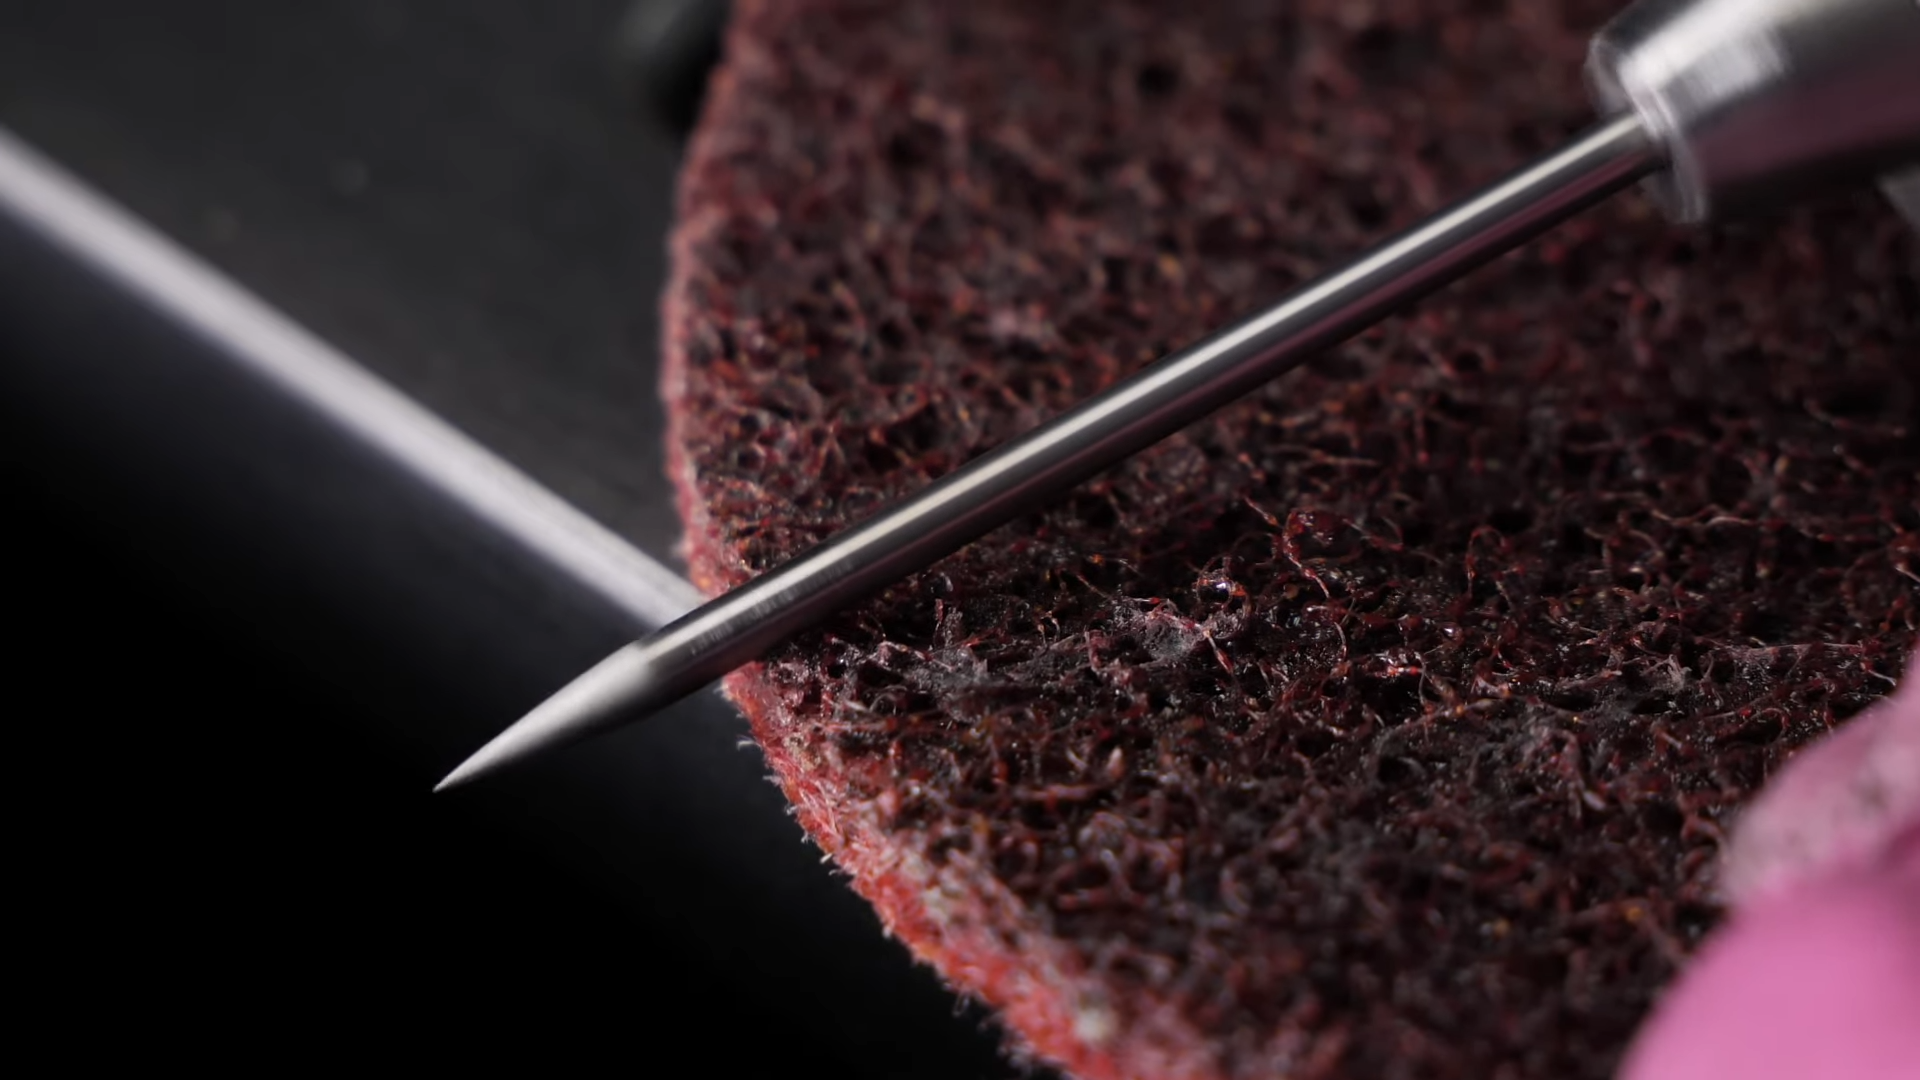
- Tungsten: $3-10 each, lasts months with care
- Total: $5-10 per pound deposited
Stick consumables:
- Electrodes: $1-3 per pound deposited (E7018 common)
- No shielding gas: $0 (flux provides shielding)
- Total: $1-3 per pound deposited
Cheapest to most expensive consumables: Stick < MIG < TIG
Operating Cost Example: 100 Pounds of Steel Welded
| Cost Component | Stick | MIG | TIG |
|---|---|---|---|
| Consumables (filler + gas) | $100-300 | $300-600 | $500-1,000 |
| Labor (@ $50/hr) | $2,000-3,000 | $1,000-1,500 | $4,000-6,000 |
| Electricity | $20-40 | $25-50 | $30-60 |
| TOTAL | $2,120-3,340 | $1,325-2,150 | $4,530-7,060 |
Key insight: Labor costs dominate consumable costs. MIG’s speed makes it cheapest total cost despite higher consumable prices. TIG’s slow speed makes it most expensive unless quality justifies the time.
Calculate your specific welding costs with our Welding Cost Calculator, Gas Cost Calculator, and Consumables Calculator.
Hidden Costs
MIG hidden costs:
- Gas cylinder rental: $10-30/month or $200-400 cylinder purchase
- Spatter cleanup time (wire brush, grinder)
- Drive roll replacement
- Liner replacement (every 6-12 months, $20-60)
TIG hidden costs:
- Gas cylinder rental: $15-40/month (100% Argon costs more)
- Tungsten sharpening equipment (grinder, diamond wheel)
- Gas lens cups ($20-60 each)
- Foot pedal replacement
Stick hidden costs:
- Slag chipping hammers, wire brushes (wear out)
- Electrode storage (E7018 requires rod oven, $100-300)
- More frequent electrode holder replacement

Ease of Learning: Beginner to Proficient Timeline
How quickly you become productive varies dramatically by process—some welders lay acceptable beads in hours, others require weeks of practice before producing quality work.
Learning Curve Rankings (Easiest to Hardest)
1. MIG – EASIEST (Productive in hours, proficient in weeks)
Why MIG is beginner-friendly:
- Point gun, pull trigger, move steadily = weld (two-handed, simpler coordination)
- Wire feeds automatically (no manual filler rod manipulation)
- Arc self-regulating (voltage/wire speed balance maintains arc length)
- Forgiving of technique errors
- Instant visual feedback (see puddle clearly)
MIG learning timeline:
- Day 1: Laying acceptable beads on flat steel
- Week 1: Welding simple projects (confident on flat position)
- Month 1: Vertical and horizontal positions
- 3-6 months: Proficient across all positions and materials
Common beginner MIG mistakes (easy to fix):
- Voltage too high (reduce until spatter decreases)
- Travel too slow (speed up, watch bead width)
- Gun angle wrong (15° drag angle works for most)
Learn proper MIG technique with our MIG Settings Chart and MIG Troubleshooting Guide.
2. Stick – MEDIUM (Productive in days, proficient in months)
Why Stick is moderately difficult:
- Must maintain correct arc length manually (electrode burns down, you adjust)
- Arc starting requires technique (scratch or tap start)
- Electrode angle and travel speed critical
- Slag removal technique needed
- Different electrodes require different techniques
Stick learning timeline:
- Days 1-3: Struggling with arc starts, maintaining arc
- Week 1: Consistent arc, acceptable flat beads
- Month 1: Multiple positions, electrode changes smooth
- 3-6 months: Proficient with common electrodes (6010, 7018)
Common beginner Stick mistakes:
- Arc length too long (get closer, 1/8″ maximum gap)
- Amperage wrong (use rod diameter × 40 as starting point)
- Travel too fast (slag blowouts, porosity)
- Damp electrodes (store in rod oven or warm dry place)
Check our Stick Rod Selection Guide for electrode choices.
3. TIG – HARDEST (Productive in weeks, proficient in months to years)
Why TIG is most difficult:
- Three simultaneous controls: foot pedal (amperage), filler rod (timing/amount), torch (position/angle)
- Like driving manual transmission while eating and texting
- Coordination takes significant practice
- Tungsten contamination frustrating for beginners
- Requires more material preparation (cleanliness critical)
TIG learning timeline:
- Week 1: Struggling with coordination, dipping tungsten constantly
- Week 2-4: Consistent beads on flat steel, basic coordination developing
- Month 2-3: Adding filler smoothly, acceptable appearance
- 6-12 months: Proficient on steel, learning aluminum/stainless
- 1-2 years: All positions, all materials, professional quality
Common beginner TIG mistakes:
- Dipping tungsten in puddle (contaminates tungsten, ruins arc)
- Too much filler added at once (bead too tall)
- Foot pedal control jerky (practice makes smooth)
- Dirty material (TIG shows every contaminant)
Follow our TIG Settings Guide to set up correctly from the start.
Which Process for Complete Beginners?
Start with MIG if:
- You want to build projects quickly
- Welding steel is primary goal
- Budget allows for gas setup
- Working indoors mostly
Start with Stick if:
- Budget extremely limited
- Outdoor/field work planned
- Portability essential
- Willing to practice more for basic competence
Start with TIG if:
- Aluminum welding is goal (AC TIG only option for hobbyists)
- Quality/appearance matters more than speed
- Patient learner willing to invest practice time
- Already competent with MIG or Stick
Material Compatibility: What Each Process Can Weld
Material compatibility determines which processes are even options for your project—trying to Stick weld aluminum or MIG weld without special equipment wastes time discovering what won’t work.
MIG Welding Material Compatibility
MIG excels at:
- Mild steel / Carbon steel: Ideal application, fast and clean
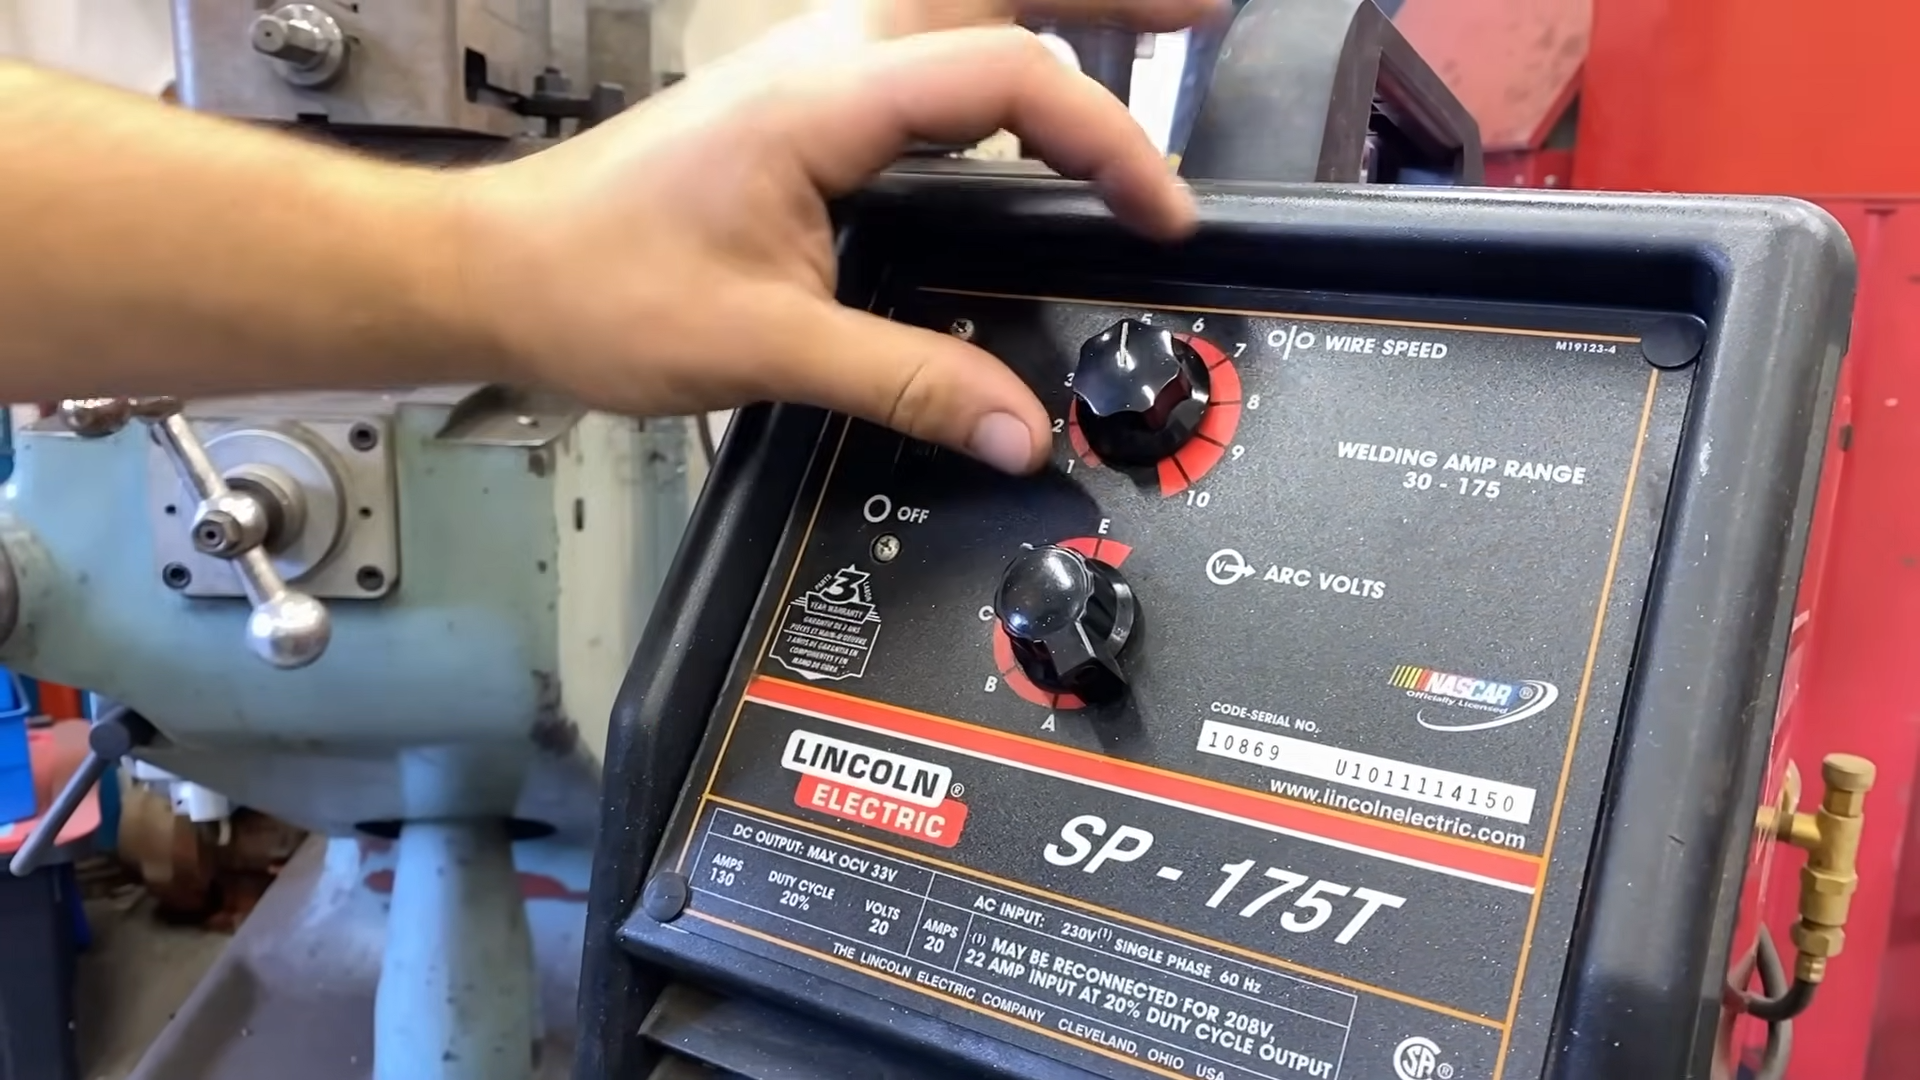
- Stainless steel: Excellent with proper wire and gas (ER308L wire, 98/2 Ar/O2 or tri-mix gas)
- Aluminum: Works well WITH spool gun or push-pull gun (soft aluminum wire needs special feeding)
MIG struggles with or cannot weld:
- Cast iron: Possible but difficult (pre-heat required, nickel rod expensive)
- Exotic metals: Titanium, magnesium (requires special equipment/atmosphere)
- Very thin material: <22 gauge burns through easily even with smallest wire
MIG aluminum requirements (important!):
- Standard MIG gun won’t feed soft aluminum wire reliably
- Need spool gun ($200-500) OR push-pull gun system
- Change to 100% Argon gas (no CO2 for aluminum)
- Without spool gun, MIG can’t weld aluminum effectively
Get proper MIG settings for different materials with our MIG Settings Chart.
TIG Welding Material Compatibility
TIG excels at (welds EVERYTHING):
- Aluminum: TIG is THE process for aluminum (AC TIG required)
- Stainless steel: Beautiful welds, common for exhaust, food equipment
- Mild steel / Carbon steel: Slower than MIG but superior appearance
- Exotic metals: Titanium, magnesium, Inconel (TIG handles all with proper filler)
- Dissimilar metals: Steel to stainless, copper to steel
TIG capability with AC/DC machines:
- DC TIG only: Steel, stainless, copper, brass, bronze
- AC TIG (costs more): Everything DC can do PLUS aluminum and magnesium
TIG material thickness range:
- Extremely thin (24 gauge sheet metal) to thick plate (unlimited with multipass)
- Best for thin material where MIG/Stick would burn through
- Pulse TIG extends thin capability even further
Learn TIG for different materials: TIG Aluminum Guide and TIG Stainless Guide.
Stick Welding Material Compatibility
Stick excels at:
- Mild steel / Carbon steel: Primary application, all thicknesses
- Stainless steel: Works well with correct electrodes (E308, E316)
- Cast iron: Better than MIG (use nickel electrodes, pre-heat)
Stick CANNOT weld:
- Aluminum: No Stick electrode exists for aluminum (use TIG or MIG with spool gun)
- Magnesium: No viable Stick electrode
- Very thin material: <16 gauge burns through (minimum practical ~1/16" steel)
Stick electrode selection by material:
- Mild steel: E6010, E6013, E7018, E7024 (different characteristics)
- Stainless: E308L (304SS), E316L (316SS)
- Cast iron: ENi-CI (nickel electrode), pre-heat to 400-600°F
- Hardfacing: Special electrodes for wear resistance
Material Compatibility Summary
| Material | MIG | TIG | Stick |
|---|---|---|---|
| Mild Steel | ✅ Excellent | ✅ Excellent | ✅ Excellent |
| Stainless Steel | ✅ Excellent | ✅ Excellent | ✅ Good |
| Aluminum | ✅ Good (spool gun needed) | ✅ Excellent (AC TIG) | ❌ Cannot weld |
| Cast Iron | ⚠️ Difficult | ✅ Good | ✅ Good |
| Thin Material (<18ga) | ⚠️ Difficult | ✅ Excellent | ❌ Burns through |
| Thick Material (>1/2″) | ✅ Excellent | ✅ Good (slow) | ✅ Excellent |
Quick decision: Aluminum = TIG only (or MIG with spool gun). Thin material = TIG best. Everything else = all three work, choose by other factors.
Position Capability: Flat, Vertical, Overhead
Welding position capability determines whether you can complete a project—some processes excel in all positions while others struggle outside flat/horizontal work.
Position Capability Rankings
Welding positions defined:
- Flat (1G, 1F): Welding on top of horizontal surface (easiest)
- Horizontal (2G, 2F): Welding horizontal bead on vertical surface
- Vertical (3G, 3F): Welding up or down on vertical surface
- Overhead (4G, 4F): Welding underneath horizontal surface (hardest)
1. Stick – BEST All-Position Capability
Stick welding all-position performance:
- Designed for all-position work (structural steel codes require it)
- E6010, E6013, E7018 all rated all-position
- Slag solidifies quickly supporting molten metal in vertical/overhead
- No gas shielding to disrupt in odd positions
- Professional pipefitters, ironworkers use Stick overhead daily
Stick position technique:
- Vertical: Usually weld uphill (better penetration), can go down with practice
- Overhead: Short arc length, fast travel, let gravity help
- Horizontal: Slight upward angle prevents sag
2. TIG – GOOD All-Position (Requires Skill)
TIG all-position performance:
- Capable in all positions but requires significant skill
- Gravity fights you in vertical/overhead (puddle wants to fall)
- Foot pedal control critical (reduce amperage when puddle sags)
- Gas coverage can be tricky overhead (gas rises, puddle falls)
- Professional pipe welders, aerospace techs do it but it’s challenging
TIG position technique:
- Vertical: Weld uphill usually, reduce heat, small puddles
- Overhead: Reduce amperage 20-30%, quick dabs of filler, let puddle freeze between
- Body positioning crucial: Must be comfortable to control puddle
3. MIG – LIMITED All-Position (Flat/Horizontal Best)
MIG all-position performance:
- Excellent flat and horizontal
- Acceptable vertical with practice and correct settings
- Difficult overhead (molten wire wants to fall, spatter everywhere)
- Production shops avoid vertical/overhead MIG when possible
MIG position challenges:
- Vertical: Must reduce wire speed/voltage, weld uphill, puddle control difficult
- Overhead: Spatter falls on you, puddle sags, very uncomfortable
- Wire feed makes control harder: Can’t “pause” arc like Stick (wire keeps feeding)
MIG vertical settings:
- Reduce voltage 15-20% from flat settings
- Reduce wire speed 15-20%
- Short arc transfer (not spray)
- Slight weave helps, but mostly straight travel uphill
Real-World Position Example: Roll Cage Fabrication
Project: Installing roll cage in race car (tubes at all angles, overhead work required)
Process selection:
TIG chosen (best option):
- Thin-wall tubing (0.095″-0.120″ wall, 1.5″-2″ diameter)
- MIG would burn through easily
- Stick minimum thickness too thick for this material
- TIG allows precise heat control preventing burn-through
- Appearance matters (visible inside car)
- Worth the extra time for quality and safety
Alternative if TIG unavailable: Stick with small rod (1/16″ E6013) possible but risky on thin wall
MIG would fail: Burn-through almost guaranteed, vertical/overhead very difficult

Indoor vs Outdoor: Wind, Portability, Power Requirements
Working environment determines process viability—some processes require perfect conditions while others work in fields during windstorms off generator power.
Wind Sensitivity Rankings
1. Stick – WIND PROOF (Works Anywhere)
Stick welding wind tolerance:
- Flux coating creates self-shielding gas as it burns
- Wind up to 35+ mph has minimal effect on weld quality
- Used for bridge construction, pipeline work, outdoor structural
- Slag protects cooling weld even in high wind
Why Stick handles wind:
- No external gas bottle to blow away
- Shielding gas generated at arc (heavy, stays close)
- Designed for field work from inception
2. TIG – WIND SENSITIVE (Indoor/Sheltered Only)
TIG wind tolerance:
- Wind >5 mph disrupts shielding gas
- Results in porosity, oxidation, contaminated welds
- Requires indoor work or excellent wind protection
- Welding screens, blankets can help but limited effectiveness
TIG gas cup sizing helps slightly:
- Larger cups (#15-17) spread gas coverage, slightly better wind tolerance
- Still fails in anything beyond light breeze
- Professional outdoor TIG requires enclosed space or wind barriers
3. MIG – MODERATELY WIND SENSITIVE
MIG wind tolerance:
- Wind >10-15 mph causes shielding gas disruption
- Some porosity acceptable in structural work (not critical)
- Flux-core wire option (FCAW) eliminates gas, works in wind
- Can work outdoors with wind protection or flux-core wire
MIG flux-core option (game changer for outdoor work):
- Tubular wire with flux inside (like inside-out Stick electrode)
- No external gas needed (self-shielded)
- Works in wind like Stick
- Produces slag (chip off like Stick)
- More spatter than solid wire MIG
- Common for outdoor construction, farm/ranch work
Calculate proper gas flow for wind conditions with our Gas Flow Rate Calculator.
Portability Rankings
1. Stick – MOST PORTABLE
Stick portability advantages:
- Machine only component (no gas bottle, wire feed mechanism)
- Inverter Stick welders: 10-25 lbs (carry like toolbox)
- Cables + electrode holder another 10-15 lbs
- Runs on generator power (any 3,000W+ generator)
- Load in truck, go anywhere
Stick field work setup:
- Generator (portable or truck-mounted)
- Stick welder (inverter lightweight)
- Electrodes in sealed container
- Welding cables
- Total weight: 50-80 lbs including generator
2. MIG – MODERATELY PORTABLE (Shop or Service Truck)
MIG portability challenges:
- Welder + wire feed mechanism: 40-80 lbs
- Gas cylinder (full): 40-150 lbs depending on size
- Cart or truck setup required for practical use
- Runs on generator but requires clean power (inverter generator recommended)
MIG mobile setup:
- Service truck with built-in welder common (HVAC, auto body, mobile welding)
- Cylinder secured in truck bed
- Can bring to job site but not “carry to remote location”
3. TIG – LEAST PORTABLE (Shop Equipment)
TIG portability limitations:
- Welder: 40-100+ lbs
- Gas cylinder: 40-150 lbs
- Foot pedal, torch, filler rods, tungsten, accessories
- Requires clean stable power (generator must be inverter type, quality)
- Setup time significant
TIG mobile use rare:
- Mostly shop-based process
- Some mobile aluminum repair (RV, boat) but uncommon
- Not practical for construction sites, field work
Power Requirements
Generator compatibility:
Stick welding:
- Runs on any generator 3,000W+ (gas or diesel)
- Dirty power OK (older generators work fine)
- 7,000W generator runs 1/8″ rod at full capacity
MIG welding:
- Needs cleaner power (inverter generator recommended)
- 5,000W+ for full-capacity MIG
- Works but may have issues on non-inverter generators
TIG welding:
- Requires clean stable power (inverter generator essential)
- AC TIG particularly sensitive to power quality
- 5,000-7,000W inverter generator for full operation
When to Use Each Process: Decision Guide
Choose welding process by answering these questions in order—first answer that definitively points to one process is usually your answer.
Decision Framework (Step-by-Step)
Question 1: What material am I welding?
Material determines possible processes:
- Aluminum: TIG (AC TIG required) OR MIG with spool gun. Stick CANNOT weld aluminum.
- Very thin material (<18 gauge): TIG best option (MIG and Stick burn through easily)
- Mild steel, stainless, thick material: All three work, continue to next questions
If material eliminates options, decision made. Otherwise continue.
Question 2: Where am I welding?
Environment limits process choices:
- Outdoor with wind: Stick OR MIG with flux-core wire (TIG fails in wind)
- Remote location (no power): Stick with generator (most portable, easiest generator operation)
- Indoor shop: All three work, continue to next questions
Question 3: How much welding (total footage)?
Weld quantity drives speed requirements:
- High volume (production, long seams): MIG (3-5X faster than TIG, 2X faster than Stick)
- Low volume (short welds, one-off project): Any process works, continue to next questions
Question 4: Does appearance matter?
Aesthetic requirements narrow choices:
- Visible welds requiring beauty: TIG (stainless exhaust, aluminum fabrication, artistic work)
- Will be painted/hidden: MIG or Stick acceptable
- Functional only: Any process works
Question 5: What’s my skill level?
Operator capability matters:
- Complete beginner wanting fastest learning: MIG (productive in hours)
- Willing to invest practice time: TIG or Stick acceptable
- Already experienced: Use process best suited to job (ignore learning curve)
Question 6: What’s my budget?
Equipment investment limits options:
- Minimal budget ($250-450): Stick only realistic option
- Moderate budget ($550-1,050): MIG or Stick
- Higher budget ($800-1,500+): TIG becomes option
Common Application Quick Reference
| Application | Best Process | Why |
|---|---|---|
| Auto body repair | MIG | Thin sheet metal, fast production, will be painted |
| Aluminum fabrication | TIG | Only practical option, superior appearance |
| Structural steel fabrication | MIG | Speed critical, volume high, appearance doesn’t matter |
| Outdoor construction | Stick | Wind tolerance, portability, generator compatible |
| Stainless exhaust systems | TIG | Appearance critical, corrosion resistance requires quality |
| Farm/ranch repair | Stick | Dirty material, outdoor work, thick steel common |
| Artistic metalwork | TIG | Appearance is the product, precision required |
| Pipeline welding | Stick | All-position, outdoor, code-quality structural welds |
| Race car chassis/roll cage | TIG | Thin-wall tubing, strength critical, appearance matters |
| General shop fabrication | MIG | Versatile, fast, good quality, easy to learn |
Real-World Application Examples
Seeing how professionals choose processes for actual projects clarifies decision-making better than abstract comparisons.
Example 1: Building Steel Railing for Deck
Project specs:
- Material: 2″ square tube steel, 1/8″ wall thickness
- Location: Outdoor deck, 40 linear feet of railing
- Finish: Will be powder-coated (appearance doesn’t matter)
- Timeline: 2-day project
Process choice: MIG welding
Why MIG chosen:
- Clean steel (new material, no rust/dirt)
- High volume welding (40 feet of joints)
- Indoor shop assembly (no wind issues)
- Will be powder-coated (appearance doesn’t matter)
- Speed matters (finish in 2 days including fabrication)
Why not TIG: Would take 3-4X longer (8-12 hours welding vs. 3-4 hours MIG), appearance doesn’t matter for powder-coat finish
Why not Stick: Clean material doesn’t need Stick’s dirty-metal tolerance, indoor work so portability irrelevant, slag removal adds time
Result: MIG completes welding in one afternoon, project on schedule, customer happy
Example 2: Repairing Tractor Loader Bucket
Project specs:
- Material: 3/8″ structural steel plate, crack repair + reinforcement
- Location: Farm field (no shop access, generator power only)
- Condition: Rusty, dirty, oily from hydraulic fluid
- Timeline: Fix now (tractor needed for work)
Process choice: Stick welding
Why Stick chosen:
- Dirty material (rust, oil, field dirt)
- Outdoor work in open field (wind)
- Generator power only (Stick runs on any generator)
- Portable (carry welder to tractor location)
- Thick material (3/8″ steel ideal for Stick)
Why not MIG: Wind would blow shielding gas away (porosity guaranteed), dirty material would contaminate wire feed/liner
Why not TIG: Impossible—wind ruins gas coverage, dirty material won’t TIG weld, not portable enough for field location
Result: Stick welder with E7018 rods repairs crack and adds reinforcement plate, tractor back in service same day
Example 3: Fabricating Custom Stainless Exhaust
Project specs:
- Material: 304 stainless steel, 3″ tubing, 16 gauge wall
- Location: Shop environment
- Finish: Polished stainless (welds visible, appearance critical)
- Application: Custom motorcycle exhaust (high-visibility show bike)
Process choice: TIG welding
Why TIG chosen:
- Stainless steel (TIG produces cleanest stainless welds)
- Appearance is critical (welds are part of aesthetic)
- Thin-wall tubing (16 gauge burns through easily with MIG/Stick)
- Tight-radius bends require precise control
- Customer expects show-quality workmanship
Why not MIG: Stainless MIG welds look acceptable but not beautiful, customer paying for TIG quality, thin wall risky with MIG heat
Why not Stick: Cannot weld 16 gauge thin wall (minimum practical Stick thickness ~1/16″), slag removal would damage polished stainless
Result: TIG welds produce golden heat tint and stack-of-dimes appearance, customer thrilled with show-quality exhaust, charges premium pricing justified by TIG quality
Example 4: Welding Aluminum Boat Trailer Repair
Project specs:
- Material: 6061 aluminum, 2″ x 3″ rectangular tube frame
- Location: Shop (customer delivered trailer)
- Issue: Cracked weld on tongue, needs re-welding
- Environment: Saltwater use (corrosion critical)
Process choice: TIG welding (AC TIG required)
Why TIG chosen:
- Aluminum (ONLY TIG or MIG with spool gun can weld aluminum)
- Structural application (trailer tongue critical for safety)
- AC TIG provides best penetration and quality on aluminum
- Saltwater environment requires corrosion-resistant weld
Why not MIG: Possible with aluminum spool gun but TIG superior for structural aluminum, better penetration, cleaner weld less susceptible to corrosion
Why not Stick: Impossible—no Stick electrode for aluminum exists
Result: AC TIG repair produces strong, corrosion-resistant weld, trailer safe for continued saltwater use
Compare process settings with our Welding Amperage Chart.
Complete Pros and Cons Lists
Understanding advantages and disadvantages of each process helps predict when each excels or struggles.
MIG Welding Pros and Cons
MIG Advantages:
- ✅ Fast welding speed (2-5X faster than TIG, 2X faster than Stick)
- ✅ Easy to learn (productive in hours, not weeks)
- ✅ High deposition rates (fills joints quickly)
- ✅ Continuous welding (no stopping to change electrodes)
- ✅ Welds multiple materials (steel, stainless, aluminum with spool gun)
- ✅ Good weld appearance (better than Stick, not as good as TIG)
- ✅ No slag to remove (clean welds immediately)
- ✅ Less distortion on thin material than Stick (lower heat input)
MIG Disadvantages:
- ❌ Wind sensitive (shielding gas blows away, causes porosity)
- ❌ Requires gas cylinder (adds cost, reduces portability)
- ❌ More complex equipment (wire feed mechanism, gas system)
- ❌ Dirty material problematic (rust/oil clogs liner, contaminates wire)
- ❌ More expensive consumables than Stick (wire + gas)
- ❌ Spatter requires cleanup (wire brush, anti-spatter spray)
- ❌ Limited all-position capability (vertical/overhead difficult)
- ❌ Aluminum requires spool gun ($200-500 additional)
Best for: Indoor shop fabrication, production work, auto body, clean material, when speed matters
Worst for: Outdoor/windy conditions, remote field work, dirty/rusty material, very thin material
TIG Welding Pros and Cons
TIG Advantages:
- ✅ Best weld appearance (show-quality aesthetic)
- ✅ Welds all materials (steel, stainless, aluminum, exotic metals)
- ✅ Precise heat control (foot pedal amperage adjustment)
- ✅ Welds very thin material (down to 24 gauge sheet metal)
- ✅ Clean welds (zero spatter, no slag)
- ✅ Can weld without filler metal (autogenous welding on thin material)
- ✅ Independent filler control (add exactly what you need)
- ✅ Best for aluminum (AC TIG only practical hobbyist option)
TIG Disadvantages:
- ❌ Slow welding speed (2-5X slower than MIG)
- ❌ Difficult to learn (weeks to months for proficiency)
- ❌ Most expensive equipment ($800-1,500+ entry level, $3,000-7,000 professional)
- ❌ Requires clean material (contamination ruins welds)
- ❌ Wind extremely sensitive (>5 mph ruins gas coverage)
- ❌ Not portable (heavy equipment, gas cylinder, accessories)
- ❌ Three-handed coordination (pedal, filler, torch)
- ❌ Tungsten contamination frustrating (dipping tungsten requires re-grinding)
Best for: Aluminum welding, stainless work, thin material, visible welds, precision work, when quality matters more than speed
Worst for: Production welding, outdoor work, dirty material, when speed is priority, thick material (slow)
Stick Welding Pros and Cons
Stick Advantages:
- ✅ Wind proof (works in 35+ mph wind)
- ✅ Most portable (lightweight inverters, no gas cylinder)
- ✅ Handles dirty material (rust, oil, paint don’t stop Stick)
- ✅ Simplest equipment (just machine, cables, electrodes)
- ✅ Cheapest setup cost ($250-450 gets you welding)
- ✅ Lowest consumable costs ($1-3 per pound deposited)
- ✅ Best all-position capability (designed for structural work all positions)
- ✅ Generator friendly (runs on any 3,000W+ generator)
Stick Disadvantages:
- ❌ Cannot weld aluminum (no Stick electrode exists)
- ❌ Cannot weld thin material (<16 gauge burns through)
- ❌ Slowest process except vs. TIG (electrode changes interrupt work)
- ❌ Slag removal required (chip and brush every weld)
- ❌ Roughest appearance (functional but not pretty)
- ❌ Moderate learning curve (harder than MIG, easier than TIG)
- ❌ Arc starting requires technique (scratch or tap start)
- ❌ Damp electrodes cause porosity (storage matters, E7018 needs rod oven)
Best for: Outdoor construction, dirty/rusty material, field repair, thick steel, when portability essential, budget-limited
Worst for: Aluminum, thin material, high-volume production, when appearance critical

Already Chose TIG?
When TIG is the right process but the arc still fights you — dipped tungsten, wander, HAZ tint, pedal lag, or porosity — use TIG Welding Troubleshooting. For starting amps and electrode size, use the TIG Welding Calculator.
id=”faq”>Frequently Asked Questions
What is the easiest welding process to learn?
MIG welding is easiest to learn—beginners lay acceptable beads within hours and weld simple projects within days. MIG’s semi-automatic wire feed eliminates manual filler rod coordination required by TIG, and self-regulating arc length makes it more forgiving than Stick which requires precise arc gap control. Point gun, pull trigger, move steadily produces functional welds, while TIG demands coordinating foot pedal (amperage), manual filler rod (timing/amount), and torch position simultaneously like driving manual transmission. Stick welding falls between MIG and TIG in difficulty—easier than TIG but harder than MIG due to arc length control and electrode management. For absolute beginners wanting fastest productivity, start with MIG. Calculate optimal beginner settings with our MIG Welding Calculator.
Can you weld aluminum with Stick or MIG?
Stick welding CANNOT weld aluminum—no Stick electrode exists for aluminum regardless of amperage or technique. MIG CAN weld aluminum but requires aluminum spool gun ($200-500 additional equipment) because soft aluminum wire jams in standard MIG gun liners. Without spool gun, standard MIG setup cannot feed aluminum wire reliably. TIG welding is the practical aluminum option for hobbyists and professionals—AC TIG machines ($800-1,500 entry level) weld aluminum with superior quality, no special gun needed, and produce clean aesthetic welds. For occasional aluminum: use TIG. For production aluminum: use MIG with spool gun. Never attempt aluminum with Stick. Learn TIG aluminum welding with our TIG Aluminum Guide.
Which welding process is fastest?
MIG welding is fastest—welding 2-5X faster than TIG and approximately 2X faster than Stick on production work. MIG’s automatic wire feed eliminates time spent manually adding filler rod (TIG) or changing electrodes (Stick), producing deposition rates of 6-12 inches per minute on common steel fabrication versus 3-6 inches per minute for Stick and 2-4 inches per minute for TIG. Example: 40-foot steel railing project takes 2.5-3.5 hours with MIG, 6-8 hours with Stick, 11-16 hours with TIG. MIG speed advantage makes it dominant for production fabrication, auto body repair, and any high-volume welding where time equals money. When labor costs $50-100/hour, MIG’s speed saves hundreds of dollars on large projects despite slightly higher consumable costs than Stick.
Which process produces the best looking welds?
TIG welding produces best-looking welds—smooth stack-of-dimes appearance with precise bead width, golden heat tint on stainless steel, and essentially zero spatter. TIG’s foot pedal amperage control and independent filler rod addition allow deliberate, artistic weld appearance impossible with semi-automatic MIG or flux-coated Stick. MIG produces acceptable appearance—consistent ripple pattern with some spatter, suitable for painted fabrication but not show-quality work. Stick produces functional rough welds requiring slag removal and often grinding for aesthetic applications. For visible stainless exhaust, aluminum fabrication, artistic metalwork, or any application where weld IS the product appearance-wise, use TIG. For work being painted or hidden, MIG or Stick acceptable. TIG takes 2-5X longer than MIG but justified when appearance critical.
Can you MIG weld in the wind outdoors?
MIG welding fails in wind above 10-15 mph because wind blows shielding gas away from weld puddle causing porosity (gas pockets weakening weld). Light breeze acceptable with wind protection (welding screens, position body blocking wind, increase gas flow to 25-30 CFH), but moderate wind ruins MIG welds. Solution: use flux-core wire (FCAW – Flux-Cored Arc Welding) which has flux inside tubular wire creating self-shielding like Stick electrode, works in wind up to 25-30 mph, no external gas needed. Flux-core produces more spatter and slag than solid-wire MIG but enables outdoor welding. For windy outdoor work, best options are Stick welding (wind-proof to 35+ mph) or MIG with flux-core wire. Standard MIG with shielding gas limited to indoor or sheltered outdoor locations.
What welding process is best for beginners on a budget?
Stick welding offers lowest entry cost—complete setup $250-450 including machine, helmet, gloves, electrodes versus $550-1,050 for MIG (adding gas cylinder/regulator) or $800-1,500 for TIG. Stick’s simplicity (no wire feed mechanism, no gas system, no complex controls) reduces initial investment and ongoing costs (consumables $1-3 per pound vs. $3-6 MIG or $5-10 TIG). However, MIG’s ease of learning may justify higher cost for beginners prioritizing fast productivity over budget—productive welding projects within hours versus days/weeks with Stick. Budget-limited beginners should start Stick, then add MIG later when budget allows. Avoid starting with TIG unless aluminum welding required—high cost plus difficult learning curve frustrates budget-conscious beginners. Calculate equipment costs with our Welding Cost Calculator.
Which welding process is best for auto body repair?
MIG welding dominates auto body repair—fast welding speed on thin sheet metal (18-20 gauge), lower heat input reduces burn-through risk, and clean welds (no slag) ready for immediate body work/painting. MIG with .023-.030″ wire and proper settings (14-17 volts, 150-250 IPM wire speed) welds body panels, quarter panels, floor pans quickly without excessive distortion. TIG produces prettier welds but takes 3-4X longer than MIG, making it economically impractical for production body shop charging $100-150/hour labor. Stick cannot weld thin auto body metal—minimum practical Stick thickness approximately 1/16″ (16 gauge) while body panels typically 18-22 gauge. All professional auto body shops use MIG for panel welding. Use TIG only for aluminum body panels or show-car quality visible welds. Get proper MIG settings for auto body with our MIG Settings Chart.
Can you weld stainless steel with all three processes?
Yes, all three processes weld stainless steel successfully with correct filler metal and technique. TIG produces best appearance (golden heat tint, clean aesthetic) using ER308L filler for 304 stainless or ER316L for 316 stainless with 100% Argon gas. MIG welds stainless well using ER308L/ER316L wire with 98/2 Argon/Oxygen or tri-mix gas—good quality but not TIG-level appearance, acceptable for food equipment or industrial applications. Stick welds stainless functionally using E308L/E316L electrodes but rough appearance requires grinding for aesthetic applications. For visible stainless exhaust, use TIG. For stainless food equipment framework, MIG acceptable. For stainless structural work being painted, Stick works. Stainless requires back purging (argon inside pipes/tubes) on TIG/MIG for food-grade sanitary applications to prevent backside oxidation. Learn stainless TIG welding with our TIG Stainless Guide.
Which process is best for thick steel structural welding?
Stick welding and MIG both excel at thick structural steel with different advantages. Stick welding dominates outdoor structural work (bridge construction, building steel, pipeline) because wind-proof operation, all-position capability, and portability suit field conditions. E7018 electrodes produce code-quality structural welds meeting AWS D1.1 requirements for buildings, E6010 provides deep penetration for root passes on pipe. MIG faster than Stick for indoor structural fabrication (shop-built trusses, frames, equipment) where wind non-issue and production speed critical—welds 2X faster than Stick with equivalent strength. For 1/4″+ structural steel: outdoor field work = Stick, indoor shop fabrication = MIG. Both produce acceptable structural quality when done correctly. TIG possible but economically impractical due to slow speed unless precision/appearance justifies time. Calculate settings for thick steel with our Welding Amperage Chart.
Do you need different shielding gas for MIG vs TIG?
Yes, MIG and TIG use different shielding gases for optimal results. MIG steel welding typically uses 75/25 Argon/CO2 mix (common) or 90/10 Argon/CO2 (less spatter, more expensive)—straight CO2 works but produces excessive spatter. MIG aluminum requires 100% Argon. MIG stainless uses 98/2 Argon/Oxygen or tri-mix (Argon/CO2/Oxygen blend). TIG welding uses 100% Argon for nearly all applications (steel, stainless, aluminum)—pure Argon provides superior arc stability and gas coverage for TIG’s precise control requirements. Cannot share gases between processes effectively: using MIG gas (75/25) for TIG produces inferior arc quality and contamination, using TIG gas (100% Argon) for MIG steel welding creates cold weld with lack of fusion. Budget for separate cylinders if running both MIG and TIG, or use 100% Argon for both accepting slightly sub-optimal MIG steel performance. Calculate proper gas usage with our Gas Flow Rate Calculator and Gas Cost Calculator.
Which welding process should I buy first for a home shop?
Buy MIG first for general-purpose home shop welding—fastest learning curve, versatile material capability (steel, stainless, aluminum with spool gun), and productive on common projects (equipment repair, fabrication, auto work). MIG’s ease of use prevents beginner frustration, enabling actual project completion versus weeks practicing before productive. Exception: buy TIG first if aluminum welding is primary goal (bicycle frames, boat repair, RV work) since TIG only practical aluminum option for hobbyists. Buy Stick first only if budget extremely limited (<$500) or outdoor/farm work dominates and portability essential. Ideal home shop progression: (1) Start MIG for versatility and fast learning, (2) Add Stick later for outdoor/dirty work portability, (3) Add TIG last for aluminum and precision work after developing welding fundamentals with MIG. Buying TIG first common beginner mistake—difficult learning curve plus high cost frustrates newcomers before experiencing welding success.
Conclusion: Match Process to Project for Success
Choosing between MIG, TIG, and Stick welding isn’t about finding “the best” process—it’s about matching process capabilities to project requirements, because the same process that excels on one job fails miserably on another. MIG welding dominates when speed matters and material is clean (production fabrication, auto body, indoor shop work), welding 2-5X faster than TIG and 2X faster than Stick with good quality and easy learning curve making it ideal general-purpose process for beginners and production shops. TIG welding wins when appearance and precision are critical (aluminum fabrication, stainless exhaust, artistic metalwork, thin material) despite slow speed and difficult learning curve, because no other process produces comparable aesthetic quality or handles aluminum effectively for hobbyists. Stick welding excels in harsh conditions where other processes fail (outdoor construction, dirty/rusty material, remote field work) thanks to wind-proof self-shielding, extreme portability, and dirty-material tolerance, making it the workhorse of structural steel and repair welding despite rough appearance and slag removal requirements.
Key decision factors eliminating process options:
- Aluminum welding requires TIG (or MIG with spool gun)—Stick cannot weld aluminum under any circumstances
- Outdoor windy conditions eliminate TIG and standard MIG—only Stick or flux-core MIG work reliably in wind above 10-15 mph
- Very thin material (<18 gauge) makes TIG best option—MIG and Stick risk burn-through on sheet metal
- High-volume production work demands MIG—labor costs at $50-100/hour make TIG’s slow speed economically impractical except when quality justifies time
- Budget under $500 limits choice to Stick—MIG and TIG equipment costs exceed budget-limited beginners’ capabilities
Professional welders own multiple processes and select based on job requirements rather than personal preference—using MIG for shop fabrication and production, Stick for outdoor structural and field repair, TIG for aluminum and precision work requiring show-quality appearance. Hobbyists should start with process matching their primary application (MIG for general fabrication, TIG for aluminum, Stick for outdoor/budget work), then add additional processes as skills and budget grow rather than expecting one process to handle everything optimally.
Compare welding processes and get optimal settings:
- MIG Welding Calculator – Voltage and wire speed for any material
- TIG Welding Calculator – Amperage settings for steel, stainless, aluminum
- Stick Welding Calculator – Rod size and amperage by thickness
- Welding Cost Calculator – Compare total costs including labor
- MIG Settings Chart – Complete MIG reference guide
- TIG Settings Guide – TIG machine setup and technique
- Welding Amperage Chart – All processes by material and thickness
Questions about which welding process to use for your project? Drop a comment below or reach out—we’re here to help you make the right choice!