
If you’ve ever stood in front of a shelf full of welding rods wondering which one to grab, you’re not alone. I’ve been there—staring at numbers like 6010, 7018, and 6013, trying to figure out what the hell they all mean.
Here’s the thing: stick welding rods aren’t complicated once you know the system. The numbers tell you everything you need to know about tensile strength, position, and coating type. And once you understand that, picking the right rod becomes second nature.
I’m going to walk you through the most common stick welding rods, when to use them, and the amperage settings that actually work in the shop. No textbook theory—just practical stuff that’ll help you grab the right rod and get welding.
Understanding Stick Welding Rod Numbers
Every stick electrode has a four or five-digit number stamped on it. Let’s use 7018 as an example since it’s the most common rod you’ll use.
The first two digits (70) tell you the tensile strength—70,000 PSI in this case. The third digit (1) tells you what positions you can weld in. The last digit (8) describes the coating type and current compatibility.
For the position number, here’s what matters: 1 means all positions (flat, horizontal, vertical, overhead). 2 means flat and horizontal only. So a 7018 works everywhere, but a 7024 is limited to flat and horizontal.
The last digit gets into coating chemistry and whether you can run AC or DC. We’ll break that down for each rod, but just know that’s what those numbers mean. Once you see the pattern, it clicks pretty fast.
The Essential Stick Welding Rod Chart
Let me give you the rods that actually matter in most shops. There are dozens of electrodes out there, but these six cover 90% of what you’ll ever need to weld.
| Rod Type | Positions | Current | Best For |
|---|---|---|---|
| 6010 | All | DC+ only | Dirty metal, deep penetration, pipe |
| 6011 | All | AC or DC | Same as 6010, but works on AC machines |
| 6013 | All | AC or DC | Sheet metal, light fabrication, beginners |
| 7018 | All | AC or DC | Structural steel, code work, clean metal |
| 7024 | Flat, Horizontal | AC or DC | High-speed flat welds, production work |
| 309/316 | All | DC+ usually | Stainless steel applications |
Want to dial in your exact settings? Use the Stick Welding Calculator to get amperage recommendations based on your rod diameter and position.

6010 and 6011 Rods: The Workhorses for Dirty Metal
These are your go-to rods when you’re dealing with rusty, painted, or otherwise nasty metal. The 6010 and 6011 have a cellulose coating that burns hot and fast, giving you deep penetration and the ability to punch through surface contamination.
I reach for these on pipe work, farm repairs, and any time I’m welding metal that isn’t pristine. They dig in deep, which is exactly what you want when you can’t guarantee clean base metal.
The difference? 6010 runs DC+ (DCEP) only. That’s direct current with the electrode positive. If you’ve got an AC-only buzz box in your garage, you need 6011 instead—it’ll run on AC or DC.
Both rods are all-position capable, but they’re spitty and aggressive. The arc is forceful, the slag comes off in chunks, and you’re not winning any beauty contests with the bead appearance. But when you need penetration and you’re working on junk metal, these rods get it done.
6010/6011 Amperage Settings by Rod Diameter
| Rod Diameter | Amperage Range (6010) | Amperage Range (6011) |
|---|---|---|
| 1/16″ | 20-40 amps | 25-45 amps |
| 3/32″ | 40-80 amps | 45-85 amps |
| 1/8″ | 75-125 amps | 80-130 amps |
| 5/32″ | 110-165 amps | 115-170 amps |
| 3/16″ | 140-200 amps | 150-210 amps |
Start on the lower end for vertical and overhead work. Bump it up for flat and horizontal. And if you’re welding pipe root passes, you’ll dial in somewhere in the middle of that range depending on your gap and fit-up.
7018 Rod: The Structural Steel Standard
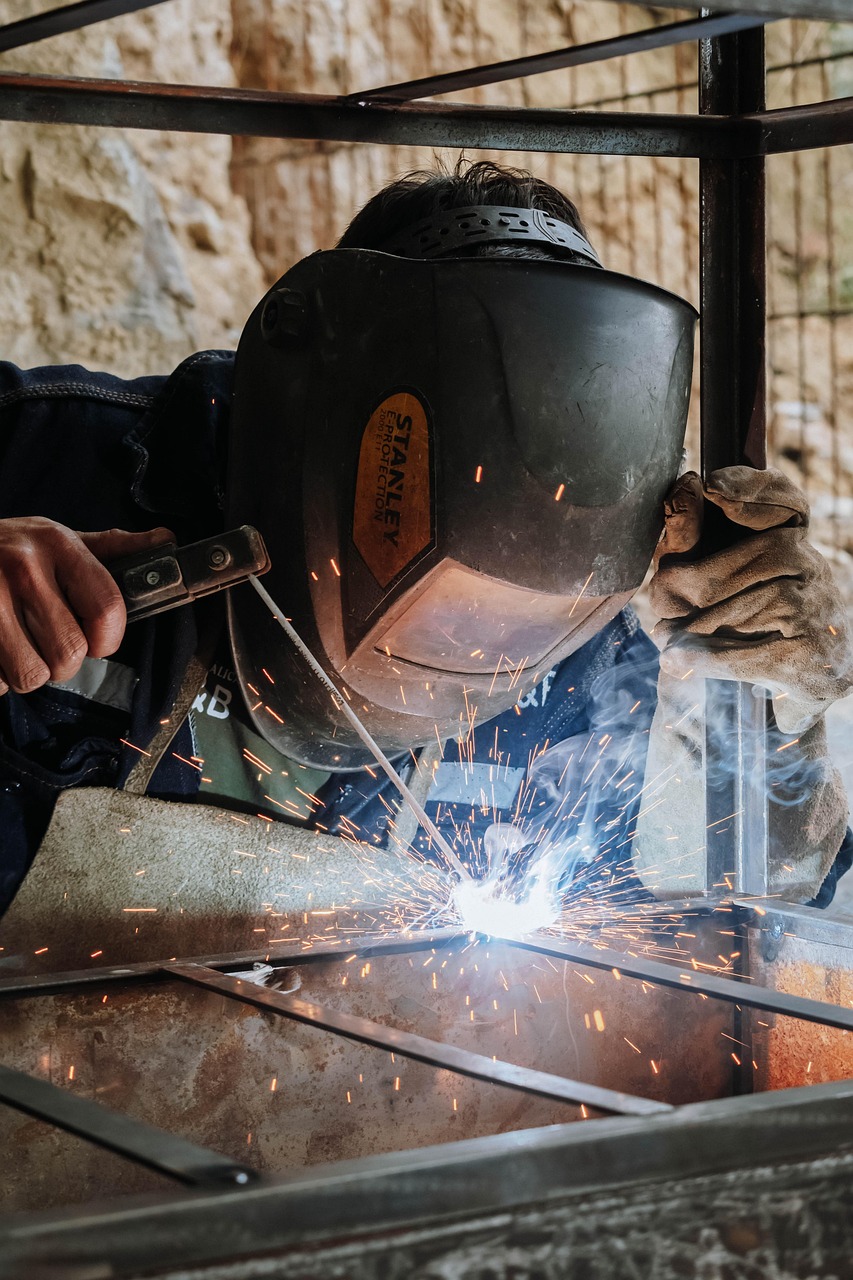
If 6010 is the workhorse for dirty metal, 7018 is the workhorse for clean structural work. This is your code rod—the one you’ll use for anything that needs to meet AWS D1.1 or similar structural welding codes.
The 7018 has a low-hydrogen coating, which means it produces cleaner welds with less hydrogen-induced cracking risk. That’s critical on thick steel, high-strength steel, or anything that’s going to see stress cycles.
The arc is smooth, the slag peels off beautifully, and the bead looks professional. It’s also easier to run than 6010—less spatter, less aggression, more control. That’s why it’s the rod most welding schools teach first.
But here’s the catch: 7018 rods are moisture-sensitive. That low-hydrogen coating absorbs water from the air like a sponge. Leave a pack of 7018 sitting open overnight, and you’ve just ruined them. You need to store these in a rod oven or at least a sealed container with desiccant packs.
Use the Stick Welding Calculator to figure out your exact amperage based on rod size, position, and joint type. It’ll save you from starting too hot or too cold.
7018 Amperage Settings by Rod Diameter
| Rod Diameter | Amperage Range (Flat) | Amperage Range (Vertical/Overhead) |
|---|---|---|
| 1/16″ | 20-40 amps | 20-35 amps |
| 3/32″ | 60-90 amps | 50-80 amps |
| 1/8″ | 90-140 amps | 80-125 amps |
| 5/32″ | 125-185 amps | 115-165 amps |
| 3/16″ | 170-250 amps | 150-220 amps |
For vertical uphill, I usually drop the amperage about 10-15 amps from flat settings and use a slight side-to-side weave. For overhead, go even a bit lower and keep a tight arc length. The puddle should be controllable without sagging.
6013 Rod: The General Purpose and Beginner-Friendly Option
The 6013 is what I’d call the “easy mode” stick rod. It’s got a softer arc than 6010, it’s not as picky as 7018, and it works on thin material without blowing through as easily.
This rod is popular for light fabrication, sheet metal work, and honestly, just learning to stick weld. The arc starts easy, it’s stable, and you get decent results even if your technique isn’t perfect yet.
The 6013 runs on AC or DC, so it works with any machine. The coating produces a light, fluffy slag that chips off without much effort. And unlike 7018, you don’t need to baby it with a rod oven—it’s pretty forgiving about moisture exposure.
Where does it fall short? Penetration isn’t as deep as 6010, and it’s not approved for most structural code work. It’s great for general shop repairs, automotive work, and maintenance welding. But if you’re building something critical, you want 7018.
6013 Amperage Settings
| Rod Diameter | Amperage Range |
|---|---|
| 1/16″ | 20-40 amps |
| 3/32″ | 40-80 amps |
| 1/8″ | 80-130 amps |
| 5/32″ | 105-180 amps |
| 3/16″ | 150-230 amps |
If you’re learning stick welding, grab some 1/8″ 6013 rods and set your machine around 90 amps. Practice flat beads until you get the feel for arc length and travel speed. Once you’re comfortable, switch to 7018 for the rods you’ll actually use on real jobs.
7024 Rod: Fast-Fill Flat Welding
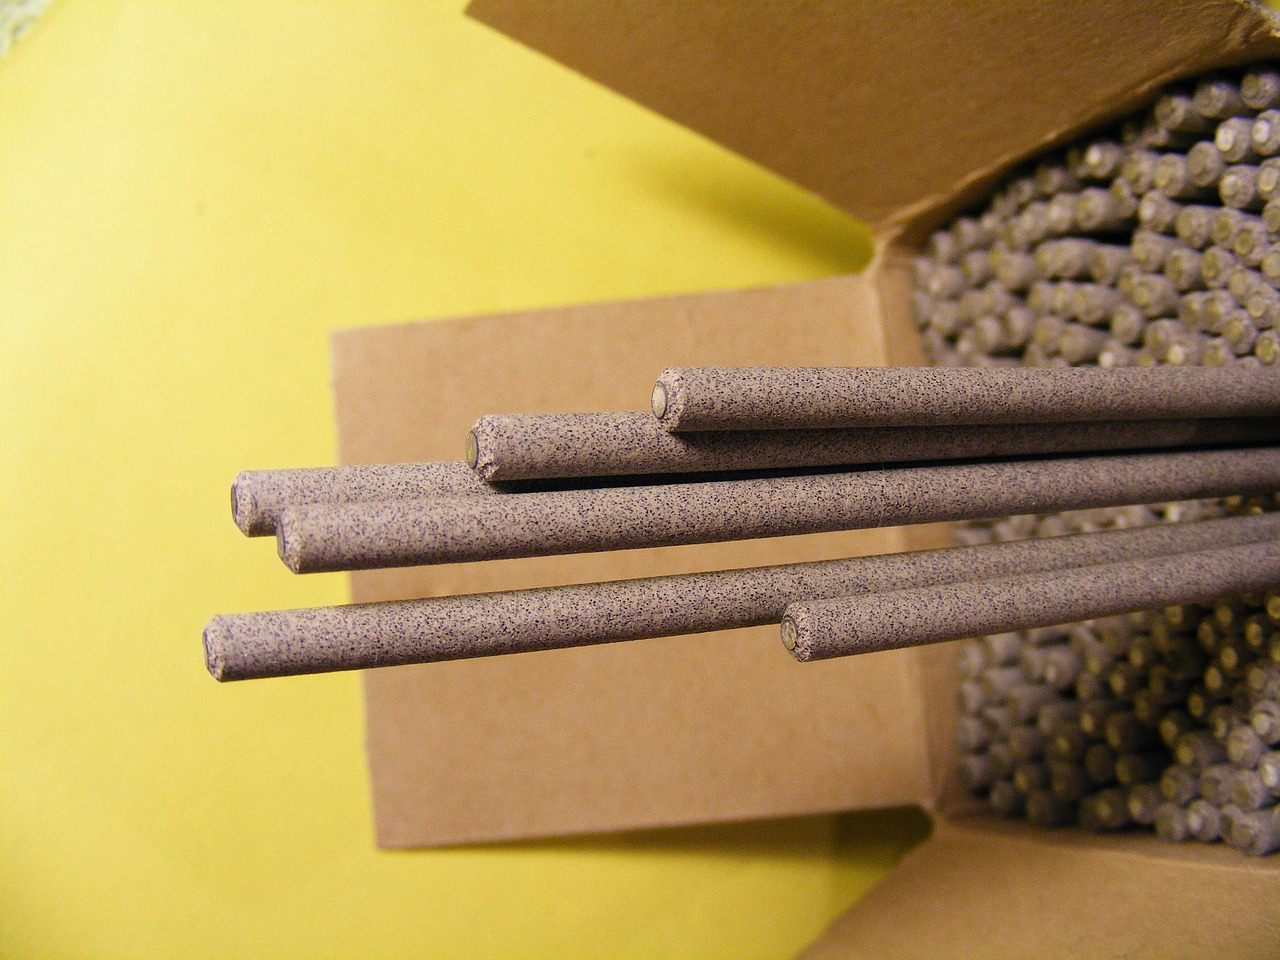
The 7024 is a specialist. It’s designed for one thing: laying down fast, heavy beads in flat and horizontal positions. This is a production rod—you use it when you need to move metal quickly.
The coating on a 7024 is thick and powdery. It creates a ton of slag, but that slag supports the puddle and lets you run high amperage without the weld sagging or running. You can drag this rod, meaning the coating touches the work and acts as a guide for consistent arc length.
I don’t reach for 7024 often, but when I’m running long flat welds on thicker material and speed matters, it’s hard to beat. You can lay down three passes with a 7024 in the time it takes to run five passes with 7018.
The catch? It only works flat and horizontal. Try to run a 7024 vertical, and you’re going to make a mess. The puddle is too fluid and the slag is too heavy. Stick to what it’s designed for, and it’s excellent. Use it out of position, and you’ll hate it.
7024 Amperage Settings
| Rod Diameter | Amperage Range (Flat/Horizontal Only) |
|---|---|
| 1/8″ | 110-160 amps |
| 5/32″ | 150-230 amps |
| 3/16″ | 200-320 amps |
Stainless Steel Rods: 309 and 316
When you’re welding stainless steel, you need stainless filler metal. The two most common stick rods are 309 and 316.
The 309 is your dissimilar metal rod. Use it when you’re joining stainless to mild steel, or when you’re not sure exactly what grade of stainless you’re welding. It’s got higher chromium and nickel content than 308, which makes it more forgiving on mixed materials.
The 316 is for 316 stainless specifically—the kind with molybdenum added for corrosion resistance. If you’re welding food-grade equipment, marine applications, or pharmaceutical gear, you probably want 316 filler metal to match.
Both rods typically run DC+ (DCEP), though some formulations work on AC. Amperage is similar to 7018 for the same diameter. The key difference is travel speed—stainless has lower thermal conductivity than carbon steel, so the puddle heats up faster. You need to move quicker to avoid warping and overheating.
Check out the Welding Calculators and Tools page for more resources on dialing in settings across different processes and materials.

Rod Storage: Why It Actually Matters
Let me tell you what I learned the hard way about rod storage. I used to throw electrodes in a bucket and grab whatever I needed. Then I started getting porosity on 7018 welds, and I couldn’t figure out why.
Turns out, low-hydrogen rods like 7018 absorb moisture from the air. Once they’re wet, they’re compromised. When you strike an arc with damp 7018, that moisture turns to steam in the weld pool. Steam is hydrogen. Hydrogen causes cracking. It’s a bad cycle.
The solution? Store 7018 and other low-hydrogen rods in a rod oven set to 250-300°F. If you don’t have an oven, at least keep them in a sealed container with desiccant packs. And if you leave a pack of 7018 out in the shop for more than a few hours, don’t use them on critical work.
The cellulose rods (6010, 6011) and rutile rods (6013) are way less picky. They can handle some moisture without falling apart. But even those will weld better if you keep them dry.
If you’re doing code work, there are exposure time limits in the welding procedures. Follow them. Inspectors care about this stuff, and for good reason—hydrogen cracking can cause failures months or years after you walk away from the job.
How to Pick the Right Rod for Your Project
Choosing the right stick rod comes down to four things: what you’re welding, how clean it is, what position you’re working in, and whether there’s a code requirement.
Start with the material. Mild steel? You’re looking at 6010, 6011, 6013, 7018, or 7024. Stainless? Grab 309 or 316. Cast iron? That’s a different conversation (and probably a different article).
Next, look at the metal condition. If it’s rusty, painted, or greasy, reach for 6010 or 6011. They’ll burn through contamination. If it’s clean, 7018 will give you better results with less spatter and cleaner beads.
Check your position. All-position rods (6010, 6011, 6013, 7018) work everywhere. But if you’re only welding flat and horizontal, 7024 might be faster. Just don’t try to take it vertical—you’ll regret it.
Finally, check for code requirements. If you’re working under AWS D1.1 or another structural code, you’re probably locked into 7018 or an approved equivalent. Don’t substitute unless you know it’s allowed. Code work isn’t the place to get creative with rod selection.
When in doubt, 7018 is the safe bet for structural stuff and 6010 is the safe bet for dirty metal. Those two rods cover most situations you’ll run into.
Need help calculating heat input for your weld? Use the Heat Input Calculator to make sure you’re staying within procedure limits.
Common Mistakes with Stick Rod Selection
The biggest mistake I see? Using 7018 on dirty metal. People grab 7018 because it’s the “professional” rod, then wonder why they’re getting porosity and inclusion defects. If the metal isn’t clean, 7018 won’t magically make up for it. Use 6010 or clean the metal first.
Second mistake: running rods out of position. Just because a rod is rated for all positions doesn’t mean it’s ideal in every position. A 3/16″ 6010 will technically run overhead, but it’s miserable. Drop down to 1/8″ or 5/32″ and your life gets a lot easier.
Third mistake: ignoring amperage settings. Too many people set the machine once and never touch it again. Your amperage needs change based on rod diameter, position, joint design, and even the specific batch of electrodes. Don’t be afraid to turn the dial.
Fourth mistake: using wet 7018. I mentioned this already, but it’s worth repeating. Moisture-damaged low-hydrogen rods will fail inspection and can cause cracks. Store them properly or don’t run them on anything that matters.
Last mistake: not practicing. Stick welding looks easy until you try it. The only way to get comfortable with different rods is to burn through them. Buy a variety pack, grab some scrap metal, and spend an afternoon just running beads. You’ll learn more in three hours of practice than three months of reading.
What About Amperage Adjustments for Different Situations?
The amperage charts I gave you are starting points. Real-world welding requires adjustments based on what you’re seeing in the puddle.
If your rod is sticking constantly, bump up the amperage. If the puddle is running ahead of the arc and dripping, turn it down. If you’re getting undercut on the edges of the bead, you might be too hot or traveling too fast.
For vertical uphill, drop your amperage 10-20% from flat settings. You need less heat because gravity is working against you and the puddle needs to stay thick. For overhead, drop another 5-10% from vertical. You want the puddle barely liquid enough to flow, not so hot it wants to fall.
Material thickness matters too. Thin material (1/8″ and under) needs lower amperage to avoid blow-through. Thick material (1/2″ and up) needs higher amperage for proper penetration. Don’t try to weld 1/2″ plate with 90 amps just because that’s what the chart says for a 1/8″ rod. Bump it up.
And here’s something a lot of people miss: travel speed and amperage are connected. If you’re moving fast, you can run hotter without overheating the base metal. If you’re moving slow, you need to dial back the heat or you’ll burn through.
The Stick Welding Calculator accounts for these variables and gives you a more refined starting point than generic charts. But even with a calculator, you still need to watch the puddle and make adjustments.
Quick Reference: When to Use Each Rod
Here’s the quick decision tree I use in the shop:
Metal is rusty, painted, or dirty: Use 6010 (DC machine) or 6011 (AC machine). These rods dig through contamination.
Clean structural steel, code work: Use 7018. This is your all-around professional rod for quality work.
Learning to stick weld: Start with 6013. It’s forgiving and easy to control.
Fast flat welds on thick material: Use 7024. You’ll move way faster than with all-position rods.
Stainless steel to stainless: Use 308 or 316 matching the base metal grade.
Stainless to mild steel: Use 309. It handles the dissimilar metals without issues.
Pipe root passes: Use 6010. The deep penetration and keyhole control are perfect for open root work.
Pipe fill and cap passes: Use 7018. You get smooth beads and consistent results.
That covers 95% of what you’ll run into. For specialty applications like cast iron, hard surfacing, or exotic alloys, there are specific rods designed for those jobs. But for general fabrication and structural work, the rods on this list are all you need.
Selected the rod and the bead still fails? Diagnose sticking, spatter, porosity, undercut, and burn-through with Stick Welding Rod Troubleshooting. For machine settings after selection, see the Stick Welding Settings Guide.
Final Thoughts on Stick Rod Selection
Look, stick welding isn’t rocket science. Once you understand what the numbers mean and you’ve spent some time with the main rod types, it becomes intuitive. You stop overthinking it and just grab the rod that makes sense for the job.
The key is matching the rod to the situation. Clean metal gets 7018. Dirty metal gets 6010 or 6011. Production flat welds get 7024. Everything else, you improvise based on what you’ve learned.
And remember: the charts and calculators give you starting points. Your eyes and the sound of the arc tell you what adjustments to make from there. Don’t be afraid to turn the dial until it feels right.
If you want to dial in your settings before you strike an arc, check out the Stick Welding Calculator for recommendations based on your specific setup. And for more welding resources, visit the Welding Calculators and Tools page.
Now get out there and burn some rods. That’s how you actually learn this stuff.
Disclaimer: Always follow manufacturer recommendations, welding procedures, and safety protocols. This guide is for educational purposes. For critical applications, consult qualified welding engineers and follow applicable codes. See our full disclaimer.
After you pick the rod: Use the Stick Welding Settings Guide for amperage logic, dig/arc-force, and on-the-job tuning — then dial numbers with the Stick Welding Calculator.
Welding
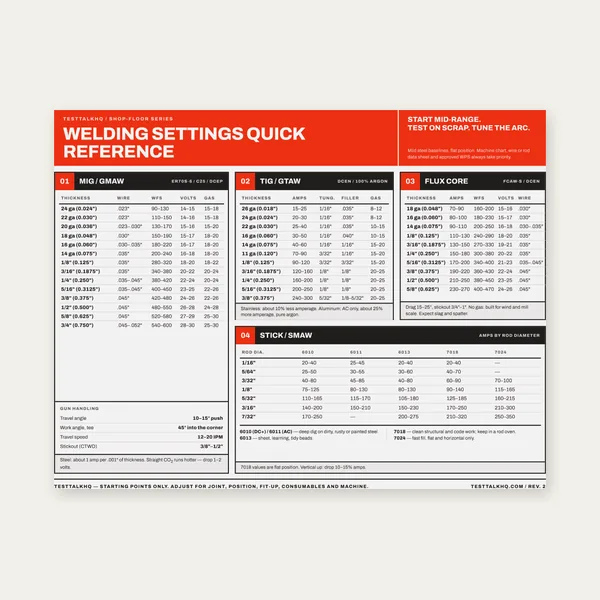
Welding Reference Card
One page. MIG, TIG, stick and flux core settings by thickness.
$3.99
Buy
Complete Welding Settings Guide
19 pages. Four processes, stainless and aluminum, symbols and inspection.
$12.99
Buy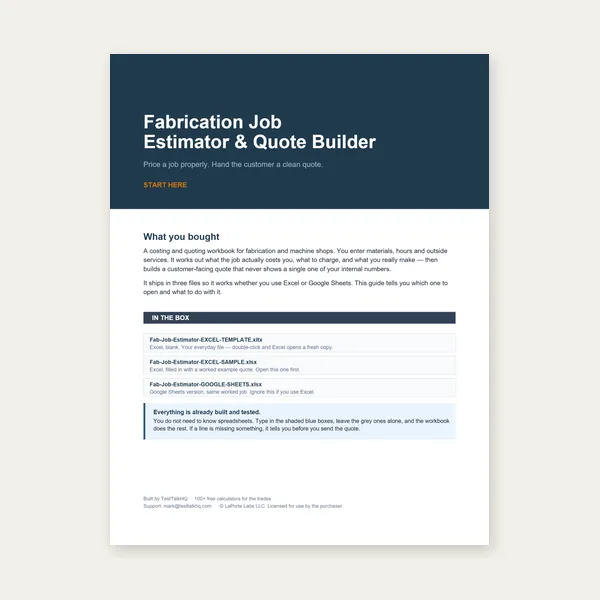
Welding Job Estimator
Price the job, then hand over a quote with no internal numbers.
Excel or Google Sheets. Best on a computer.
$29.00
Buy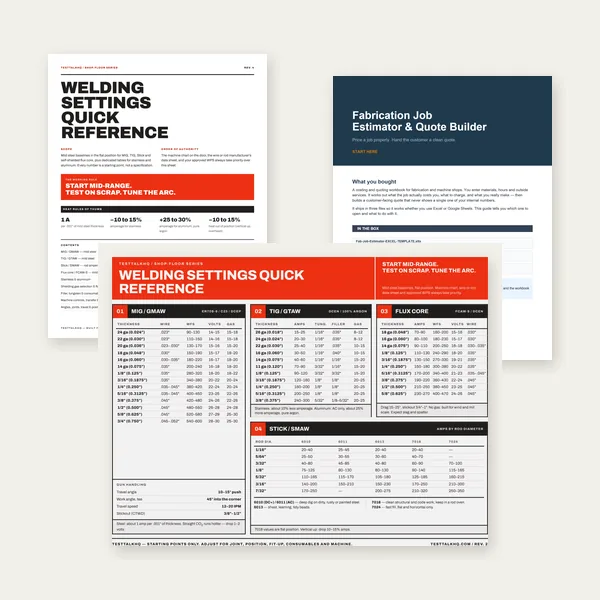
Welding Complete Bundle
Card, 19-page guide and the estimator workbook. All six files.
Excel or Google Sheets. Best on a computer.
$34.99
$45.98 if bought separately — save $10.99
BuyCheckout opens in a new tab.