
Rod charts tell you which electrode to grab. Amperage charts give a thickness band. The stick calculator turns electrode type, diameter, and position into a working amp range, polarity, dig recommendation, and optional rod count — then you still have to run the puddle. This guide covers that math, arc technique, and the field adjustments charts leave out.
Pick the rod, then set the machine Use the rod chart to choose electrode family, the calculator for amps and dig, and the amperage chart when you want a quick thickness cross-check.
What the Calculator Actually Does
The Stick Welding Calculator starts from a base amperage per 1/32" of electrode diameter that depends on electrode family, then scales for position (and optionally joint type).
Core formula
Optimal amps ≈ baseAmp × (diameter_inches × 32) × position_factor
Diameter in inches × 32 converts to “thirty-seconds” — so 1/8" (0.125) → 4 → four increments of the rod’s base amp. Examples of stored baseAmp values: E6013 ≈ 35 A per 1/32", E7018/E6010/E6011 ≈ 40, E7024 ≈ 45, stainless E308/309/316 ≈ 35.
Range shown: about 85%–115% of that optimal value — a practical window to start low and walk up, matching how most electrode manufacturers publish ranges.
Old-school rule of thumb for many rods is ~1 amp per thousandth of diameter (1/8" → ~125 A). The calculator’s baseAmp × 32 path is that rule, tuned per electrode family — then derated for position.
Position factors
| Position | Factor | Why |
|---|---|---|
| Flat | 1.00 | Full baseline heat |
| Horizontal | 0.95 | Slightly cooler to control sag |
| Vertical-up | 0.85 | Puddle must freeze behind the rod |
| Overhead | 0.80 | Gravity; smaller puddle, faster freeze |
| Vertical-down | 0.75 | Thin sheet / light pass — not structural root practice on heavy plate |
Advanced joint bias
Fillet ≈ ×1.05, lap ≈ ×1.03, corner ≈ ×0.97. Fillet legs drink heat; corners on thin stock burn through easier. These are small nudges — fit-up and technique still dominate.
Polarity and dig (arc force)
Each electrode carries a default polarity string (e.g. E7018 DCEP or AC, E6010 DCEP only). Dig/arc-force recommendation is heuristic:
- Cellulosic (6010/6011) — higher dig baseline (~65%) for deep dig and open-root keyhole control
- Low-hydrogen / stainless (7018, 308/309/316) — lower dig (~30%) for a smoother arc
- Others — mid dig (~40%)
Overhead and vertical-up add dig; flat subtracts a little; vertical-down subtracts more. You can override dig in Advanced when your machine’s arc-force dial is labeled differently — treat the % as a starting zone, then tune until the rod stops sticking without blowing holes.
Heat input and rod estimates
With travel speed entered: HI = (A × V × 60) ÷ (IPM × 1000) using optimal amps and a typical arc voltage for that rod family — same ASME-style path as the Heat Input Calculator.
Optional weld length × passes estimates rod count from usable length (~80% of 14" or 18" stick), rough travel IPM by position, and a simple weight model. Use it for staging boxes of rod — not for certified consumable logging.
How This Pairs With the Rod Chart and Amperage Chart
Three different jobs:
- Stick rod chart — which electrode (6010 vs 7018 vs 7024, positions allowed, penetration character).
- Stick calculator — amps, polarity, dig, deposition ballpark for the rod you already chose.
- Welding amperage chart — thickness-oriented cross-process sanity check when you are still sizing the heat for the plate.
Do not expect the rod chart’s “typical amp” footnote and the calculator’s optimal amp to match to the amp — manufacturers publish wide ranges, and position derate is applied only on the calculator path.
How to Apply Results on the Job
- Select the rod for the job — code, position, base metal condition, and whether you need low-hydrogen. Chart first.
- Dry and store correctly — 7018 and other low-hy rods need oven storage; cellulosic rods are often used from the can but still hate soaking rain.
- Set polarity to what the package and calculator agree on before you chase amps.
- Start at the low end of the range on unfamiliar machines; increase until the arc is crisp and the rod stops sticking.
- Set dig/arc force near the recommendation, then trim: more dig if the rod snuffs into the puddle; less if you are blowing holes or spraying slag.
- Arc length ≈ electrode diameter — long arcs raise voltage, increase spatter, and undercut; short arcs are quieter and dig better.
Technique judgment (not in the amp formula)
- E7018 — drag or very slight drag; tight arc; do not whip like 6010. Pause briefly at toes on weaves.
- E6010/6011 — open root: whip or step to control keyhole. Fill passes can use a slight weave. 6011 when you only have AC.
- E6013 — easy restrikes; medium dig; good for sheet and farm repair — not the first choice for critical structural roots.
- E7024 — flat/horizontal only; high iron powder; drag and let the flux cone guide you. Calculator will still give vertical numbers if you ask — the rod chart’s position limit wins.
- Vertical-up — smaller puddle, side-to-side with pauses at edges; amps already derated — do not add a huge weave that overheats the center.
- Overhead — faster travel, shorter arc, often step down a diameter; keep the puddle small so it freezes in place.
Many stick machines have optimistic panel markings. If the bead says cold but the dial matches the calculator, verify with a clamp meter on the electrode lead — then mark your own “true” dial positions on the machine.
Electrode Choice vs Settings — Keep Them Separate
Wrong rod with perfect amps still fails. Right rod with wrong amps fails differently. Use the rod selection chart for:
- Tensile class (60 vs 70 ksi) and low-hydrogen requirements
- Position limits (especially 7024 and some iron-powder rods)
- Penetration style (cellulosic dig vs rutile ease vs basic low-hy)
- AC vs DC machine constraints
Then lock diameter: thicker rod → higher amps and higher minimum plate thickness. Running 3/16" on thin gauge because “deposition is higher” is how you blow holes — step diameter down before you dump amps.
Common Mistakes
- Using flat amps overhead — skip the position factor and the puddle falls in your cuff.
- Long arc to “see better” — undercut, porosity risk, and a louder unstable arc.
- Wet 7018 — porosity and hydrogen cracking risk; bake/store per manufacturer.
- Wrong polarity — rod sticks, arc wanders, or penetration disappears. Check the stub stamp and lead hookup.
- Whipping 7018 like 6010 — slag inclusions and ropey beads.
- 7024 out of position — slag and metal drop; pick an all-position rod.
- Grinding a “perfect” amp from the internet while fit-up is 1/8" open — fix the gap or change joint prep; amps cannot replace fit-up.
- Ignoring ground clamp quality — intermittent arc that feels like “machine problems.”
Troubleshooting
| Symptom | Likely cause | What to do |
|---|---|---|
| Rod sticks constantly | Amps low, dig low, long arc, wrong polarity | +10–15 A; raise dig; shorten arc; verify DCEP/AC |
| Excess spatter | Amps high, long arc; normal-ish on 6010 | Lower A slightly; tighten arc; accept some on cellulosic |
| Porosity | Moisture (7018), paint/oil, long arc, wind on open root | Dry rods; clean; shorter arc |
| Undercut | Travel fast, amps high, long arc on edges | Slow down; pause at toes; drop A |
| Slag inclusions | Poor cleaning between passes, wrong manipulation | Chip/brush every pass; tighten technique |
| Arc wanders | Magnetism (arc blow), bad ground, wrong polarity | Move ground; weld toward/away from clamp; AC if allowed |
| Cold lap / lack of fusion | Amps low, travel fast, dirty plate | Raise A; slow down; grind to bright metal |
Arc blow on DC in corners is a real-world problem no chart lists: try repositioning the ground, changing weld direction, shortening the arc, or switching to AC when the electrode allows (6011/7018 AC-rated).
Frequently Asked Questions
Is “1 amp per thousandth of rod diameter” accurate?
It is a solid flat-position starting rule for many carbon-steel electrodes. The calculator refines it with per-rod baseAmp and position derate. Always finish by reading the puddle.
Should I match the manufacturer’s amp range or the calculator?
Stay inside the manufacturer’s printed range on the tube. Use the calculator’s optimal value as the center of your first coupon, then adjust within that printed range.
Why does vertical-down use such low amps in the calculator?
Vertical-down is for thin material and light passes with appropriate rods. It is not a substitute for vertical-up on structural thickness. If you are welding heavy plate uphill, pick vertical-up — not the vertical-down factor.
How do I set dig if my machine only says “arc force” 0–100?
Use the calculator’s percent as a starting zone (e.g. ~30 for 7018, ~65 for 6010). Increase until sticking stops; decrease if you are excavating craters or punching through.
Where do thickness-based stick amps live?
When you are thinking in plate thickness rather than rod diameter, cross-check the welding amperage chart and the welding amperage calculator — then confirm the rod diameter can carry that current.
Rod first, amps second Chart for electrode choice — calculator for machine settings.
WeldKit — Welding Calculators for the Shop
Stick amps, MIG/TIG settings, heat input, duty cycle, and more. Free on Android. Works offline on the job.
Related Calculators & Guides
Welding
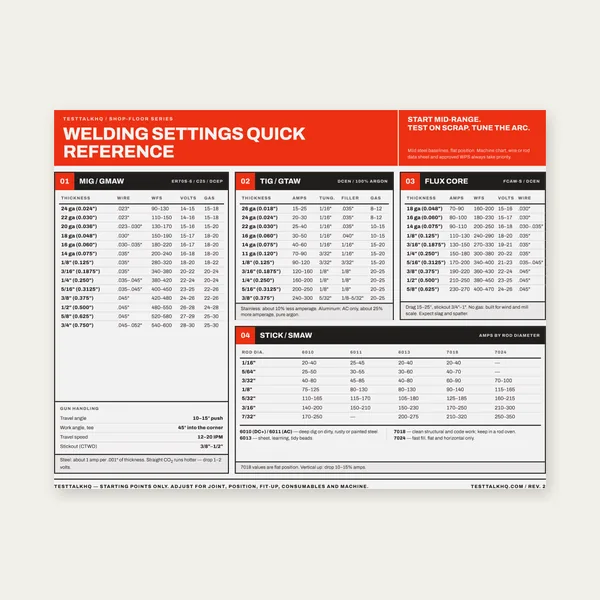
Welding Reference Card
One page. MIG, TIG, stick and flux core settings by thickness.
$3.99
Buy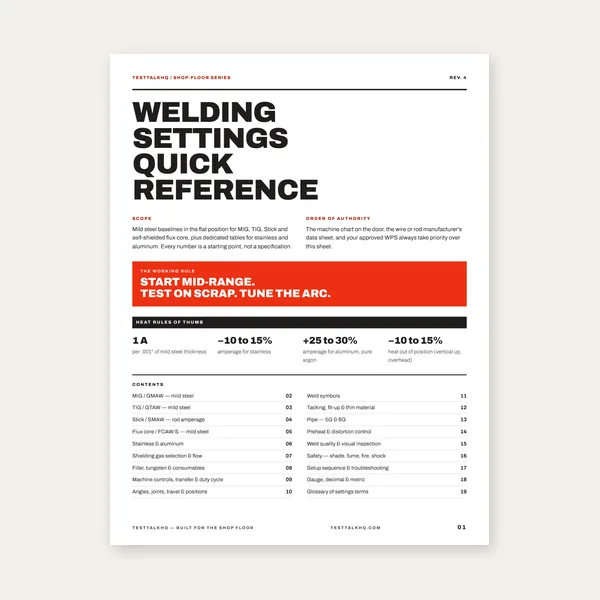
Complete Welding Settings Guide
19 pages. Four processes, stainless and aluminum, symbols and inspection.
$12.99
Buy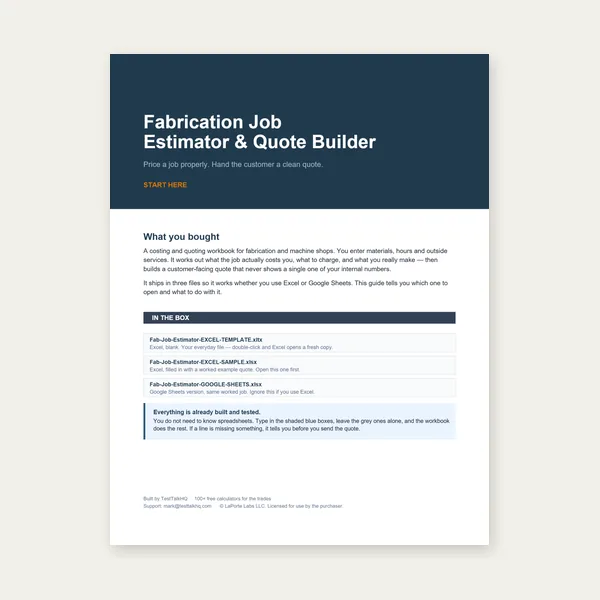
Welding Job Estimator
Price the job, then hand over a quote with no internal numbers.
Excel or Google Sheets. Best on a computer.
$29.00
Buy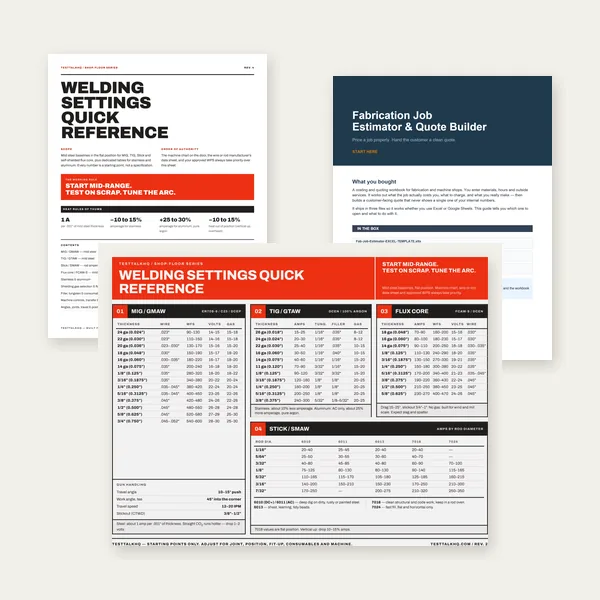
Welding Complete Bundle
Card, 19-page guide and the estimator workbook. All six files.
Excel or Google Sheets. Best on a computer.
$34.99
$45.98 if bought separately — save $10.99
BuyCheckout opens in a new tab.