TIG welding settings confuse the hell out of most people. You’ve got amperage, balance, frequency, post-flow, tungsten size, cup size, gas flow—and every machine seems to display them differently. Some show exact numbers, others just have dials from 1-10. It’s frustrating.
Here’s the thing: TIG settings aren’t rocket science once you understand what each one actually DOES. And despite what some people will tell you, you don’t need a $10,000 machine to make good welds. You just need to know how to set up what you’ve got.
This guide breaks down TIG settings the way we actually use them in the shop—real-world numbers, not textbook theory. Whether you’re welding aluminum, stainless, or mild steel, this will get you dialed in.
For a deeper dive into aluminum-specific TIG welding including advanced AC balance and frequency tuning, check out our complete TIG aluminum welding guide.
First Things First: Torch Polarity (Don’t Screw This Up)
Before we even talk about settings, let’s cover the ONE thing that’s the same on every TIG machine ever made:
The torch ALWAYS goes in the negative terminal.
Always. Whether you’re welding DC or AC. Steel, stainless, aluminum—doesn’t matter. Torch in negative, ground clamp in positive.
Some machines won’t even let you switch them. The negative port is hardwired for the torch. If that’s your machine, you don’t have to worry about it.
But if you CAN switch them and you put the torch in the positive port? Your tungsten will melt away violently, and your AC balance settings will be backwards. Just don’t do it.
Torch = Negative. Ground = Positive. End of story.
TIG Amperage: The Basic Rule
Here’s the starting point everyone uses:
1 amp per 0.001″ of material thickness (or 40 amps per millimeter)
Examples:
- 1/8″ steel (0.125″) = 125 amps
- 1/4″ aluminum (0.250″) = 250 amps
- 16 gauge stainless (0.060″) = 60 amps
That’s your starting point. You’ll fine-tune from there based on joint type, position, and how hot your specific machine runs.
If You’re Using a Foot Pedal
Here’s where people get confused. Some welders think: “I have a foot pedal, so the amperage setting doesn’t matter—just max it out.”
Wrong.
The foot pedal maxes out at whatever you set on the machine. If you set 200 amps but only need 100, you’re working in the first 50% of pedal travel. Your accuracy sucks because you’re trying to hit a 5-amp sweet spot in a tiny range.
Instead: Set your machine to the MAXIMUM amps you’ll actually need for that weld. If you need 100 amps, set the machine to 100-120. Now you’re using the full pedal range, and you have way more control.
Think of it like this: Would you rather hit a 5-amp target that’s THIS big [wide range] or THIS big [narrow range]? Set your amperage close to what you need, then use the pedal for fine control.
Amperage vs. Heat: The Thing Nobody Tells You
Here’s something that trips up beginners:
More heat doesn’t always mean more amperage.
Heat = amperage × TIME. If you weld at 100 amps for 10 seconds, that’s way more heat than welding at 120 amps for 3 seconds.
We tested this: Two spot welds on 1/8″ steel. First one at 120 amps (recommended), second one at 100 amps (too low). The 100-amp weld was HOTTER because we had to sit there longer waiting for the puddle to form.
Look at the heat-affected zone. The lower-amp weld has way more discoloration, more oxidation, more everything—because we spent more TIME on it.
Bottom line: Set your amperage high enough to weld at a reasonable speed. Too low and you’ll cook the part just by sitting there too long.
TIG Welding Settings by Material
Mild Steel & Chromoly (DCEN – DC Electrode Negative)
| Material Thickness | Amperage | Tungsten Size | Cup Size | Filler Rod |
|---|---|---|---|---|
| 18-20 gauge (0.035-0.050″) | 40-60 amps | 1/16″ | #4-5 | 1/16″ ER70S-2 |
| 16 gauge (0.060″) | 60-80 amps | 1/16″ | #5 | 1/16″ ER70S-2 |
| 1/8″ (0.125″) | 120-140 amps | 3/32″ | #5-6 | 3/32″ ER70S-2 |
| 3/16″ (0.1875″) | 180-200 amps | 3/32″ or 1/8″ | #6-7 | 3/32″ ER70S-2 |
| 1/4″ (0.250″) | 240-280 amps | 1/8″ | #7-8 | 1/8″ ER70S-2 |
Stainless Steel (DCEN – DC Electrode Negative)
| Material Thickness | Amperage | Tungsten Size | Cup Size | Filler Rod |
|---|---|---|---|---|
| 18-20 gauge (0.035-0.050″) | 30-50 amps | 1/16″ | #4-5 | 1/16″ ER308L |
| 16 gauge (0.060″) | 50-70 amps | 1/16″ | #5 | 1/16″ ER308L |
| 1/8″ (0.125″) | 100-130 amps | 3/32″ | #5-6 | 3/32″ ER308L |
| 3/16″ (0.1875″) | 160-190 amps | 3/32″ or 1/8″ | #6-7 | 3/32″ ER308L |
| 1/4″ (0.250″) | 220-260 amps | 1/8″ | #7-8 | 1/8″ ER308L |
Note on stainless: Runs about 10-20% cooler than mild steel. Stainless conducts heat poorly, so it stays hotter longer. Watch your heat-affected zone—too much time and you’ll get that ugly rainbow oxidation everywhere.
Aluminum (AC – Alternating Current)
| Material Thickness | Amperage | Tungsten Size | Cup Size | Filler Rod |
|---|---|---|---|---|
| 1/16″ (0.0625″) | 60-80 amps | 1/16″ | #5 | 1/16″ ER4043 |
| 1/8″ (0.125″) | 120-140 amps | 3/32″ | #5-6 | 3/32″ ER4043 |
| 3/16″ (0.1875″) | 180-220 amps | 1/8″ | #6-7 | 1/8″ ER4043 |
| 1/4″ (0.250″) | 240-280 amps | 1/8″ | #7-8 | 1/8″ ER4043 |
| 3/8″ (0.375″) | 300-350 amps | 5/32″ | #8-10 | 1/8″ ER4043 |
Use our TIG welding calculator to dial in exact settings for your specific material and thickness.
⚡ Recommended TIG Welding Equipment
Professional TIG consumables and accessories for precision welding
Budget
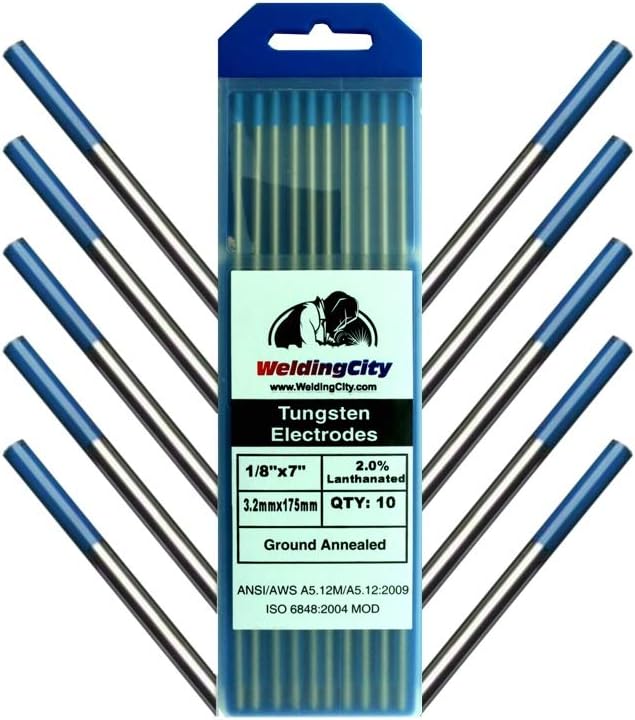
Weldingcity Tungsten Electrode Set
- 2% Lanthanated (blue tip)
- Multiple sizes (1/16″, 3/32″, 1/8″)
- Works for AC and DC welding
- Color-coded for easy ID
- Professional quality
View on Amazon →
Best Value
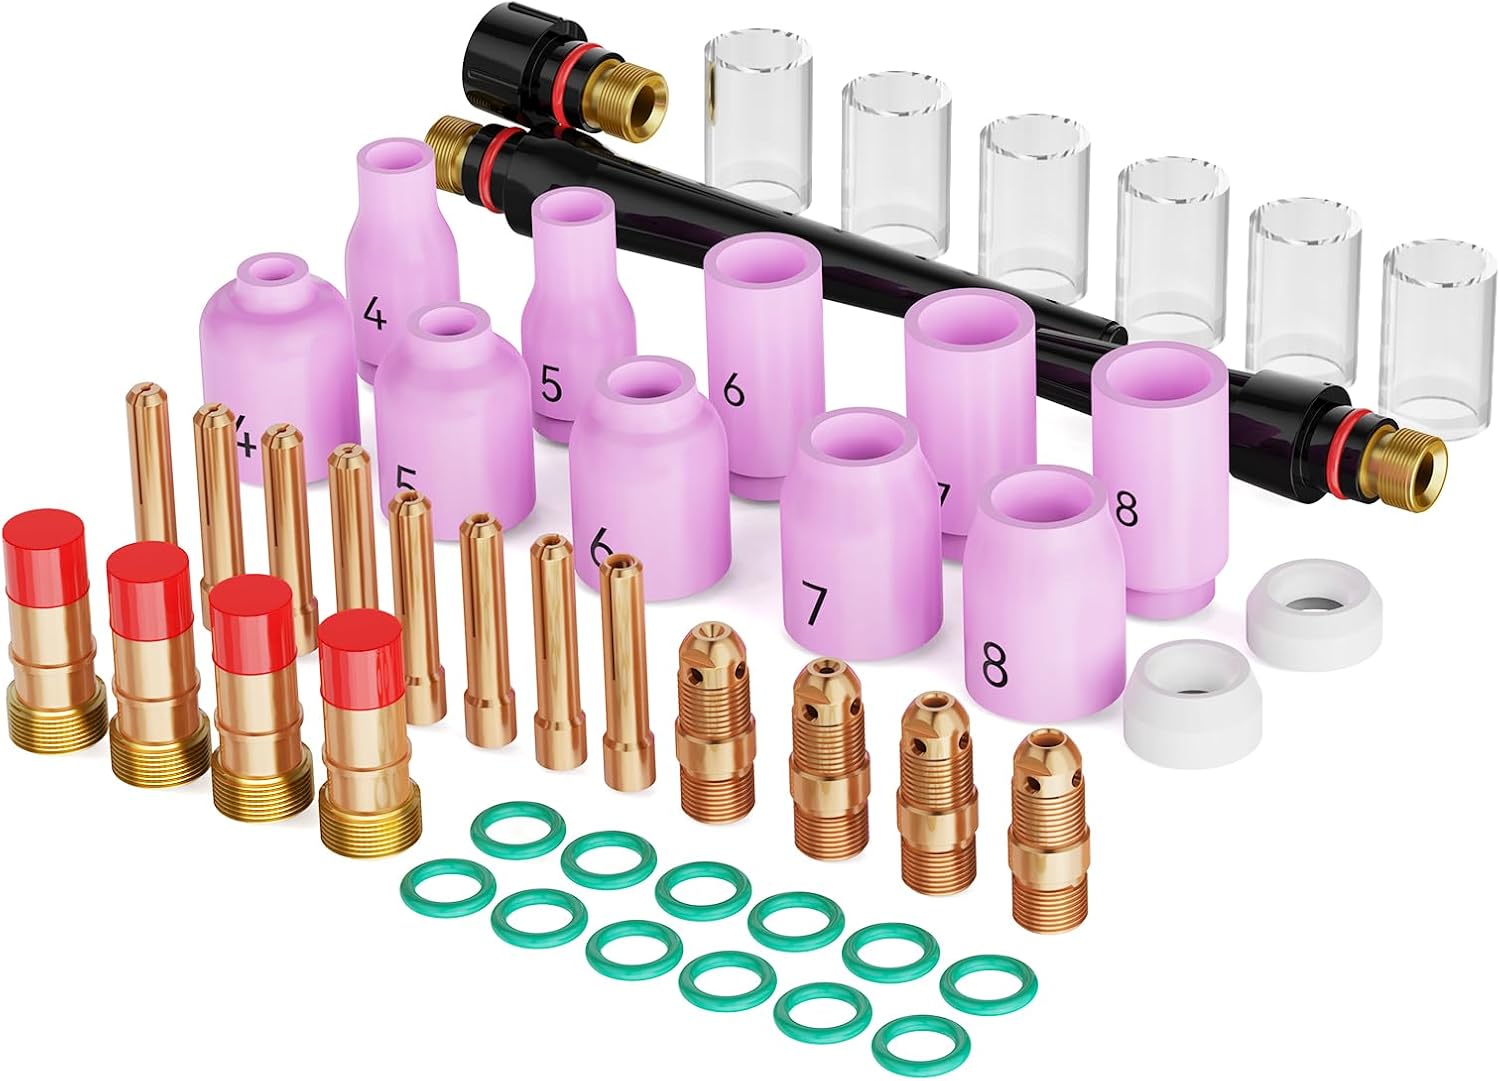
ARCCAPTAIN TIG Accessories Kit
- Complete consumables kit
- Cups, collets, and gas lens
- Multiple sizes included
- Professional upgrade kit
- Everything you need
View on Amazon →
Essential
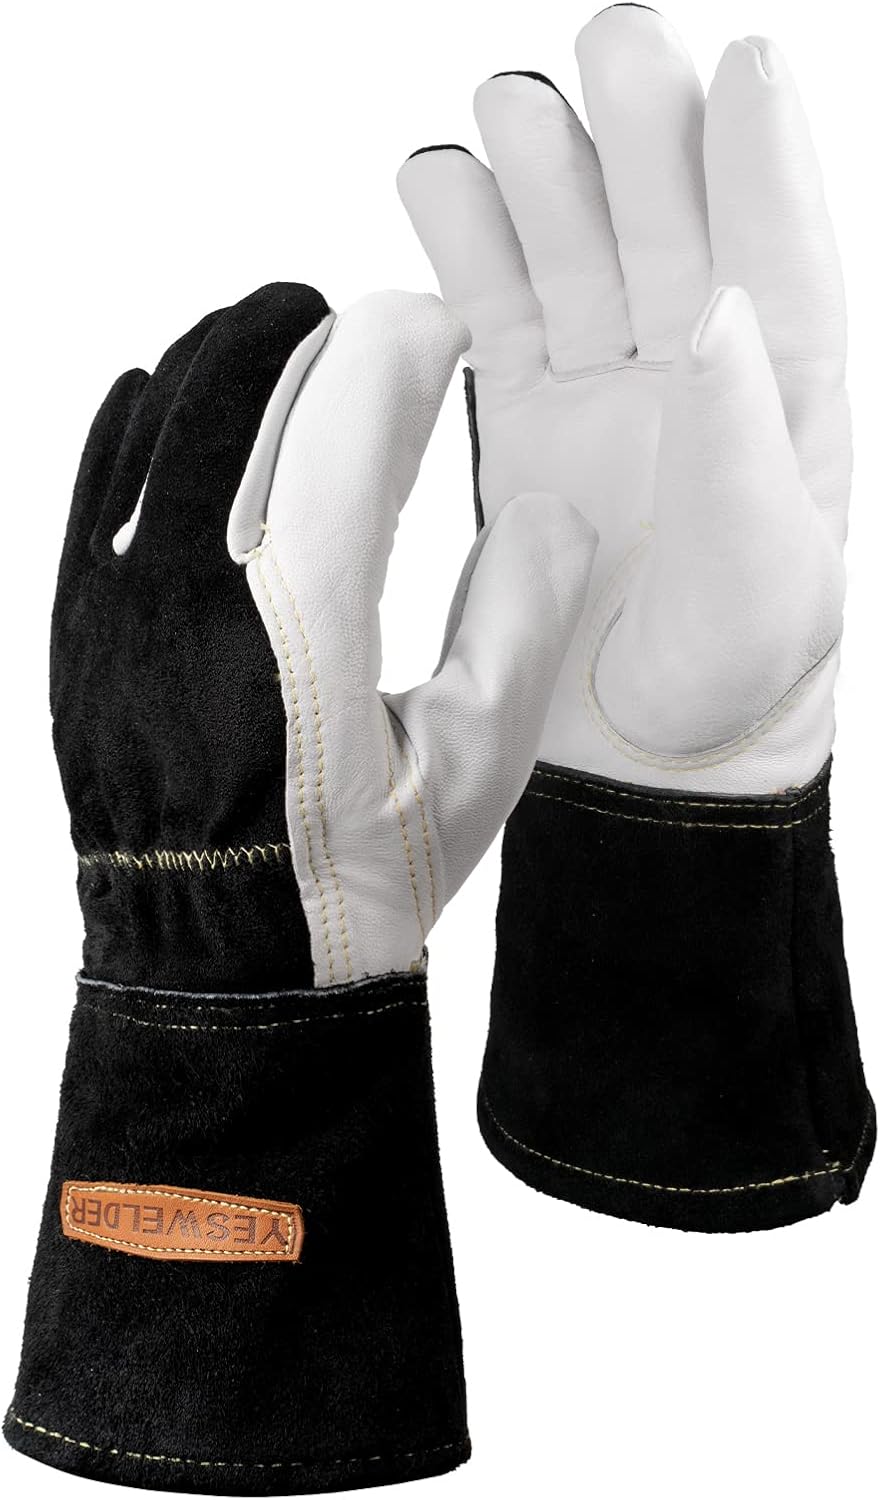
Professional TIG Welding Gloves
- Thin leather for sensitivity
- Heat resistant construction
- Better dexterity than MIG gloves
- Comfortable fit for long sessions
- Essential for TIG control
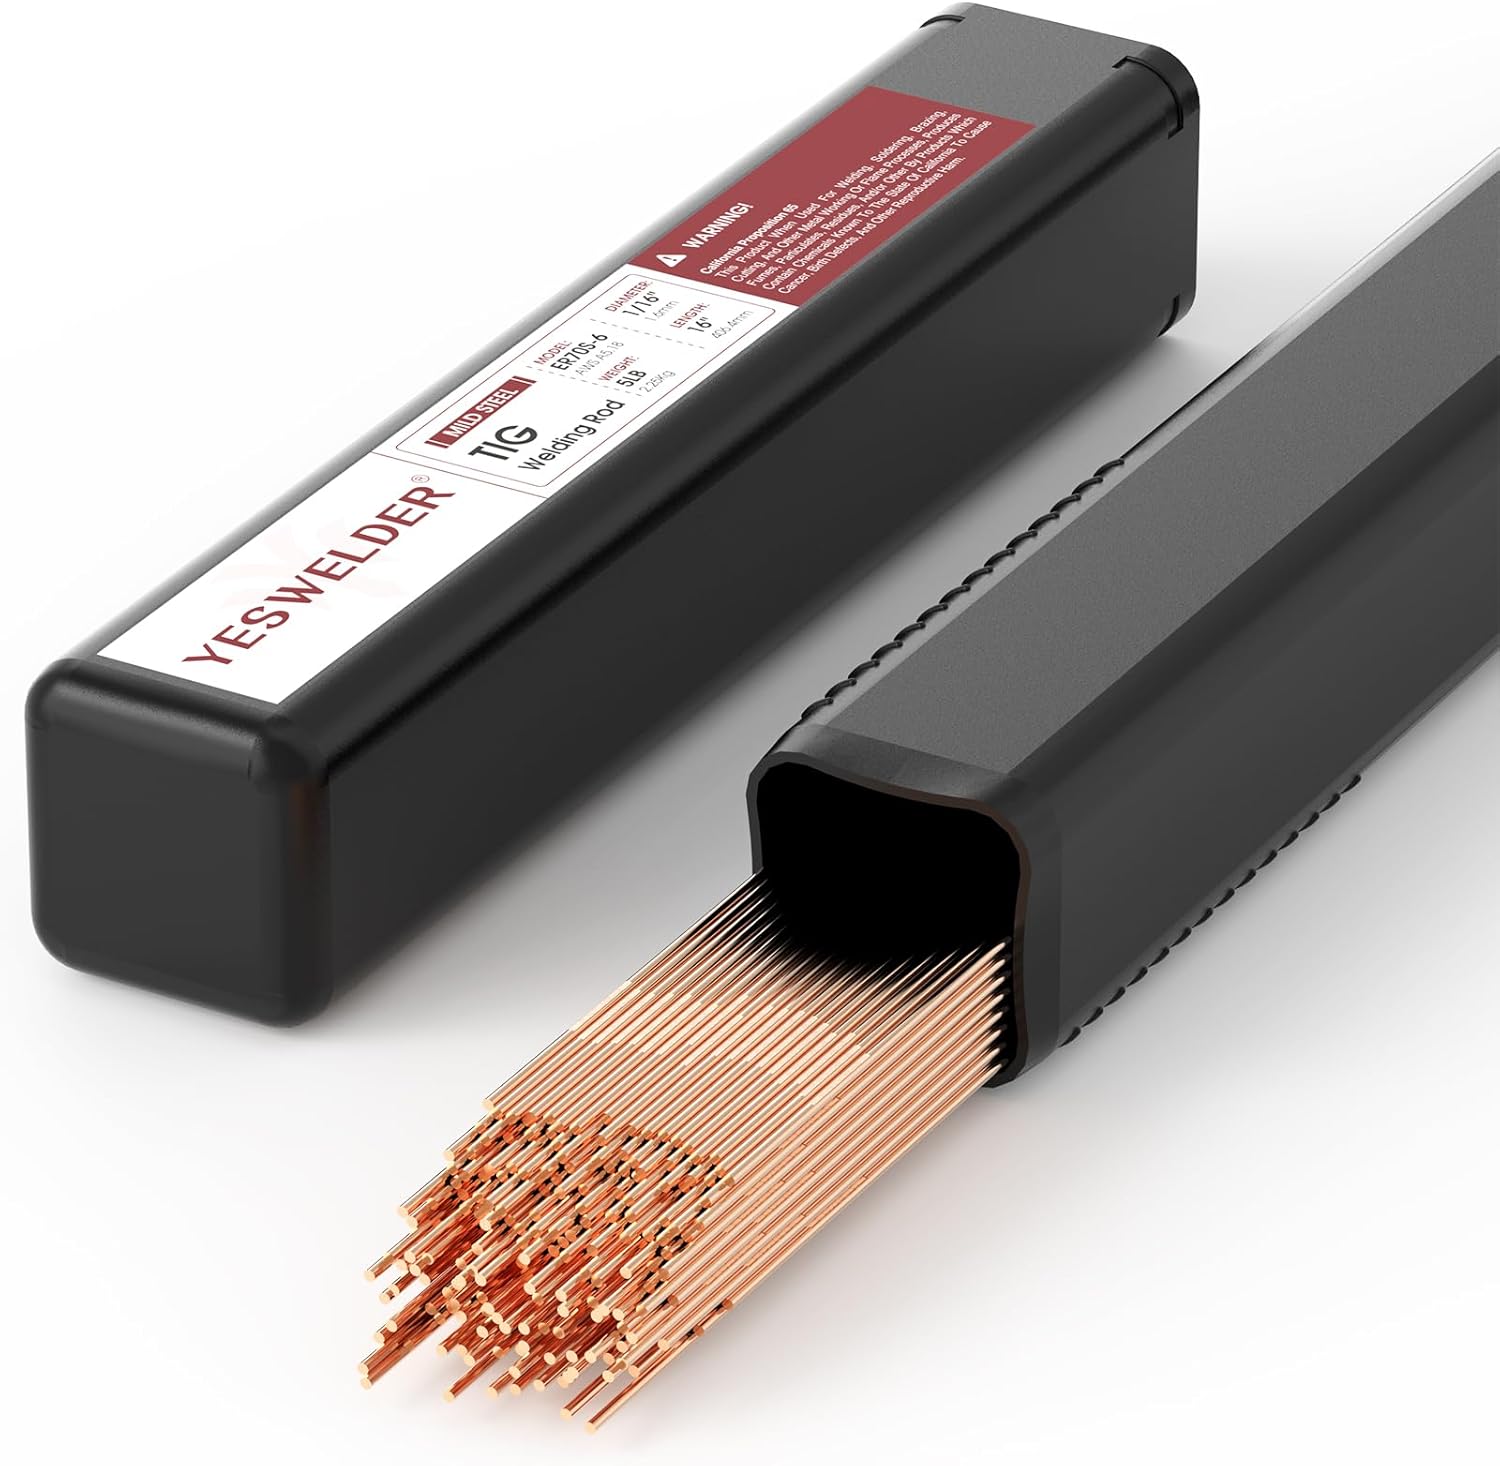
Yeswelder ER70S-6 Filler Rod
- ER70S-6 mild steel filler
- Multiple sizes available
- Clean welds, minimal spatter
- Professional quality
- Essential consumable
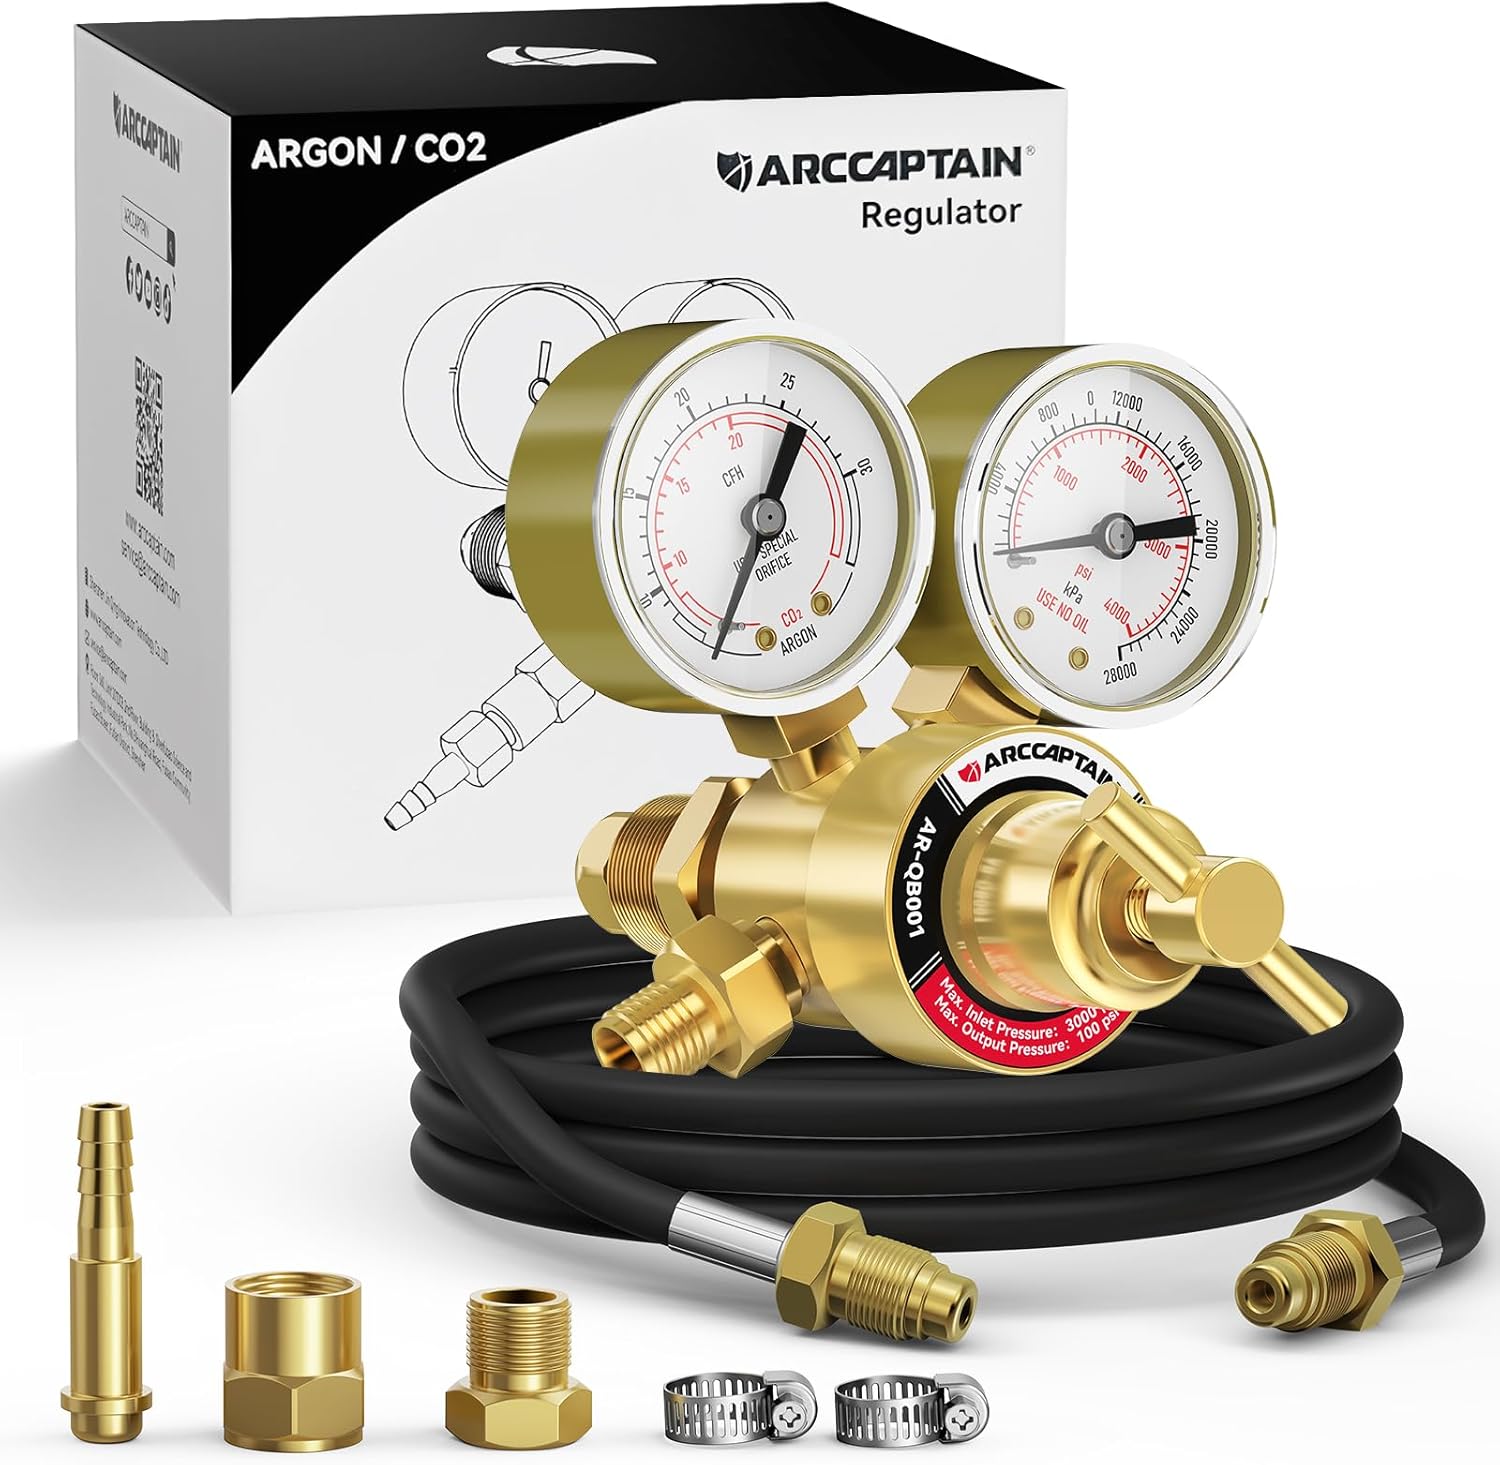
ARCCAPTAIN Argon Regulator Kit
- Dual gauges (tank + delivery)
- Complete kit with hose & fittings
- 100% Argon for TIG welding
- CGA-580 standard fitting
- Professional quality

AC Balance Settings for Aluminum
This one confuses people because different machines display it differently. Some show it as a percentage, some as electrode negative/positive, some just as a dial.
What balance actually does: AC switches between cleaning (positive cycle) and penetration (negative cycle). More positive = more cleaning. More negative = more penetration.
When to Adjust Balance
Welding thin aluminum or outside corners (low amperage):
Turn UP the positive side (more cleaning). At low amperage, you need more cleaning action to keep your tungsten ball shaped. Without enough positive, your tungsten will crack and misshape.
Typical setting: 65-75% electrode negative (or 25-35% cleaning)
Welding thick aluminum or billet (high amperage):
Turn DOWN the positive side (more penetration). Too much positive at high amperage makes your tungsten flutter and become unstable, even with a good ball on the end.
Typical setting: 75-85% electrode negative (or 15-25% cleaning)
General rule: Start at 70% electrode negative. If your tungsten is cracking or losing its ball shape, add more positive. If your tungsten is fluttering or you need more penetration, add more negative.
Frequency Settings (Inverter Machines Only)
If you have an inverter TIG machine, you can adjust AC frequency. Older transformer machines are stuck at 60 Hz.
Higher frequency (100-200 Hz):
- Tighter, more focused arc
- Better for thin material
- More concentrated heat in a smaller area
- Easier to control on outside corners
Lower frequency (60-80 Hz):
- Wider arc cone
- Better for thick material
- More general heat distribution
- Good for big fillet welds
Starting point: 120 Hz for aluminum. Adjust up or down based on what you’re welding.
Post-Flow: The Setting Everyone Forgets
Post-flow is how long the gas keeps flowing AFTER you stop welding. It protects your tungsten while it’s still glowing red-hot.
If your post-flow is too short: Your tungsten will oxidize (turn chalky gray or black), and you’ll contaminate the start of your next weld with that oxide. You’ll see a little puff of contamination at the beginning of every bead.
How to set it:
- Set your post-flow longer than you think you need (15-20 seconds)
- Make a weld and watch your tungsten
- When the gas stops flowing, is your tungsten still glowing?
- If yes, increase post-flow
- If no, you can dial it back a bit to save gas
Your tungsten should be shiny silver or gold after welding, not gray or black.
Typical post-flow settings:
- Low amperage (under 100A): 8-12 seconds
- Medium amperage (100-200A): 10-15 seconds
- High amperage (200A+): 15-20 seconds
Gas Flow Rates: The Simple Formula
People overthink this. Here’s the rule:
Cup size × 2 = minimum CFH (cubic feet per hour)
Examples:
- #5 cup × 2 = 10 CFH minimum
- #7 cup × 2 = 14 CFH minimum
- #12 cup × 2 = 24 CFH minimum
We tested this extensively. Welds at 10 CFH, 12 CFH, and 15 CFH on a #5 cup looked identical. Same with 20 CFH and 30 CFH—no difference in weld quality, you just burn through gas faster.
Don’t waste your argon. Stick to the formula. The only time you need more gas is if you’re welding outside in wind or using a gas lens cup (follow the manufacturer’s recommendation).
Use 100% argon for TIG welding. Not CO2, not argon/CO2 mix, not helium unless you’re doing specialty work. Just 100% argon.
Check out our gas flow calculator for exact CFH recommendations.
Tungsten: Size, Type, and Stick-Out
Tungsten Size Selection
Match your tungsten diameter to your amperage range:
| Tungsten Diameter | DC Amperage Range | AC Amperage Range |
|---|---|---|
| 1/16″ (1.6mm) | 10-80 amps | 10-60 amps |
| 3/32″ (2.4mm) | 70-150 amps | 60-130 amps |
| 1/8″ (3.2mm) | 140-250 amps | 120-210 amps |
| 5/32″ (4.0mm) | 225-400 amps | 190-300 amps |
Tungsten Types
This is a sensitive topic for some reason. Here’s the truth: Tungsten won’t make or break your weld. Use what works for you.
Common types:
- 2% Lanthanated (blue): Universal, works for AC and DC, good arc starts
- 2% Ceriated (gray/orange): Great for DC, good for low amperage
- 2% Thoriated (red): Old school, radioactive, still works great but being phased out
- Pure tungsten (green): AC only, best for old transformer machines
If your machine was made after 2000, use blue (lanthanated) or gray (ceriated). If you have an old transformer machine from the ’90s, green (pure) works fine for aluminum.
Tungsten Stick-Out
How much tungsten should stick out past your cup?
The cup number = maximum stick-out in 16ths of an inch
Examples:
- #5 cup = 5/16″ maximum stick-out
- #7 cup = 7/16″ maximum stick-out
- #12 cup = 12/16″ (3/4″) maximum stick-out
You can use less, but don’t go over. Too much stick-out and you lose gas coverage. Not enough and you can’t see what you’re doing.
Pro tip: Cut one tungsten into thirds. Sharpen one end only. One 7″ tungsten becomes three 2.3″ pieces. One $20 pack of 10 becomes 30 usable pieces. Way cheaper, and you can weld longer between sharpening sessions.

Torch Height: Why Your Welds Look Like Crap
This is the hidden problem that fancy gas lens cups will cover up.
We tested this with a #5 cup and a #12 Furick cup. Same welds, same settings, one with proper torch height and one with the torch too high.
Results with #5 cup (standard):
- Proper height: Good weld, minimal HAZ, clean
- Too high: Massive heat-affected zone, grainy weld, pinhole at the end
Results with #12 cup (gas lens):
- Proper height: Perfect weld, no color
- Too high: Looks pretty good! But hidden underneath is the same pinhole problem
The big cup hid the problem. It made the bad weld LOOK acceptable when it wasn’t.
This is why we recommend learning with standard cups (#5-7) and standard consumables. They SHOW you when you’re doing something wrong. Once you can weld clean with a #5 cup, THEN upgrade to fancy gas lens cups.
Proper torch height: About 1/8″ to 1/4″ from the work. Close enough to see the puddle, far enough that you’re not stabbing the tungsten into the weld.
Common TIG Settings Mistakes
1. Maxing Out the Machine with a Foot Pedal
Set your max amperage close to what you actually need. Use the full pedal range for better control.
2. Not Enough Post-Flow
If your tungsten looks chalky or black after welding, or you’re getting contamination at the start of every bead, you need more post-flow.
3. Too Much Gas Flow
Cup number × 2 = CFH. Don’t waste gas. More doesn’t make it better.
4. Wrong Balance on Aluminum
Thin stuff needs more cleaning (more positive). Thick stuff needs more penetration (more negative). Start at 70% electrode negative and adjust.
5. Using Fancy Cups Too Soon
Big gas lens cups hide your mistakes. Learn with a #5 or #7 standard cup first. When you can weld clean without the fancy stuff, then upgrade.
6. Torch Too High
If your welds are grainy, hazy, or have excessive heat discoloration, you’re probably too far from the work. Get closer.
Quick Setup Checklist
Before you strike an arc:
- ✅ Torch in negative terminal, ground in positive
- ✅ Amperage set to 1 amp per 0.001″ thickness
- ✅ Tungsten size matches amperage range
- ✅ Cup size appropriate for joint (start with #5-7)
- ✅ Gas flow = cup number × 2 CFH
- ✅ Post-flow set to 10-15 seconds
- ✅ Tungsten stick-out = cup number in 16ths
- ✅ 100% argon in the cylinder
- ✅ AC balance at 70% electrode negative (aluminum)
Then make a test weld and adjust from there.
Use the Calculator (Because Charts Only Get You Close)
These charts are starting points. Every machine runs a little different, every material varies, and joint design matters.
Use our free TIG welding calculator to get exact settings for:
- Your specific material (steel, stainless, aluminum, titanium)
- Your exact thickness
- Your welding position (flat, vertical, overhead)
- Tungsten size recommendations
- Cup size and gas flow
It takes 30 seconds and gives you a solid starting point. Then you fine-tune on scrap before welding the actual part.
Also check out our other welding calculators:
When Settings Are Right but the Weld Still Fails
Amps and tungsten size charts will not fix a dipped electrode, lost gas envelope, bad backpurge, or foot-pedal lag. Use the TIG Welding Troubleshooting guide for those failure modes, and MIG vs TIG vs Stick when the process choice itself is wrong.
Frequently Asked Questions
Do I need an expensive TIG machine to make good welds?
No. A $700 machine can make the same quality welds as a $7,000 machine if you know how to set it up. The expensive machines have more features and more power, but they don’t automatically make you weld better. Learn the basics first.
What’s the difference between AC and DC TIG welding?
DC (electrode negative) is for steel, stainless, titanium, and chromoly. The electrons flow one direction for penetration. AC (alternating current) is for aluminum and magnesium—it switches between cleaning and penetration to break through the oxide layer.
Why does my tungsten keep balling up weird on steel?
You’re probably using the wrong polarity. Steel should be welded on DCEN (DC electrode negative). If you’re on AC or DCEP, your tungsten will ball up. Switch to DC negative.
Can I use the same tungsten for steel and aluminum?
Yes, but sharpen it for steel (pointed tip) and ball it for aluminum. Or just use separate tungstens for each. Blue (lanthanated) works great for both.
My aluminum welds are gray and sooty. What’s wrong?
Either not enough gas coverage (check your flow rate), torch too high (get closer to the work), or contaminated filler rod. Also check your post-flow—if your tungsten is oxidizing, it’s contaminating your welds.
Do I need a gas lens cup?
No, not in the beginning. Standard cups work fine and actually SHOW you when you’re making mistakes. Gas lens cups like the Furick or CK Worldwide are great once you have the skill, but they’ll hide problems when you’re learning. Start with a #5 or #7 standard cup.
How do I know if my amperage is too low?
If you’re sitting there forever waiting for a puddle to form, or if your filler rod won’t blend into the base metal, you need more amperage. Also, if your heat-affected zone is huge because you’re spending so much time on the joint, that’s a sign you’re too low.
What’s the best tungsten color/type to use?
Blue (2% lanthanated) works for everything. Gray (2% ceriated) is great for DC work. Red (2% thoriated) is old school and works great but is radioactive. Green (pure) is for AC only on old transformer machines. Honestly, use whatever works for you—tungsten type won’t make or break your weld.
Bottom Line
TIG welding settings aren’t magic. Follow the basic rules:
- Torch in negative, always
- 1 amp per 0.001″ thickness
- Cup size × 2 = gas flow in CFH
- Tungsten size matches amperage range
- Post-flow protects your tungsten
- Standard cups show you your mistakes (that’s good)
Set it up right, practice on scrap, and adjust from there. Every machine is a little different, but these fundamentals work across the board.
Ready to dial in your settings? Use our TIG calculator for full setup numbers, or start with the Welding Amperage Calculator for thickness-based amp ranges across TIG, MIG, and Stick — then come back here for tungsten, gas, and AC balance.
Disclaimer: This is educational info about TIG welding settings. Always follow your machine’s manual, applicable welding codes, and safety guidelines. Full details on our disclaimer page.
For diameter, tip prep, and collet/cup from your amperage window, use the TIG Tungsten Electrode Selector.
Deep dive on electrode alloys, color codes, and thoriated phase-out: TIG Tungsten Electrode Guide.
Choosing what to stock for a home shop vs production: Which Tungsten Type to Use.
Welding
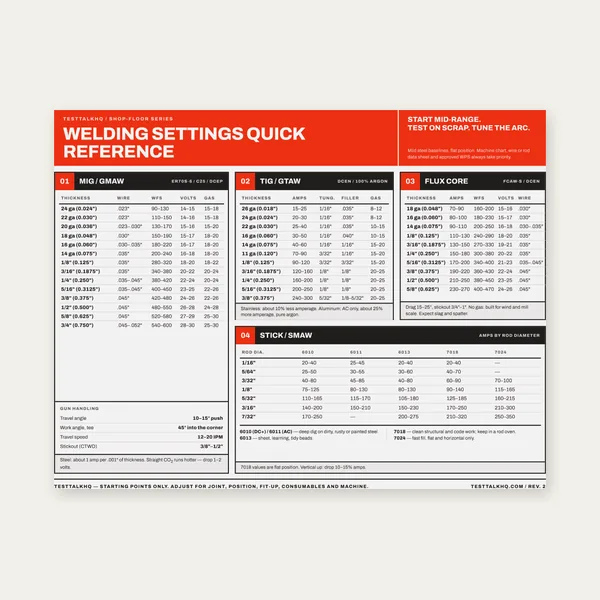
Welding Reference Card
One page. MIG, TIG, stick and flux core settings by thickness.
$3.99
Buy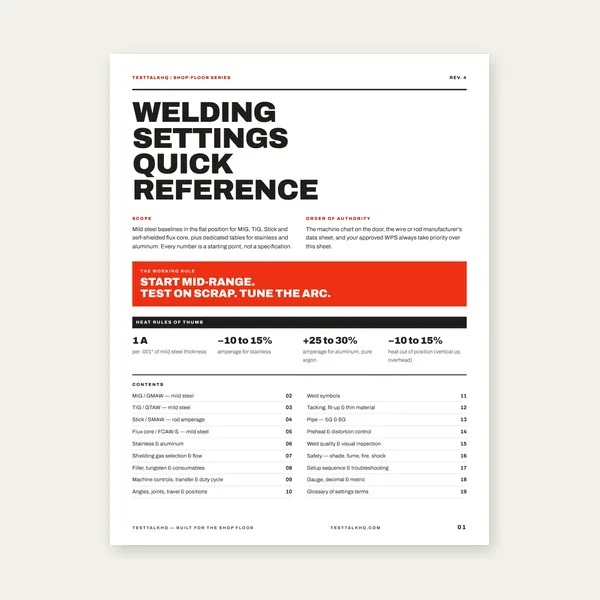
Complete Welding Settings Guide
19 pages. Four processes, stainless and aluminum, symbols and inspection.
$12.99
Buy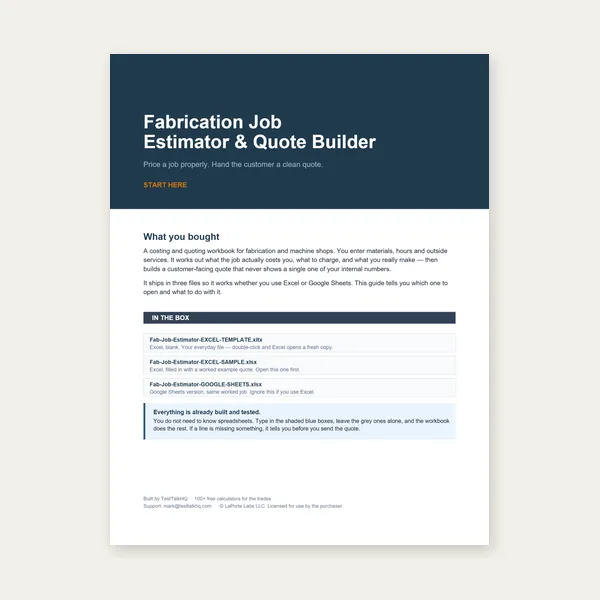
Welding Job Estimator
Price the job, then hand over a quote with no internal numbers.
Excel or Google Sheets. Best on a computer.
$29.00
Buy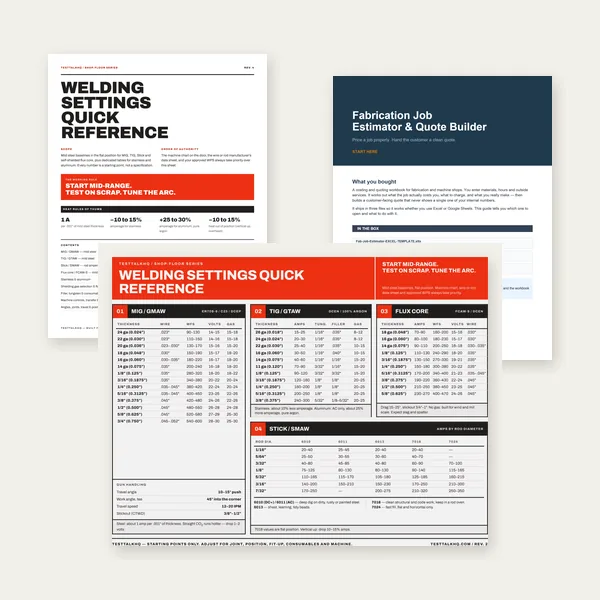
Welding Complete Bundle
Card, 19-page guide and the estimator workbook. All six files.
Excel or Google Sheets. Best on a computer.
$34.99
$45.98 if bought separately — save $10.99
BuyCheckout opens in a new tab.