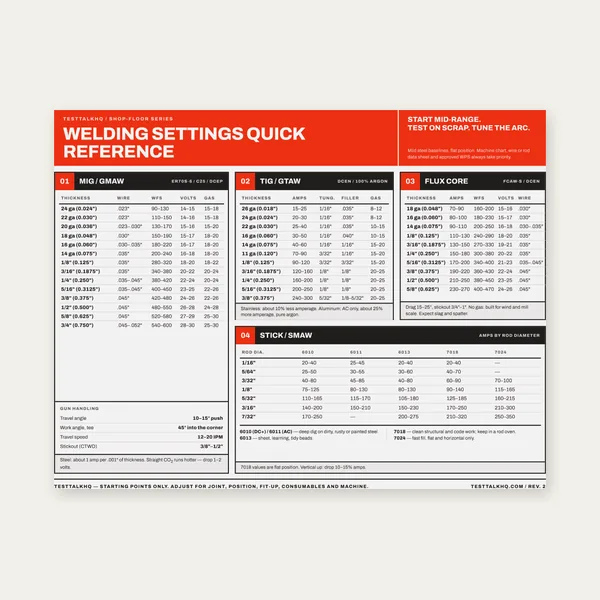
Welding Reference Card
One page. MIG, TIG, stick and flux core settings by thickness.
$3.99
BuyDiagnose tungsten contamination, arc wander, HAZ discoloration, pedal control issues, filler dip errors, and TIG porosity — then fix the cause
Same diagnostic style as our MIG problems guide, but every failure mode here is TIG-specific. MIG does not dip a non-consumable electrode, chase AC balance, or starve a stainless root with a bad backpurge. Start with the TIG Welding Calculator for baseline amps and tungsten size, then use this page when the arc or bead still fights you.

Use this chart when the tungsten, puddle, or tint looks wrong and you want the first fix fast.
| Problem | What it usually means | First fix | Next tool |
|---|---|---|---|
| Tungsten dips / grey film on tip | Tip hit the puddle or filler touched tungsten | Break off contaminated tip; regrind (DC) or re-ball (AC) | TIG Calculator |
| Arc wanders off the joint | Bad grind, contamination, or AC balance off | Fresh longitudinal grind; check balance / HF start | TIG Settings Guide |
| Rainbow / sugared stainless HAZ | Gas coverage loss or travel too slow/hot | Cup size, CFH, torch angle; speed up; backpurge pipe | Stainless TIG Guide |
| Black soot / dirty aluminum puddle | Oxide not cleaned; balance lean on EP; dirty filler | Stainless brush + acetone; add EP carefully | Aluminum TIG Guide |
| Inconsistent penetration along bead | Foot pedal lag / uneven amp control | Practice ramp; set ceiling amps; start on scrap | TIG Calculator |
| Puddle darkens where rod dipped | Filler tip oxidized outside the gas envelope | Keep hot tip in gas; clip oxidized end | Gas Flow Calculator |
| Pinholes / worm tracks in TIG bead | Drafts, cup/CFH wrong, dirty metal, failed backpurge | Block wind; verify post-flow; clean + purge check | Gas Flow Calculator |
What it looks like: Tip turns grey, black, or glassy. Arc gets wide and fuzzy. Beads show tungsten inclusions (hard bright specks on a ground section) or a dirty, sputtering start. On aluminum AC, the ball grows oversized, lopsided, or “flowers” instead of a clean shiny hemisphere.
Why it happens (TIG-only mechanics): The electrode is non-consumable. The instant the tip dips into molten pool — or filler rod touches the tip — base metal alloys contaminate the tungsten. Contaminated tips emit electrons poorly, so the arc wanders and spatters oxide into the puddle. Overheating an undersized electrode (amps above diameter rating) melts the tip the same way.
Visual diagnosis:
Fixes:
What it looks like: Arc walks off the joint line, flares to one side of the cup, stutter-starts, or “breathes” wider and narrower without you changing torch height. On AC aluminum, the arc may scrub oxide on one edge of the joint and ignore the other.
Why it happens: TIG concentrates the arc at a prepared tip geometry. Cross-ground tungsten, contamination films, magnetized fixtures, and AC balance that is too soft on EP all widen or deflect that focus. High-frequency or Lift-arc start problems leave you dragging a cold tip until the arc finally grabs.
Likely causes checklist:
How to fix it: Re-prep the electrode correctly for polarity. Keep a tight, visible cone under the cup. On aluminum, add a little EN if the arc is washing too wide, or add a little EP if oxide film remains — small steps. Degauss large fixtures if the arc consistently pulls toward one clamp or steel table edge. Settings charts for aluminum balance live in the aluminum TIG guide.
What it looks like:
Why it happens: TIG uses inert gas only — no slag blanket. When the cup envelope is broken (bad angle, wind, too-small cup, CFH too high or too low) or you dwell hot and slow, chromium and aluminum oxidize in the HAZ. Pipe without backpurge oxidizes the root while the face still looks acceptable.
Fixes:
What it looks like: Penetration jumps thick-to-thin along one pass. Starts under-fused, middles blow through, ends crater-crack. Sound of the arc rises and falls with ankle jitter, not with the joint. Hand-remote users get similar “pumping” if they feather the knob mid-puddle.
Why it happens: TIG expects continuous amp modulation. The machine’s panel max is a ceiling — the pedal is the actual heat. Late pedal ramp dumps full amps into a cold start; early drop freezes the pool mid-joint; laggy or sticky pedals make you overshoot while waiting for heat.
Fixes:
What it looks like: Each time you dab filler, the puddle flickers dirty, leaves a dark streak, or pops a string of pores. The rod tip looks black/crystallized. Aluminum rods form a sooty ball; stainless rods get a crusty oxidized tip that refuses to wet.
Why it happens: MIG feeds wire inside the shielding continuously. TIG filler spends time outside the envelope. If you withdraw the rod into shop air while it is still molten, the tip oxides — and the next dip dumps that oxide into the puddle. Touching the tungsten transfers tip metal; stirring slaggy oxide from dirty plate does the same.
Fixes:
What it looks like: Surface pinholes, elongated worm tracks, or subsurface pores on a break or grind. On stainless pipe, face looks fine while the root is porous or sugared.
Why TIG porosity is different from MIG: There is no slag system and no continuous wire feed. Coverage lives or dies on cup geometry, CFH, draft control, post-flow, base-metal cleanliness, and — on closed sections — backpurge integrity. Wind that MIG sometimes “fights through” with higher CFH will strip a TIG envelope instantly. Moisture or oily fingerprints that a flux-core rod might tolerate will seed pores under argon.
Cause → fix:
Related calculator: Shielding Gas Flow Rate Calculator
One page. MIG, TIG, stick and flux core settings by thickness.
$3.99
Buy
19 pages. Four processes, stainless and aluminum, symbols and inspection.
$12.99
Buy
Price the job, then hand over a quote with no internal numbers.
Excel or Google Sheets. Best on a computer.
$29.00
Buy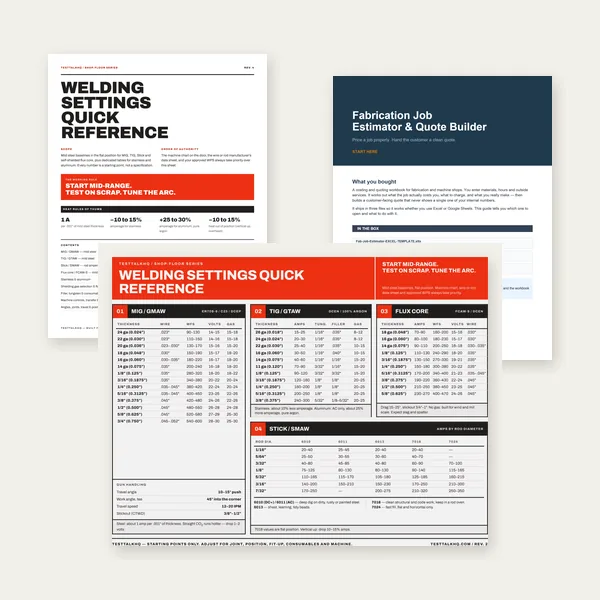
Card, 19-page guide and the estimator workbook. All six files.
Excel or Google Sheets. Best on a computer.
$34.99
$45.98 if bought separately — save $10.99
BuyCheckout opens here — you stay on this page.
Six welding-only picks from the TestTalkHQ affiliate catalog — machine, torch kit, tungsten, filler, argon regulator, and TIG gloves
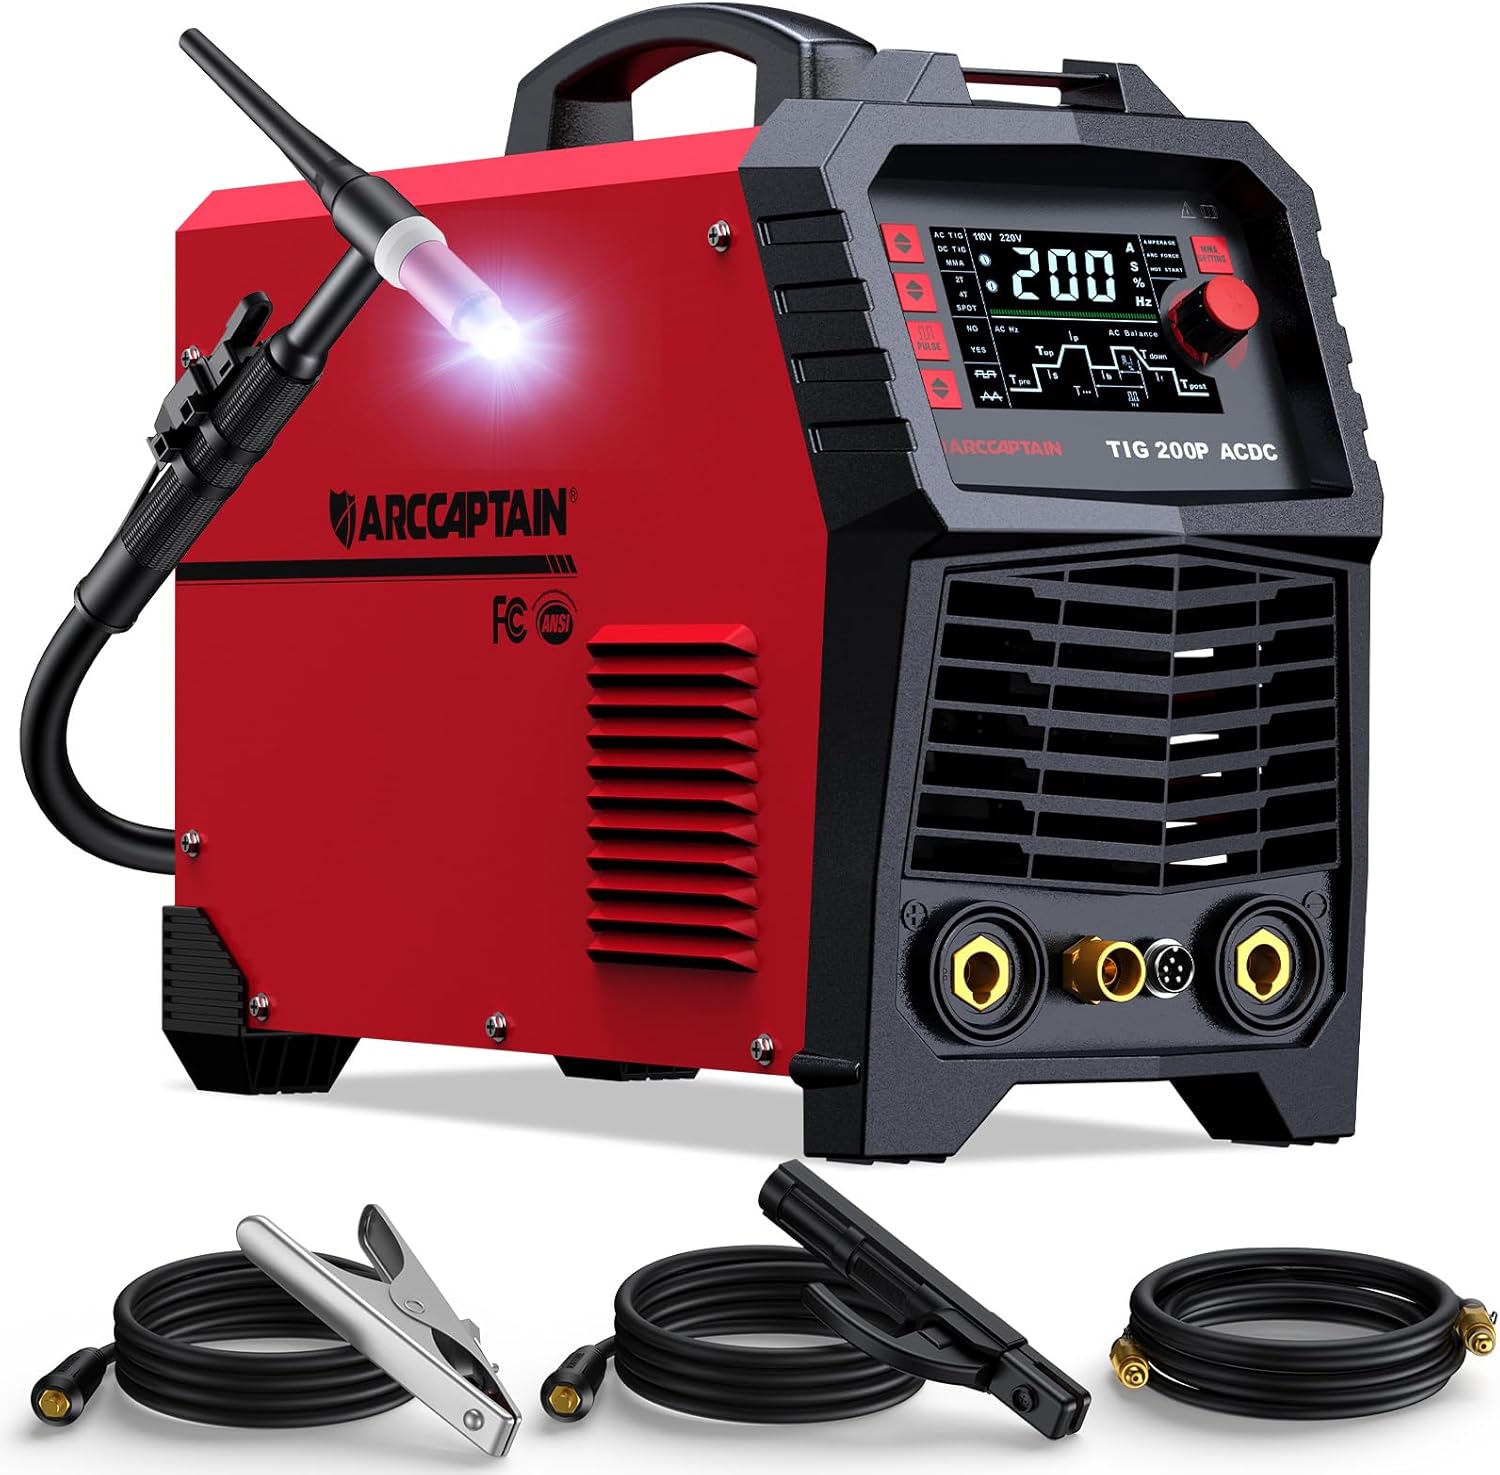
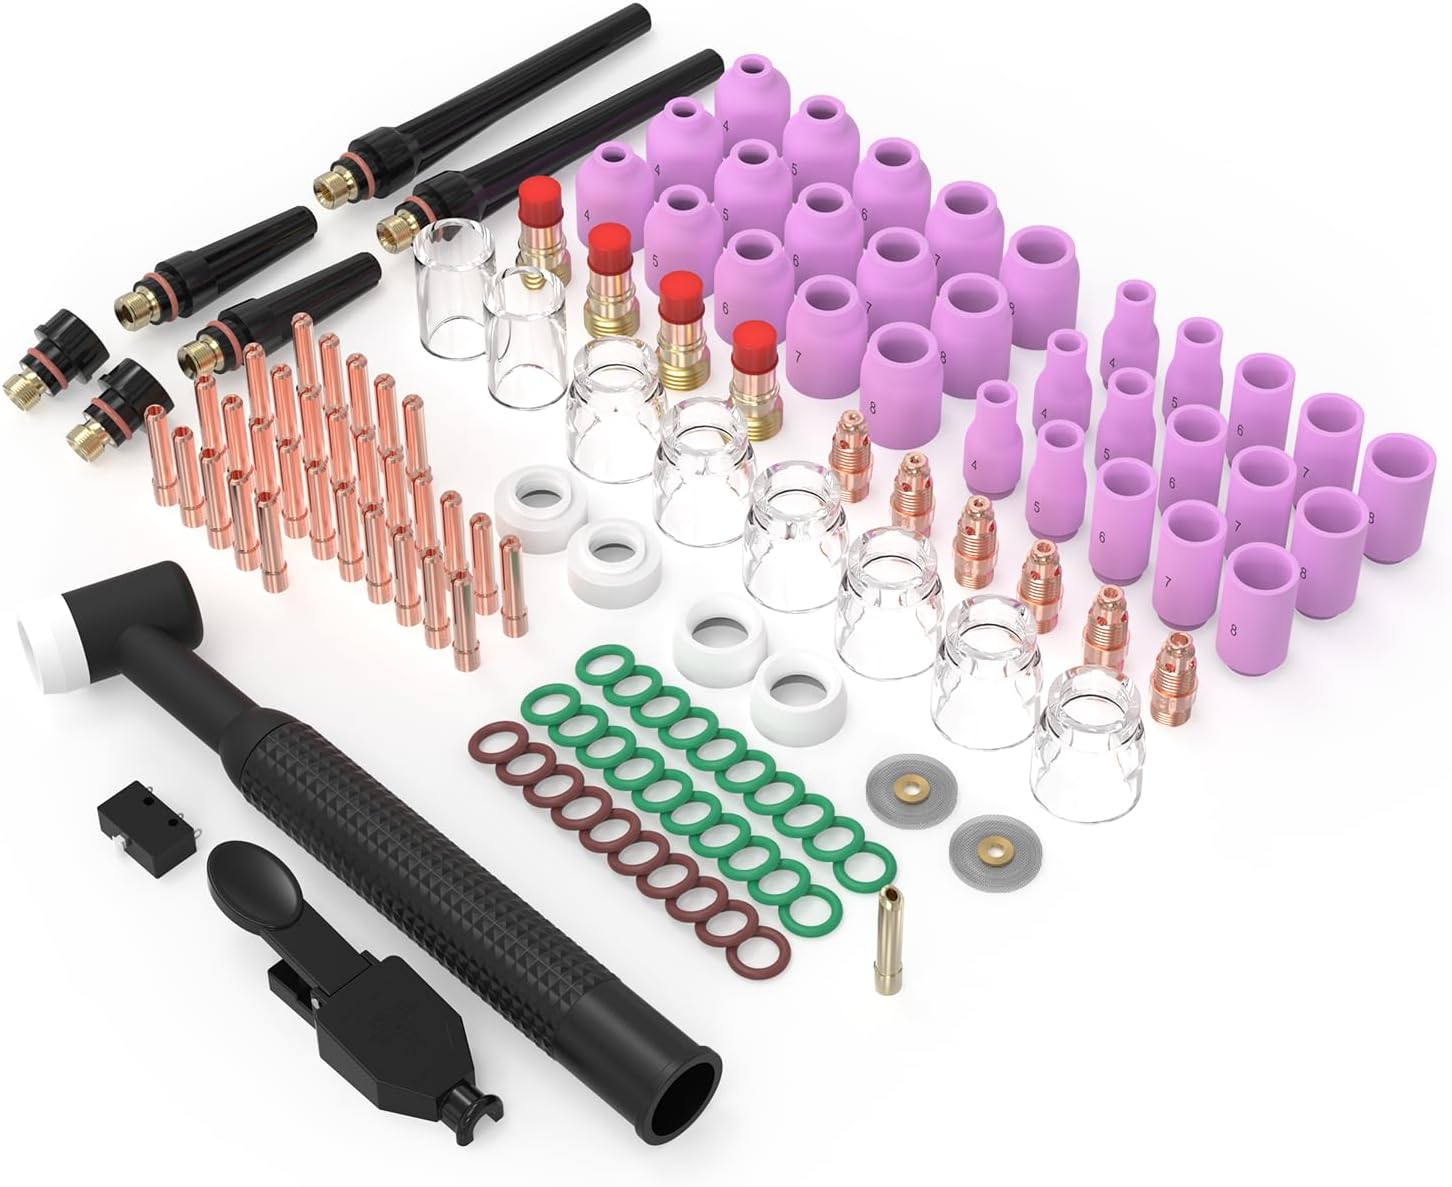
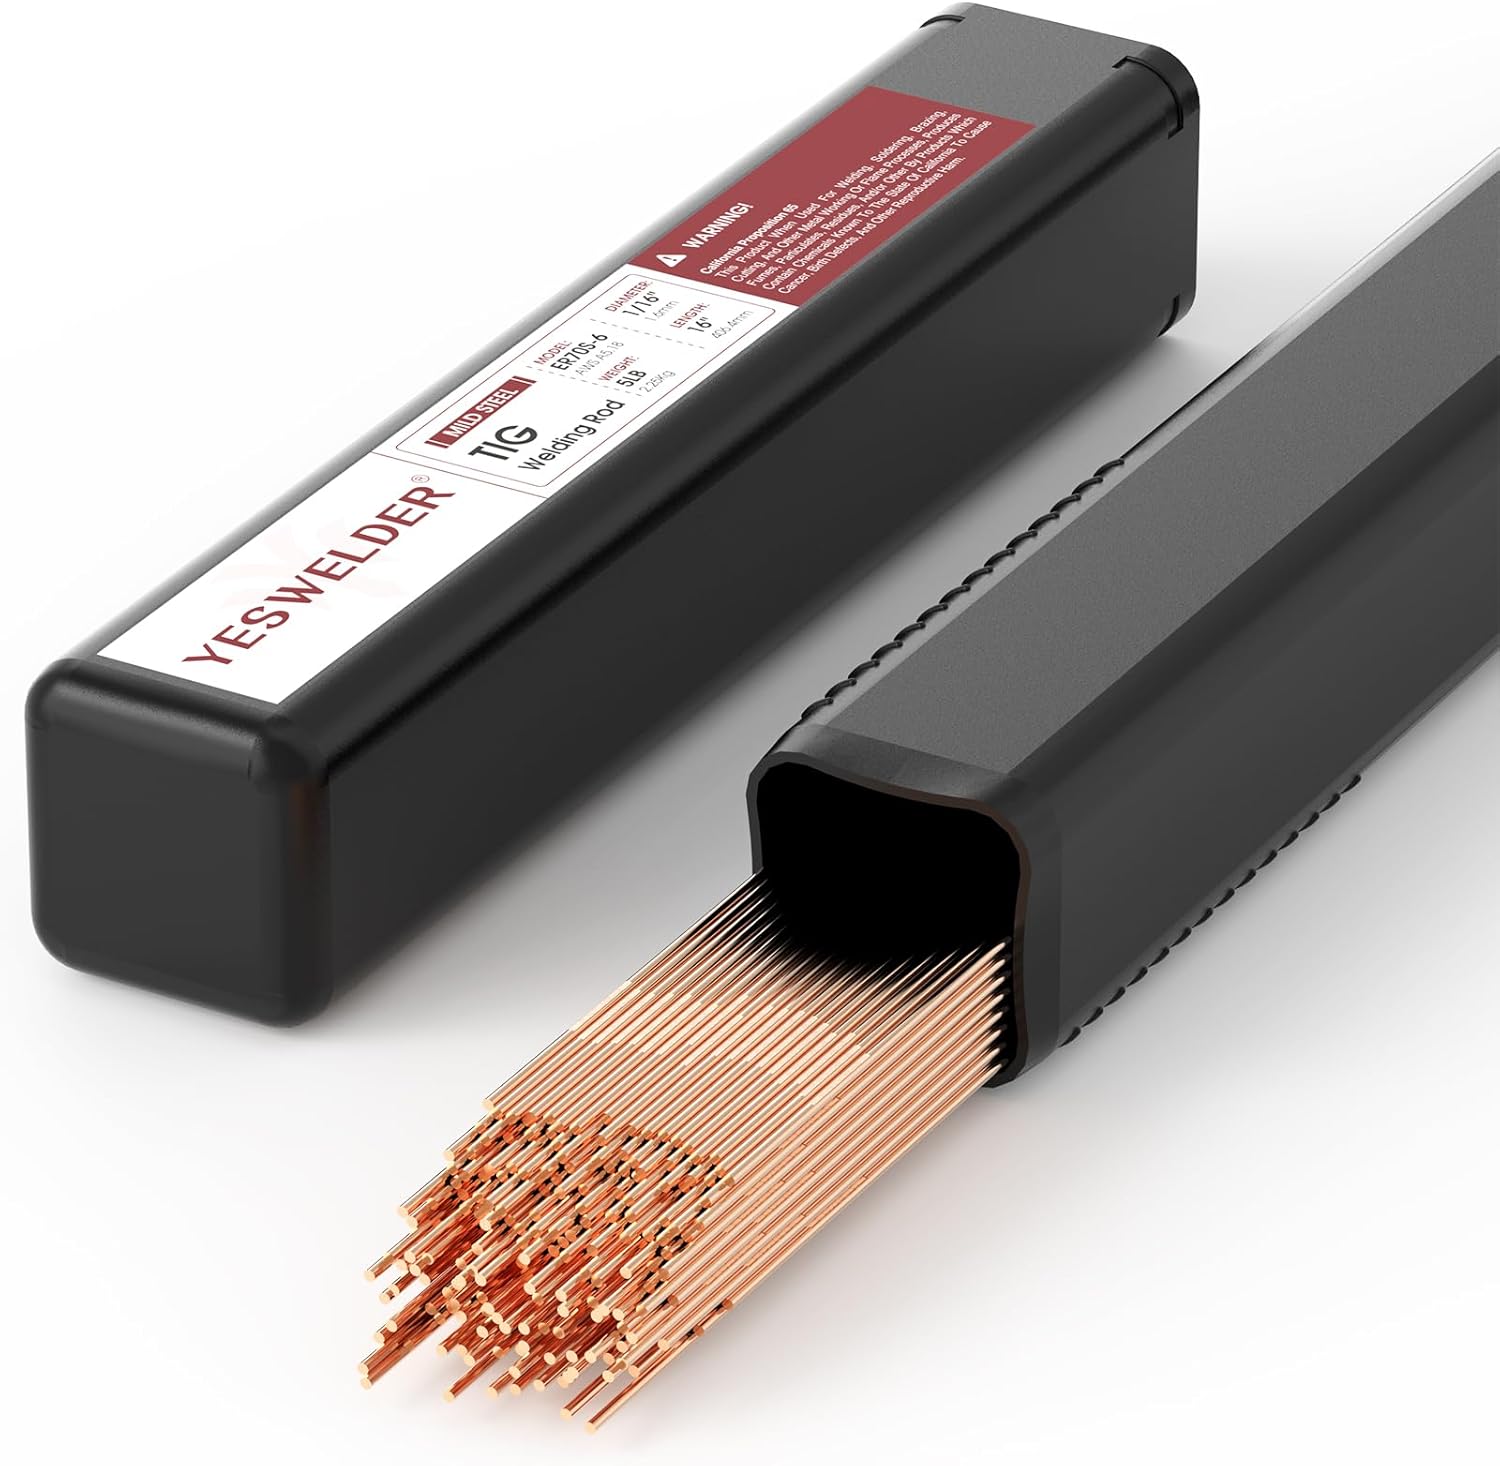
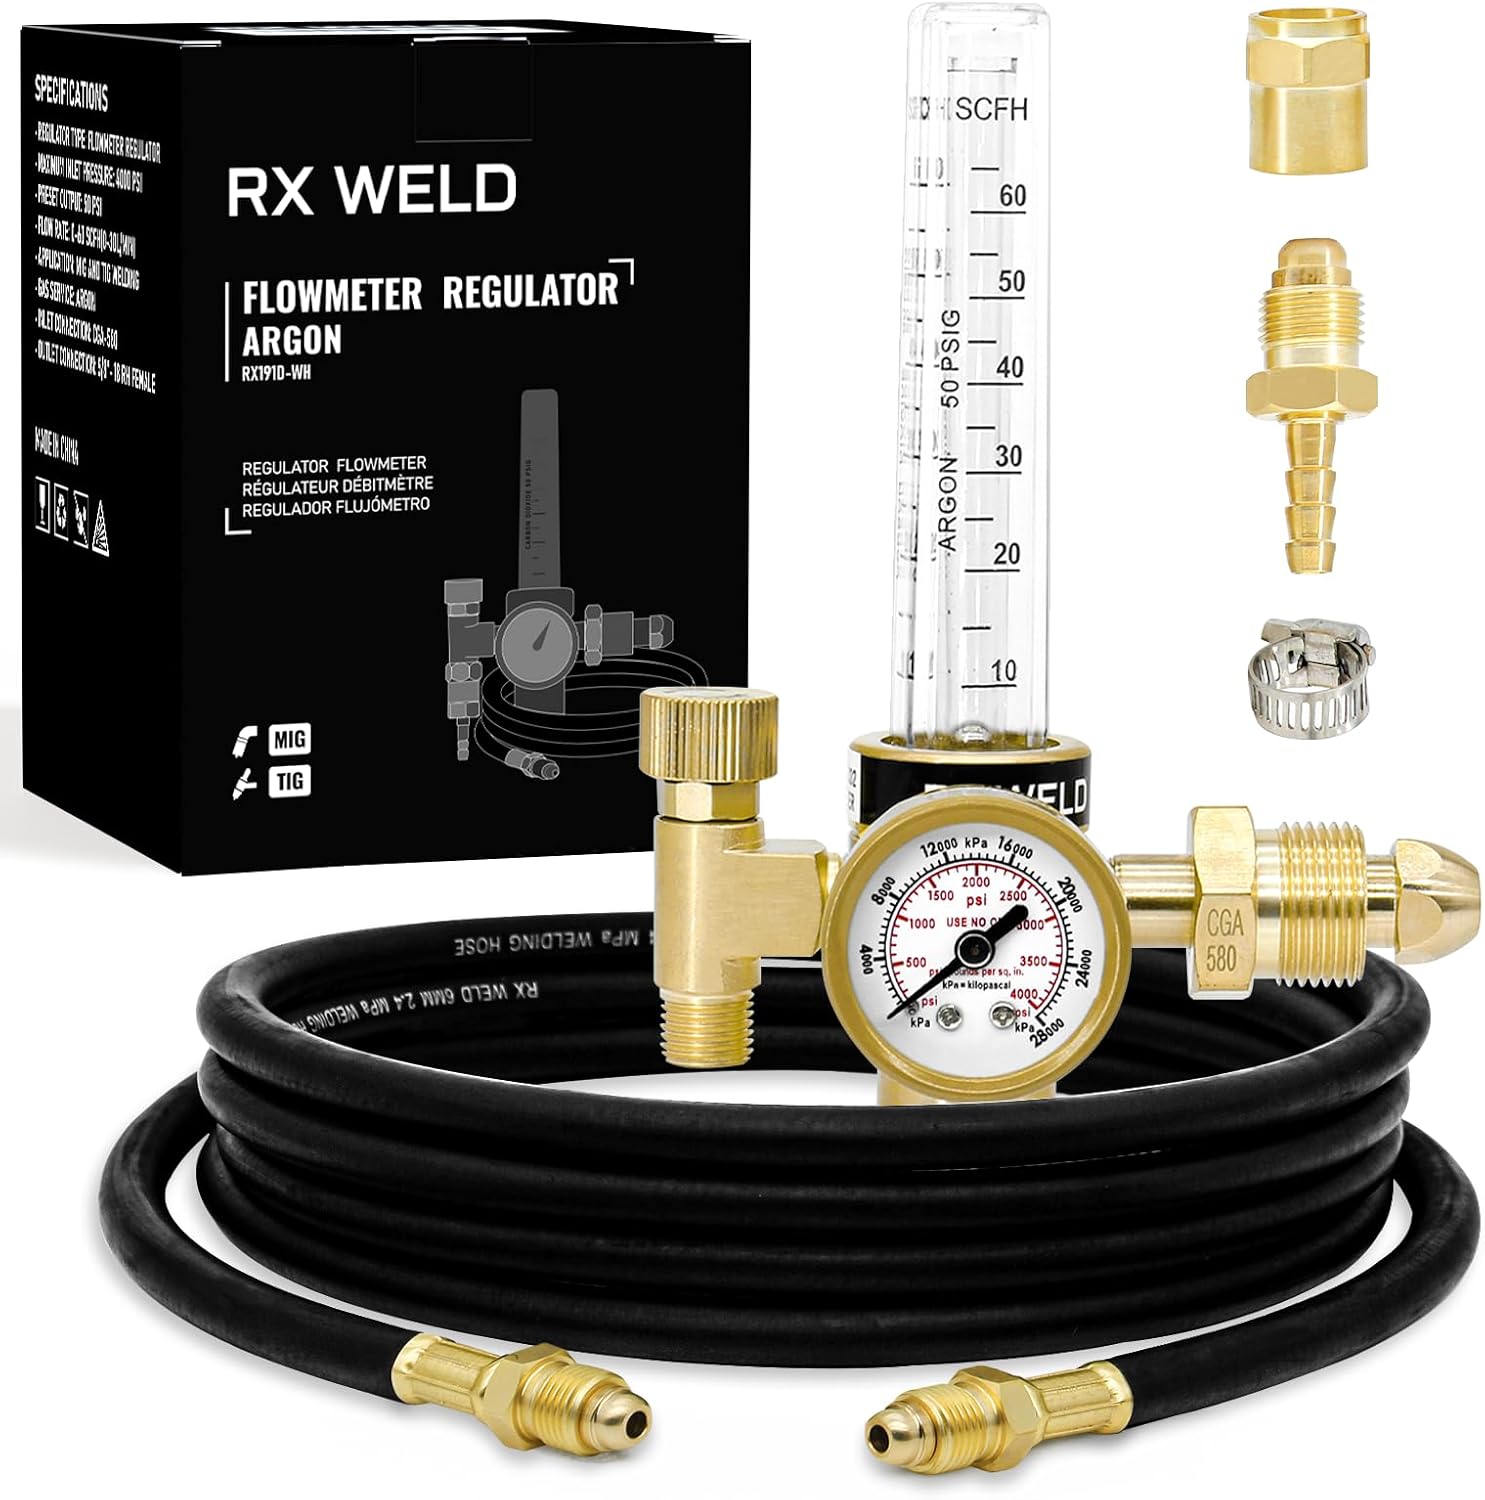

As an Amazon Associate, TestTalkHQ earns from qualifying purchases.
If the real question is whether this joint should even be TIG — versus MIG for speed or Stick for wind and dirty steel — use the canonical decision guide. It compares speed, appearance, cost, materials, positions, and real shop examples for all three processes with solid TIG coverage (precision stainless/aluminum, learning curve, when TIG is the wrong tool).
MIG vs TIG vs Stick — Which Process to Use →Usually the tip dipped in the puddle or the filler rod kissed the electrode. Cut back past the contamination and re-prep for polarity. Purple heat tint higher on the shank often means short post-flow or long stickout instead.
Cross-ground or contaminated tungsten, long arc length, bad work clamp, or AC balance that washes too wide. Fresh longitudinal grind and a tight arc fix most wander before you chase machine menus.
HAZ oxidation from lost shielding, slow/hot travel, undersized cup, or missing backpurge on pipe. Fix gas coverage and heat input — more face filler will not un-sugar a root.
Foot pedal (or hand remote) control. Set a sensible amp ceiling, live mid-pedal, and practice ramp-in / slope-out on scrap of the same thickness.
The rod tip oxidized outside the gas envelope. Keep the hot tip under the cup between dabs and clip oxidized ends. Also confirm the tungsten is still clean.
Same gas/contamination physics, different system. TIG fails on cup drafts, post-flow, and backpurge more often; MIG more often fails on nozzle distance, wire stickout, and CO₂ mix issues. Diagnose with TIG gas geometry first.
No. DCEN steel/stainless wants a pointed tip. A ball belongs on AC aluminum (pure/zirconiated). A ball on DC usually means wrong polarity, wrong tungsten, or overload.
When speed, outdoor wind, or dirty steel dominate — see MIG vs TIG vs Stick. Keep TIG for precision appearance, stainless, aluminum, and thin critical work.