
If you’ve ever looked at your gas regulator and wondered “what CFM should I actually be running?” – welcome to the club. Most welders just crank it to 20 CFH and hope for the best. Some guys run it way too high and burn through expensive gas. Others run it too low and wonder why they’re getting porosity.
Here’s the thing: gas flow rate matters just as much as amperage or wire speed. Too little gas and atmospheric contamination gets into your weld pool. Too much gas creates turbulence that actually pulls in contamination. There’s a sweet spot, and it changes based on your process, cup size, position, and whether you’re welding indoors or outside.
I’m going to break down the actual CFM settings that work for MIG, TIG, and flux-core welding. No guessing, no “turn it until it feels right” nonsense. Just the numbers you need to set your regulator correctly and stop wasting gas.

Why Gas Flow Rate Actually Matters
Shielding gas keeps oxygen and nitrogen out of your weld pool. That’s it. That’s the whole job. But it only works if you’re flowing the right amount at the right velocity.
Flow too little gas and you don’t get complete coverage. Oxygen sneaks in. You get porosity – those little holes and voids in your weld that look like Swiss cheese when you grind it back. On critical welds, porosity means rejection and rework.
Flow too much gas and you create turbulence. That turbulent gas flow pulls in the surrounding air instead of pushing it away. You end up with the same porosity problem, just from a different cause. Plus you’re burning through gas cylinders twice as fast.
The correct flow rate creates a stable, laminar gas shield around your arc. Gas flows smoothly over the puddle, displaces atmospheric gases, and protects the molten metal until it solidifies. That’s what you’re paying for when you buy argon or CO2.
MIG Welding Gas Flow Rates
MIG welding typically uses either 100% CO2 or a mixed gas like C25 (75% argon, 25% CO2). The flow rate you need depends on several factors, but here’s the baseline.
Standard MIG Gas Flow Settings
| Application | Gas Flow Rate (CFH) | Notes |
|---|---|---|
| General MIG (indoor) | 18-22 CFH | Start at 20 CFH |
| Thin material (16ga-18ga) | 15-18 CFH | Lower heat, less turbulence needed |
| Heavy material (1/4″+) | 20-25 CFH | Higher amperage, more gas needed |
| Vertical or overhead | 15-20 CFH | Gravity helps, less gas required |
| Outdoor welding (no wind) | 25-30 CFH | Increase to compensate for air movement |
Most MIG welding lives in the 18-22 CFH range. If you’re getting good welds at 20 CFH indoors with no porosity, don’t mess with it. Use the CFM Calculator to dial in precise settings based on your specific setup.
MIG Gas Type Affects Flow Rate
Different shielding gases behave differently, which affects your required flow rate:
100% CO2: Heavier than air, provides good coverage at lower flow rates. You can often get away with 15-18 CFH. But CO2 creates more spatter and a harsher arc.
C25 (75% Ar / 25% CO2): Industry standard for steel. Lighter than pure CO2, so you typically need 18-22 CFH for the same coverage. Smoother arc, less spatter.
Tri-Mix (90% Ar / 7.5% CO2 / 2.5% O2): Premium gas for stainless. Similar flow rates to C25, around 18-22 CFH.

TIG Welding Gas Flow Rates
TIG welding uses pure argon (or argon/helium mixes for special applications). The flow rate calculation is more precise than MIG because cup size directly affects gas consumption.
The TIG Cup Size Formula
Here’s the rule most TIG welders use: 1 CFH per size number of your cup.
Using a #6 cup? Start at 6 CFH. Using a #8 cup? Start at 8 CFH. It’s that simple.
This gives you a baseline. You’ll adjust up or down based on amperage, position, and conditions. But the cup size formula gets you in the right ballpark immediately.
TIG Gas Flow by Cup Size
| Cup Size | Base Flow Rate | Typical Applications |
|---|---|---|
| #4 | 4-6 CFH | Tight spaces, small parts |
| #6 | 6-8 CFH | General purpose, most common |
| #8 | 8-10 CFH | Higher amperage, better coverage |
| #10 | 10-12 CFH | Heavy aluminum, high amperage |
| #12+ | 12-15 CFH | Production work, maximum coverage |
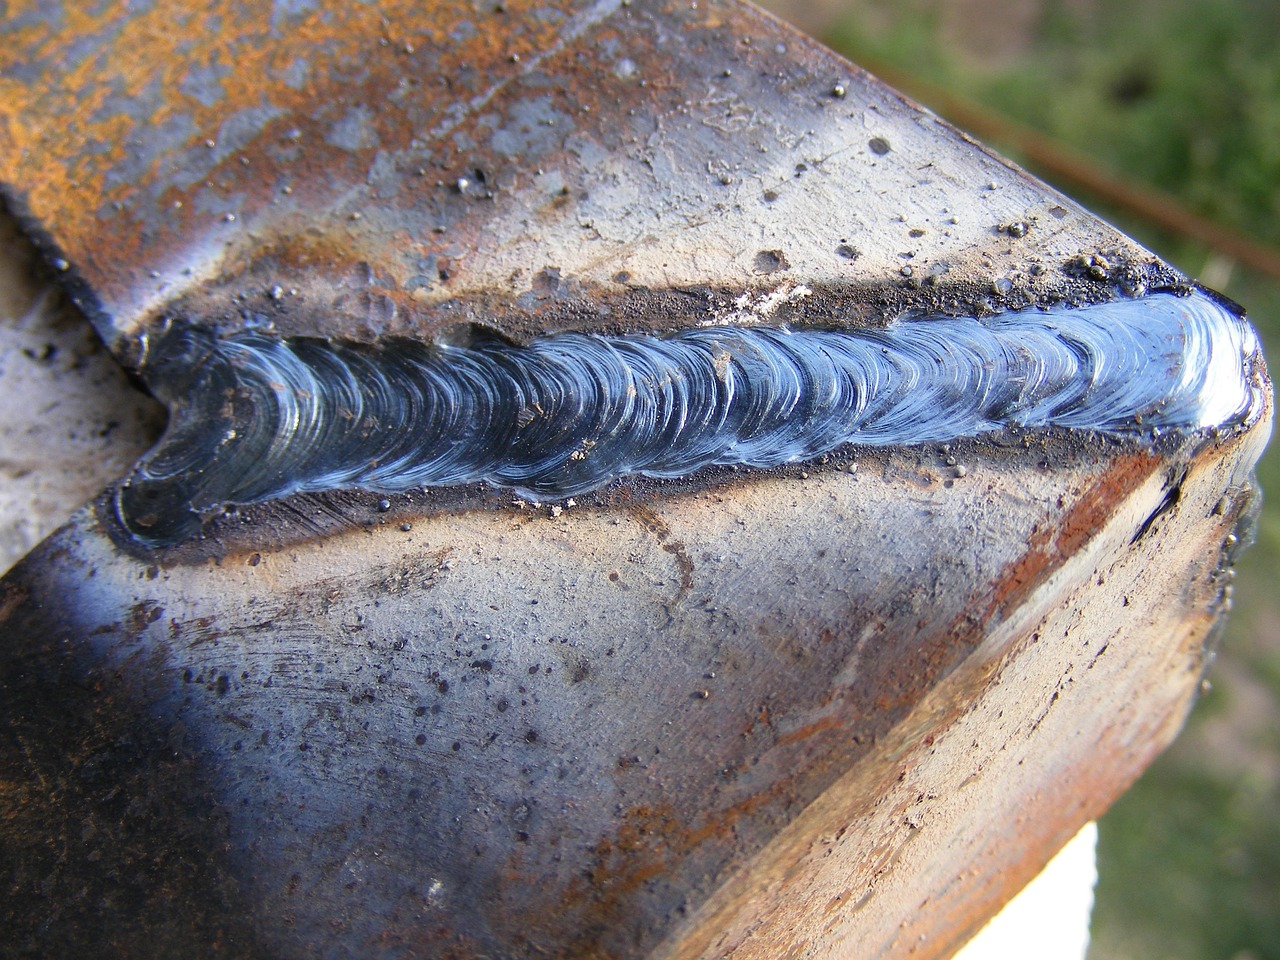
For detailed TIG settings including amperage and tungsten selection, check out the TIG Welding Calculator.
TIG Material Considerations
Different materials need different approaches to gas coverage:
Mild Steel: Standard flow rates work fine. 6-8 CFH with a #6 cup covers most situations.
Stainless Steel: Same flow rates as mild steel, but consider back purging for critical welds. Stainless is more sensitive to contamination on the backside of the weld.
Aluminum: Often needs slightly higher flow rates (add 1-2 CFH) because you’re running higher amperage. AC welding on aluminum also creates more heat, which can increase the oxidation zone around the puddle.

Flux-Core Gas Flow Rates
Flux-core comes in two varieties: self-shielded (no gas) and gas-shielded. If you’re running gas-shielded flux-core, your flow rates are similar to MIG but with some adjustments.
Gas-Shielded Flux-Core Settings
| Application | Gas Flow Rate |
|---|---|
| Indoor welding | 25-30 CFH |
| Outdoor welding (sheltered) | 30-35 CFH |
| Vertical-up | 25-30 CFH |
Flux-core typically needs higher flow rates than solid wire MIG because the arc is more turbulent. The flux creates gas and slag as it burns, which disrupts smooth gas flow. Compensate with slightly higher CFH settings.
How to Adjust Gas Flow for Position
Welding position affects how gas flows around your puddle. Gravity and arc direction change the coverage pattern.
Flat Position: Full flow rate. Gas rises naturally and spreads over the puddle. This is your baseline setting.
Horizontal: Same as flat, maybe reduce 1-2 CFH. The gas still flows upward effectively.
Vertical-Up: Reduce 2-3 CFH from flat. Gravity helps hold the gas shield in place as you travel upward. Too much flow creates turbulence.
Vertical-Down: Standard flow rates. The gas flows downward with your travel direction, providing good coverage.
Overhead: Reduce 3-5 CFH from flat. The gas wants to rise away from the weld, so you need less velocity to avoid turbulence while still maintaining coverage.
Indoor vs Outdoor Welding: The Big Difference
Indoor welding in a shop with minimal air movement? Use standard flow rates. Outdoor welding or in a drafty shop? Everything changes.
Outdoor Gas Flow Adjustments
No Wind (Calm Day): Increase flow by 25-30%. If you normally run 20 CFH indoors, go to 25-26 CFH outside.
Light Breeze (5-10 mph): Increase flow by 50% and add wind protection. That 20 CFH becomes 30 CFH, plus you need welding blankets or a windscreen.
Moderate Wind (10+ mph): Don’t even try without serious wind protection. Build a tent, use welding screens, or wait for calmer conditions. No amount of gas flow compensates for sustained wind.
Wind is the enemy of shielding gas. Even a slight draft disrupts your gas coverage. This is why outdoor welding often uses self-shielded flux-core instead of gas-shielded processes – the flux provides protection regardless of wind.
Gas Cylinder Sizes and How Long They Last
Shielding gas isn’t cheap. Knowing how long a cylinder lasts helps you plan for refills and budget gas costs.
Common Cylinder Sizes
| Cylinder Size | Gas Capacity | Runtime at 20 CFH |
|---|---|---|
| 40 CF (small) | 40 cubic feet | 2 hours |
| 80 CF (medium) | 80 cubic feet | 4 hours |
| 125 CF (large) | 125 cubic feet | 6.25 hours |
| 330 CF (industrial) | 330 cubic feet | 16.5 hours |
Runtime calculation: Cylinder Capacity (CF) ÷ Flow Rate (CFH) = Hours of Welding
Example: 125 CF cylinder at 20 CFH = 125 ÷ 20 = 6.25 hours of continuous welding
Reality check: You’re not welding continuously for hours. You’re tacking, positioning, grinding, measuring. Actual cylinder life is usually 2-3x the calculated runtime because you’re only flowing gas when the arc is on.
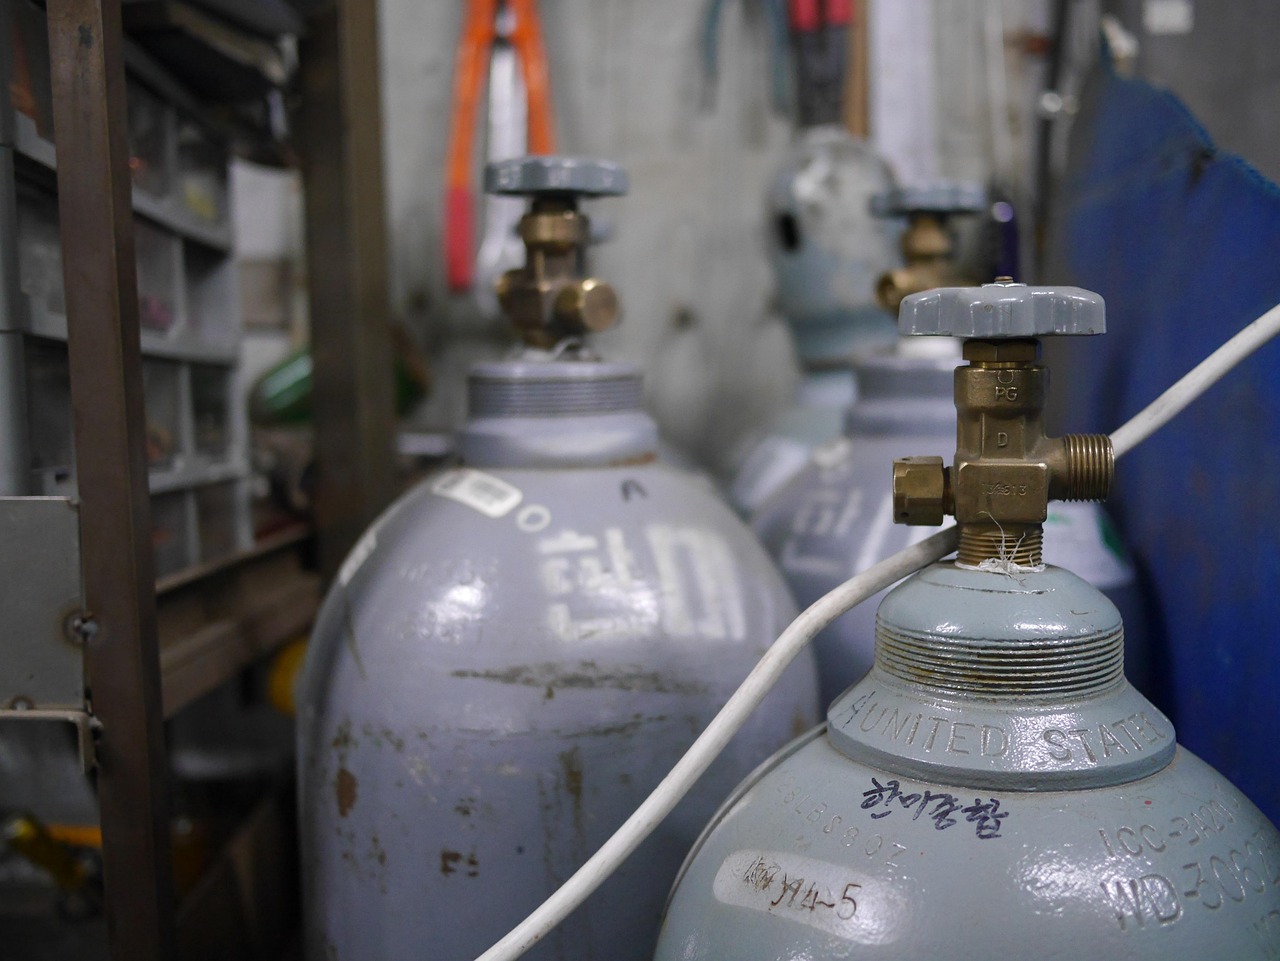
Note: Full gas cylinders are heavy. A 125 CF argon cylinder weighs about 100 pounds full. If you’re moving cylinders around the shop frequently, check out the Metal Weight Calculator to plan for proper material handling equipment.
How to Set Your Gas Regulator
Most gas regulators have two gauges: one shows cylinder pressure (high pressure side), the other shows delivery pressure and flow rate (low pressure side). You care about the delivery side.
Setting Flow Rate Step-by-Step
- Open cylinder valve fully: Turn the valve on top of the gas cylinder all the way open, then back it off a quarter turn. This prevents freezing and seats the valve properly.
- Set regulator to zero: Turn the adjustment knob counterclockwise until there’s no pressure on the delivery gauge.
- Trigger the gun: Press your MIG trigger or TIG foot pedal to start gas flow through the system.
- Adjust while flowing: While holding the trigger, slowly turn the regulator adjustment knob clockwise until the flowmeter reads your target CFH.
- Release and verify: Let go of the trigger. The flowmeter ball should drop to zero. Trigger again to confirm it returns to your set flow rate.
Some flowmeters use a floating ball in a tube. The top of the ball should align with your target CFH mark. Others use a needle gauge – read the number directly.
Troubleshooting Porosity and Gas Coverage Issues
Getting porosity in your welds? Before you blame the gas flow rate, check these other factors.
Common Porosity Causes
Contaminated Base Metal: Oil, grease, paint, rust, mill scale – all of these create gas pockets when they burn. Clean your metal before welding. Gas flow won’t save dirty material.
Contaminated Filler Wire: Rusty wire, wire with drawing compound buildup, or cheap wire with inconsistent quality all cause porosity. Fresh, clean wire matters.
Drafts and Air Movement: Even in a “still” shop, overhead fans, open doors, or HVAC can create enough draft to disrupt gas coverage. Shield your work area.
Wrong Gas for Material: Using straight CO2 on aluminum? That won’t work. Pure argon on steel? Poor penetration and arc instability. Match your gas to your material.
Leaking Gas Lines: Check your hose connections, regulator fittings, and gun fittings. A small leak means you’re flowing less gas than your gauge shows.
Damaged or Clogged Nozzle: Spatter buildup inside your MIG nozzle restricts gas flow and creates turbulence. Clean or replace nozzles regularly.
If you’ve addressed all of these and still get porosity, then adjust gas flow. Start at the low end of the recommended range and increase in 2 CFH increments until porosity disappears.
The Cost of Running Too Much Gas
Let’s talk about what excessive gas flow actually costs you.
Say you’re running 30 CFH when 20 CFH would work fine. That’s 50% more gas consumption. On a 125 CF cylinder, you’re cutting your runtime from 6.25 hours to 4.17 hours.
Gas refills vary by region and gas type, but rough numbers:
- 125 CF CO2: $25-35 per fill
- 125 CF C25 (Ar/CO2): $45-65 per fill
- 125 CF pure Argon: $55-75 per fill
If you’re going through 50% more gas than necessary, you’re adding $500-1,000 per year in wasted gas costs for a shop welding 20 hours per week. That’s real money for no benefit.
Set your flow rate correctly once, verify it’s working (no porosity, good weld quality), and leave it alone.
Special Considerations for Different Materials
Aluminum Welding
Aluminum requires pure argon. Never use CO2 or CO2 mixes on aluminum – you’ll get nothing but oxidation and failed welds.
Flow rates for aluminum are typically 1-2 CFH higher than steel because you’re running higher amperage and the heat creates a larger oxidation zone. If you normally use 8 CFH with a #6 cup on steel, go to 9-10 CFH on aluminum.
Stainless Steel Welding
Stainless uses either C25 or tri-mix gas. Flow rates are standard (18-22 CFH for MIG, cup size formula for TIG).
The bigger consideration with stainless is back purging. When you’re welding stainless pipe or tube, you need to purge the backside with argon to prevent sugaring (chromium oxide formation). Back purge flow rates are typically 5-10 CFH – just enough to displace oxygen.
Cast Iron Welding
Cast iron can be TIG welded with pure argon using standard flow rates. The challenge with cast iron isn’t gas coverage – it’s heat management and preventing cracking. Check out the Heat Input Calculator to manage thermal input on brittle materials like cast iron.
Gas Flow and Heat Input Relationship
There’s an indirect relationship between gas flow and heat input. Higher amperage welding creates more heat, which expands the gas coverage area you need to protect.
When you’re welding thick material at 200+ amps, the heat zone is large. You need adequate gas flow to cover that entire zone. When you’re welding thin material at 80 amps, the heat zone is small and you need less gas.
This is why the flow rate recommendations scale with material thickness – thicker material typically means higher amperage, which means larger heat-affected zones.
For heat input calculations on code work or critical applications, use the Heat Input Calculator to ensure you’re within procedure limits.
Quick Reference: Gas Flow Decision Tree
Here’s how to quickly determine your gas flow rate:
MIG Welding:
- Indoors, no draft: 18-20 CFH
- Indoors, some air movement: 20-22 CFH
- Outdoors, calm day: 25-28 CFH
- Outdoors, light breeze: 30+ CFH with wind protection
TIG Welding:
- Cup size #6 or smaller: 1 CFH per cup number
- Cup size #8 or larger: 1 CFH per cup number, add 1-2 CFH for aluminum
- Outdoor work: Add 2-3 CFH plus wind protection
Flux-Core (Gas-Shielded):
- Indoors: 25-30 CFH
- Outdoors: 30-35 CFH with wind protection
For precise settings based on your specific setup, material, and position, use the CFM Calculator.
Testing Your Gas Flow Rate
Want to verify your gas flow is actually reaching the nozzle? Here’s a simple test:
Set your flow rate on the regulator. Trigger the gun (MIG) or pedal (TIG) and hold a piece of paper or your hand near the nozzle. You should feel steady, smooth gas flow. If it’s pulsing or erratic, you have a problem – clogged nozzle, kinked hose, or regulator issue.
For MIG, remove the nozzle and trigger the gun. You should hear and feel consistent gas flow from the contact tip area. If you don’t, check your liner and gas connections.
For TIG, the gas should flow smoothly from the cup. Too much flow and you’ll hear turbulence or a hissing sound. Just right and it’s nearly silent.
Final Thoughts on Welding Gas Flow Rates
Look, gas flow isn’t complicated. Pick a baseline setting for your process (20 CFH for MIG, cup size formula for TIG), adjust for conditions (outdoor, position, material), and verify you’re getting good welds without porosity.
Most porosity problems aren’t gas flow issues – they’re contamination issues. Clean your metal, use fresh wire, and protect your work area from drafts. Get those right before you start cranking up gas flow.
And stop wasting gas by running it too high. Set it correctly once, confirm it works, and leave it alone. Your wallet will thank you when you’re not refilling cylinders every two weeks.
For more welding resources and calculators, visit the Welding Calculators and Tools page. And if you need help with overall welding settings, check out the MIG Calculator, TIG Calculator, or Stick Calculator for complete setup recommendations across all processes.
Disclaimer: Always follow manufacturer recommendations for gas flow rates and welding procedures. Gas flow requirements can vary by equipment, materials, and application. For critical applications, consult welding engineers and follow applicable codes. See our full disclaimer.
Turn flow and cylinder use into dollars with the Welding Gas Cost Calculator; compare cylinder ownership, rental, exchange, and supplier fees in the Welding Gas Cost Guide.
Dial CFH with the Shielding Gas Flow Rate Calculator.
Choosing the gas itself (not just flow): How to Choose Shielding Gas.
Quick tables: Shielding Gas Flow Rate Chart.