Contractor Job Estimator
Price remodels and GC work, then send a quote with no internal numbers.
Excel or Google Sheets. Best on a computer.
$29.00
BuyPedal force to pushrod load to line pressure to clamp force to brake torque — and then the question that actually matters: which axle locks first
Price remodels and GC work, then send a quote with no internal numbers.
Excel or Google Sheets. Best on a computer.
$29.00
BuyCheckout opens in a new tab.
The reason brake maths goes wrong is almost never the arithmetic. It is that somebody took a piston diameter off a forum post, counted the pistons on both sides of the caliper, or measured a rotor blank instead of the swept ring. All six inputs in the chain are things you can put a caliper or a gauge on in half an hour. One thing we are not listing: Wilwood's advice when the pressure does not add up is to fit a gauge and read the actual pressure at the caliper, and we have no verified affiliate link for a brake line pressure gauge, so there is no guess in that slot.
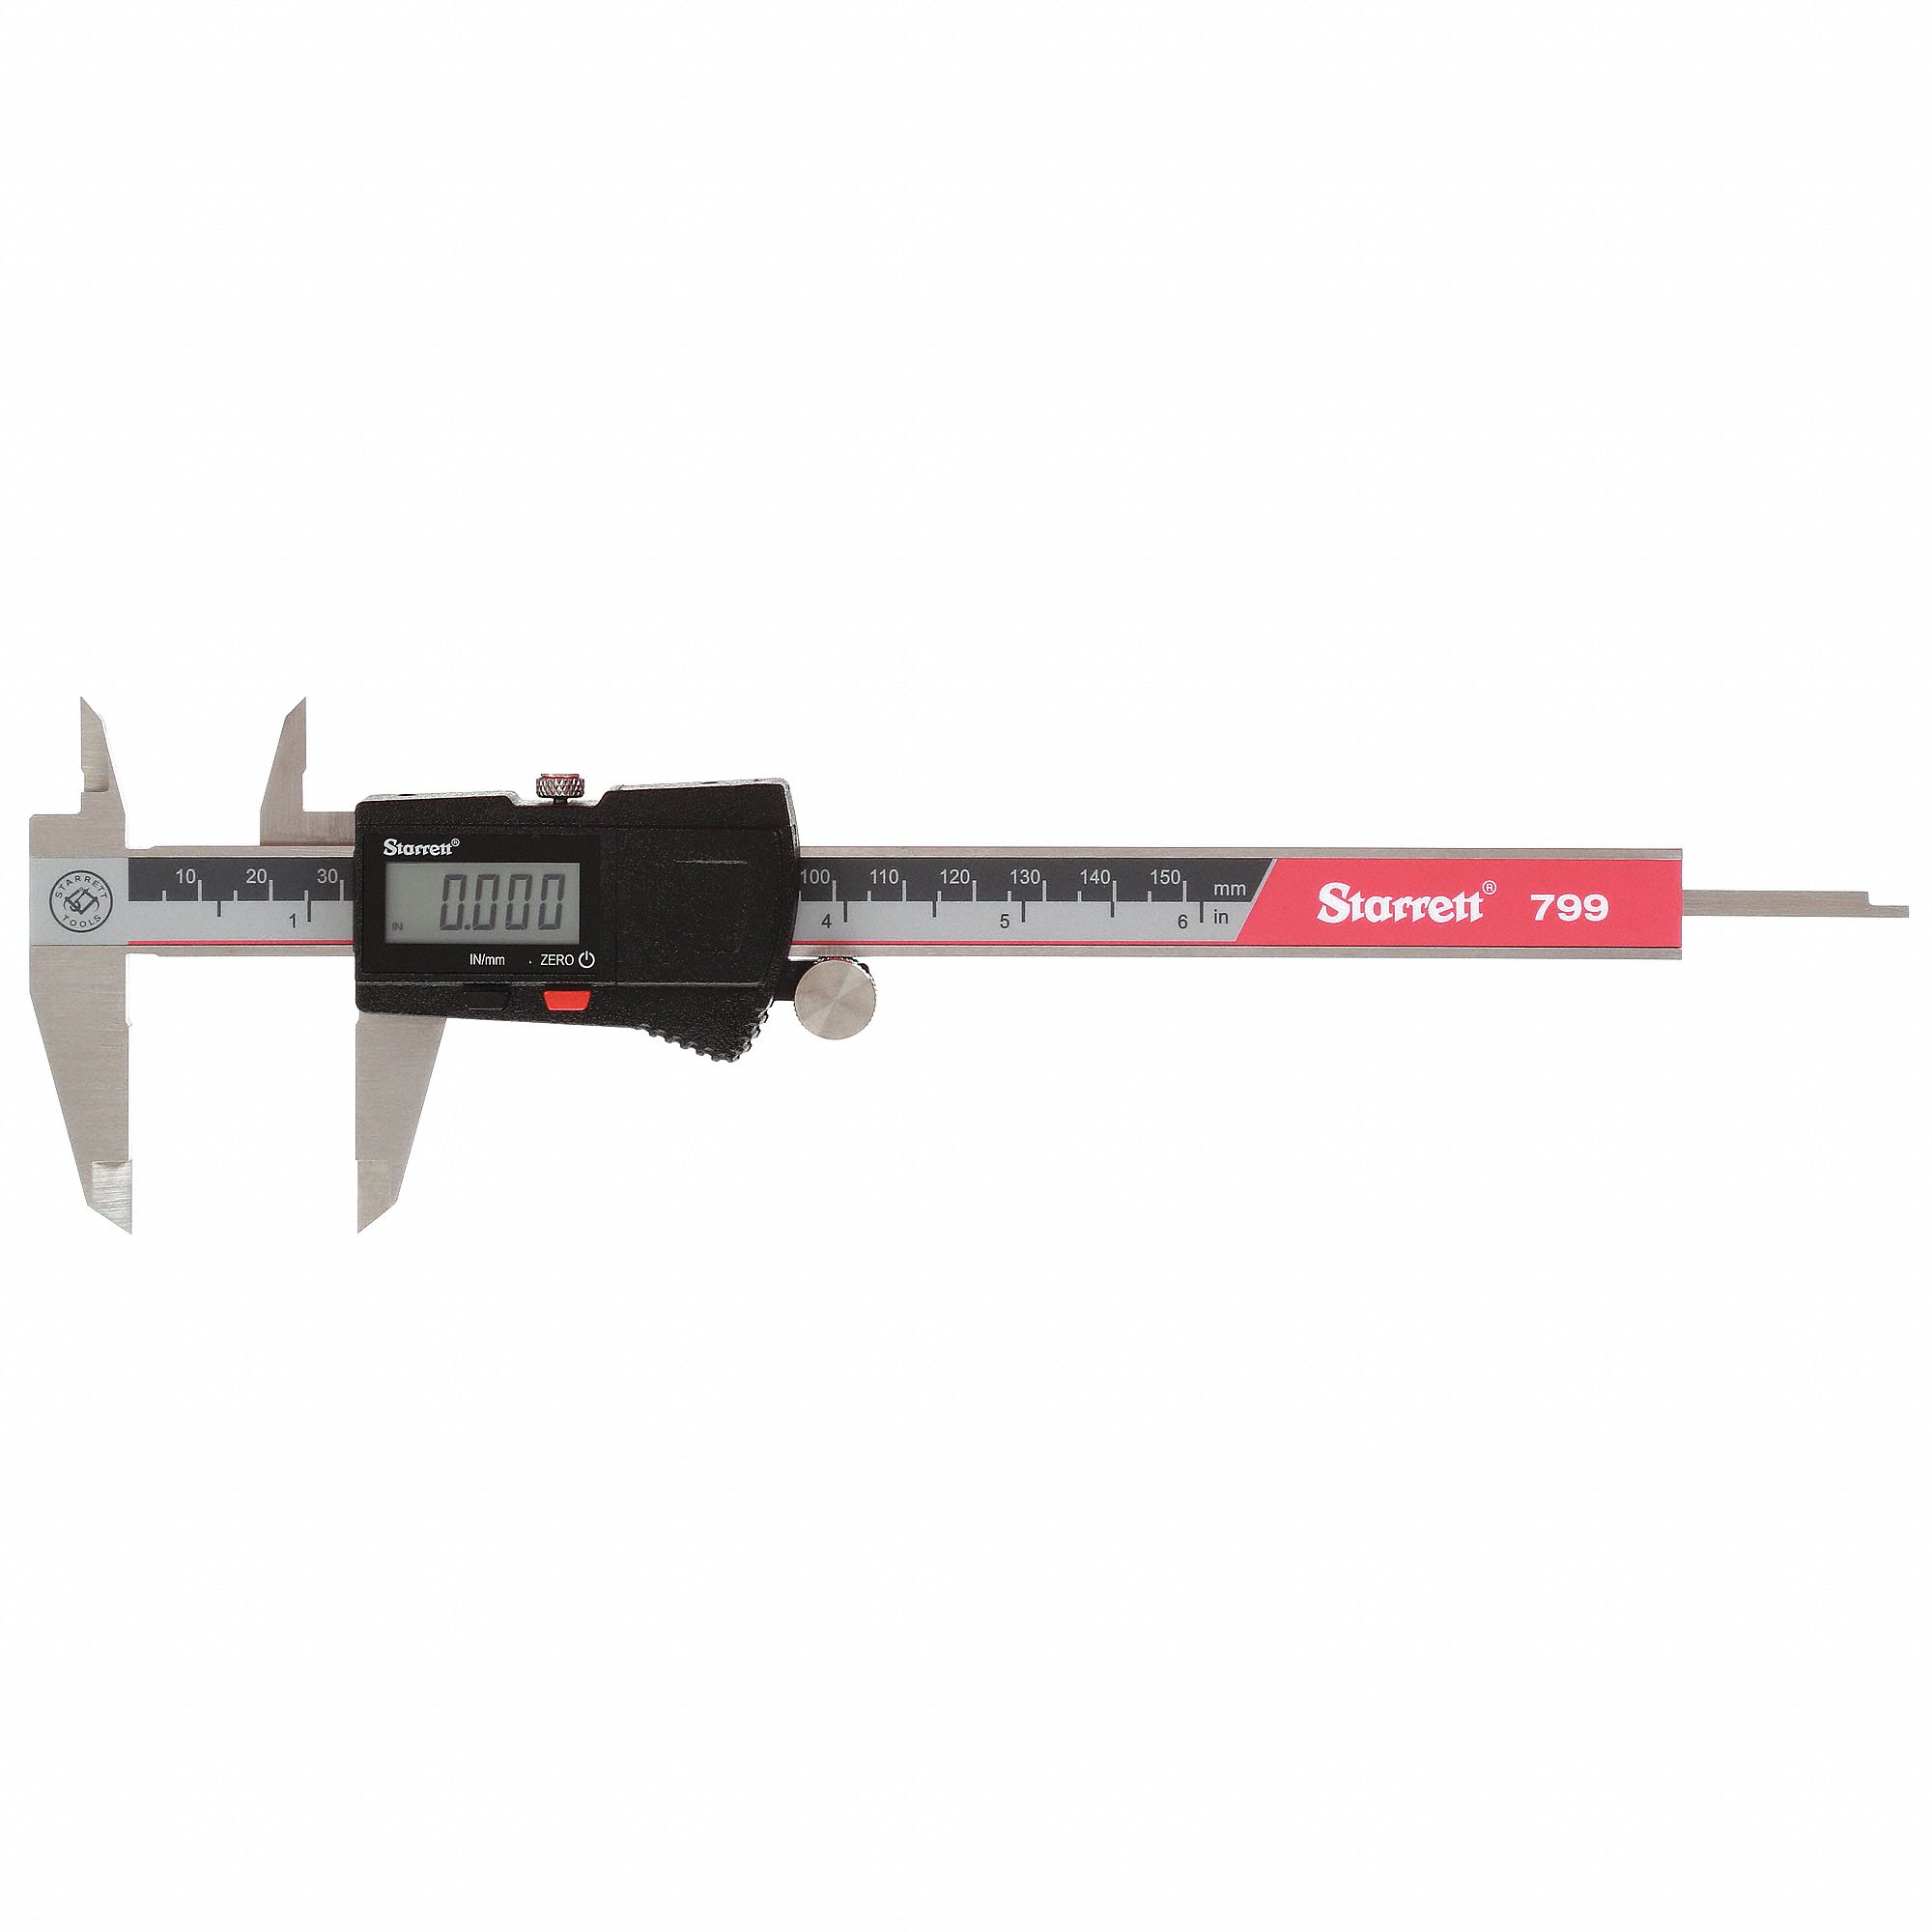

As an Amazon Associate, TestTalkHQ earns from qualifying purchases. Prices and availability can change.
There is no secret to a brake system. It is six multiplications in a row, and the only reason it feels mysterious is that the units change at every step.
| Step | What it does | Where it comes from |
|---|---|---|
| Pushrod force = pedal force × pedal ratio × assist | Turns leg effort into pushrod load | Pedal ratio is A ÷ B, Wilwood's published definition |
| Line pressure = pushrod force ÷ (π/4 × bore²) | Turns load into pressure | Pascal; bore area is geometry |
| Clamp load = pressure × piston area on one side | Turns pressure into a squeeze on the rotor | Wilwood: total area from one side of the caliper |
| Rotor torque = 2 × μ × clamp × effective radius | Turns the squeeze into twist | Coulomb friction, twice over — a disc has two faces |
| Road force T = axle torque ÷ tyre radius | Turns twist into a push against the ground | Torque divided by a lever arm |
| Braking ratio z = (T1 + T2) ÷ P | Turns force into deceleration in g | FMVSS 135 S7.4.4(f), verbatim |
Two of those steps are worth pausing on, because they are the two people get wrong.
Piston area is one side of the caliper. Wilwood put it plainly: “A calipers piston area is calculated by finding the total piston area from one side of the caliper (this is true for a single piston caliper also).” So a four-piston fixed caliper is two pistons, not four. The caliper reacts equal and opposite loads on the two pads, so one side's area times line pressure is the clamp load pressing on each face — which is also exactly why the torque step has a 2 in it. Count both sides and you will double your front torque and convince yourself the car locks a front axle it does not.
Effective radius is not the rotor radius. The pad acts over a band, and the honest shorthand is the middle of that band: swept outer radius minus half the pad's radial height. On a 12.19 in swept diameter with a 1.9 in pad, that is 5.15 in, not 6.1. Using the rotor radius instead inflates every torque on the page by about 18 percent. If your caliper kit publishes an effective radius, use theirs — the midpoint is a geometric approximation and we say so on the input.
Ask most people to improve a brake system and they will tell you about bigger rotors. Ask the federal standard and it has almost nothing to say about how hard you can stop — one line, 100 km/h in 70 m or less, which works out at an average braking ratio of about 0.56. What it does have a great deal to say about is the order the axles give up in.
FMVSS 135 S7.2.1(a), in full: “The purpose of this test is to ensure that lockup of both front wheels occurs either simultaneously with, or at a lower deceleration rate than, the lockup of both rear wheels, when tested on road surfaces affording adhesion such that wheel lockup of the first axle occurs at a braking ratio of between 0.15 and 0.80, inclusive.”
Read what that is asking for. Not better braking — a sequence, and one that has to hold across more than a five-fold range of deceleration. The reason is simple and brutal: a locked tyre has essentially no lateral grip. Lock the front and the car ploughs straight on and you can feel exactly what has happened. Lock the rear and the back axle has nothing holding it in line, the tail steps out, and the correction window is a fraction of a second. One failure mode is a longer stop. The other one is a spin.
Here is the whole problem in two sentences. Your hydraulics deliver a fixed front-to-rear split, because a master cylinder has no idea how hard you are stopping. The grip available at each axle moves, because braking throws weight forward.
FMVSS 135 S7.4.4(g) puts a number on the second part. The adhesion each axle is being asked for is:
| Axle | Adhesion utilised | In words |
|---|---|---|
| Front | f1 = T1 ÷ (P1 + z h P / E) | Front braking force over the load the front is now carrying |
| Rear | f2 = T2 ÷ (P2 − z h P / E) | Rear braking force over the load the rear has left |
P1 and P2 are the static axle weights, P is the total, h is the centre of gravity height, E is the wheelbase and z is the braking ratio. The term z h P / E is the load that moves off the back and onto the front. An axle locks when the adhesion it is being asked for reaches the peak friction coefficient the tyre and road can supply.
Work a case. A 3,400 lb car, 55 percent on the front, 108 in wheelbase, a 20 in centre of gravity. Standing still the front has 1,870 lb. At 0.8 g it is carrying 1,870 + (0.8 × 20 × 3,400 ÷ 108) = 2,374 lb, and the rear has dropped from 1,530 to 1,026. The ideal split has gone from 55/45 to 70/30 — and it did that purely because you braked harder.
So the ideal front share is P1/P + z h / E: a straight line rising with deceleration. Your hydraulic share is flat. Two lines like that cross exactly once. At that one deceleration your brakes are perfect. Everywhere below it you are front biased and leaving rear grip on the table; everywhere above it you are rear biased and the back is working harder than it is loaded for.
There is one number in this whole exercise that functions as a sanity check, and it comes from Wilwood's own answer to the most common brake complaint there is — a firm pedal on a car that will not stop:
“Common contributors to ‘hard pedal, won't stop’ issues are an oversized master cylinder bore and/or inadequate pedal lever ratio. Another contributing factor is the ‘aggressiveness’ of the pad compound being used. Disc brakes require approximately 900-1200 psi at the caliper for effective functioning.”
That gives you a target and it names the two fixes, in order of effectiveness:
Both of those have the same price tag, and it is the one people forget. Wilwood again: “As ‘A’ gets longer and ‘B’ gets shorter, the mechanical leverage increases brake force without pushing harder on the pedal. The disadvantage is that the pedal stroke also increases, requiring you to push the pedal further.” At 5:1, every inch of master cylinder stroke is five inches of pedal. A smaller bore does the same thing in volume terms: less fluid moved per inch of stroke, so more stroke needed to fill the calipers.
Once you know which way your split is wrong, there are exactly three places to change it, and they are not interchangeable.
| Change | What it does to the bias line | When it is the right tool |
|---|---|---|
| Caliper piston area (or effective radius, or pad μ) | Tilts the flat line up or down — same shape, different height | Building the system. This is the proper fix and it is the one the big brake kits use. |
| Master cylinder bore, on a balance bar with two cylinders | Tilts the line, coarsely | Race cars with dual masters. Wilwood: “brake proportioning can be adjusted by use of different size master cylinder bores”. |
| Proportioning valve | Bends the line — full pressure to the rear up to a split point, then a reduced slope | Tuning a built system, and the only one of the three that can follow the ideal curve instead of crossing it. |
The balance bar deserves a note, because it is the one most often misunderstood. Wilwood describe it exactly: centred, it “pushes equally on both master cylinders creating equal pressure, given that the master cylinders are the same size bore”, and wound as far as it will go toward one cylinder “it will push approximately twice as hard on that cylinder as the other.” So the full authority of the bar is roughly a 2:1 force split — a third to two thirds. That is a fine-tuning range, not a design range. If you need more than that, you need different bores, and if you need more than that, you need different calipers.
And the factory proportioning valve is only correct for the car it left the factory on. Wilwood: it “was designed for a specific weight car, on a specific tire, with a specific suspension system, and a specific amount of brake torque at each wheel. If any of these specifications have been altered, the factory valve will not allow the optimum performance of the braking system by either limiting too much pressure or not limiting the pressure enough.” Change the calipers, the tyres, the ride height or the weight, and that valve is now tuned for a car that no longer exists. The full argument is in proportioning valve vs master cylinder bore vs balance bar.
The rear brake inputs here are disc only, and that is a deliberate refusal rather than an omission.
A disc brake is honest: clamp load times friction times radius, twice for two faces, and the answer scales exactly with line pressure. A drum brake is not. A leading shoe is dragged into the drum by its own friction, so it generates far more torque than its actuating force alone would explain. That self-energising multiplication is the drum's brake factor, it typically lands somewhere between about 2 and 4 depending on geometry and lining, and it cannot be derived from a wheel cylinder bore and a lining friction coefficient. It is a property of that drum, measured on a dynamometer.
So a page that guessed it would be wrong by up to a factor of two in the rear torque — and the error points the wrong way. Under-guess the drum's brake factor and the page tells you your rear axle is safe when it locks first. That is the one mistake in brake work with a genuinely nasty failure mode, so we will not make it. If your car has rear drums, get the brake factor from the drum's own published data and come back with a rear torque figure.
The model is a rigid body with constant friction coefficients. Three consequences follow, and all three make the printed answer slightly optimistic.
And the other direction, for completeness: aerodynamic drag, rolling resistance, engine braking and regeneration all help a real car stop, so the braking distance printed here is conservative for that reason alone.
What is brake bias? The share of the total braking force that the front axle produces. It is set by the hydraulics — line pressure, caliper piston area, pad friction and effective rotor radius at each end — and it is fixed, in the sense that a master cylinder has no way of knowing how hard you are stopping. The grip available at each axle, by contrast, changes constantly with deceleration, because braking transfers load forward. Brake bias is right when the fixed hydraulic share stays ahead of the moving ideal share over the whole range of deceleration you will ever use.
How do you calculate brake bias? Work out the braking force at each axle, then take the front one as a fraction of the total. The force at an axle is the brake torque divided by the tyre's loaded radius, and the brake torque is twice the pad coefficient of friction times the clamp load times the effective rotor radius, times the number of calipers. The clamp load is line pressure times the total piston area on one side of the caliper. Line pressure is pushrod force divided by master cylinder bore area, and pushrod force is pedal force times pedal ratio times any booster assist.
Should the front or rear brakes lock first? The front, always. FMVSS 135 S7.2.1 requires that lockup of both front wheels occurs either simultaneously with or at a lower deceleration rate than lockup of both rear wheels, for first-axle lockup anywhere between a braking ratio of 0.15 and 0.80. The reason is that a locked tyre has almost no lateral grip: a locked front axle means the car runs straight on and the driver knows immediately, while a locked rear axle leaves nothing holding the back of the car in line and it spins.
Why does my brake pedal feel hard but the car won't stop? Almost always leverage, not friction. Wilwood name the causes directly: an oversized master cylinder bore, an inadequate pedal lever ratio, and the aggressiveness of the pad compound. They also give the number to check against — disc brakes need approximately 900 to 1200 psi at the caliper to work properly. Fit a gauge and read the real pressure; if it is short, go to a smaller bore master cylinder, more pedal ratio, or both. On a boosted car, check the booster is still assisting before anything else.
What is a good brake pedal ratio? Wilwood's answer when you have nothing else to go on is that a 6:1 ratio is an excellent starting point. Manual-brake cars generally run 6:1 to 7:1; a car with a vacuum booster is usually nearer 4:1 because the booster is supplying the rest of the multiplication. Remember the trade: pedal ratio multiplies travel exactly as much as it multiplies force, so at 5:1 every inch of master cylinder stroke is five inches at your foot.
How do you measure pedal ratio? Measure the straight-line distance from the centre of the pedal pivot to the middle of the foot pad — call it A — then the distance from the same pivot to the centre of the pushrod attachment, call it B. Pedal ratio is A divided by B. Wilwood add a useful note: it does not matter whether the pushrod attaches above or below the pivot, the calculation is the same.
Do I add up all the caliper pistons or just one side? One side only. Wilwood state it explicitly: a caliper's piston area is the total piston area from one side of the caliper, and that is true for a single-piston caliper too. So a four-piston fixed caliper counts as two pistons and a six-piston as three. The reason is that the caliper presses both pads with the same load, so one side's area times line pressure is the clamp force acting on each face of the rotor. If the caliper has differential bores — and performance calipers often do, deliberately, to control pad taper — add the actual areas of the different diameters on that side.
What is the effective rotor radius? The radius at which the pad's friction force effectively acts. The usual shorthand is the midpoint of the swept band: the outer radius of the swept ring minus half the pad's radial height. That is a geometric approximation rather than a published figure, and it is good to within a few percent on an ordinary pad. If the caliper or kit data sheet quotes an effective radius, use theirs. What you must not do is use the rotor's outside radius, which overstates brake torque by about 15 to 20 percent.
Will a bigger rotor improve my brakes? It increases torque in proportion to effective radius, and it adds thermal mass, which is often the real benefit. But it changes bias if you only do one end, and it does nothing for a system that cannot make enough line pressure in the first place. Check pressure against the 900 to 1200 psi band before you spend money on rotors, and check what the change does to the lock-up order afterwards.
Does a bigger caliper piston always help? No, and Wilwood are blunt about it: larger pistons do increase clamping force and braking performance on that axle, but “if the caliper pistons are too large for the application, they are likely to cause excessive pedal travel and an adverse change in front to rear balance resulting in longer stopping distances”, and clamping forces can become strong enough that premature lockup makes the brakes hard to modulate. A caliper is a bias decision and a pedal-travel decision as much as a power decision.
What does a proportioning valve actually do? It passes full line pressure to the rear brakes up to a split point, then lets rear pressure rise more slowly than front pressure above it. That matters because it is the only one of the three bias adjustments that changes the shape of your bias line instead of just its height — it can bend toward the rising ideal curve rather than crossing it at a single deceleration. A plain change of caliper, bore or pad shifts the line without bending it.
Why does my car brake differently loaded than empty? Because loading changes both the static axle split and the centre of gravity height, and both appear in the adhesion-utilisation equations. Load the back of a pickup and the rear axle gains static weight, so it takes much more braking force to lock it; empty, the same hydraulics can lock it easily. FMVSS 135 runs every braking test at both GVWR and lightly loaded weight for exactly this reason, and the lock-sequence requirement has to be met in both conditions.
How much deceleration should a car manage? For a legal floor: FMVSS 135 requires 100 km/h to a stop in 70 m or less, which is an average braking ratio of about 0.56, and the adhesion-utilisation requirement has to hold from 0.15 to 0.80. For a practical ceiling: you cannot exceed the tyre's peak friction coefficient, which on the standard's own dry test surface is 1.02. A road car with good tyres and correct bias will manage somewhere between those.
Does this change if I have ABS? The lock-sequence test in FMVSS 135 S7.2 is explicitly for vehicles without antilock brake systems, so a car with working ABS is not judged on it the same way. The underlying bias still matters a great deal, though: ABS works by releasing pressure at a wheel that is about to lock, so a badly rear-biased car with ABS spends its time with the rear channel cycling and the front axle under-used, and gets a longer stop for it. And ABS has a failure mode. The bias is what you fall back on.