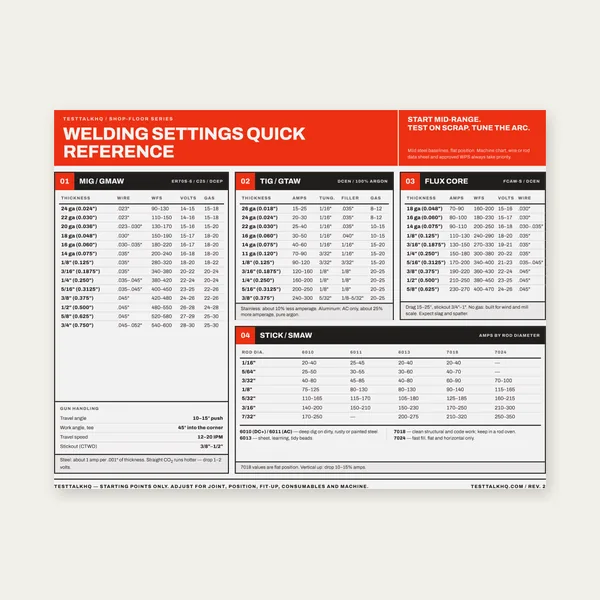
Welding Reference Card
One page. MIG, TIG, stick and flux core settings by thickness.
$3.99
BuyWhen the chart said the amps were right — but the puddle still lies
Use this when the Welding Amperage Calculator (and the master chart in the Amperage Chart Guide) pointed to a range, but beads burn through, lack fusion, or stick. Process-specific settings: MIG, TIG, Stick. MIG defect deep-dive: Common MIG Problems.

Most amp failures are wrong process chart, material mismatch (Al/SS vs mild), position not derated, machine maxed with no duty left, or travel/voltage fighting the amp setting.
| Symptom | Likely amp story | First fix | Next tool |
|---|---|---|---|
| Burn-through / hole | Too hot for thickness/process | Drop 10–20%; check process chart | Amperage Calculator |
| Cold lap / no fusion | Too cold or wrong process range | Raise amps; verify material type | Chart guide |
| Rod sticks / MIG stubbing | Low amps or wrong polarity/WFS pair | Match process calculator settings | Stick / MIG |
| OK flat, fails vertical | No position derate | Cut 10–20% for vertical | Chart guide position table |
| Good bead then thermal trip | Amps OK; duty cycle exceeded | Lower amps or cool-down plan | Duty Cycle Troubleshooting |
What it looks like: Mild-steel MIG amps applied to Stick or TIG on the same thickness — burn-through or cold beads.
Fixes: Re-select process in the calculator. Never copy MIG numbers onto Stick rods.
What it looks like: Chart “worked” on mild; stainless warps or aluminum melts through.
Fixes: Apply material adjustments from the chart guide; run a coupon before production.
What it looks like: Flat settings drip or undercut out of position.
Fixes: Use the position table in the chart guide; tighten travel technique.
What it looks like: Amp set “by the book,” bead still ropey or burned — WFS/voltage or travel is the real variable.
Fixes: Hold travel steady; dial sister parameters on process calculators. MIG-specific defects: MIG problems guide.
What it looks like: Chart wants 180A; 140A machine is pinned and trips.
Fixes: Size the machine to the chart’s thickness band, or change joint/process. Thermal trips: Duty Cycle Troubleshooting.
What it looks like: Open root or heavy fillet needs more heat than the butt-joint chart assumed.
Fixes: Adjust from coupons; see joint design guide for geometry context.
Article 3 SKIPPED: Machine sizing (120/240V bands), process differences, and position derates already live in the Amperage Chart Guide. Process technique stays on MIG/TIG/Stick calculators.
Chart SKIPPED: The guide slug contains “chart” and already functions as the Chart deliverable — master MIG/TIG/Stick amperage tables by thickness (same pattern as sheet-metal-gauge-chart / tap-drill-size-chart). No separate chart page.
One page. MIG, TIG, stick and flux core settings by thickness.
$3.99
Buy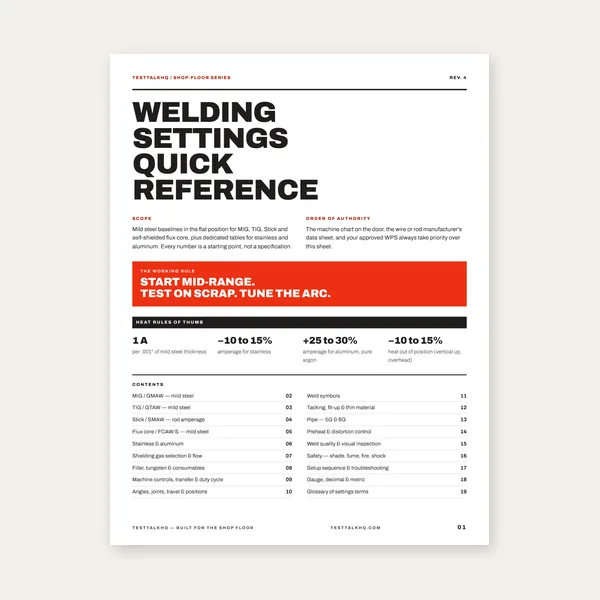
19 pages. Four processes, stainless and aluminum, symbols and inspection.
$12.99
Buy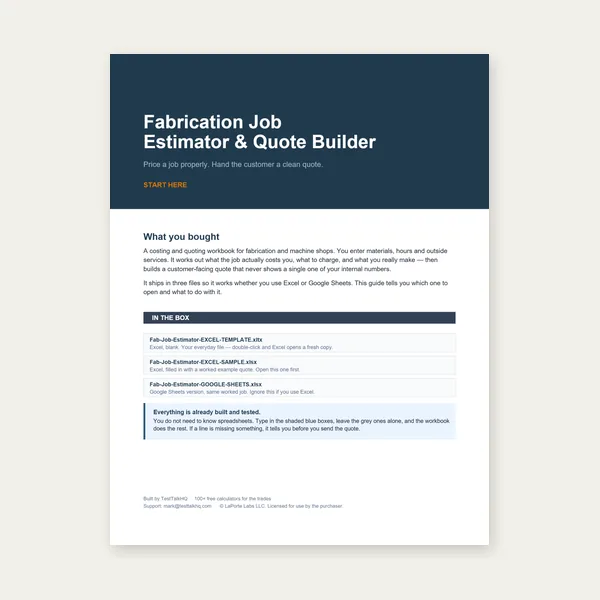
Price the job, then hand over a quote with no internal numbers.
Excel or Google Sheets. Best on a computer.
$29.00
Buy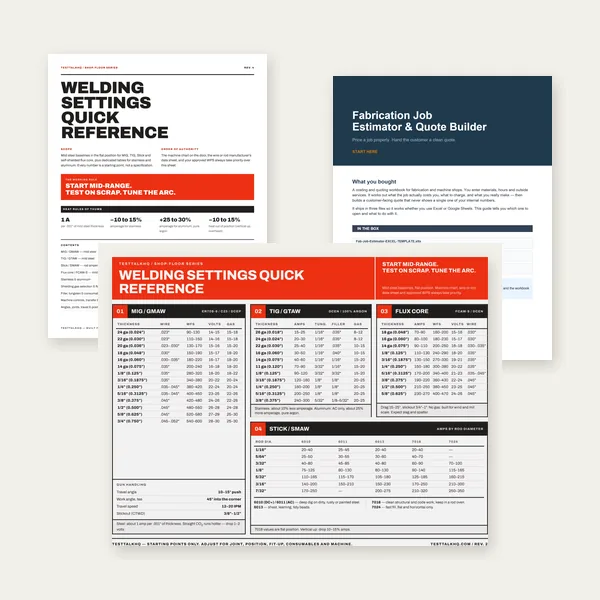
Card, 19-page guide and the estimator workbook. All six files.
Excel or Google Sheets. Best on a computer.
$34.99
$45.98 if bought separately — save $10.99
BuyCheckout opens in a new tab.
Five CSV catalog picks with verified Product Image URLs.
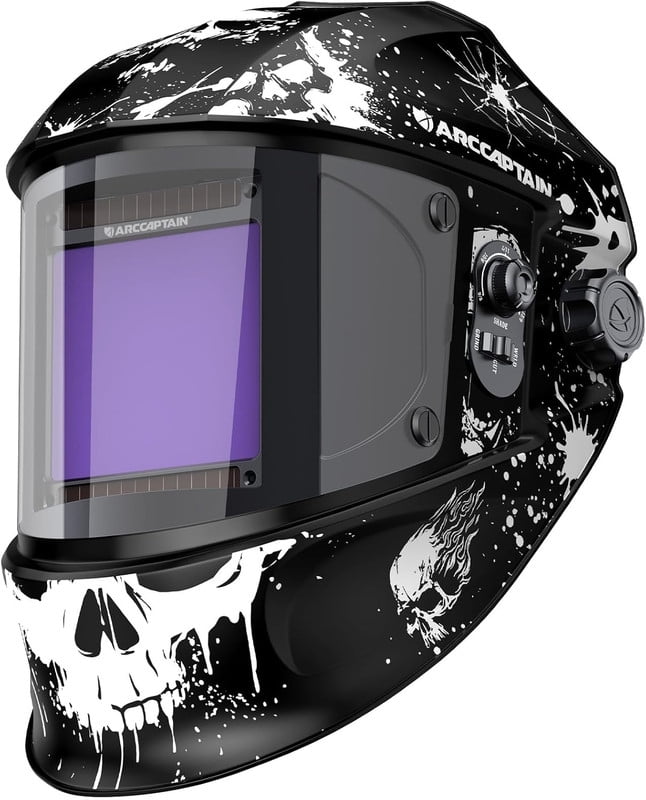
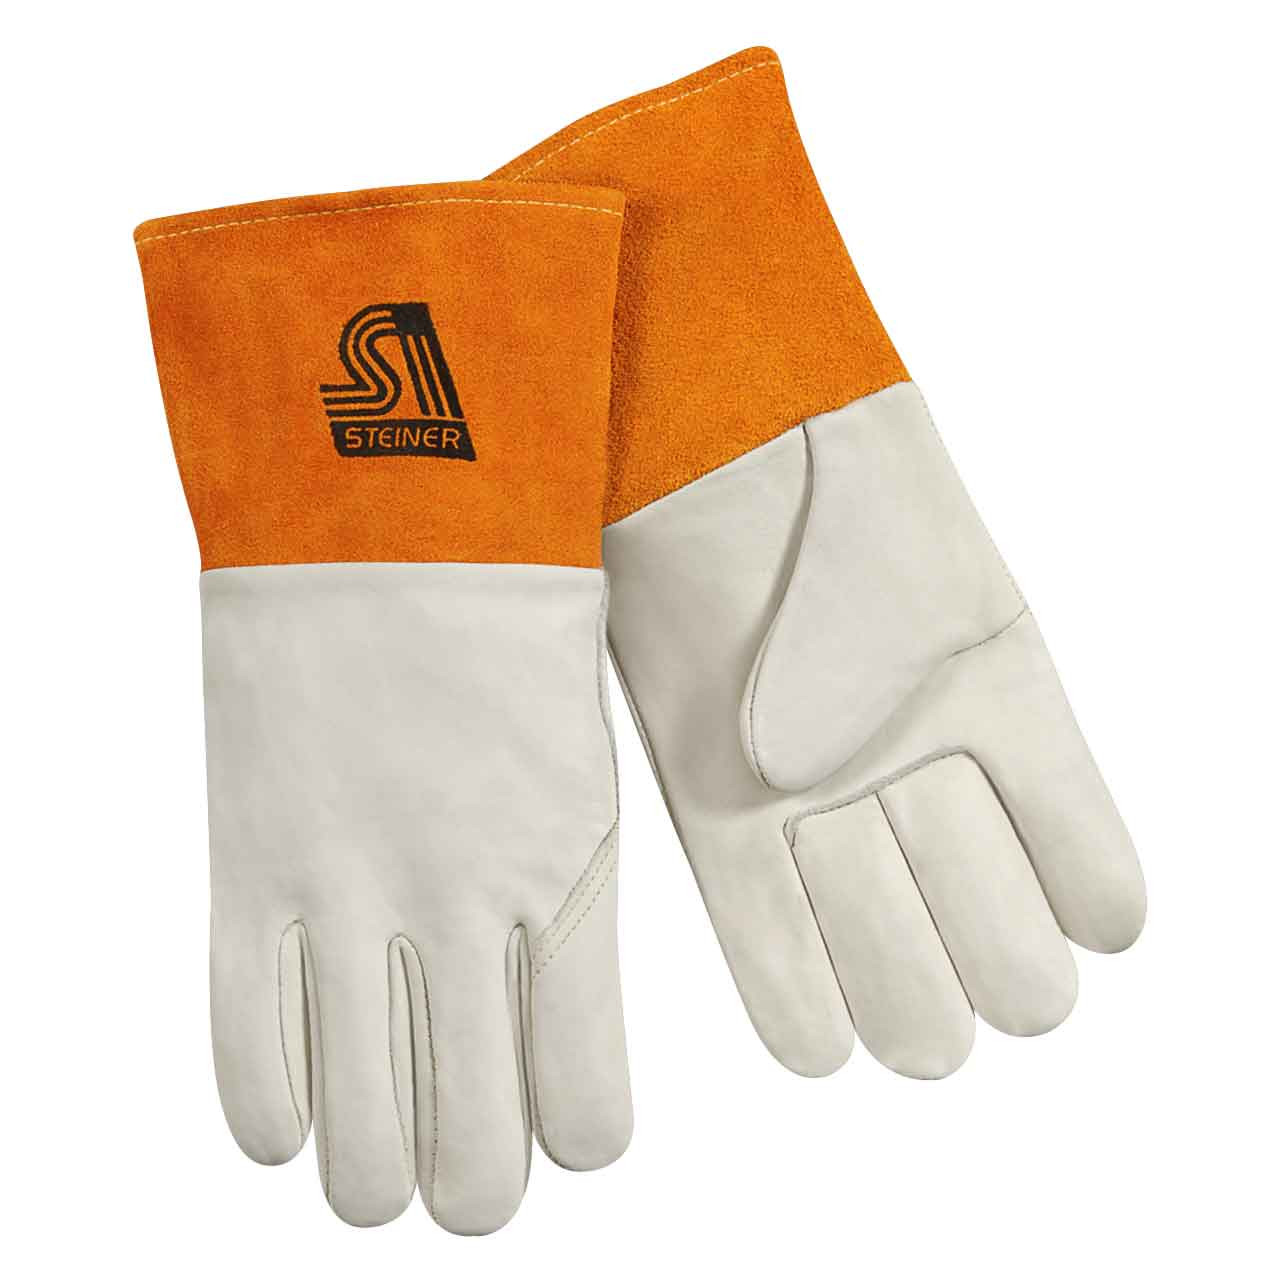
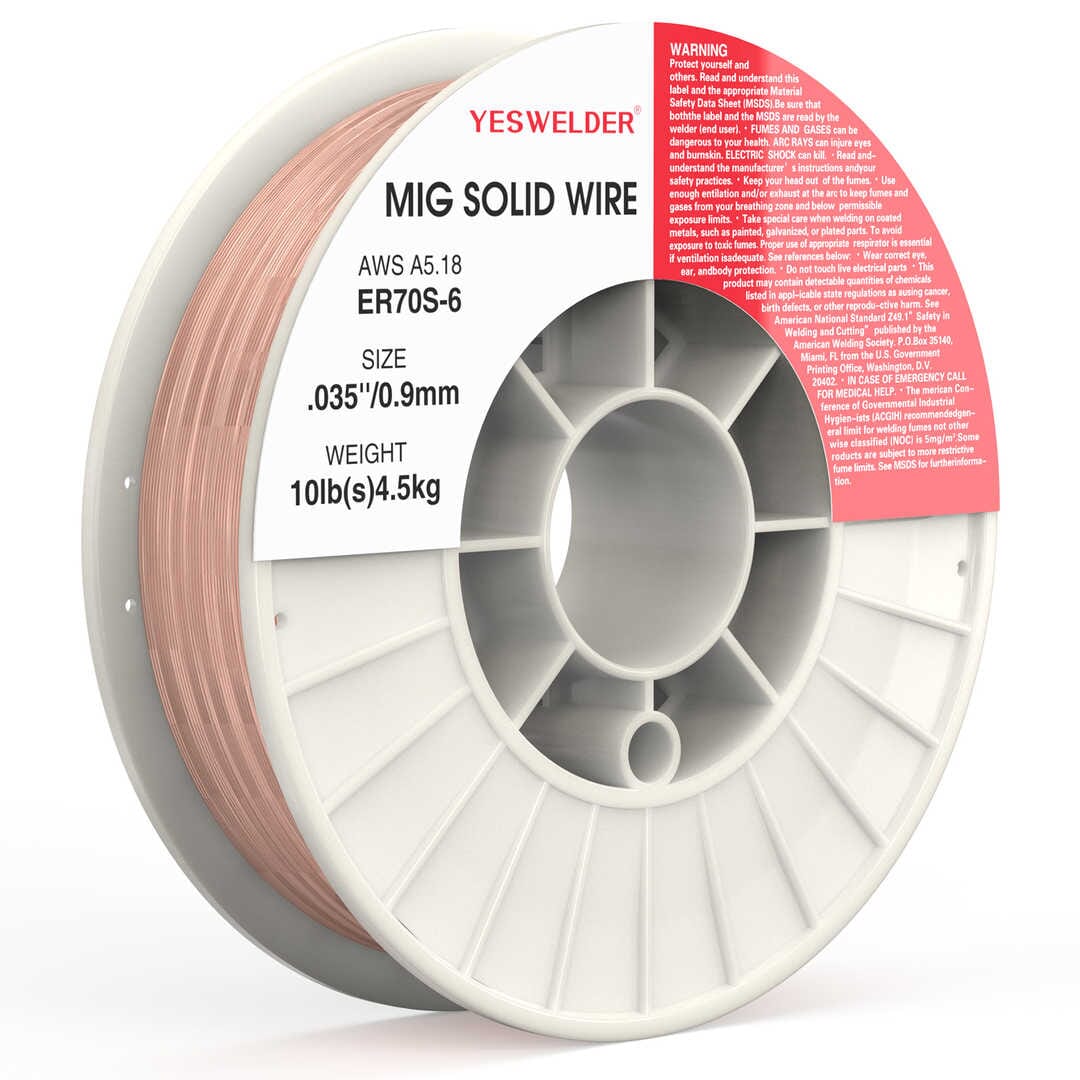
As an Amazon Associate, TestTalkHQ earns from qualifying purchases.
Yes — it centers on master tables by thickness/process. This troubleshooting page diagnoses bead failures after you use those numbers.
Often yes for Stick — but confirm rod diameter, polarity, and arc length before jumping 40A.
Convert measured IPM to estimated welding current—or amps back to starting IPM—with the Wire Feed Speed to Amps Calculator. Diameter-specific tables, burn-off factors, voltage pairing, and the six-second feed test are in the Wire Feed Speed Chart Guide.
For panel-to-receptacle building wire, use nameplate input current with the Wire Gauge Calculator for Welders. Then use the canonical Welding Wire Gauge Chart to keep branch wire, extension cords, welding leads, and MIG/TIG filler sizes separate.