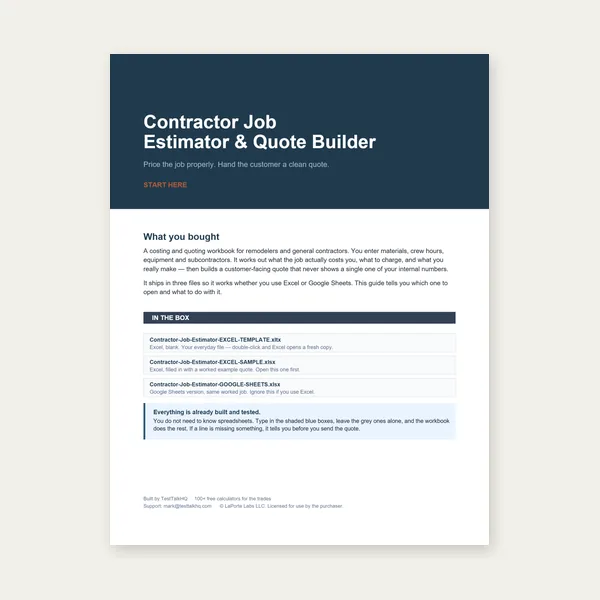
Contractor Job Estimator
Price remodels and GC work, then send a quote with no internal numbers.
Excel or Google Sheets. Best on a computer.
$29.00
BuySame tool · algorithm first, fingers second
The 2D Sheet Nesting Optimizer always gives you both: Auto-nest for a fast layout, then drag-and-drop and free-angle rotation to beat it. This is guidance on when the algorithm is good enough versus when your hands should override it — the same decision-framing as our DXF vs manual cut-cost entry article, applied to sheet layout.
Auto-nest and manual drag/rotate live in one canvas. The question is how much to lean on each — not which product to buy.
Open 2D Sheet Nesting Optimizer →Let the algorithm do the heavy lifting when:
Stop tuning when sheet count and yield stabilize across two Auto-nest clicks (Fast or Balanced). Further gains often cost more operator time than the scrap saved.
Drag and rotate after Auto-nest (or instead of it) when shop constraints matter more than theoretical yield:
| True Shape | Reach for it when… | Turn it off when… |
|---|---|---|
| On (default) | DXF parts with concave profiles; nesting into pockets; mixed L-brackets; final CAM export from true outlines | — |
| Off | — | Quick bbox quote on messy DXF; all parts are rects/circles anyway (no effect); debugging hull vs outline issues |
True Shape only engages when at least one DXF part is in the list. Rectangle/circle-only jobs ignore the toggle — both paths use the same fast packer. With DXF parts, Off forces bounding-box packing even if outlines are available; On runs the irregular engine and picks the better of the two results.
If your DXF shows convex-hull boundary, fix the file first — True Shape On with a hull still nests the wrong geometry. See Common 2D Nesting Problems and Fixes.
These presets only affect DXF true-shape search depth. They often change runtime more than result on simple jobs; they change outcome when rotation granularity matters:
For rectangle/circle-only nests, switching presets does nothing — save Thorough for DXF jobs where you still have unplaced parts or an extra sheet after Balanced.
Rects/circles, quote-only → Auto-nest Fast path (default packer), minimal hand work.
DXF concave profiles → True Shape On, Balanced Auto-nest, hand-tweak largest parts, Thorough only if sheet count still too high.
Grain, defects, or clamps → Auto-nest for bulk, then manual placement for the affected sheet tab.
Same pattern as cut costing: start with the fast mode, escalate effort only when the number still matters. Full settings walkthrough: How to Nest Parts for 2D Sheet Cutting.
Auto-nest and hand placement produce a layout, not a machine post with lead-ins, common-line cutting, or nesting across multiple thicknesses in one run. It does not replace your CAM’s toolpath planner.
For 1D bar and tube, use the Cut List Optimizer — see the guide. For cutting time and cost on the exported nest, use the Cut-Cost & Time Estimator. For plate weight, the Metal Weight Calculator.
Open the 2D Sheet Nesting Optimizer, run Auto-nest once, then decide in thirty seconds whether the layout needs your hands. If something breaks, jump to Common 2D Nesting Problems and Fixes.
Price remodels and GC work, then send a quote with no internal numbers.
Excel or Google Sheets. Best on a computer.
$29.00
BuyCheckout opens here — you stay on this page.