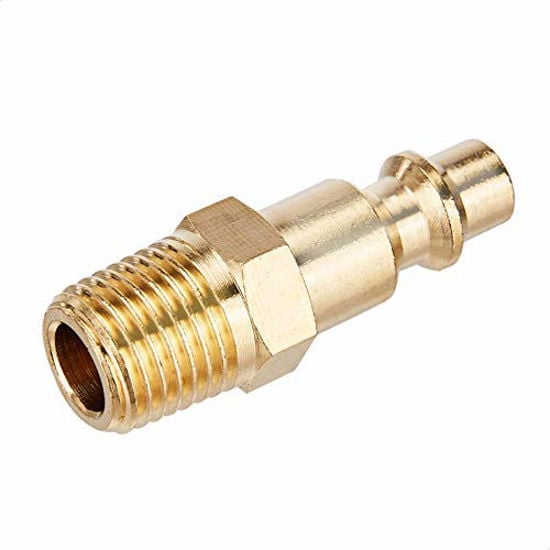
Quick Connect Brass Coupler Kit (14 pc)
- Worn couplers are the most common leak in any shop
- Brass seats keep sealing after the o-ring does not
- Cheap enough to replace on suspicion, not on proof
Measure the leak instead of guessing at it — three test methods, one number in CFM and dollars
Leaks are the only load in a compressed air system that runs twenty-four hours a day and produces nothing. The trouble is that nobody knows how big theirs is, because a leak is not a thing you can see — it is the difference between what the compressor makes and what the shop uses. There are three honest ways to find that difference: shut everything off and time how fast the system bleeds down, shut everything off and time how long the compressor stays loaded, or measure the holes you can actually find. This runs all three, corrects the answer back to your real operating pressure, and converts it into the number that gets a repair approved.

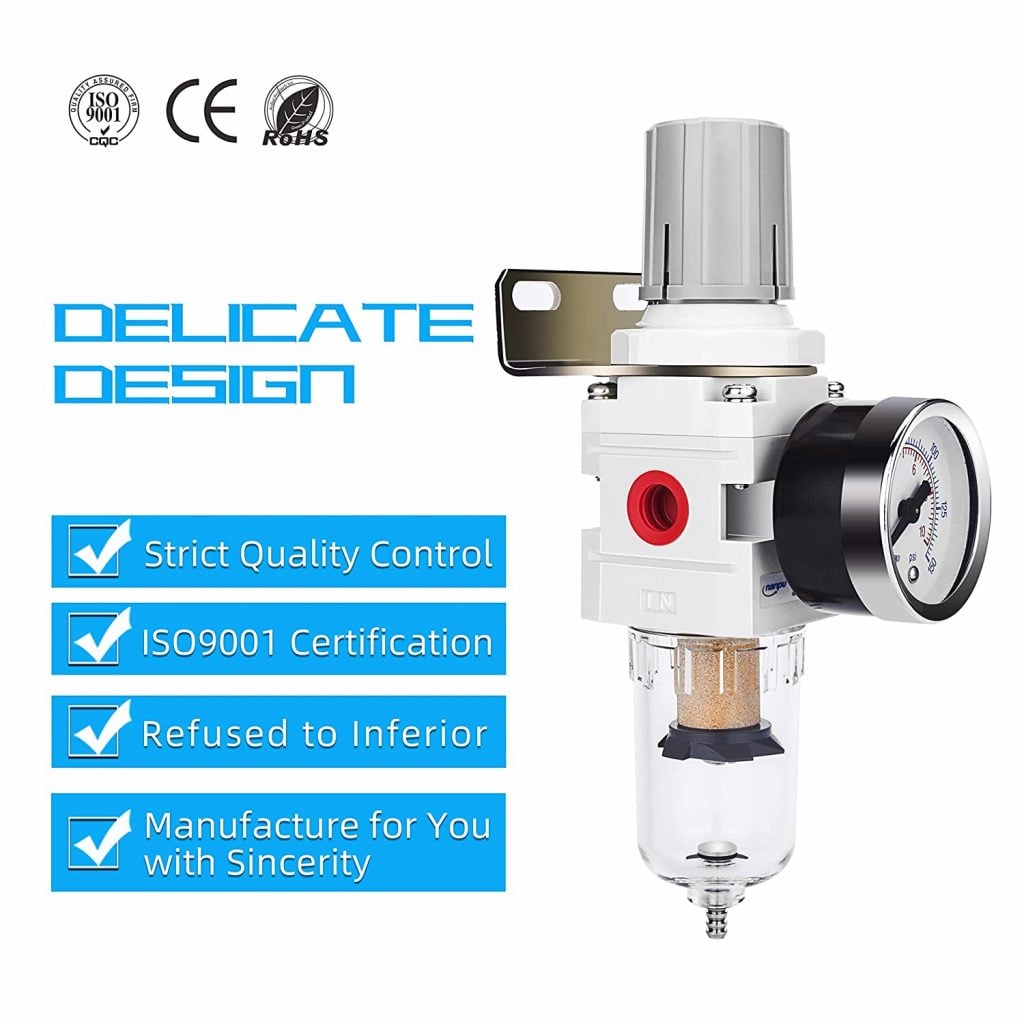
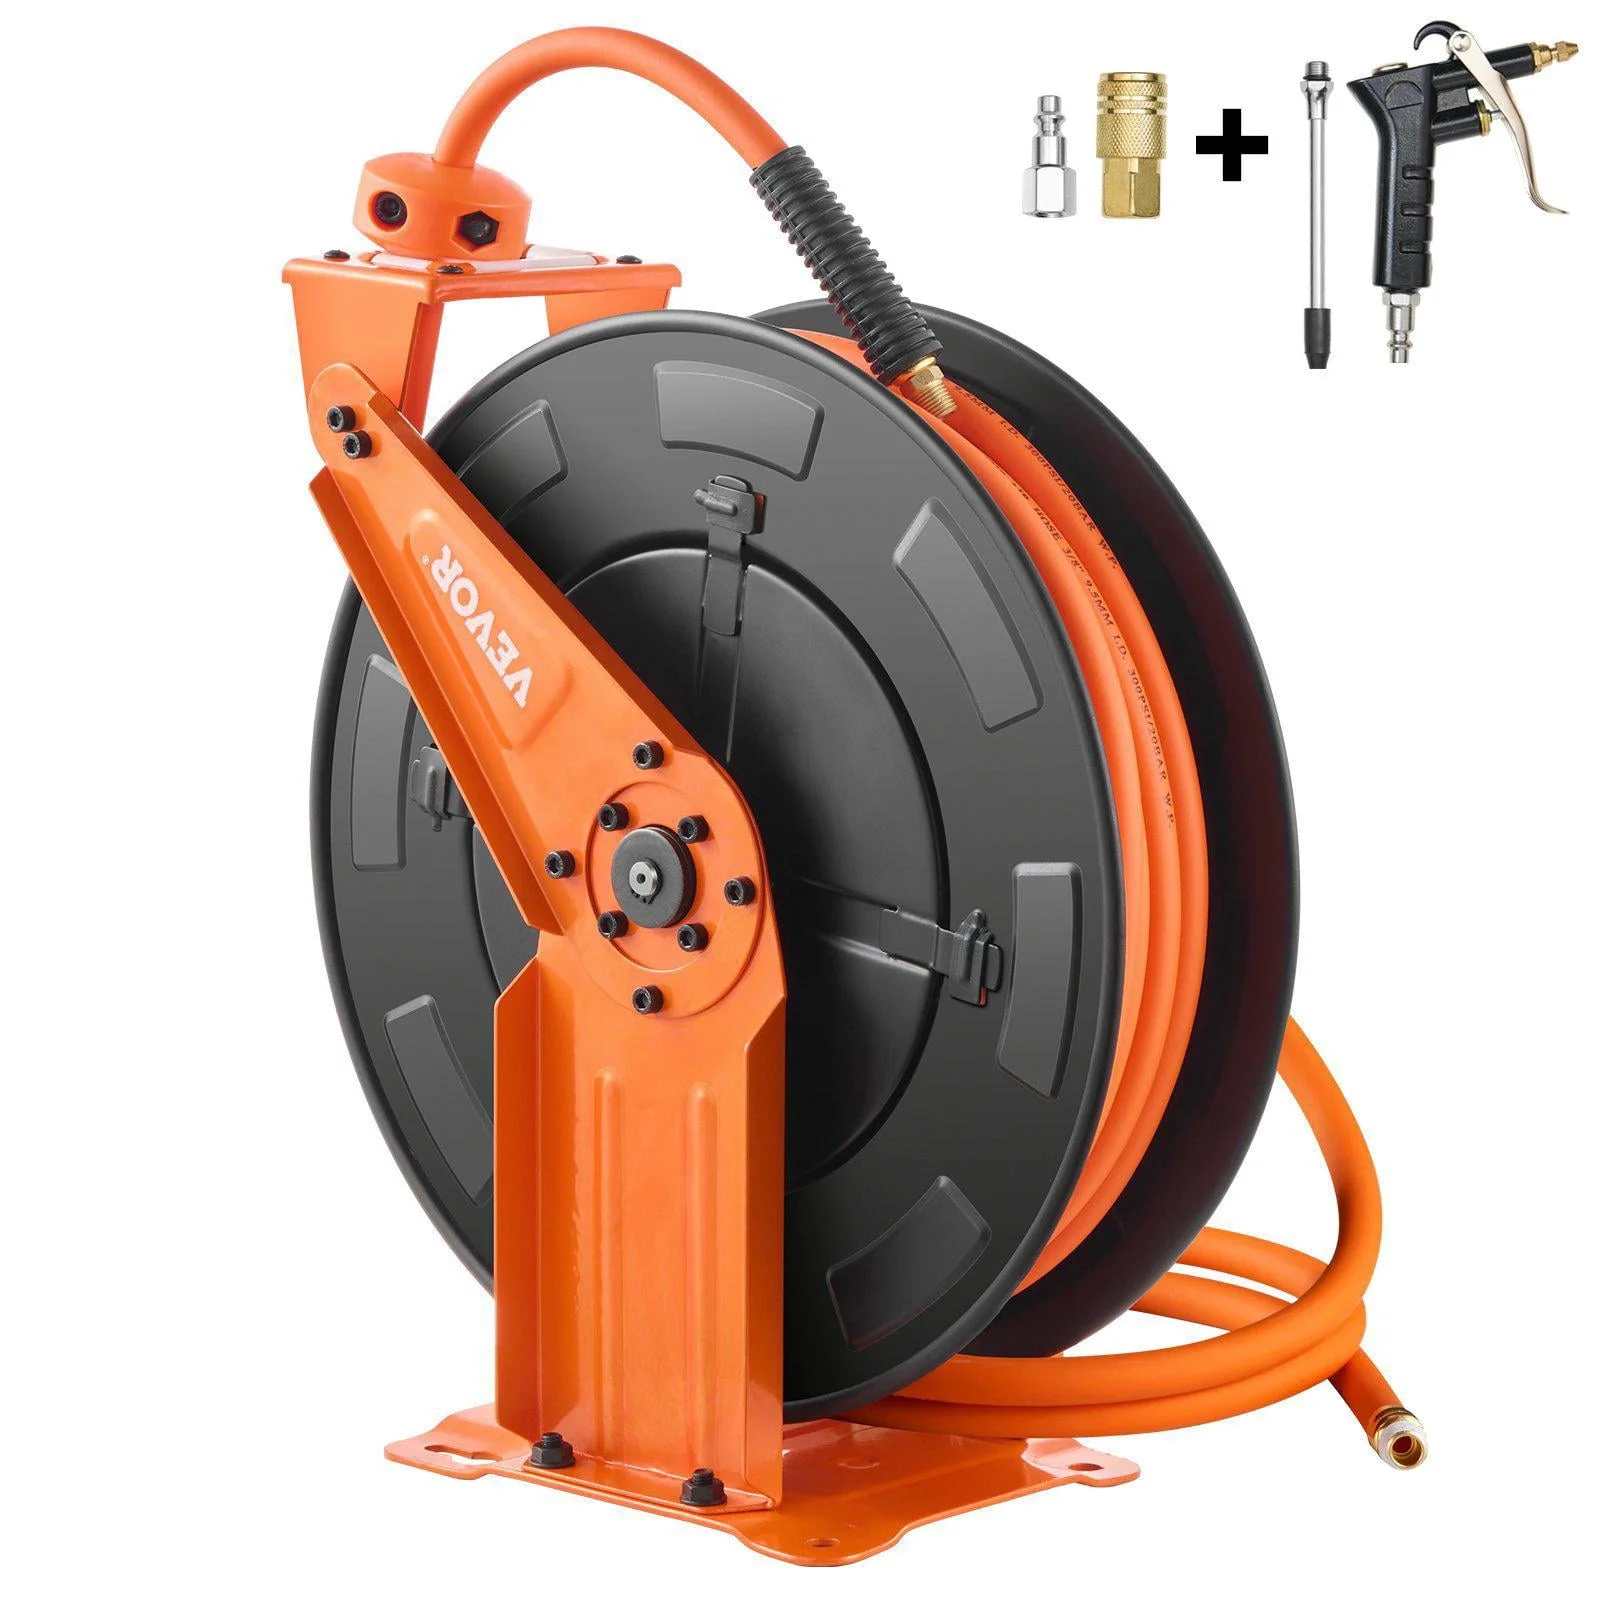
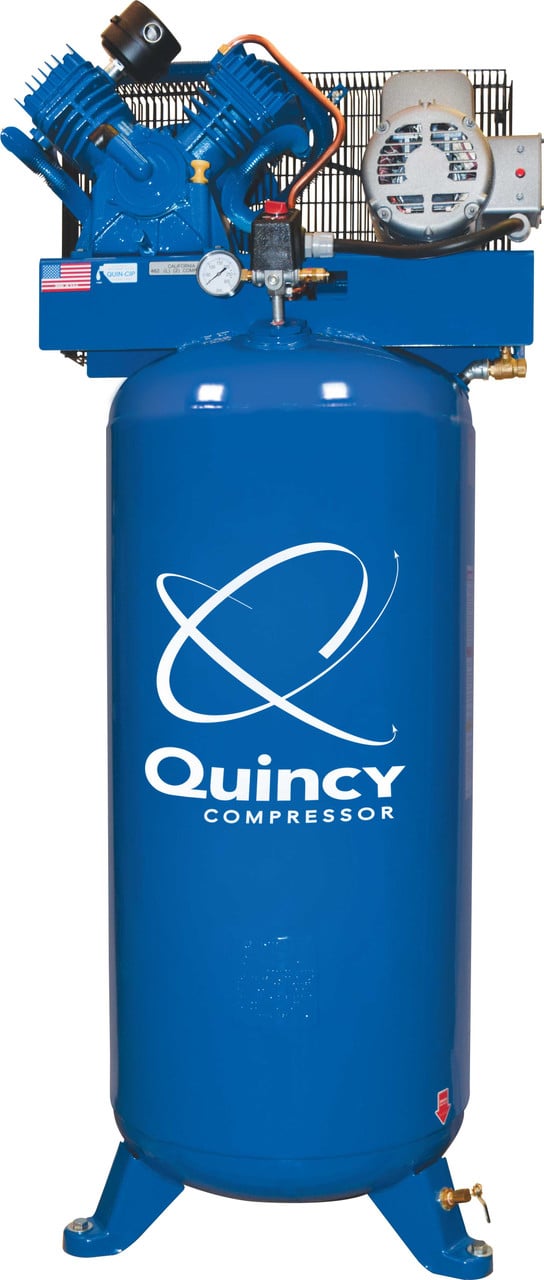
These are the parts of the job TestTalkHQ has verified affiliate links for — couplers and fittings, which are where most shop leaks actually live, plus the regulation and hose management that stops new ones appearing. Ultrasonic leak detectors are covered at length in the companion articles but are not linked here, because we do not carry sourced links for them yet.

As an Amazon Associate, TestTalkHQ earns from qualifying purchases. Prices and availability can change.
You cannot measure leakage directly, because a leak is not a place — it is the sum of every place. What you can do is close the shop down and watch what the system does when nothing is supposed to be using air. Everything below is that one idea, arranged three ways.
Pump the system up, shut the compressor off, close every outlet, and time how long the pressure takes to fall. The air that left the system is a mass balance and nothing more: at constant temperature, the free air that escaped is the system volume multiplied by the pressure it lost, divided by the barometric pressure.
That figure is honest but it is not yet the answer, because the test ran at a pressure that was falling the whole time. Choked flow through a hole is directly proportional to the absolute pressure upstream of it, so a test whose mean pressure sat below your working pressure understates the leak in exactly that proportion:
Where it lies: it needs a system volume you actually know. Guessing the pipe volume is the usual source of error, and the result scales one-for-one with that guess. It also assumes the air stays at roughly constant temperature while it bleeds down, which is fine over ten or twenty minutes and badly wrong if you dump the system in thirty seconds. And it counts anything that passes air internally — a weeping check valve, a blowdown valve that never fully closes, a dryer purging on a timer — as system leakage.
If the compressor unloads or cycles, you do not need to know the volume at all. Close everything, let the machine run, and time how much of the cycle it spends loaded. The only thing it is making up is leakage, so:
There is no correction factor here, because the compressor was already working against your real system pressure the whole time it was being timed. That makes this the cleaner of the two tests when the machine cooperates.
Where it lies: it needs several complete cycles, not one — a single cycle picks up whatever the machine happened to be doing. It needs the rated delivery to be real, which on an older machine it may not be. And on a modulating or variable-speed compressor there is no clean loaded/unloaded split to time, so this method simply does not apply.
If you have found the leaks and can size them, choked orifice flow gives you the rate directly. Above a pressure ratio of about 1.89 — which for shop air means anything above roughly 13 psig — the flow through a hole goes sonic and stops caring what is on the other side. It depends only on the upstream absolute pressure, the hole area, the air temperature and the shape of the hole:
The term that decides everything is Cd, the discharge coefficient. A perfectly rounded nozzle passes essentially all of what the equation predicts; a ragged hole, a split hose or a bad thread passes about 61% of it, because the jet contracts on its way out. Set Cd to 1.0 and this expression returns 6.50 SCFM for a 1/16 in hole at 100 psig, which is where the published "approximately equivalent orifice" leakage tables put it — and those tables carry a footnote telling you to multiply by 0.61 for sharp-edged orifices. That is the same 0.61 this calculator uses by default.
Where it lies: it only counts the leaks you found. Every shop that measures itself with one of the first two methods discovers the real number is bigger than the sum of the holes anyone could point at, because the leaks that matter are behind machines, above ceilings and inside cabinets. Use this method to sanity-check a measured result, or to price a single leak you are arguing about — not as the survey.
The conversion from air to electricity is one number: your compressor's specific power, the kilowatts it draws divided by the CFM it delivers. It is on the CAGI data sheet for the machine, and it is the only honest way to do this — every rule of thumb about horsepower per CFM is somebody else's compressor.
Two things routinely make this figure too small rather than too large, and it is worth knowing which direction your error runs in:
The figures the compressed air industry quotes have been stable for decades: a system under an active leak-repair programme is typically held to around 10% of compressor capacity, while plants with no leak programme at all commonly run at 20 to 30%. Those are not targets handed down from a code book — they are what surveys keep finding — but they are the right yardstick for reading your own number.
| Leak load | What it usually means | What to do about it |
|---|---|---|
| Under 5% | Either a genuinely tight, well-managed system, or a test that was not set up properly | Re-run the test and confirm it. If it holds, re-check quarterly — leak load creeps back on its own. |
| 5–10% | A maintained system. Leaks are being fixed when found. | Keep the programme running. The payback on a full ultrasonic survey is real but not urgent. |
| 10–20% | The usual reading for a shop that fixes leaks when somebody trips over one | One tagged survey pass normally recovers most of it. Budget against the annual cost figure above. |
| 20–30% | No leak programme. This is the band unmanaged systems sit in. | A survey pays for itself in weeks. Do this before anyone quotes a bigger compressor. |
| Over 30% | Usually a specific failure rather than a population of small leaks — a stuck drain, a failed blowdown valve, a dead-legged line to a machine that was removed | Walk the system with the isolating valves before you buy a detector. Something large is open. |
If your reading is above 30%, close the main isolating valves section by section and re-run the decay test on each branch. A leak population gives you a number that falls smoothly as you isolate; a single failed component gives you a number that collapses the moment you shut off the branch it is on. That is a five-minute diagnosis that saves a day of walking around with a detector.
Two measurement methods, both of which start by closing every point of use. The pressure-decay test times how long the isolated system takes to fall from one pressure to another, and converts that into free air lost using the system volume. The load/unload test times how much of the compressor's cycle is spent loaded when nothing is using air; that loaded fraction is the leakage as a share of rated capacity. The decay test needs a volume you know; the load/unload test needs a compressor that unloads. Use whichever your system supports, and if you can do both, do both — they should agree within about 20%.
It depends on your electricity rate and your compressor's specific power, which is why this calculator asks for both rather than quoting a figure. As a scale: on a 100 CFM machine drawing 22.5 kW, at $0.14/kWh over 6,000 pressurised hours, a single 1/16 in sharp-edged hole at 100 psig costs about $750 a year, and a 1/4 in one costs about $12,000. The pressurised-hours input matters more than people expect — a system left up over nights and weekends leaks for 8,760 hours, not 2,000.
Systems under an active leak programme are typically held near 10% of compressor capacity; plants with no programme commonly sit at 20 to 30%. If you measure above 30%, look for a single failed component — a stuck condensate drain, a blowdown valve that never closes, a dead leg to equipment that was removed — before you assume it is a population of small leaks.
Usually the system volume. The decay result scales one-for-one with the volume you entered, and pipe volume is easy to underestimate by a factor of two in a plant with long runs. Other causes: a compressor whose real delivery has fallen below its nameplate, which biases the load/unload result low; an internally leaking check or blowdown valve, which the decay test counts and the load/unload test may not depending on where it sits; or a decay test run so fast that the air cooled significantly. Trust the load/unload result if the machine cycles cleanly, and use the decay test to find which branch the leakage is on.
Yes, directly and predictably. Above about 13 psig the flow through a hole is choked, which means it is proportional to the absolute pressure upstream. Going from 100 to 120 psig raises the absolute pressure from 114.7 to 134.7 psia, so every existing leak flows about 17% more — on top of the roughly 10% extra the compressor now costs to run at that pressure. Lowering the setpoint is the only leak repair that fixes every leak in the building at once.
You can find some of them. Soapy water on fittings works and costs nothing, and a quiet shop with everything shut down will let you hear anything from about 1/32 in upward. What you cannot do without a detector is find leaks in a running plant, find them at distance, or find them behind and above things. The measurement methods on this page are worth running either way, because they tell you how much you are still missing after the leaks you found have been fixed.
Anything that passes air while the shop is shut down. That includes the things you would call leaks — fittings, couplers, hose, thread sealant, drops — but also condensate drains stuck open, dryer purge running on a timer, blowdown and check valves that do not seat, and tools left connected with an internal bleed. All of it is air the compressor makes for nothing, so counting it is correct. Identifying which category yours falls into is the first job after you have the number.