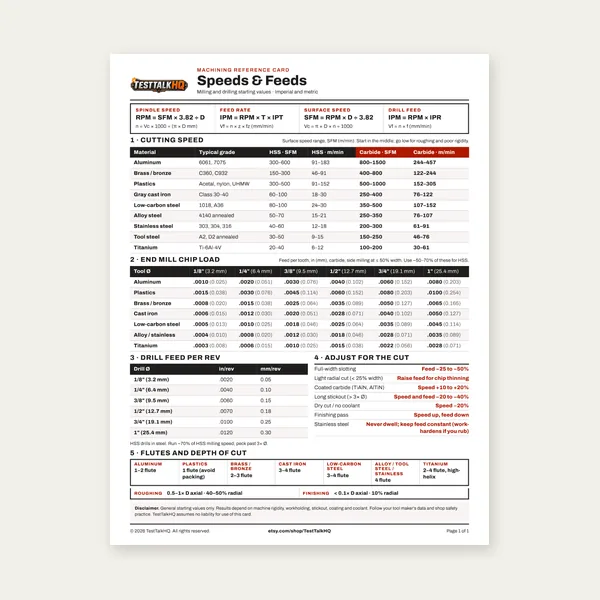
Machining Speeds & Feeds Card
One page. Speeds, chip load and drill feed, imperial and metric.
$3.99
BuyTriangulation · true lengths · print and verify
How triangulation builds a square/rect/offset-to-round flat pattern, how to read the SVG, and how to verify the printed blank before you cut.

Enter base W×D, round diameter, height, and any offset — print at 100% and roll so the orange seam edges meet. Add your own joining allowance after printing.
Open Square-to-Round Generator →A square-to-round (or rectangular-to-round) transition joins a rectangular opening to a round duct, collar, or outlet in one formed piece. HVAC takeoffs and plenums, hopper bottoms, bin discharges, and shop duct adapters all use this shape. Centered fits put the round on the base centerline; offset fits shift the round in X and/or Y when the round must land off-center. This is not the same geometry as a round-to-round cone or frustum — for those, use the Cone / Transition Flat-Pattern Generator. When both show up on one job, see Square-to-Round vs Cone Transition — Which to Use.
The shop method is triangulation. You locate the four base corners (and the midpoints of each base side where a flat panel meets the round), then run true-length elements from those points up to points around the round circumference. Each triangle is a plane panel: two true lengths plus the chord (or base edge) between them. The 3D slant of every element is measured in true length — not the foreshortened plan length — so the flat blank carries the real stretch of each seam and fold line.
The generator unfolds those triangles in sequence. Start at the seam: lay one true-length edge, then place the next vertex by intersecting two circles whose radii are the true lengths of the adjacent elements. Walk around the transition — corner lobes for the curved portions of the round, flat panels for the four sides — until the opposite seam edge lands. That sequential circle-intersection unfold is why the preview closes into one cuttable blank instead of a stack of separate triangles. The built-in checks confirm flat edges match 3D true lengths and that arc chords converge toward the round circumference as segment count rises.
Open the Square-to-Round Transition Flat-Pattern Generator and enter:
Hit Update, read pattern size / perimeter / element lengths, then export DXF or the tiled full-scale PDF.
The flat-pattern view is a cut map, not a pretty sketch:
The plan view under the pattern shows base rectangle + round (with offset) looking down — use it to confirm you typed the offset the way the duct sits on the plenum.
Print the PDF at 100% / Actual Size — never Fit to Page. Page 1 includes a reference square; measure it with a ruler before you cut metal. Use the tiled full-scale PDF for bench layout. Use DXF for the plasma / laser / waterjet. Nest multiple blanks with the 2D Sheet Nesting Optimizer, and price machine time with the Cut Cost / Time Estimator. Roll so the orange edges meet, then add lock, flange, or connector stock outside that finished seam.
The development is an ideal surface — no thickness, bend relief, or inside/outside diameter compensation. On light gauge that is usually close enough for a dry-fit. On heavy plate, decide whether diameters are ID, OD, or mean, expect a neutral-axis / stretch adjustment the tool does not apply, and dry-fit before final weld. Same discipline as the cone tools: treat the export as a layout aid, then verify on the bench.
Pattern won’t close or seam walks? Start with Square-to-Round Transition Troubleshooting. Choosing between this blank and a cone/frustum/elbow? Read Square-to-Round vs Cone — Which to Use. Round-to-round siblings: Cone / Transition Flat-Pattern Guide, generator, and troubleshooting.
One page. Speeds, chip load and drill feed, imperial and metric.
$3.99
Buy
27 pages. Milling, drilling, tapping, turning and CNC routing.
$12.99
Buy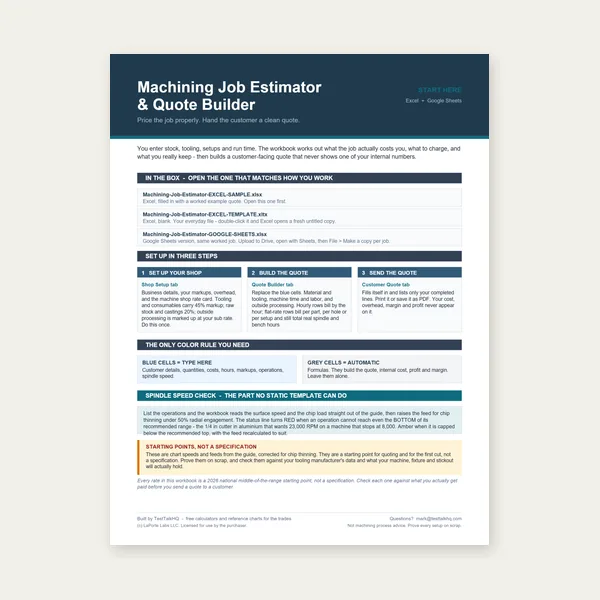
Quote shop work and check operations against your spindle's top speed.
Excel or Google Sheets. Best on a computer.
$29.00
Buy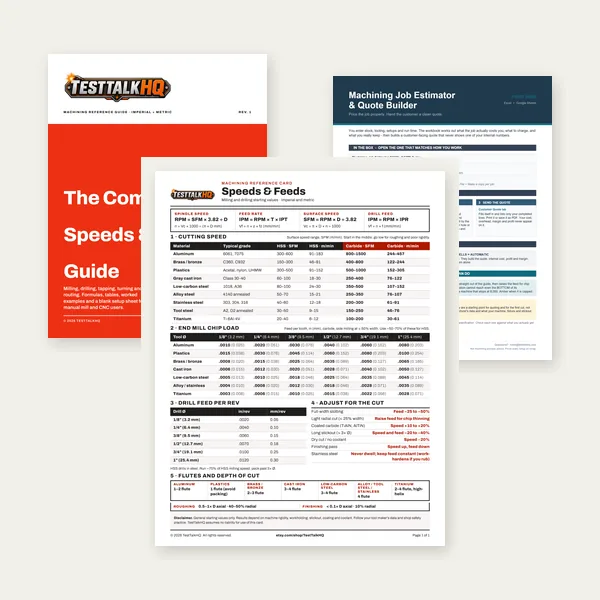
Card, 27-page guide and the estimator workbook. All six files.
Excel or Google Sheets. Best on a computer.
$34.99
$45.98 if bought separately — save $10.99
BuyCheckout opens here — you stay on this page.
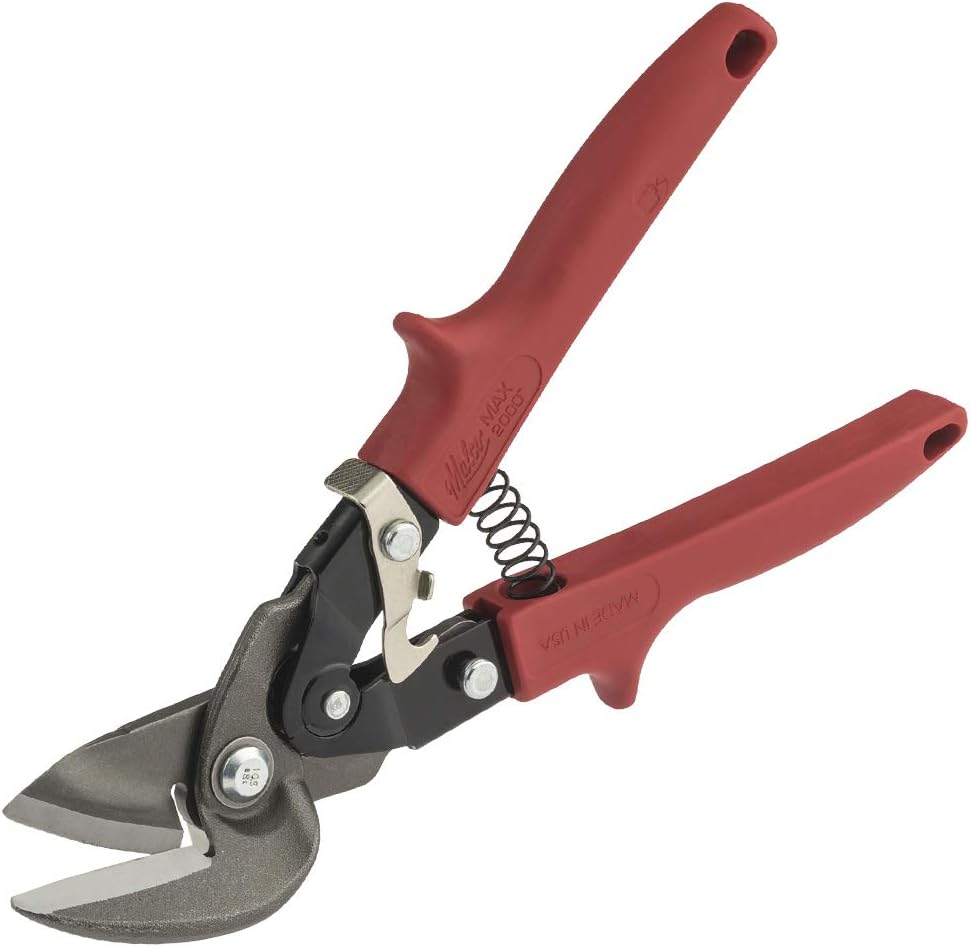
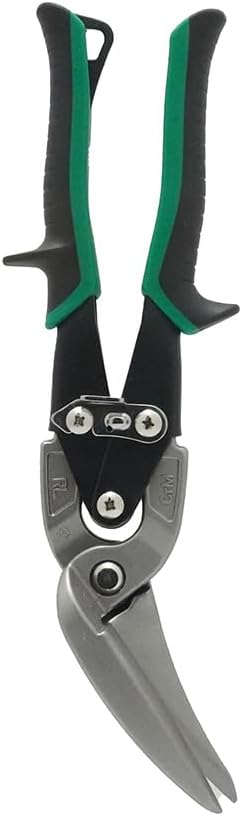
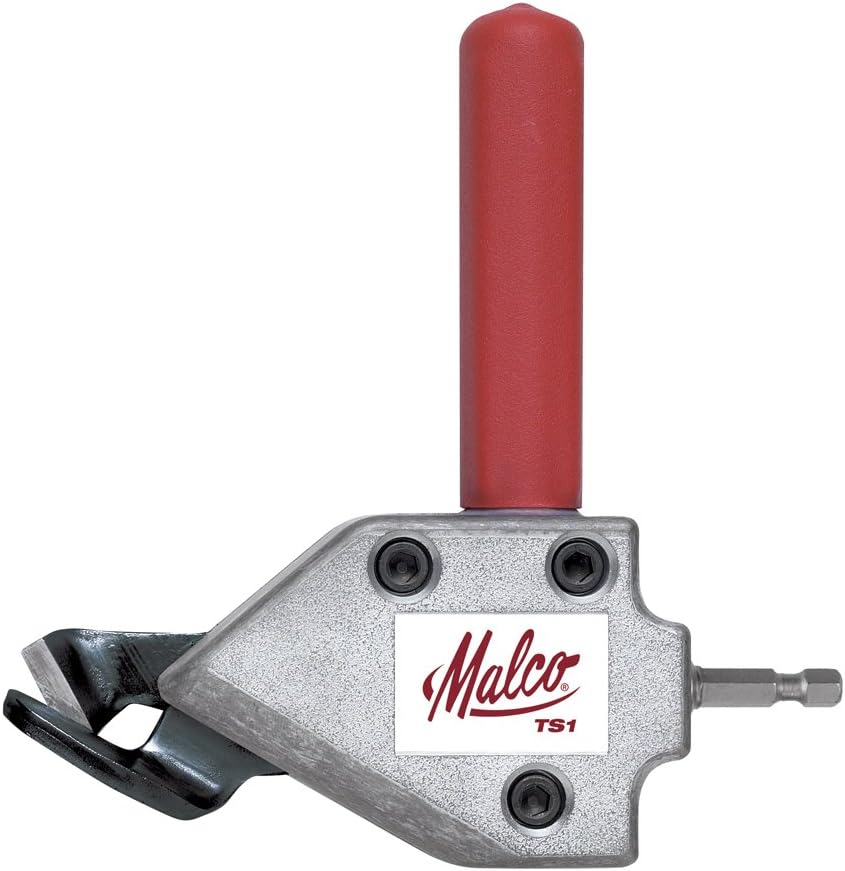
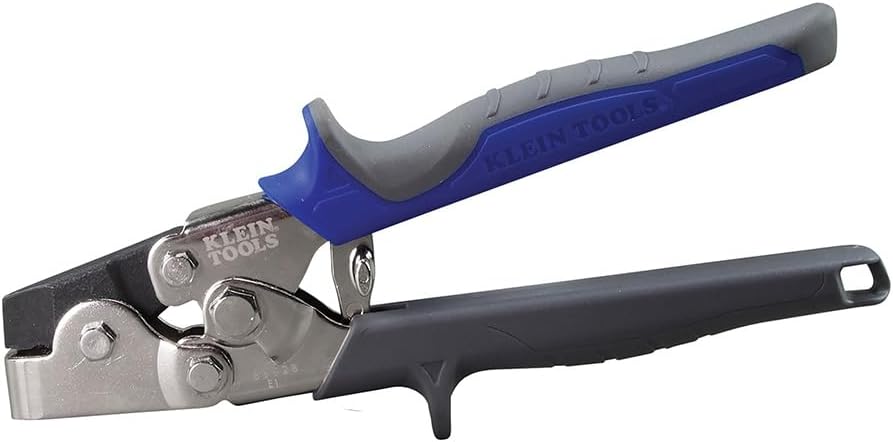
Cut the developed pattern, then form and join — products from the TestTalkHQ affiliate catalog
As an Amazon Associate, TestTalkHQ earns from qualifying purchases.