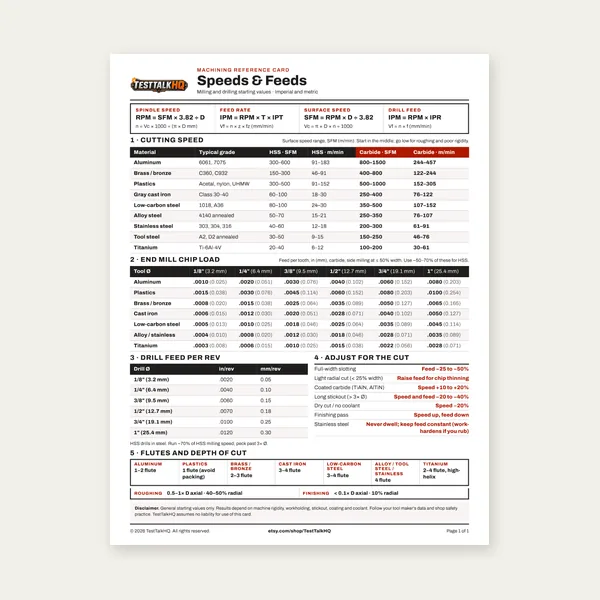
Machining Speeds & Feeds Card
One page. Speeds, chip load and drill feed, imperial and metric.
$3.99
BuyScale, seam, degenerate geometry, thickness
Fix patterns that won’t roll true, seam misalignment, oversized rounds, thickness surprises, extreme offsets, and faceted collars.

Most “won’t roll true” failures are printer scaling or units — measure the reference square before blaming the triangulation.
Open the Generator →Likely cause: The PDF was scaled (“Fit to page” / “Shrink to fit”), or you mixed inch and mm inputs across the job. The reference square must measure exactly 1 in or 50 mm. If it doesn’t, every true length is wrong and the blank won’t close. Re-print at 100% / Actual Size, verify the square, confirm units, then cut. Also check that the two orange seam edges are the ones you joined — rolling to a random fold line will never close true.
The orange edges are the finished seam — they must meet when the blank is rolled. Seam allowance in the tool is a straight lap on those edges only; it is not a Pittsburgh lock, standing seam, or flange set. If you cut on the teal outline and then try to lock-seam without extra stock, the joined perimeter comes up short. Add lock / flange / connector stock yourself after printing — see seam allowance by joining method. If the orange edges meet in length but walk in height, re-check height and offset, not the lap width.
If the round is oversized relative to the base and height (or the offset drives elements into an impossible stretch), true-length intersections fail or produce a nonsense blank. The generator warns when geometry goes degenerate — don’t force-cut a pattern that shows a warning. Shorten diameter, raise height, reduce offset, or split the job into a plenum + reducer. Confirm the plan-view preview still looks like the duct you intend to build.
Development is taken at one ideal surface. On thick plate, ID vs OD vs mean diameter changes every element length, and stretch through the thickness is not in the export. Expect a dry-fit trim or a deliberate diameter convention before final weld — same caveat as Cone / Transition Flat-Pattern Troubleshooting.
Large X/Y offsets skew the transition: some elements get very long, some very short, and the flat pattern looks lopsided. That can be correct for a hard offset — check the plan view and the longest/shortest element stats. If elements look impossible on the shop floor, split the offset across two fittings or move the round closer to center. Extreme offset plus low height is the usual “weird blank” combo.
Arc segments per corner control how closely the developed round approximates a true circle. Low counts (e.g. 2–4) produce a visibly faceted collar that won’t fair into round duct. Raise segments for production work; leave lower only for rough layout or cardboard mockups. After changing segments, re-export — don’t reuse an old DXF with a new segment setting in your head.
Walk through inputs and SVG colors in the Square-to-Round Transition Flat-Pattern Guide. Choosing this tool vs the cone generator: Which to Use. Round-to-round cones, frustums, and lobster-back elbows: Cone generator, guide, and troubleshooting.
One page. Speeds, chip load and drill feed, imperial and metric.
$3.99
Buy
27 pages. Milling, drilling, tapping, turning and CNC routing.
$12.99
Buy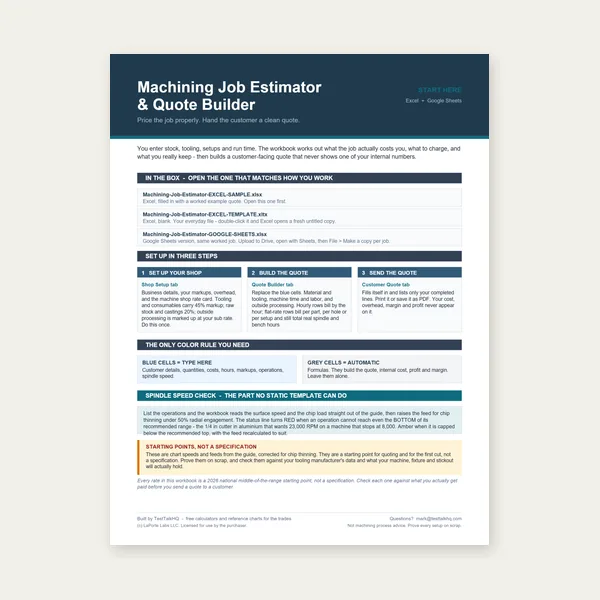
Quote shop work and check operations against your spindle's top speed.
Excel or Google Sheets. Best on a computer.
$29.00
Buy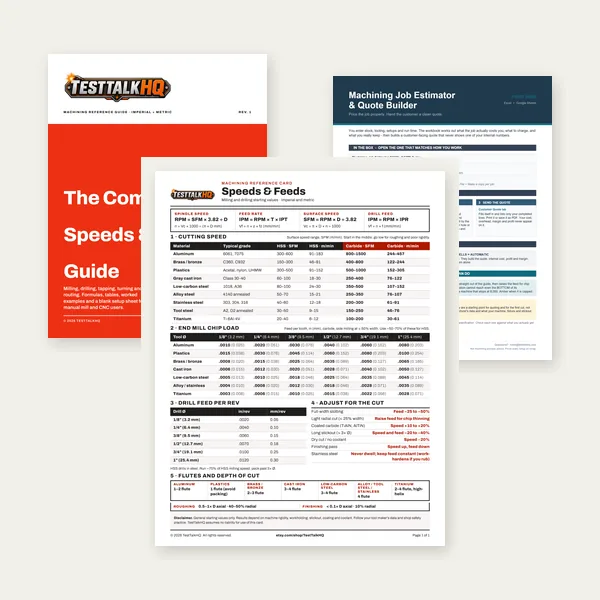
Card, 27-page guide and the estimator workbook. All six files.
Excel or Google Sheets. Best on a computer.
$34.99
$45.98 if bought separately — save $10.99
BuyCheckout opens here — you stay on this page.
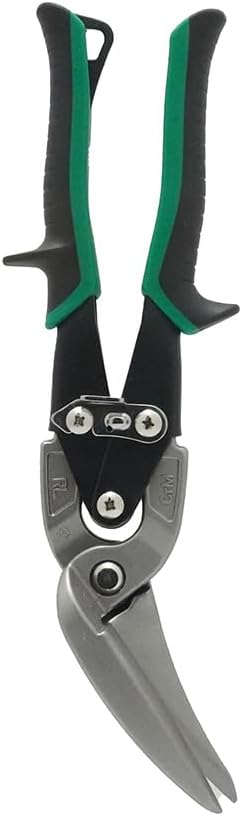
Cut the developed pattern, then form and join — products from the TestTalkHQ affiliate catalog

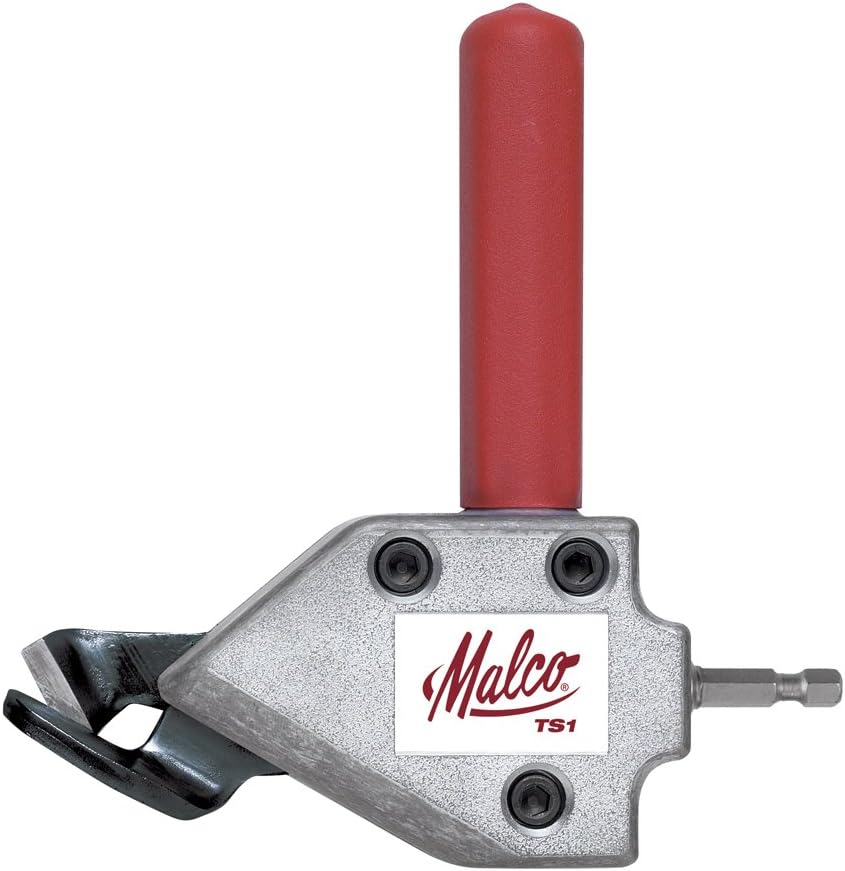
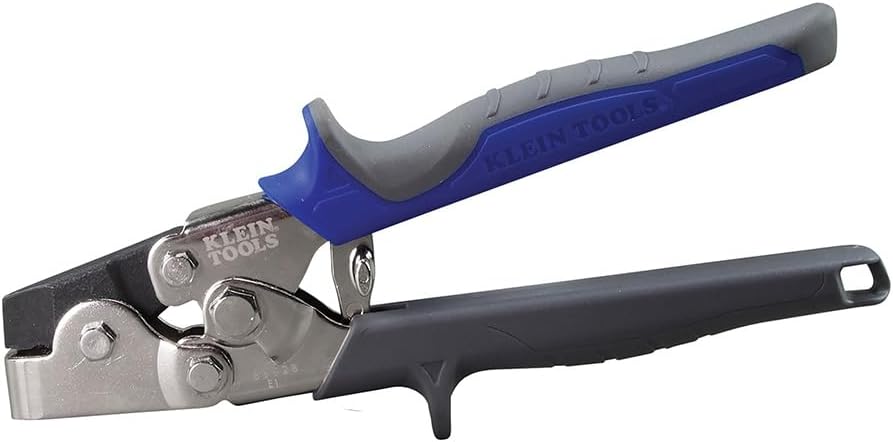
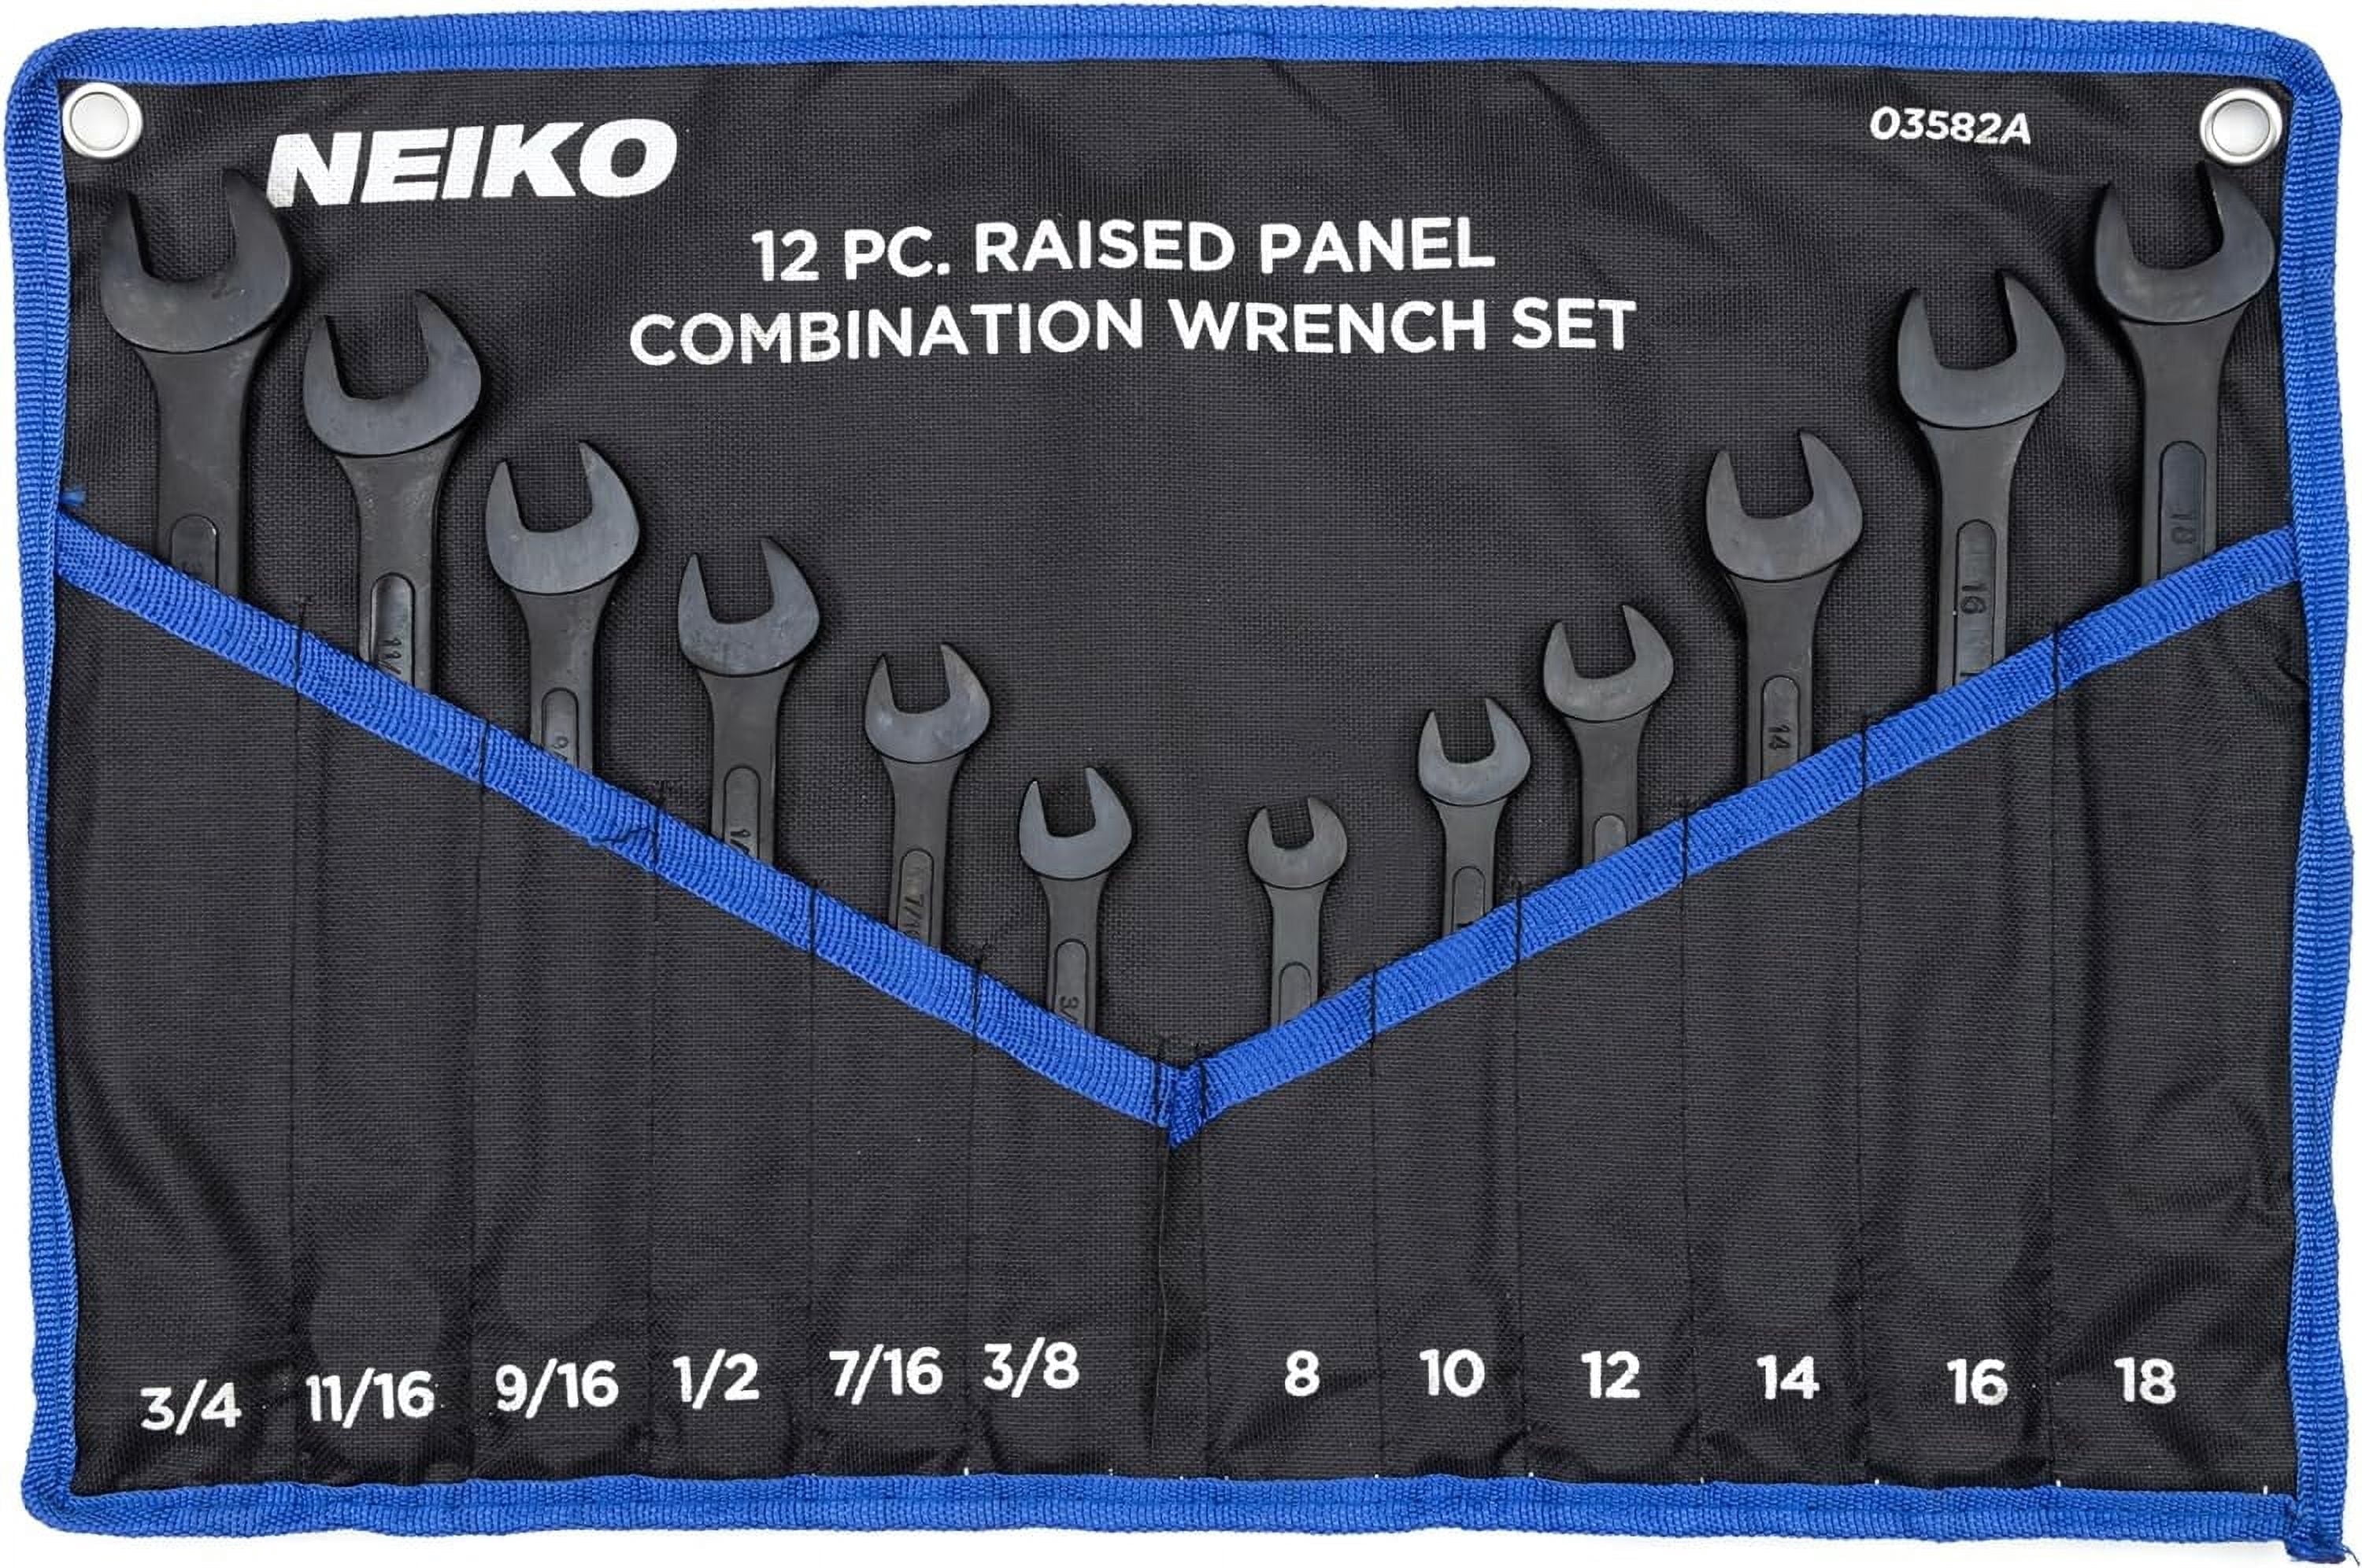
As an Amazon Associate, TestTalkHQ earns from qualifying purchases.