How to Calculate Welding Heat Input (The Right Way)
If you’ve ever had an inspector ask you about heat input or seen it on a welding procedure specification, you know it’s not optional—it’s required. But what actually IS heat input, and how do you calculate it without screwing it up?
Here’s the simple version: Heat input is how much energy you’re putting into the metal when you weld. Too much heat and you’ll warp the part, mess up the material properties, or blow through. Too little and you get cold cracks, lack of fusion, or weak welds.
The good news? The math isn’t that complicated once you understand what you’re actually doing. Let’s break it down.
Why Should You Care About Heat Input?
Look, I get it. You just want to run a good bead and move on. But heat input matters for a few big reasons:
It Affects Your Material
Different metals have different “sweet spots” for heat. High-strength steel, stainless, aluminum—they all need specific heat ranges or you’ll trash their properties. Run too hot on some grades and you’ll kill the strength or corrosion resistance.
Inspectors Care About It
If you’re welding to AWS, ASME, or API codes, you HAVE to calculate heat input. It’s in your WPS. Skip it and you’ll fail inspection. Simple as that.
It Controls Weld Quality
Heat input affects everything:
- Penetration – Not enough heat = cold lap. Too much = burn through.
- Bead shape – Affects how your weld looks and how strong it is.
- Cooling rate – Too fast and you get cracks. Too slow and grain grows.
- Distortion – We’ve all warped something. Heat input is why.
It Saves You Time (Once You Know It)
When you dial in the right heat input, you can weld faster without sacrificing quality. You’re not guessing—you’re controlling the process.

The AWS D1.5 Heat Input Formula (Page 89)
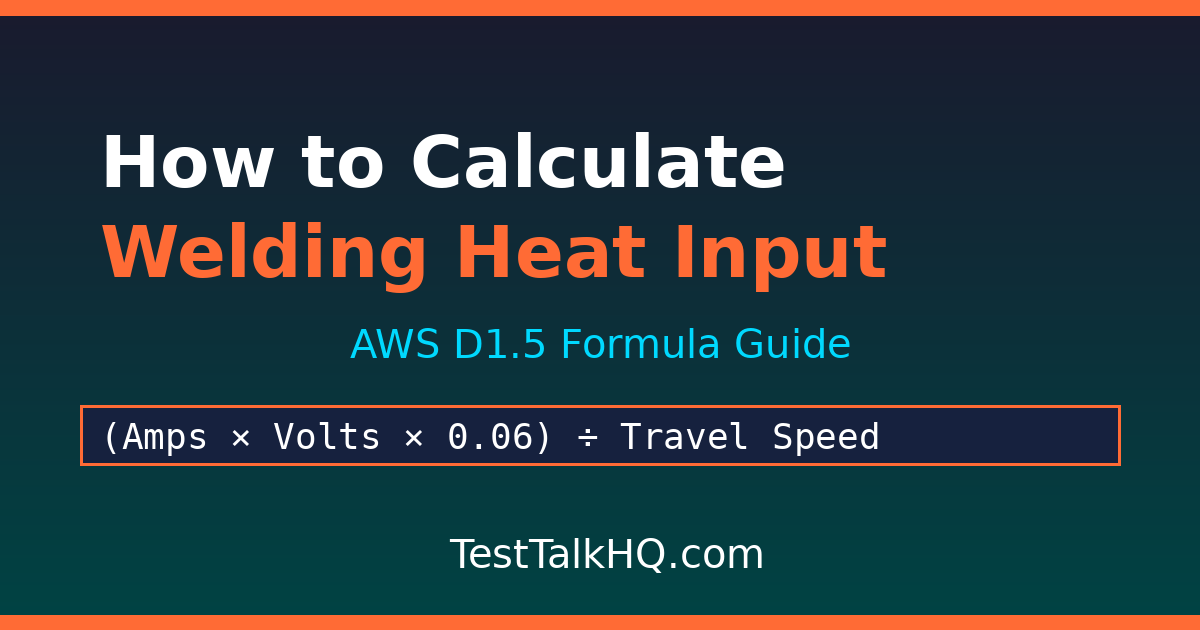
Here’s the formula that’s in the AWS D1.5 Bridge Welding Code on page 89. This is what inspectors will check:
Heat Input (kJ/in) = (Amps × Volts × 0.06) ÷ Travel Speed (in/min)
That’s it. Four numbers and you’re done.
Where:
- Amps = Your welding current (what your machine is actually putting out)
- Volts = Your arc voltage (again, actual output, not what the dial says)
- Travel Speed = How fast you’re moving in inches per minute
- 0.06 = A conversion constant (I’ll explain this in a second)
What’s This 0.06 Thing?
This confuses a lot of people. Here’s what’s actually happening:
When you multiply amps by volts, you get watts (or joules per second). But we need kilojoules per minute to match our travel speed units.
So:
- 1 joule/second × 60 seconds/minute = 60 joules/minute
- 60 joules/minute ÷ 1000 = 0.06 kilojoules/minute
The 0.06 is just 60 ÷ 1000. It’s a shortcut. Some formulas show it as “× 60 ÷ 1000” which is the exact same thing.
Don’t overthink it—just use 0.06 and move on.
The Part Everyone Messes Up: Travel Speed
This is where most people screw up the calculation. I’ve seen it on welding forums a hundred times.
Travel Speed = Length You Welded (inches) ÷ Time It Took (minutes)
Sounds simple, right? But here’s the trick: you have to convert seconds to minutes FIRST.
Examples:
- Welded 24 inches in 1 minute 30 seconds? That’s 24 ÷ 1.5 = 16 IPM
- Welded 24 inches in 1 minute 15 seconds? That’s 24 ÷ 1.25 = 19.2 IPM
- Welded 24 inches in 2 minutes flat? That’s 24 ÷ 2 = 12 IPM
How to convert seconds to minutes: Divide seconds by 60.
- 1 minute 33 seconds = 1 + (33 ÷ 60) = 1.55 minutes
- 1 minute 45 seconds = 1 + (45 ÷ 60) = 1.75 minutes
Get this part wrong and your whole calculation is garbage. Measure the distance, time yourself, do the math right.

Real Example: SAW Welding
Let’s walk through an actual example. This came from a forum where a welder was trying to figure out if his heat input was in spec.
His Setup (Submerged Arc Welding):
- Amperage: 300A
- Voltage: 30V
- Weld Length: 24 inches
- Time: 1 minute 33 seconds
Step 1: Figure Out Travel Speed
First convert time to minutes:
1 + (33 ÷ 60) = 1.55 minutes
Then calculate speed:
24 inches ÷ 1.55 minutes = 15.48 IPM
Step 2: Plug Into the Formula
(300 × 30 × 0.06) ÷ 15.48
Breaking it down:
- 300 × 30 = 9,000
- 9,000 × 0.06 = 540
- 540 ÷ 15.48 = 34.88 kJ/in
His heat input: 34.88 kJ/in
That’s right in the middle of the typical range for SAW on structural steel (30-50 kJ/in), so he’s good.
Want to skip the math? Use our free heat input calculator—just plug in your numbers and it does it instantly.
Arc Efficiency: The Extra Step for Critical Work
Here’s something the AWS formula doesn’t include but matters for critical applications: arc efficiency.
Not all the electrical energy from your arc goes into the metal. Some gets lost to spatter, radiation, and heat in the air. Arc efficiency tells you what percentage actually makes it into the workpiece.

Arc Efficiency by Process:
| Process | Efficiency |
|---|---|
| Stick (SMAW) | 65-85% |
| MIG (GMAW) | 80-90% |
| TIG (GTAW) | 50-70% |
| Submerged Arc (SAW) | 95-99% |
| Flux-Cored (FCAW) | 80-90% |
For our SAW example above at 99% efficiency:
34.88 kJ/in × 0.99 = 34.53 kJ/in (true heat input)
For most structural work, you don’t need to account for arc efficiency—the standard formula is fine. But for pressure vessels, pipelines, or nuclear work? Multiply by arc efficiency.
More Examples: Common Processes
Stick Welding (E7018)
Your parameters:
- Rod: E7018, 1/8″ diameter
- Amps: 150A
- Volts: 24V
- Travel Speed: 8 IPM
Calculate:
(150 × 24 × 0.06) ÷ 8 = 27 kJ/in
With 75% stick efficiency: 27 × 0.75 = 20.25 kJ/in
MIG Welding on Steel
Your parameters:
- Amps: 200A
- Volts: 26V
- Travel Speed: 12 IPM
Calculate:
(200 × 26 × 0.06) ÷ 12 = 26 kJ/in
With 85% MIG efficiency: 26 × 0.85 = 22.1 kJ/in
Need help dialing in your settings? Check out our MIG calculator or TIG calculator for your specific process.
What Do These Numbers Actually Mean?
So you calculated your heat input. Now what? Here’s how to know if you’re in the right range:
Heat Input Ranges:
- Low (10-20 kJ/in): Thin stuff, aluminum, or when you’re trying not to warp it
- Medium (20-40 kJ/in): Most structural steel, general fab work
- High (40-60+ kJ/in): Thick plate, heavy equipment, when you need deep penetration
How to Adjust If You’re Outside the Range
Need MORE heat input?
- Turn up your amps
- Increase voltage
- Slow down your travel speed
- Weave instead of running stringers
Need LESS heat input?
- Turn down amps
- Drop your voltage
- Speed up your travel
- Run stringer beads instead of weaving
Pro tip: Weaving slows down your effective travel speed even if you’re moving your hand at the same pace. More side-to-side = more heat input.
Where This Actually Matters
Pipe Welding
Pipeline guys live and die by heat input. Too much and you get hydrogen cracking on high-strength pipe. Every weld gets calculated and checked. Typical range: 15-35 kJ/in depending on the grade.
Pressure Vessels
ASME Section IX says you HAVE to document heat input. Every pass gets recorded. Inspectors will check your math. Stay in your WPS range or you’re cutting it out.
Structural Steel
AWS D1.1 has maximum heat input limits for certain grades. You can’t just crank it up to weld faster—there’s a ceiling. Typical range for buildings and bridges: 25-50 kJ/in.
Bridge Work
This is where the AWS D1.5 formula comes from. Bridge code is strict because cracks = catastrophic failure. You’ll be calculating heat input on every joint. Range: 30-60 kJ/in for heavy sections.

The Mistakes Everyone Makes
1. Screwing Up Travel Speed
This is the #1 problem. People forget to convert seconds to minutes, or they guess instead of measuring. Don’t do it. Mark your piece, time it, do the math.
2. Ignoring Voltage
A lot of welders only pay attention to amps. But voltage matters just as much. A small voltage change can swing your heat input significantly. Keep your arc length consistent.
3. Forgetting About Weaving
If you’re weaving, you’re going slower along the joint even if your hand speed feels the same. That increases heat input. Factor it in.
4. Only Calculating the First Pass
On thick stuff with multiple passes, each pass adds heat. You need to think about interpass temperature and total heat input, not just pass one.
5. Trusting Your Machine Settings
Machine dials lie. Especially on older equipment. Use a meter to verify your actual voltage and amperage before you calculate anything critical.
Field Tips for Staying in Range
- Practice your travel speed. Mark off 12 inches, weld it, time yourself. Do it until you can hit the same speed every time.
- Keep consistent arc length. Your voltage changes with arc length. Longer arc = more voltage = more heat.
- Verify your settings. Don’t trust the dial. Check with a meter.
- Account for fit-up. Bad gaps force you to slow down and pump in more filler, which means more heat.
- Use temp sticks. On multi-pass work, check your interpass temp with temperature-indicating crayons.
- Write it down. For code work, document your voltage, amps, and time for every joint. Inspectors will ask.
For more process-specific help, check out our stick welding calculator or browse all our welding tools and calculators.
Use the Calculator (Because Math Sucks)
Look, I’ve done this calculation hundreds of times and I still use a calculator because why wouldn’t you?
Click here to use our free heat input calculator
Just plug in:
- Your voltage
- Your amperage
- Your travel speed
- Arc efficiency (optional)
It spits out your heat input in half a second. Works in metric too if that’s your thing.
Perfect for:
- Quick job site checks
- Verifying you’re in your WPS range
- Training new welders
- Quality control paperwork
Common Questions
Do I really need to calculate this for every weld?
No. For general fab work, you’re probably fine without it. But for code work, critical joints, or anything with a WPS that specifies heat input? Yes, you absolutely do.
My WPS says 20-35 kJ/in. What do I do?
Stay in that range. Calculate beforehand, run a practice bead if you’re not sure, then adjust your amps, volts, or travel speed to hit the sweet spot.
Can I use the same heat input for vertical and flat?
Nope. Vertical and overhead usually need lower heat input because you’re fighting gravity and puddle control. You’ll naturally weld slower in those positions anyway.
How do I measure my travel speed in the real world?
Mark a known distance on your workpiece—say 12 inches. Weld it while timing yourself. Do it a few times and average it out. Or get automated equipment with speed control if you’re doing production work.
Does wire feed speed affect heat input in MIG?
Yeah, indirectly. Wire feed speed controls your amperage in MIG. Crank up the wire speed and your amps go up, which increases heat input. Our MIG calculator can help you see how they’re related.
Why doesn’t AWS include arc efficiency in the formula?
The D1.5 formula is standardized for comparison. Everyone uses the same calculation method, so you’re comparing apples to apples. For critical stuff, multiply by arc efficiency. For structural steel, the basic formula is usually fine.
What’s the difference between heat input and arc energy?
Arc energy is everything your machine puts out. Heat input is what actually goes into the metal (arc energy × arc efficiency). For most structural welding, people use the terms interchangeably.
Other Tools You Might Need
If you’re doing heat input calculations, you might also need:
- Preheat vs. Interpass Temperature – Cooling-rate control before and between passes
- MIG Welding Calculator – Dial in wire speed, voltage, and gas flow
- TIG Welding Calculator – Get amperage settings for different metals
- Stick Welding Calculator – Rod selection and amp ranges
- Metal Weight Calculator – Figure out how much your material weighs
- CFM Calculator – Make sure your ventilation is good enough
- All Our Welding Calculators – Everything in one spot
Bottom Line
Calculating welding heat input isn’t rocket science, but it matters. Whether you’re trying to pass inspection, prevent cracks, or just dial in your settings for better welds, knowing your heat input puts you in control.
The formula is simple:
(Amps × Volts × 0.06) ÷ Travel Speed = Heat Input
Just remember:
- Measure your actual travel speed (don’t guess)
- Convert seconds to minutes first
- Use actual voltage and amperage, not dial settings
- Account for arc efficiency if you’re doing critical work
- Document everything for code jobs
Master this and you’ll never fail a heat input inspection again.
Ready to calculate? Hit up our free calculator and stop doing math by hand.
Heat input on a WPS still needs a performance record. Walk through every WPQ section with the WPQ Builder Guide.
Disclaimer: This is educational info about welding calculations. Always follow your WPS, applicable codes, and safety rules. Full details on our disclaimer page.