Pipe Welding Troubleshooting
Field differentials for root burn-through, TIG suck-back, hi-lo, amp mismatches, slag wagon tracks, and cap undercut — when calculator amps already looked right
Not a restatement of the guide's bullet list. Pair this with the Pipe Welding Calculator when starting amps matched the chart but the root still failed RT or the cap still failed VT. For positions, bevel defaults, and process stacks, use the Pipe Welding Guide and Pipe Welding Chart. This page stays on pipe-specific diagnosis forks the guide only sketches.

Pipe Weld Problems Quick Answer
Use this when fit-up passed visual, calculator amps were in range, and you still got a rejectable root or cap. The guide lists fixes; this table splits which failure you have before you change the wrong variable.
| Problem | Field tell | First fix | Next tool |
|---|---|---|---|
| Hole in root vs cold root | Burn-through: shiny hole, keyhole, metal drip. LOF: flat/dish root, wire won't lay in, RT dark band at ID | Burn-through → drop amps 10–15 A, speed up, tighten gap. LOF → add 5–10 A, slow travel, verify gap/land | Pipe Calculator |
| TIG root concavity | ID root looks sucked in; RT underfill at centerline | More filler dip per inch OR slower travel; check purge O₂ < 50 ppm before blaming heat | Heat Input Calculator |
| Hi-lo mid-joint | Feeler or straightedge shows step at quarter points; arc walks to low side | ≤1/16" → grind high side land or shim low side before root. >1/8" → cut out and re-fit | Joint Prep Technique |
| Calculator amps ≠ puddle | Display says 95 A but puddle is cold or rod sticks at "correct" setting | Clamp meter on leads; check duty cycle, polarity, lead length, machine vs WFS display | Pipe Calculator |
| Slag / wagon tracks | Parallel lines at toes on fill; RT linear indications between passes | Wire wheel + chisel every pass; grind toes before next fill; no "hot cap over dirty fill" | Groove Strength Troubleshooting |
| Cap undercut / cold lap | VT groove at toes; cap looks tied but fingernail catches; overlap without fusion | Drop cap amps 5–10 A; aim arc center not toes; pause at toes on 5G/6G | Preheat Calculator |
1. Root Burn-Through vs Lack of Fusion — Split Before You Touch Amps
What burn-through looks like on pipe: Keyhole opens on the root pass, ID shows a hole or excess reinforcement drip, sometimes a whistle from blow-through on thin Sch 10/40. On SMAW 6010 root, the arc sounds "wide" and the puddle races ahead. On GTAW, the cup glows and the root opens instead of freezing behind the torch.
What lack of fusion (LOF) looks like: No hole — the root looks flat, concave, or "cold." The wire/rod won't tie into the land; you feel the arc digging one side only. RT shows a dark straight or curved line at the root on the low side of hi-lo. Penetration test on scrap shows the root didn't reach the ID.
Field differential: Burn-through = too much heat input for wall + gap + position. LOF = not enough heat, wrong arc aim, gap too tight, land too heavy, or hi-lo steering the arc away from the joint line. Both can happen on the same joint at different clock positions on 5G/6G — treat each quadrant, not the whole pass.
First fix — burn-through: Drop amps 10–15 A (or one rod size down on thin wall). Increase travel — don't pause at 12 o'clock. Narrow root opening if it was on the wide side of the WPS. On GTAW, reduce cup size or add chill blocks on small-bore pipe. Verify heat input isn't stacking on a hot-preheated pipe.
First fix — LOF: Add 5–10 A and slow travel slightly. Aim arc at the joint line, not the bevel face. Open gap to WPS minimum (often 3/32" on carbon pipe). Reduce land if face is heavy. On hi-lo, weld from the high side first or shim — see section 3. Re-check starting amps in the Pipe Welding Calculator after fit-up changes, not before.
2. TIG Root Suck-Back / Concavity — Heat vs Filler vs Purge
What it looks like: ID root surface is below flush — "sucked back" into the pipe. RT shows centerline underfill or concavity rejectable under B31.3/BPV Code VT/RT limits. Common on GTAW root + SMAW fill stacks.
Diagnose the cause fork:
- Heat too high / travel too fast: Root metal pulls back from shrinkage while still molten. Arc sounds smooth but root freezes concave. Fix: slightly lower amps or slower travel with more filler dips — not less filler.
- Filler starvation: Walking the cup without enough rod addition — especially on 5G downhill-feel positions where gravity pulls metal away from ID. Fix: add a dip every 1/8–1/4" of travel; use smaller filler (1/16" on thin wall).
- Purge / atmosphere: Bad purge shows oxidation, not always concavity — but heavy O₂ causes irregular freeze and suck-back on stainless. Fix: O₂ trace < 50 ppm (often < 20 on SS); dam distance, flow rate, and vent hole size per WPS. Sudden concavity after a purge dam shift = purge first, not amps.
- Cooling too fast: Small-bore pipe, high ambient wind, or no preheat on thick wall when WPS requires it. Fix: preheat to WPS minimum; wind screens on field welds.
First fix order: (1) Confirm purge with an O₂ meter. (2) Increase filler addition rate at same amps. (3) Only then reduce amps 5 A steps. (4) Check heat input if the procedure has a kJ/in cap — concavity repair by grinding and re-welding must stay inside limits.
Purge problems mimic heat problems. Log O₂ ppm before changing torch settings.
Pipe Welding Guide3. High-Low (Hi-Lo) Mid-Joint — Cut Out vs Grind/Build
What it looks like: One pipe end sits high relative to the other after lineup clamps. Arc favors the low side; root LOF on the high land or burn-through on the low ID. Feeler gauge or straightedge shows step at the weld line.
Measure before welding: Check hi-lo at four clock points. Pipe ovality and fit-up spring-back often show worst at 3 and 9. Code limits are typically 1/16"–1/8" depending on spec — know your WPS/ITP before "good enough."
When to grind/build (stay in place): Hi-lo ≤ ~1/16" and land thickness still within WPS after grinding high-side land to match. Use internal or external alignment tools; shim low side with approved backing/landing strips if WPS allows. Grind — don't weld build-up on lands without WPS approval.
When to cut out and re-fit: Hi-lo > 1/8", or step changes mid-circumference (>1/16" variation between quadrants). Spring-back after tack that opens gap on one side only. Land becomes too thin after grinding. Stress concentration on fatigue service — don't "cap over" misalignment.
Full bevel/land/root-opening discipline lives in Groove Weld Joint Prep Technique — not duplicated here. Strength impact of misaligned roots: Groove Weld Strength Troubleshooting.
4. Calculator Amps vs Machine Output — Duty Cycle, Leads, Polarity
What it looks like: Pipe Welding Calculator says 85–95 A for your wall and process, but the rod sticks, the puddle is cold, or the opposite — the machine feels hotter than expected and roots blow through at "book" settings.
Likely causes:
- Duty cycle foldback: Inverter displays set amps but thermally limits output on long runs. Pipe fill passes on a hot afternoon — machine feels fine on first root then weak on fill.
- Long leads / poor connections: Voltage drop across 100+ ft leads or loose Dinse. Display amps ≠ arc amps. Especially on CC (SMAW) where arc voltage sag changes heat.
- Wrong polarity: DCEN vs DCEP on SMAW — 6010 wants DCEP; wrong polarity feels like constant LOF or wild arc. GTAW on DCEN; if machine stuck on EP, heat profile changes.
- Machine vs process display: Some multiprocess units show wire feed or voltage, not true welding current. Verify on the work clamp with a clamp meter.
- Generator power: Undervoltage from undersized plant — arc stutters, welder compensates inconsistently.
Fixes: Clamp meter on return lead during a pass — compare to display. Shorten leads or upsize cable. Let machine cool if duty-cycle lamp is on. Confirm polarity on the stinger. Re-derive starting point from the Pipe Welding Calculator and Pipe Welding Chart, then tune by puddle on scrap of the same schedule — not by chasing a faulty display.
5. Slag Inclusions & Wagon Tracks Between Fills — Cleaning Discipline
What it looks like: Parallel dark lines at weld toes after fill passes — "wagon tracks." RT shows linear slag between passes, often at the 5G overhead quadrant where you couldn't see the toe. Cap can look fine while mid-thickness slag fails RT.
Likely causes: Incomplete slag removal — chip brush only, no grinding on narrow groove toes. Starting next pass too low, trapping slag under the toe. Oxide from partial purge on SS/HSLA. Fill too fast after 7018 slag skin hasn't cooled enough to release.
Fixes: Chip, wire wheel, then grind toes bright before every fill pass — not just before cap. On narrow V-groove pipe, use pointed chisel or needle scaler on toes. Run stringers; avoid wide weave that buries slag at edges. Inspect overhead quadrant with mirror/light before closing the joint. If wagon tracks appear in RT, gouge/grind out the indication — don't cap over.
Structural groove defect angles (underfill, LOF at toes) overlap with Groove Weld Strength Troubleshooting — this section stays on pipe multi-pass cleaning between fills.
6. Cap Undercut & Cold Lap — Amperage vs Angle vs Travel
Undercut — what it looks like: Groove at cap toes, often worst at 5G/6G transitions. VT rejectable per AWS D1.1/B31.3 toe criteria. Fingernail catches at toe even when cap looks "pretty."
Cold lap / overlap — what it looks like: Cap metal sits over base metal without fusion — shiny boundary at toe. Different from undercut (which removes base metal). Both fail VT; lap often needs grind-out.
Undercut causes & first fixes: Cap amps too high for thin remaining wall — drop 5–10 A from fill. Torch/rod angle aimed into toe — point arc at weld center, pause slightly at toes on 6G. Travel too fast on cap — slow 10% and watch toe freeze behind arc. Excessive weave width — stay within 2.5× electrode diameter.
Cold lap causes & first fixes: Travel too fast with insufficient heat — lap skin over unfused toe. Fix: lower travel, increase angle toward base metal (not into undercut), grind lap back to bright metal and re-run cap stringer. Preheat drop on thick pipe — verify interpass and preheat if metal is below WPS minimum.
Cluster Cross-Links — Chart & Prep Already Covered
Chart SKIPPED — wall/amp/bevel tables live in the Pipe Welding Chart and calculator. Article 3 SKIPPED — process selection and groove prep depth live in the Pipe Welding Guide and Groove Weld Joint Prep Technique.
Pipe Welding Calculator → Pipe Welding Guide → Pipe Welding Chart → Joint Prep Technique → Groove Strength Troubleshooting →
Recommended Tools for Pipe Weld Diagnosis
Five CSV catalog picks with verified Product Image URLs — temperature, fit-up, and electrical checks
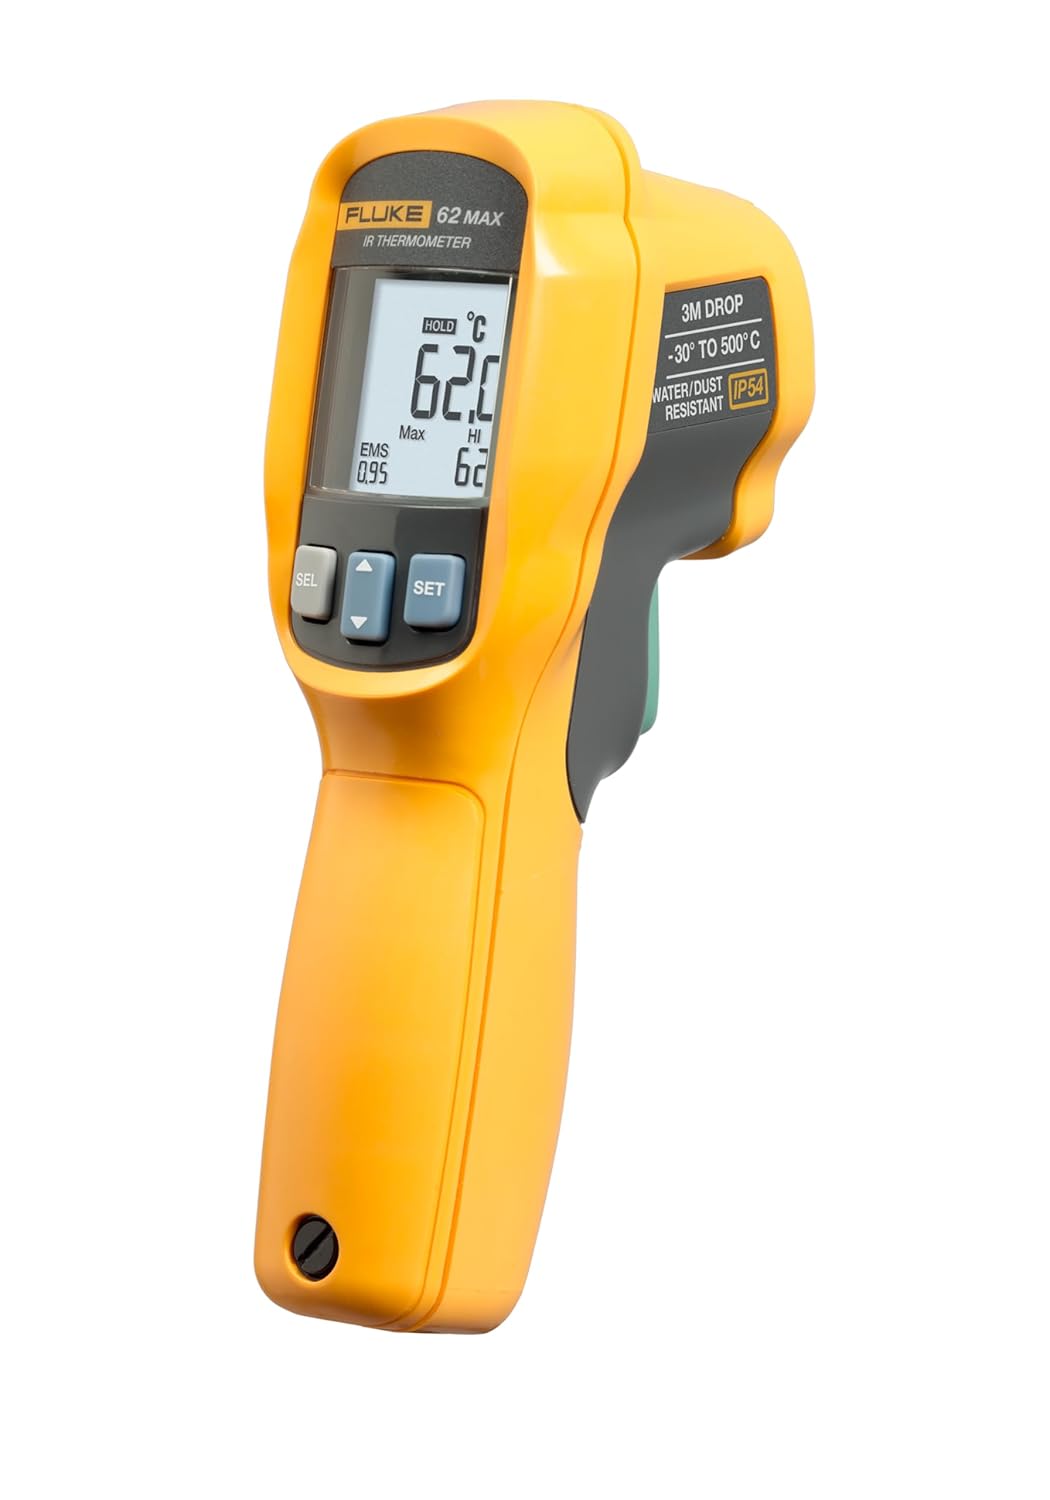
Fluke 62 Max IR Thermometer
- Verify preheat/interpass on pipe
- Spot-check without contact pyrometer
- Field-trusted IR for weld QC
- Electrical / test catalog
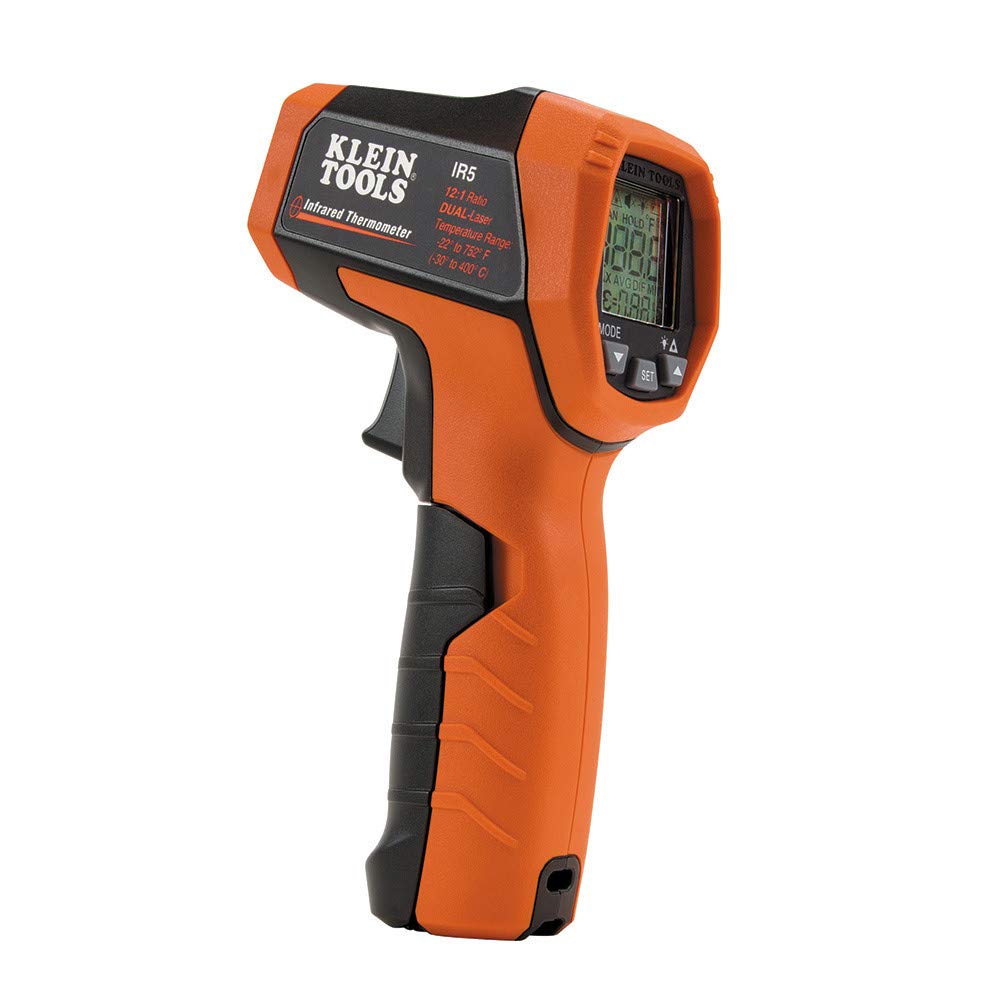
Klein Tools IR5 Dual-Laser IR Thermometer
- Dual-laser spot sizing on pipe surface
- Interpass temperature checks
- Backup to contact thermocouple
- Electrical / test catalog
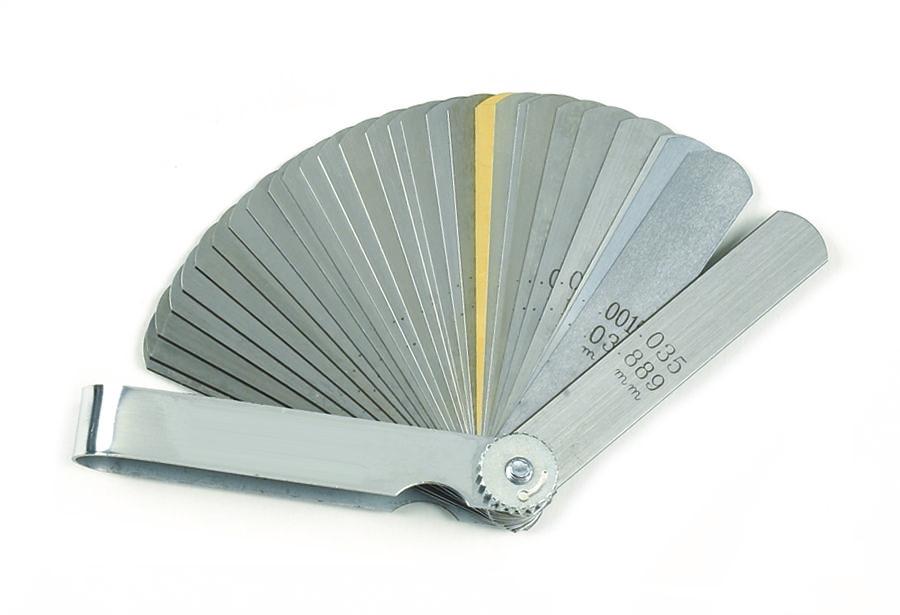
GEARWRENCH 161D 32-Blade Feeler Gauge Set
- Measure hi-lo and root gap
- Quantify "slight step" before root
- 32 blades for pipe fit-up
- Hand tools catalog
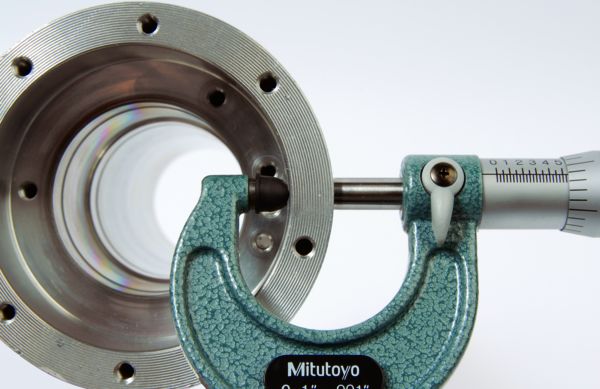
Mitutoyo 103-177 Outside Micrometer, 0–1"
- Confirm land thickness after grind
- Check cap reinforcement profile
- 0–1" shop standard
- Cutting tools / machining catalog

Ideal 61-757 Clamp Meter
- Verify welding current vs display
- Diagnose lead drop / duty cycle
- True RMS for inverter welders
- Electrical / test catalog
As an Amazon Associate, TestTalkHQ earns from qualifying purchases. All five cards are sourced only from the affiliate CSV with verified Product Image URLs. Catalog gaps flagged by name (no image URL — not shown as cards): YESWELDER E7018; Intra-FIT / YESWELDER welding gloves; ARCCAPTAIN welding helmet; VASTOOLS chipping hammer; DEWALT angle grinder; Hobart / MIG wire; TIG tungsten kits. AUNMAS MT2 — N/A (skipped).
Frequently Asked Questions
How is this different from the Pipe Welding Guide problem bullets?
The guide lists common causes in one line each. This page splits failures by field presentation — burn-through vs LOF, purge vs filler on suck-back, when to cut hi-lo vs shim — and ties them to measurement tools and cluster calculators.
Calculator amps matched — why did the root still fail?
Fit-up (gap, land, hi-lo), position heat sink on 6G, purge on GTAW, and actual machine output often override the starting table. Measure hi-lo, O₂, and clamp-meter amps before re-running numbers.
Should I always cut out hi-lo over 1/8"?
Follow your WPS/ITP and code. This page uses 1/8" as a common field fork — when in doubt on pressure or fatigue pipe, cut out and re-fit rather than grind to thin land.
Why no welding consumable or PPE product cards?
Best CSV matches (YESWELDER E7018, gloves, helmet, chipping hammer, grinder, MIG wire, tungsten kits) lack Product Image URLs — flagged as catalog gaps instead of mismatched photos.
Where is process selection and bevel prep?
Article 3 skipped — see Pipe Welding Guide and Groove Weld Joint Prep Technique. Chart tables: Pipe Welding Chart.