Preheat is not “warm the plate until it feels ready.” It is a calculated minimum temperature that slows HAZ cooling so hydrogen can diffuse and hard martensite is less likely to form. The calculator turns carbon equivalent, thickness, process, and ambient into that number — this guide explains why those inputs matter and how to prove the joint is actually there before you strike an arc.
Need the minimum preheat number? Enter chemistry (or a steel preset), thickness, process, and ambient conditions.
Why Preheat Matters — Hydrogen Cracking and Cooling Rate
Cold cracking (hydrogen-assisted cracking) shows up hours or days after the weld looks fine. Three ingredients drive it: diffusible hydrogen (moisture in consumables, humidity, contamination), a hardable microstructure in the HAZ, and restraint / residual stress. Preheat attacks the second by slowing cooling so the HAZ spends less time in the transformation range that produces brittle martensite — and gives hydrogen more time to escape while the metal is still hot.
Thick plate pulls heat away faster than thin sheet. High carbon and alloy content raise hardenability. Highly restrained joints (heavy fixtures, thick members, intersecting welds) raise stress. That is why “A36 under 3/4" in a warm shop” and “1½" quenched-and-tempered in January” are not the same preheat problem — even if both are “carbon steel.”
For how preheat sits next to interpass (minimum vs maximum thermal control), see Preheat vs. Interpass Temperature. This page stays on calculating and verifying minimum preheat.
What the Calculator Computes
IIW carbon equivalent
The Preheat Temperature Calculator uses the International Institute of Welding (IIW) formula:
CE = C + Mn/6 + (Cr + Mo + V)/5 + (Ni + Cu)/15
Use actual chemistry from the mill test report (MTR) when you have it. Without an MTR, use specification maximums — conservative, but safer than guessing mid-range chemistry. Silicon is collected in the form for reference; the IIW CE path above is what drives the result.
| CE band | Hardenability / weldability | Typical shop implication |
|---|---|---|
| < 0.35 | Low — excellent | Often no preheat on thin–moderate sections at mild ambient |
| 0.35–0.45 | Medium — good | Preheat on heavier sections or cold weather |
| 0.45–0.60 | High — fair | Preheat in most structural cases; watch HI & interpass |
| > 0.60 | Very high — difficult | High preheat; PWHT may also be required by procedure |
Thickness + CE → minimum preheat (°F)
After CE is known, the calculator looks up a minimum preheat by thickness bands (roughly ≤3/8", ≤3/4", ≤1½", and heavier), with higher CE rows demanding hotter minimums. Very high CE uses a capped escalation rather than pretending a single shop table covers every alloy.
Process and ambient adjustments
- GMAW / GTAW / SAW — calculator subtracts ~25°F from the table value (lower hydrogen / different heat patterns vs stick in many shop assumptions). Still confirm against your WPS.
- Ambient below 32°F — floor of 70°F minimum (AWS D1.1-style cold-weather rule).
- Ambient below 0°F — floor of 150°F.
The same run also suggests a CE-based maximum interpass ballpark. Treat that as a companion hint — lock the real max with the Interpass Temperature Calculator and your WPS.
AWS D1.1 Table guidance and shop CE tables are starting points. The engineer of record and the qualified procedure win. Use the calculator to plan and teach — then verify against the printed WPS on the job.
How to Apply and Verify Preheat on the Job
- Get chemistry — MTR preferred; else ASTM max chemistry into the calculator.
- Measure thickness at the joint — use the governing thickness the code/WPS defines (often the thicker member in a T-joint).
- Heat the zone — torch, induction, or oven per shop practice. Heat a band wide enough that the joint does not quench into cold metal 1" away.
- Soak — thin plate reaches temperature fast; thick sections need time for heat to soak through the thickness, not just the surface. If the face is hot and the back is cold, you do not have preheat — you have a gradient.
- Verify temperature before the first arc (see methods below).
- Maintain — if the joint cools below minimum between fit-up and welding, reheat. Minimum preheat is a floor for the start of welding, not a one-time torch kiss.
Measurement methods
- Tempilstik / temperature crayons — mark 2–3" from the weld centerline on clean metal. Melt = at or above that stick’s rating. Carry the stick that matches your minimum (and often one for max interpass).
- Contact pyrometer / thermocouple — best for WPS verification. Probe on clean base metal near the joint, not in slag or the puddle.
- Infrared gun — fast for surveys; emissivity errors on shiny, mill-scale, or freshly ground surfaces are common. Cross-check IR with a crayon or contact reading when the number matters.
Codes and WPSs often specify distance from the weld toe. Measuring on the torch-blasted hot spot while the far side of a thick flange is cold will pass a crayon and still crack. Measure where the procedure says — typically adjacent to the joint on both sides when accessible.
Common Mistakes
- Guessing CE from the grade name alone — “A36” spans chemistry; use the heat’s MTR.
- Surface-hot, core-cold thick plate — no soak time through thickness.
- Trusting IR on shiny stainless or ground steel without a contact/crayon check.
- Skipping preheat because ambient “feels fine” while CE and thickness demand heat.
- Heating only the top of a T-joint — stem and flange both need the thermal floor.
- Using damp low-hydrogen electrodes on a high-CE joint — preheat cannot fully save bad hydrogen control.
- Ignoring cold-weather floors — below 32°F, AWS D1.1-style rules raise the minimum even on “easy” steels.
Frequently Asked Questions
Is preheat required for MIG on mild steel?
Often not on thin A36/1018 above freezing. Heavier sections, higher CE, restraint, or cold ambient change the answer — run the calculator rather than assuming MIG never needs preheat.
Can I substitute higher heat input for preheat?
Heat input slows cooling during the pass; preheat sets the starting temperature of the mass. They work together. Low HI on thick high-CE steel without preheat is a classic cold-crack setup. Use the Heat Input Guide and calculator when the WPS brackets kJ/mm.
What if my torch will not hold temperature in wind?
Wind screens, induction, or temporary insulation. Measuring after a wind gust often shows you dropped below minimum — reheat before welding.
Calculate minimum preheat for this heat of steel
WeldKit — Welding Calculators for the Shop
Preheat, interpass, heat input, MIG/TIG/Stick settings, and more. Free on Android. Works offline.
Related Calculators & Guides
When the calculator minimum looked right but the joint still failed temperature checks or cracked, see Preheat Temperature Troubleshooting.
Welding
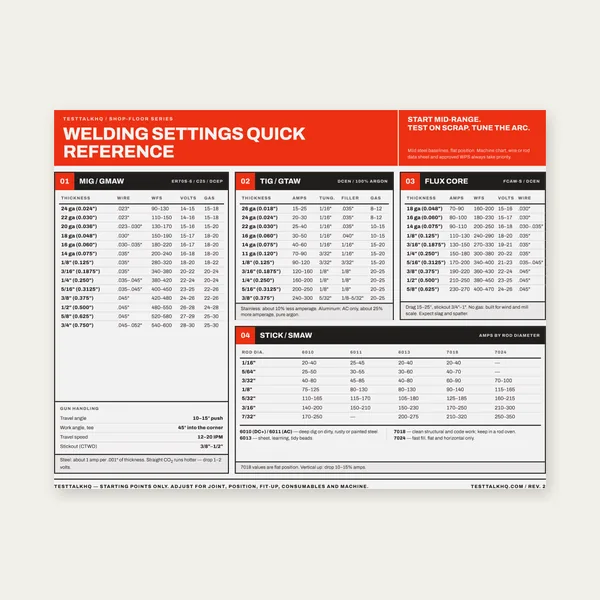
Welding Reference Card
One page. MIG, TIG, stick and flux core settings by thickness.
$3.99
Buy
Complete Welding Settings Guide
19 pages. Four processes, stainless and aluminum, symbols and inspection.
$12.99
Buy
Welding Job Estimator
Price the job, then hand over a quote with no internal numbers.
Excel or Google Sheets. Best on a computer.
$29.00
Buy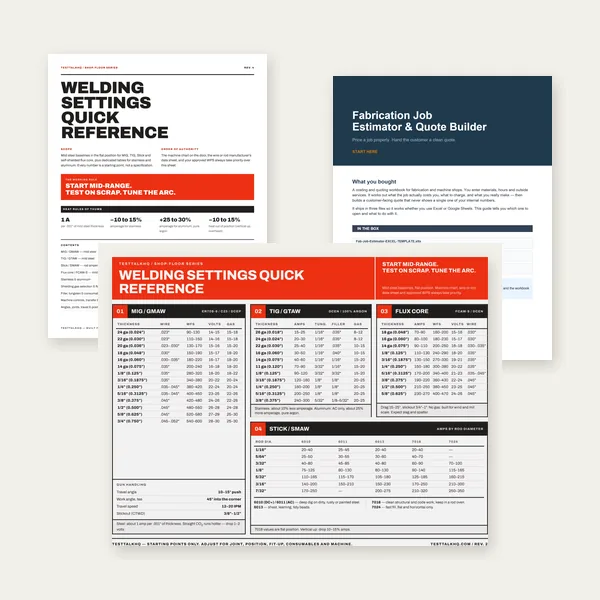
Welding Complete Bundle
Card, 19-page guide and the estimator workbook. All six files.
Excel or Google Sheets. Best on a computer.
$34.99
$45.98 if bought separately — save $10.99
BuyCheckout opens in a new tab.