You’re standing in front of quarter-inch steel with your plasma cutter cranked to 50 amps. You pull the trigger, drag the torch across, and watch sparks spray everywhere. When you’re done, the cut looks like a jagged canyon with dross hanging off the bottom like metal icicles. You burned through consumables worth $15 and wasted 20 minutes grinding.
Here’s what went wrong: You needed 20 amps and 30 PSI of air for that cut—not 50 amps at maximum pressure. Your travel speed was too slow because the excessive amperage made you think you needed to crawl. The result? Wasted consumables, poor cut quality, and frustration.
This guide shows you exactly what settings to use for any material thickness, how to tell if you’re cutting too fast or too slow just by watching the sparks, when to replace consumables before they ruin your cuts, and the nine critical techniques that separate clean professional cuts from amateur hackwork.
Use our Plasma Cutting Settings Calculator to instantly get the right amperage, air pressure, and estimated cutting speed for your material.
Need the numbers, not the lecture?
Use the Plasma Cutting Settings Calculator for a fast baseline before you cut, then fine-tune by watching spark direction and cut quality.
Complete Plasma Cutting Settings Chart
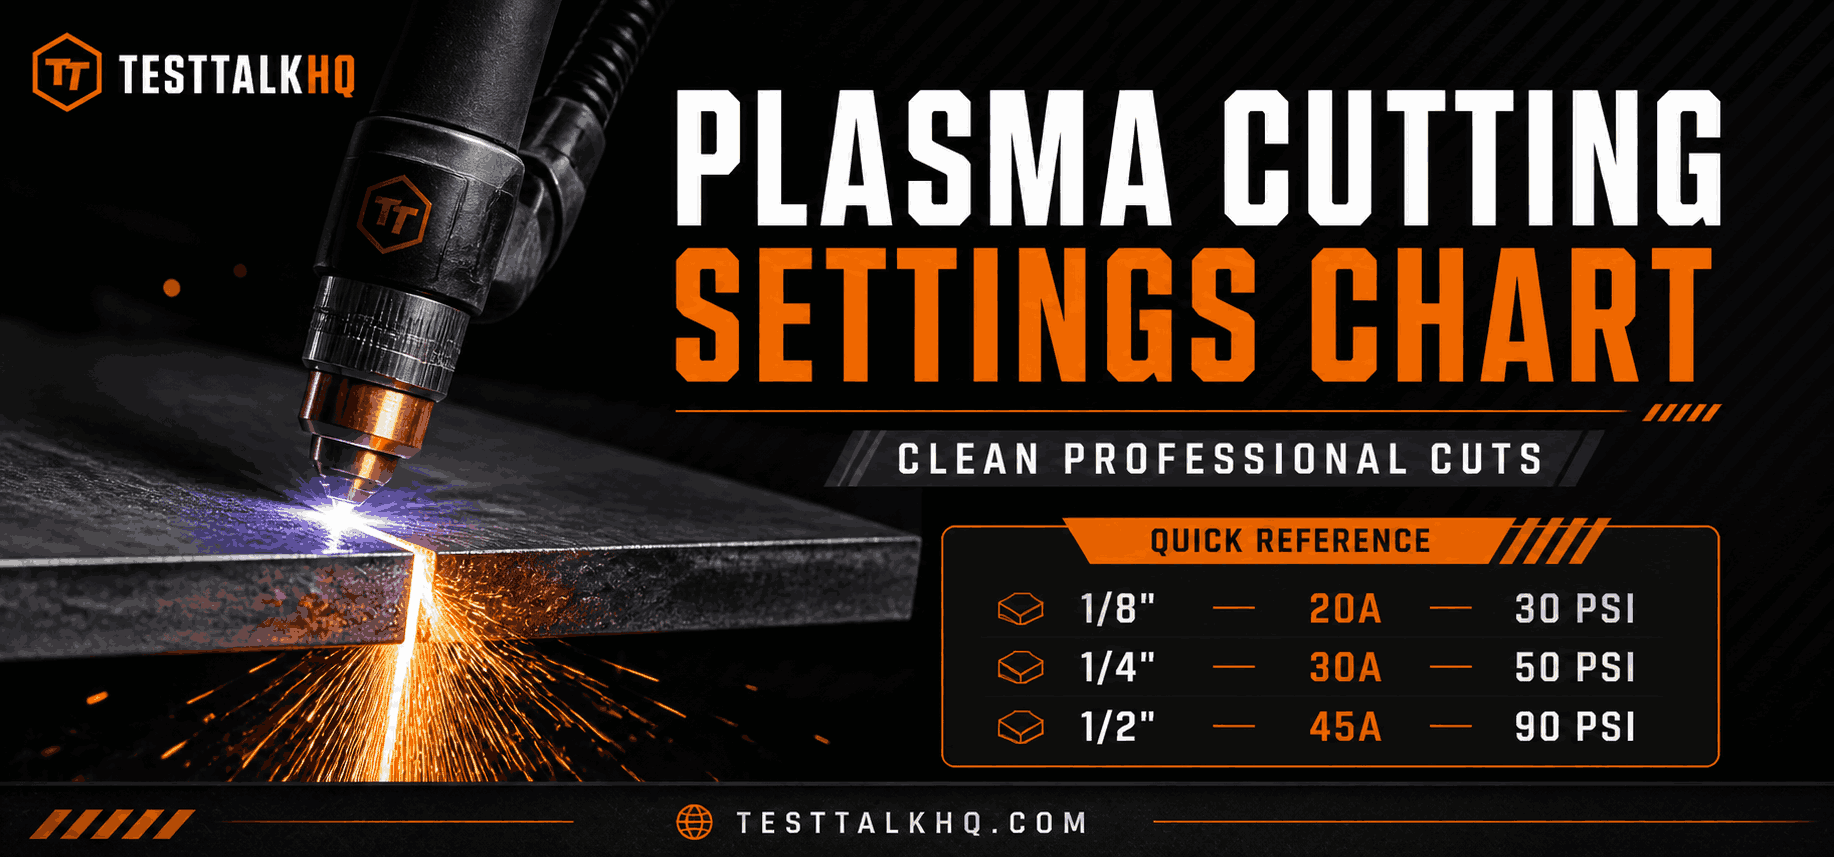
This chart provides starting settings for mild steel. These are baseline values—adjust based on what the sparks tell you (covered below).
| Material Thickness | Amperage | Air Pressure (PSI) | Approx Travel Speed |
|---|---|---|---|
| 1/16″ (0.0625″) | 15-20 amps | 25-30 PSI | Fast (30-40 IPM) |
| 1/8″ (0.125″) | 20 amps | 30 PSI | Medium-Fast (25-35 IPM) |
| 3/16″ (0.1875″) | 25-30 amps | 40-50 PSI | Medium (20-30 IPM) |
| 1/4″ (0.25″) | 30-35 amps | 50-60 PSI | Medium (15-25 IPM) |
| 5/16″ (0.3125″) | 35-40 amps | 60-70 PSI | Slow-Medium (12-20 IPM) |
| 3/8″ (0.375″) | 40-45 amps | 70-80 PSI | Slow (10-18 IPM) |
| 1/2″ (0.5″) | 45-50 amps | 80-90 PSI | Slow (8-15 IPM) |
| 5/8″ (0.625″) | 50+ amps | 90-100 PSI | Very Slow (6-12 IPM) |
| 3/4″ (0.75″) | 50+ amps | 100-120 PSI | Very Slow (5-10 IPM) |
Why not just max out amperage? Running higher amperage than needed burns through consumables faster (they’re subjected to excessive heat), wastes electricity, and can actually produce worse cut quality. Match your settings to your material for optimal results.
How Plasma Cutting Actually Works
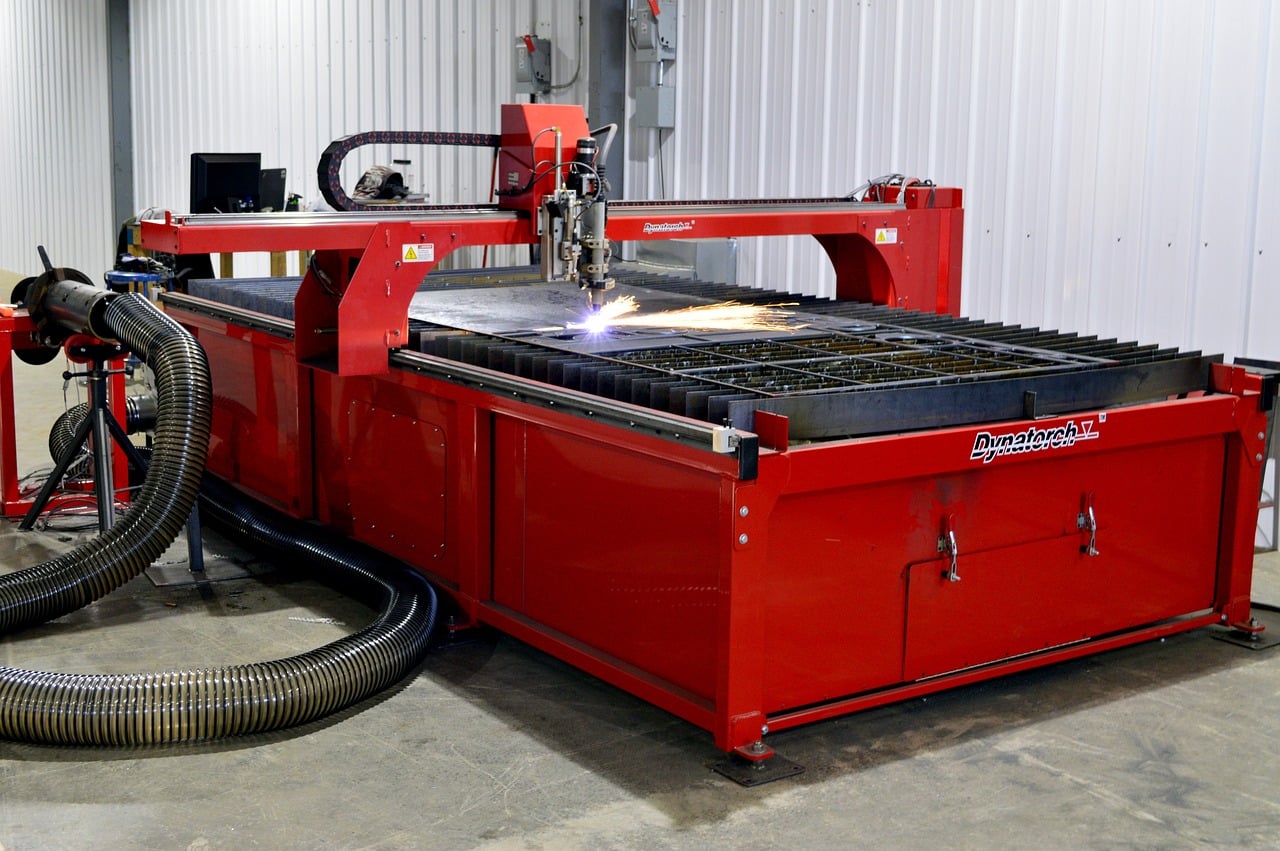
Understanding the process helps you troubleshoot when things go wrong. Here’s what happens when you pull the trigger:
The Two-Stage Arc System
Stage 1: Pilot Arc – Modern plasma cutters use “pilot arc” technology. When you pull the trigger, an arc forms between the electrode inside your torch and the nozzle (the tip). This is your pilot arc. It doesn’t cut metal—it just gets things started. You’ll see this if you pull the trigger without the torch touching anything.
Stage 2: Main Arc – Once the pilot arc establishes, and you bring the torch near metal, the arc transfers from electrode-to-nozzle to electrode-to-workpiece. This is your main cutting arc. It’s what actually melts and blows away the metal.
Why you need the work clamp: Without the work clamp attached, you only get the pilot arc. The electrical circuit isn’t complete, so the main arc can’t form. You’ll see sparks but won’t cut through material. Always clamp your work lead to clean, bare metal.
What Actually Cuts the Metal
The plasma arc heats metal to approximately 40,000°F—hot enough to melt it instantly. Simultaneously, compressed air blows through the torch at high velocity (hence the air pressure requirement). This air jet blows the molten metal out of the cut (kerf), leaving a clean separation.
Think of it like a cutting torch on steroids. Instead of a chemical reaction (oxygen + acetylene), you’re using an electrical arc to create extreme heat, and compressed air to blow away the molten metal.
How to Read Your Cut: Too Fast vs Too Slow
Forget travel speed charts when cutting by hand. Instead, watch the sparks—they tell you everything you need to know in real-time.
Perfect Speed: Sparks Dragging Behind Slightly
When you’re moving at the correct speed, sparks shoot out the bottom of the cut and drag behind the torch by about 10-20 degrees. They’re not going straight down, and they’re not shooting way behind you. This slight lag means you’re cutting at optimal speed.
Too Fast: Sparks Shooting Way Behind or Back at You
If you’re moving too fast, the arc can’t fully penetrate before you move forward. Sparks shoot far behind the torch or even spray back up toward you.
The fix: Slow down immediately. Let the arc fully penetrate before advancing.
Too Slow: Sparks Shooting Straight Down
If sparks go straight down perpendicular to the material, you’re moving too slow. You’re dwelling too long in one spot, wasting consumable life and creating excessive dross.
The fix: Speed up your travel. You’re cutting through—now move along.
Practical Application
Start your cut at a moderate speed. Watch the sparks. Adjust in real-time based on what you see. This is faster and more accurate than trying to time yourself with a stopwatch or follow a travel speed chart. Your eyes and hands become the feedback loop.
Consumables Explained: What Wears Out and When to Replace
Plasma cutter consumables are the parts that wear out from heat and arc exposure. Knowing when to replace them prevents poor cut quality and machine damage.
The Main Consumables
1. Electrode (Copper with Hafnium Tip)
The electrode sits inside the torch body. It’s made of copper with a small hafnium insert at the tip—this is where the arc emits from. When new, you’ll see a shiny silver dot (the hafnium). As it wears, a pit forms in the center.
When to replace: When the pit is 1/16″ deep or deeper, or the hafnium insert is completely gone. A worn electrode causes erratic arc starting, poor cut quality, and can damage the nozzle.
2. Nozzle (The Tip)
The nozzle directs the plasma stream and compressed air. The orifice (hole) is precision-sized. As it wears, the hole enlarges and becomes oblong instead of perfectly round.
When to replace: When the orifice is visibly enlarged, deformed, or damaged. If you’re getting wide, inconsistent cuts or excessive spatter, check the nozzle first.
Best practice: Replace electrode and nozzle together as a matched set. They wear together, and mixing old/new can cause arc instability.
3. Swirl Ring
Controls airflow through the torch, creating a swirling pattern that stabilizes the arc and produces a straighter cut.
When to replace: Rarely wears out unless damaged. Replace if cracked or if airflow channels are blocked.
4. Shield/Cup (Ceramic Parts)
Protects internal components and helps maintain proper standoff distance (gap between nozzle and workpiece).
When to replace: Only when cracked or broken. These are ceramic and fragile but don’t wear from normal use.
How Long Do Consumables Last?
It depends on three factors:
- Air quality: Dry air = longer life. Moisture in compressed air is the #1 consumable killer. Use a water separator and drain your compressor tank regularly.
- Proper settings: Running excessive amperage for thin material burns consumables faster.
- Technique: Starting cuts in the middle of plate (vs from edge) and allowing sparks to blow back into the tip reduces consumable life.
Typical lifespan: With good air quality and proper technique, electrode/nozzle sets last 1-3 hours of arc-on time. With poor air quality, they might only last 30-45 minutes.
How to Replace Consumables
It’s literally this easy:
- Unscrew the shield/cup from the torch body
- Remove the nozzle (unscrew or pull out depending on model)
- Remove the swirl ring
- Pull out the old electrode
- Drop in the new electrode
- Install the swirl ring
- Install the new nozzle
- Screw on the shield/cup
Takes 60 seconds. Always keep spare consumables on hand—nothing worse than being mid-project when the nozzle fails.
9 Essential Tips for Better Plasma Cuts
These nine techniques separate professional results from amateur work:
Tip #1: Good Earth Connection Is Vital
Your work clamp must attach to clean, bare metal. If the surface is painted, rusty, greasy, or covered in mill scale, you won’t get reliable arc ignition—and if it does ignite, the cut quality will be terrible.
What to do: Grind paint off a small area. Clean off grease/oil with degreaser or acetone. Clamp to bare metal. Paint must be removed anyway for quality cuts, so grinding a clean spot for the clamp is part of the job.
Tip #2: Maintain Proper Cutting Distance (Standoff)
Pilot arc torches don’t require tip-to-workpiece contact to ignite. You can either drag the torch along the metal or maintain a small gap (standoff) using a guide.
Drag cutting: Rest the shield directly on the work surface and drag it along. Simple, consistent, works great for handheld cuts.
Standoff guide: Some shields have built-in standoff guides that maintain a small gap (typically 1/16″-1/8″). This can produce slightly cleaner cuts and extend shield life.
Which is better? For hand cutting, dragging is easier and more consistent. For CNC plasma tables, standoff is preferred.
Tip #3: Match Amperage and Travel Speed
Amps and travel speed must work together. Technically you could run the machine at max amps and just adjust travel speed, but this burns consumables unnecessarily.
The rule: Use the chart settings as a starting point. Watch the sparks. Adjust travel speed until sparks lag slightly behind (10-20 degrees). This optimizes cut quality and consumable life.
Tip #4: Practice Runs on Scrap Before Cutting Your Workpiece
Before cutting your actual part, make test cuts on scrap material of the same thickness. This lets you dial in amperage, air pressure, and travel speed without risking your good material.
What to practice: Straight lines, curves, stopping and restarting. Perfecting travel speed takes a few tries—better to waste scrap than expensive plate.
Tip #5: Check Consumables Regularly
One of the main causes of poor cut quality is worn consumables. Make checking the electrode, nozzle, and shield a habit before starting work.
Pre-job checklist:
- Inspect nozzle orifice—round and undamaged?
- Check electrode for pitting—hafnium insert intact?
- Shield/cup cracked or damaged?
- Replace consumables as a matched set when worn
Consumable compatibility: If you’re cutting at 80 amps and your consumables are rated for 60 amps, you’ll burn through them in minutes. Make sure consumables match your machine and intended amperage.
Tip #6: Perform Dry Runs for Complex Cuts
For long or complex cuts, do a “dry run” without pulling the trigger. Move the torch along the intended cut path to ensure:
- You can reach the entire cut in one continuous motion
- Your air hose and power cord won’t snag
- You have stable footing and comfortable positioning
Ideally, complete the entire cut without stopping. If you must stop mid-cut, it’s not the end of the world—just restart where you paused. If there’s a small hole at the restart point, fill it with a tack weld and grind smooth.
Tip #7: Use Guides for Straight Lines and Perfect Circles
Freehand cutting works for some shapes, but for professional-quality straight lines and circles, use guides.
Straight edges: Clamp a metal straightedge or speed square to your workpiece. Drag the torch body along the edge as you cut. This produces dead-straight lines every time.
Circle cutting attachments: Magnetic circle guides attach to the torch and pivot around a center point. Essential for cutting perfect circles of any diameter. Worth every penny if you cut circles regularly.
Tip #8: Start from the Edge, Not the Middle
Whenever possible, start your cut from the edge of the plate rather than piercing in the middle.
Why? Starting from the edge gives flawless arc ignition without sparks flashing back into the nozzle. Sparks blowing back can plug the nozzle orifice, ruining cut quality and shortening consumable life.
If you must start in the middle: Angle the torch 45 degrees when you pull the trigger. Once the arc pierces through, move the torch back to 90 degrees (perpendicular to the plate). This deflects initial sparks away from the nozzle, keeping it clean.
Tip #9: Clean Your Material and Guides
Give your metal a quick inspection before cutting. Remove any burrs, rough spots, or raised edges that the torch shield might catch on. If you’re using a straightedge guide, check it for dings or imperfections—any bump on your guide transfers to your cut.
The difference: Smooth material and clean guides = smooth, professional cuts. Rough material = divots and imperfections in your cut line.
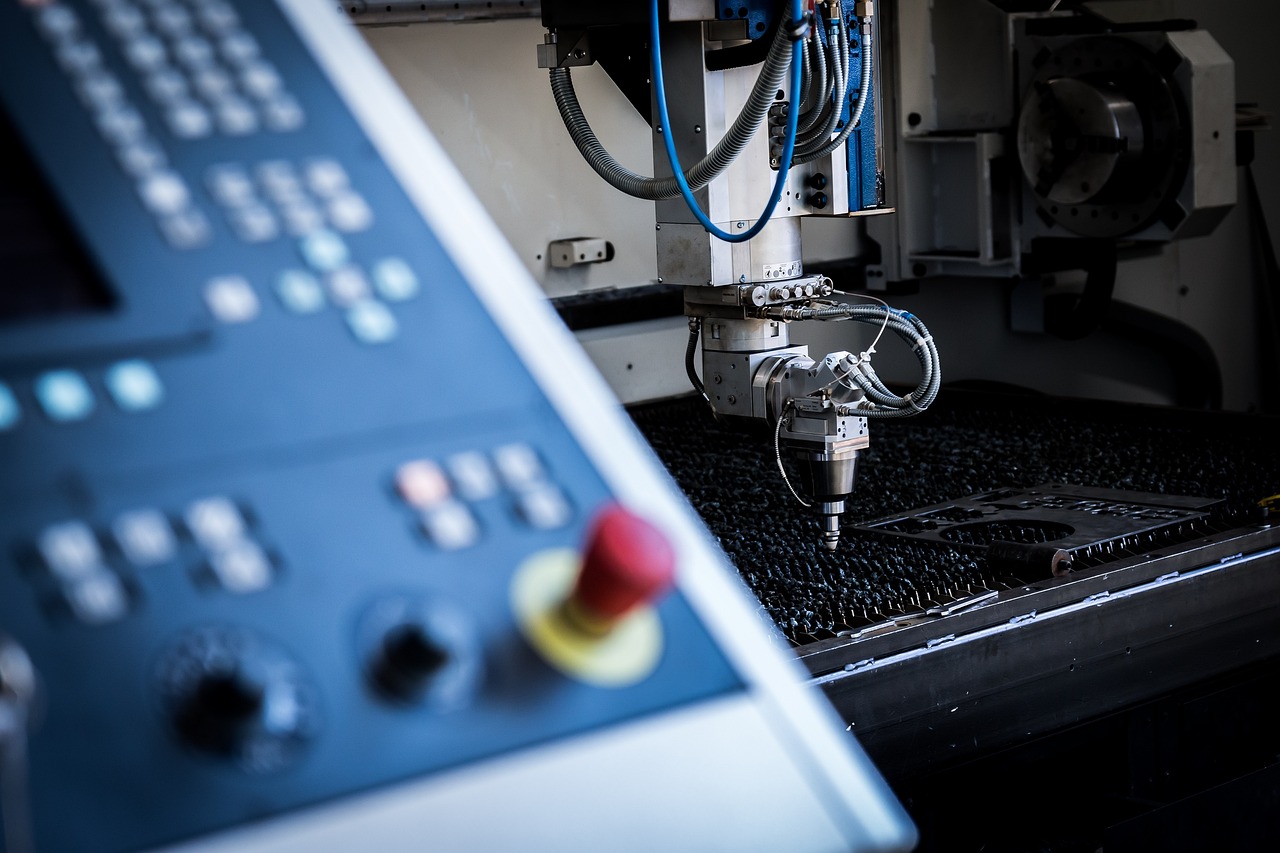
Cutting Technique and Hand Position
Torch Angle: 90 Degrees Perpendicular
Hold the torch straight up and down—perpendicular to the workpiece. Some people tilt it forward slightly (leading the cut), but this often creates more problems than it solves. The air swirl inside the torch is designed for a straight 90-degree angle.
Why perpendicular works best: The plasma jet and compressed air blow straight down through the material. Angling the torch can cause uneven kerf (cut width) and beveled edges.
Pull, Don’t Push
Pull the torch toward you rather than pushing it away. You have better control dragging the torch than pushing it forward where it might wobble or wander.
Think of it like drawing with a pencil: You pull the pencil toward you for precise lines. Same principle applies to plasma cutting.
Directional Cutting: The Right Side is Straighter
Here’s something most people don’t know: Because air swirls inside the torch, you get a straighter cut on one side of the kerf than the other. On Hypertherm machines (and most others), the right side of the cut is straighter.
What this means: If you need one edge to be perfectly straight (the “good side” you’re keeping), orient your torch so that side is on the right. The left side (scrap side) will have slightly more taper.
Practical application: When cutting a part out of a sheet, keep the part on the right side of your cut path. The scrap falls away on the left.

Troubleshooting Cut Quality Issues
Problem: Excessive Dross (Metal Buildup on Bottom)
Causes:
- Travel speed too slow (dwelling too long)
- Amperage too high for material thickness
- Air pressure too low
- Worn consumables (especially nozzle)
- Cutting material at the upper limit of machine capacity
Solutions:
- Increase travel speed—watch for sparks lagging slightly, not straight down
- Reduce amperage if you’re way over the chart recommendation
- Increase air pressure 10-20 PSI
- Replace nozzle and electrode
- If cutting at machine’s max capacity (e.g., 1/4″ on a 30-amp cutter), some dross is inevitable—clean it off with a chipping hammer
Problem: Rough, Jagged Cut Edge
Causes:
- Travel speed too fast (not fully penetrating)
- Amperage too low for material thickness
- Worn or damaged nozzle (enlarged orifice)
- Inconsistent travel speed (hand wobble)
- Cutting over rough surface or guide with imperfections
Solutions:
- Slow down travel speed
- Increase amperage per chart settings
- Replace worn consumables
- Use a straightedge guide to stabilize torch movement
- Clean workpiece surface and inspect guide for dings
Problem: Arc Won’t Start or Is Erratic
Causes:
- Poor work clamp connection (paint, rust, grease on clamping point)
- Worn electrode (pit too deep, hafnium gone)
- Moisture in compressed air
- Low air pressure
- Damaged torch lead or loose connections
Solutions:
- Grind paint off and clamp to bare, clean metal
- Replace electrode and nozzle
- Install water separator on air line, drain compressor tank
- Increase air pressure to recommended range
- Check all torch connections, inspect leads for damage
Problem: Wide Kerf (Cut is Too Wide)
Causes:
- Amperage too high for material
- Travel speed too slow
- Worn nozzle with enlarged orifice
- Excessive standoff distance (torch too far from work)
Solutions:
- Reduce amperage to chart settings
- Increase travel speed
- Replace nozzle
- Maintain proper standoff or drag torch on surface
Frequently Asked Questions
What’s the difference between pilot arc and non-pilot arc plasma cutters?
Pilot arc torches create an arc between the electrode and nozzle inside the torch before the main cutting arc transfers to the workpiece. This allows starting the arc without touching the tip to metal. Non-pilot arc (older style) requires touching the tip to the workpiece to strike an arc, similar to stick welding. Nearly all modern plasma cutters use pilot arc technology.
Why can’t I just crank the amperage to maximum and cut everything?
You can, but you’ll burn through consumables 2-3× faster, waste electricity, and often get worse cut quality. Excessive heat from too much amperage causes wider kerf, more dross, and can warp thin material. Matching amperage to material thickness optimizes consumable life, cut quality, and operating costs.
How do I know if my consumables are worn out?
Check the electrode for a pit in the center—if it’s 1/16″ deep or deeper, replace it. Check the nozzle orifice—if it’s enlarged, oblong, or visibly damaged, replace it. If you’re getting poor cut quality, erratic arc starting, or excessive spatter, worn consumables are the likely culprit. Always replace electrode and nozzle together as a matched set.
Can I cut stainless steel or aluminum with a plasma cutter?
Yes! Plasma cutters work on any electrically conductive metal: mild steel, stainless steel, aluminum, copper, brass, and more. Settings are similar to mild steel, though stainless and aluminum may require slightly higher amperage for the same thickness. Always start with chart settings and adjust based on spark direction.
What air pressure should I use?
It depends on material thickness. General rule: 80-120 PSI depending on thickness. Thicker material needs higher pressure to blow molten metal out of the kerf. Check the settings chart above for specific recommendations, and always consult your plasma cutter’s manual for pressure ranges specific to your machine.
Why do sparks sometimes shoot back at me?
This means you’re traveling too fast—the arc isn’t fully penetrating before you advance. Sparks bouncing back can clog the nozzle orifice, ruining consumables and cut quality. Slow down immediately when you see this. The sparks should lag behind the torch by 10-20 degrees, not spray backward.
How do I cut perfect circles?
Use a circle cutting guide that attaches to your torch. These guides pivot around a center point (usually a magnet or pin) and allow you to cut perfect circles of any diameter. Worth the investment if you cut circles regularly. For freehand circles, practice on scrap first—it takes steady hands and patience.
Can I use a plasma cutter without an air compressor?
No. Plasma cutters require compressed air (or other working gas like nitrogen) to function. The air blows molten metal out of the cut and cools the torch. Some small plasma cutters have built-in compressors, but most require an external compressor. A 30-amp plasma cutter typically needs a small compressor (15-20 gallon); 45-50 amp machines need larger compressors with higher CFM output.
How thick can my plasma cutter cut?
It depends on amperage. A 30-amp cutter handles up to 1/4″ steel cleanly (can sever up to 3/8″ but with more dross). A 45-50 amp cutter handles 1/2″ cleanly (severs up to 5/8″-3/4″). Check your machine’s specifications—they list “clean cut” capacity and “severance” capacity. Clean cut is what you want for quality work.
Why is dry air so important for consumable life?
Moisture in compressed air creates uneven arc characteristics, causes electrode pitting, and dramatically shortens consumable life. Water vapor conducts electricity differently than dry air, destabilizing the arc. Always use a water separator/filter on your air line and drain your compressor tank daily to maximize consumable lifespan.
Related Tools & Resources
Need more fabrication and shop tools? Check out:
- Plasma Cutting Settings Calculator – Instant settings for any material thickness
- Metal Weight Calculator – Calculate material weight before cutting
- Angle Grinder Disc Speed Calculator – Verify safe grinding speeds
- Welding Calculators Hub – All welding tools in one place
- Free Calculators & Tools – Complete tool library
Nest time and consumable cost after the cut is set: Cut-Cost & Time Estimator Guide. Developed fittings: Square-to-Round Flat-Pattern Guide.
When chart settings were correct but cuts still failed, see Plasma Cutting Troubleshooting.
Welding
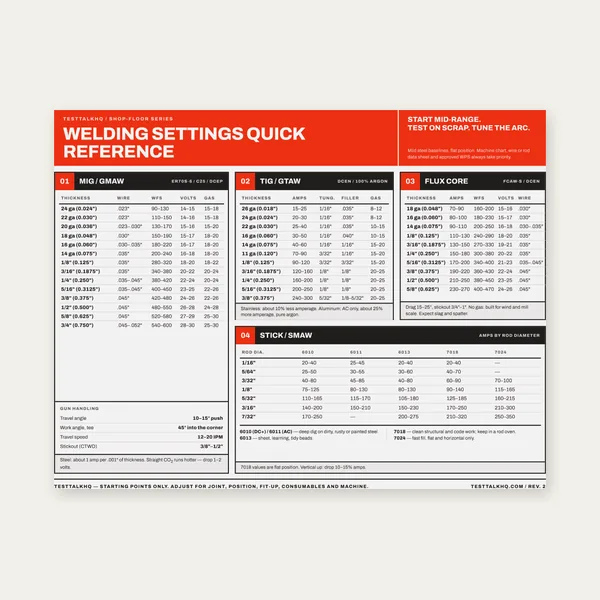
Welding Reference Card
One page. MIG, TIG, stick and flux core settings by thickness.
$3.99
Buy
Complete Welding Settings Guide
19 pages. Four processes, stainless and aluminum, symbols and inspection.
$12.99
Buy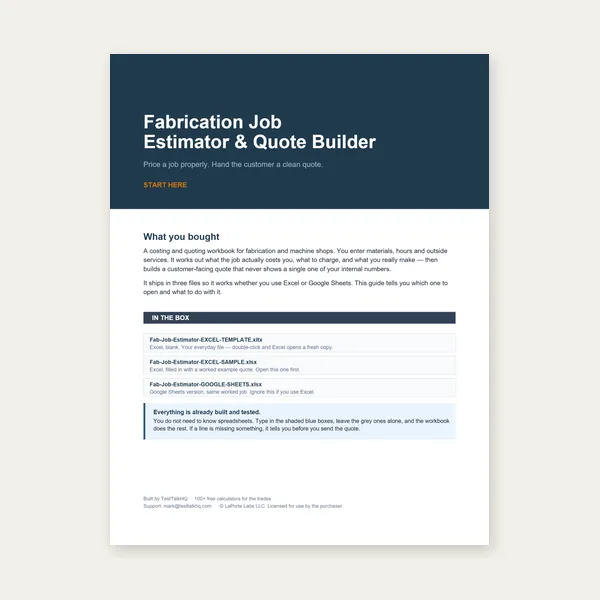
Welding Job Estimator
Price the job, then hand over a quote with no internal numbers.
Excel or Google Sheets. Best on a computer.
$29.00
Buy
Welding Complete Bundle
Card, 19-page guide and the estimator workbook. All six files.
Excel or Google Sheets. Best on a computer.
$34.99
$45.98 if bought separately — save $10.99
BuyCheckout opens in a new tab.