
If you’ve ever bought an air compressor and realized it can’t keep up with your tools, you know how frustrating undersizing is. The compressor runs constantly, your impact wrench loses power mid-bolt, and you’re waiting for the tank to refill every five minutes.
Or maybe you went the other direction and bought way more compressor than you needed. Now you’ve got a giant, expensive tank taking up half your shop for tools that would’ve run fine on something half the size.
Here’s the problem: most people guess at compressor sizing. They either buy based on tank size alone (wrong), or they ask a buddy who says “get the biggest one you can afford” (also wrong).
The right way to size an air compressor is based on CFM – cubic feet per minute. That’s the volume of air your tools actually consume. Match your compressor’s CFM output to your tool requirements, factor in duty cycle and future expansion, and you’ll buy exactly the compressor you need.
Let me walk you through how to calculate your CFM requirements, choose the right tank size, and avoid the most common sizing mistakes.
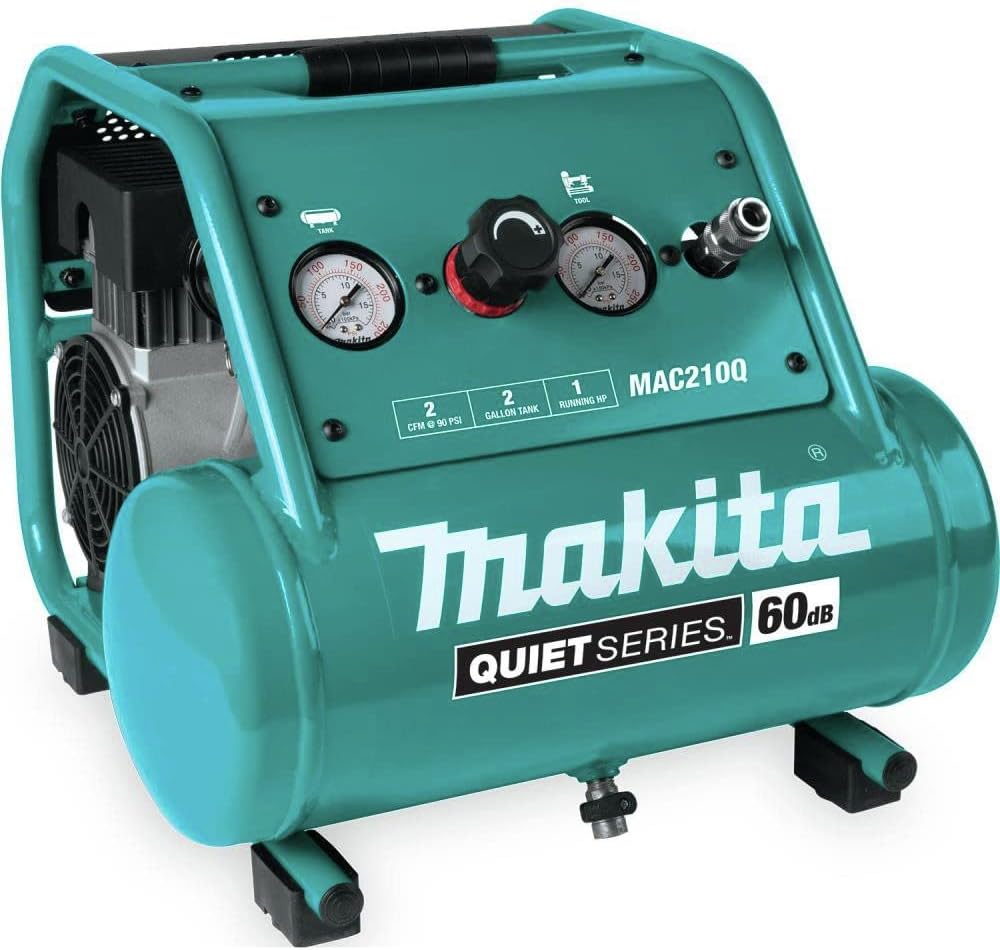
Why CFM Matters More Than Tank Size
Walk into any hardware store and the first thing you see on compressor specs is tank size: 6 gallon, 20 gallon, 60 gallon, 80 gallon. That’s what gets advertised because it’s easy to understand and compare.
But tank size doesn’t tell you if the compressor can actually run your tools. Two 20-gallon compressors can have completely different CFM ratings – one might deliver 4 CFM at 90 PSI while the other delivers 7 CFM at the same pressure.
CFM is your compressor’s lung capacity. It tells you how much air the pump can generate per minute. If your tools consume more CFM than your compressor produces, the tank drains faster than it refills. Your pressure drops, your tools lose power, and you’re stuck waiting.
Tank size determines how long you can use tools BETWEEN compressor cycles. A bigger tank gives you more stored air, which means longer intervals before the pump kicks on. But if the pump can’t keep up with demand, a bigger tank just delays the inevitable pressure drop.
The formula is simple: Your compressor’s CFM output must equal or exceed your tool’s CFM consumption. Everything else is secondary.
How to Calculate Your CFM Requirements
Start by identifying which air tools you’ll actually use. Don’t plan for every possible tool you might buy someday – focus on what you’re running today plus maybe one future addition.
Common Tool CFM Requirements
| Tool | CFM @ 90 PSI | Typical Use |
|---|---|---|
| Blow Gun | 2-4 CFM | Cleaning, drying |
| Brad Nailer | 0.5-2 CFM | Trim work, light nailing |
| Framing Nailer | 2-4 CFM | Heavy nailing, construction |
| Impact Wrench (1/2″) | 4-6 CFM | Automotive, heavy fasteners |
| Impact Wrench (3/8″) | 3-4 CFM | General mechanical work |
| Air Ratchet | 3-5 CFM | Tight spaces, fastener removal |
| Angle Grinder (4″) | 4-6 CFM | Cutting, grinding metal |
| Die Grinder | 4-6 CFM | Porting, deburring |
| Dual Action Sander | 6-9 CFM | Auto body, woodworking |
| HVLP Spray Gun | 10-15 CFM | Painting, finishing |
| Sandblaster | 8-16 CFM | Rust removal, surface prep |
| Plasma Cutter (40A) | 4-6 CFM | Metal cutting |
| Tire Inflator | 1-2 CFM | Inflating tires, sports equipment |
Use the CFM Calculator to calculate your exact requirements based on which tools you’ll run and whether you’ll use them simultaneously or one at a time.
Single Tool vs Multiple Tools: The Math
Here’s where most people mess up the calculation. You don’t just add up every tool’s CFM and buy a compressor that big. That assumes you’re running everything at once, which almost never happens.
Scenario 1: Single Tool Use (Most Home Shops)
If you’re working alone and only running one tool at a time, your compressor needs to match the HIGHEST CFM tool you own, plus a 30% safety margin.
Example: Your highest CFM tool is a dual-action sander at 8 CFM.
Required CFM = 8 × 1.3 = 10.4 CFM minimum
That 30% buffer accounts for efficiency losses, worn tools pulling more air than spec, and elevation/temperature effects.
Scenario 2: Multiple Simultaneous Tools (Production Shops)
If you have multiple people working or you’re running two tools at once (like spray gun + blow gun for paint prep), you need to add CFM requirements.
Example: HVLP spray gun (12 CFM) + blow gun for cleaning (3 CFM)
Required CFM = (12 + 3) × 1.3 = 19.5 CFM minimum
Most home garages fall into Scenario 1. You work alone, you use one tool at a time, and you need a compressor sized for your highest-demand tool plus buffer.

Understanding Duty Cycle and Why It Matters
Duty cycle tells you how long a compressor can run before it needs to cool down. It’s expressed as a percentage over a time period – usually 10 minutes.
A 50% duty cycle means the compressor can run 5 minutes, then needs to rest 5 minutes. A 75% duty cycle means 7.5 minutes on, 2.5 minutes off.
Why this matters: If your compressor has to run continuously to keep up with your tools, it’ll overheat and shut down. That’s a sign you’re undersized.
Duty Cycle by Compressor Type
| Compressor Type | Typical Duty Cycle | Best For |
|---|---|---|
| Pancake/Hotdog (1-6 gal) | 30-40% | Intermittent light use (nailers) |
| Portable (20-30 gal) | 50-60% | Home shop, moderate use |
| Stationary (60-80 gal) | 70-80% | Professional shop, frequent use |
| Two-Stage Industrial | 100% | Continuous production use |
For home shop use, you want at least 50% duty cycle. That means the compressor spends equal time running and resting, which keeps temperatures manageable and extends pump life.
If you’re running high-CFM tools like sanders or spray guns, look for 60-70% duty cycle or higher. Otherwise you’ll constantly wait for cooldown periods.
Tank Size Selection: How Big Do You Actually Need?
Once you know your CFM requirements, tank size becomes easier to figure out. The tank acts as a buffer – it stores compressed air so your tools can draw bursts of high CFM without the pump running constantly.
Tank Size Guidelines by Application
| Tank Size | Best For | Typical Tools |
|---|---|---|
| 1-6 gallon | Light intermittent use | Brad nailer, tire inflator, blow gun |
| 20-30 gallon | Home garage, moderate use | Impact wrench, framing nailer, small grinder |
| 60-80 gallon | Professional shop, frequent use | Sanders, spray guns, multiple tools |
| 120+ gallon | Production/industrial | Continuous air demand, multiple stations |
Here’s the rough formula: For every CFM your tools need, you want 3-5 gallons of tank capacity.
Example: You need 8 CFM for your highest tool. That suggests 24-40 gallons of tank. A 30-gallon compressor would be right in that sweet spot.
Use the Tank Size Calculator to calculate your ideal tank size based on your specific CFM requirements and usage patterns.
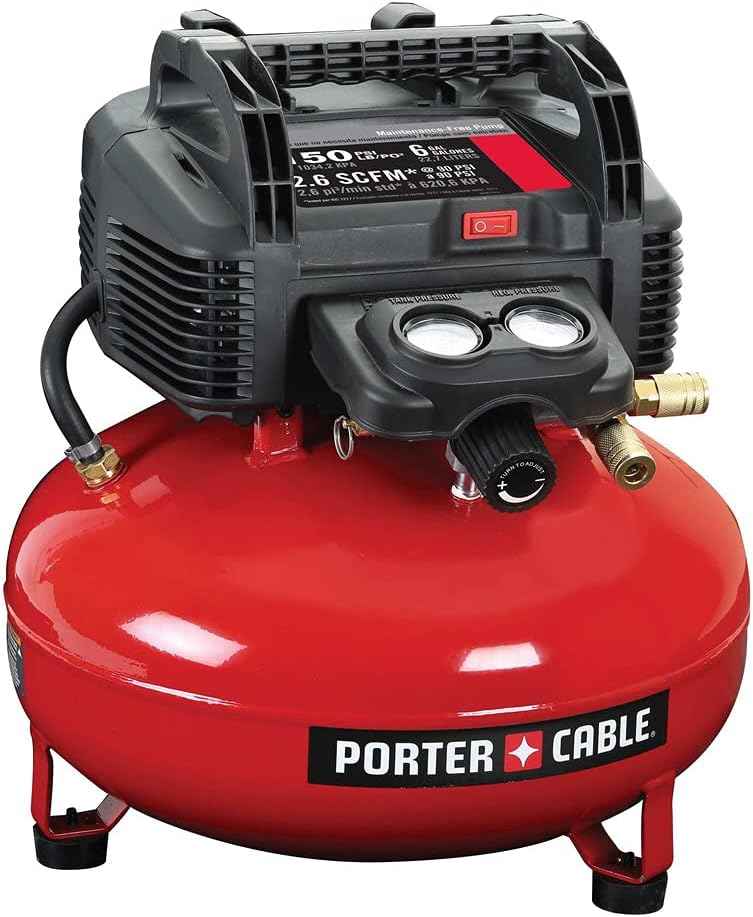
Quick Shop Sizing Guide
If you just want a simple recommendation without doing all the math, here are my guidelines based on typical shop scenarios:
Home Garage – Light Use
Compressor: 4-6 CFM @ 90 PSI, 20-30 gallon tank
Good for: Impact wrench for tire changes, brad nailer for trim work, blow gun, tire inflator
Not for: Continuous sanding, painting, sandblasting
Home Garage – Moderate Use
Compressor: 6-10 CFM @ 90 PSI, 30-60 gallon tank
Good for: All light tools plus occasional sanding, small spray work, angle grinders, automotive work
Not for: Production painting, continuous high-CFM tools
Professional Shop – Heavy Use
Compressor: 10-20 CFM @ 90 PSI, 60-80 gallon tank
Good for: HVLP painting, sandblasting, continuous tool use, multiple simultaneous tools
This is serious compressor territory – you’re looking at two-stage units, 240V power, and proper shop installation.
Production Shop – Continuous Use
Compressor: 20+ CFM @ 90 PSI, 80-120+ gallon tank
Good for: Multiple workers, production line tools, continuous high-demand applications
At this level you’re probably looking at multiple compressors or industrial rotary screw units with 100% duty cycle.
PSI vs CFM: What You Actually Need
Most air tools run at 90 PSI. Some need 100-120 PSI. Almost no common shop tools need more than that.
Here’s the thing: every compressor on the market can hit 90-120 PSI. That’s not the limiting factor. CFM is what separates a $200 pancake compressor from a $2,000 shop unit.
When you’re comparing compressors, ignore max PSI (they all go high enough). Focus entirely on CFM at 90 PSI. That’s the number that determines if the compressor can actually run your tools.
Some manufacturers advertise “max CFM” at 40 PSI, which is useless information. You want CFM at 90 PSI because that’s your working pressure.
Single-Stage vs Two-Stage Compressors
Single-stage compressors compress air in one step. Two-stage compressors compress it twice through two separate cylinders, which is more efficient at higher pressures.
Single-Stage:
- Good for: Up to 10-12 CFM, home shops, intermittent use
- Max pressure: Usually 135-150 PSI
- Pros: Lower cost, simpler design, less maintenance
- Cons: Less efficient at high pressures, lower duty cycle
Two-Stage:
- Good for: 10+ CFM, professional shops, continuous use
- Max pressure: 175+ PSI
- Pros: More efficient, higher duty cycle, better for sustained use
- Cons: More expensive, more complex, requires better maintenance
For most home and light professional use, single-stage is fine. You only need two-stage if you’re running high CFM continuously or you need sustained 125+ PSI pressure.
How Long Will Your Compressor Run? (Runtime)
Runtime depends on tank size, CFM consumption, and pressure range. Here’s a simplified way to think about it:
A 30-gallon tank at 90 PSI contains about 30 cubic feet of usable air (the math is more complex but that’s close enough). If you’re using a tool that consumes 6 CFM, you get about 5 minutes of continuous use before pressure drops below usable range.
But you’re rarely using tools continuously. You run a sander for 30 seconds, check your work, reposition, sand another 30 seconds. During those breaks, the compressor refills the tank.
This is why CFM matching matters more than tank size. If your compressor produces 8 CFM and your tool consumes 6 CFM, the tank is gaining 2 CFM during use. You can work indefinitely. If the compressor only produces 4 CFM, the tank loses 2 CFM during use. Eventually you drain it completely.
Use the Runtime Calculator to calculate exactly how long your tank will last based on your specific tool usage and compressor output.
Operating Cost: What Does It Cost to Run?
Compressors aren’t free to operate. They consume electricity, and if you have leaks in your system, you’re literally paying to compress air that escapes before it does any work.
Electricity Cost
A typical 5 HP compressor draws about 4,000 watts when running. At $0.12/kWh electricity rates, that’s $0.48 per hour of compressor runtime.
If your compressor runs 50% duty cycle (half the time you’re working), and you use it 20 hours per month, you’re paying about $5/month or $60/year in electricity.
Bigger compressors draw more power. A 10 HP unit might cost $120/year in electricity at the same usage rate.
Leak Cost
This is where costs get expensive. A 1/4″ leak at 90 PSI wastes about 100 CFM. That can cost $2,500+ per year in wasted electricity if it runs continuously.
Even a small leak – a loose fitting, a cracked hose, a worn coupling – wastes air. Check your system with soapy water regularly. Fix leaks immediately. They’re literally throwing your money away.
Use the Compressed Air Cost Calculator to calculate your actual operating costs including electricity and leak losses.
Common Air Compressor Sizing Mistakes
Mistake #1: Buying Based on Tank Size Alone
A 30-gallon compressor with 4 CFM output is worse than a 20-gallon compressor with 8 CFM output for most applications. The bigger tank just delays the inevitable – if the pump can’t keep up, you’re still waiting.
Mistake #2: Undersizing for Future Tools
You buy a compressor for your current nailer and impact wrench. Then you want to add a sander or spray gun. Now your compressor can’t handle it and you either upgrade (wasting the first purchase) or settle for poor performance.
Plan for at least one future high-CFM tool when sizing. It’s cheaper to buy a slightly bigger compressor now than replace it in a year.
Mistake #3: Ignoring Elevation and Temperature
Compressor CFM ratings are at sea level and 68°F. If you’re at altitude or working in a hot shop, your actual CFM output drops. Add 10-15% buffer if you’re above 3,000 feet elevation or working in temperatures above 90°F.
Mistake #4: Forgetting About Portability
An 80-gallon compressor delivers great CFM, but it weighs 400+ pounds and needs 240V power. If you’re in a home garage with limited space and only 120V outlets, that’s not practical.
Consider where you’ll use the compressor. Portable job sites need smaller, wheeled units. Fixed shops can handle large stationary tanks.
Mistake #5: Not Accounting for Pressure Drop
Long air hoses, small diameter hoses, and multiple fittings all cause pressure drop. By the time air reaches your tool, you might have 75 PSI instead of 90 PSI, which reduces effective CFM.
Use the shortest hose practical, go with 3/8″ or 1/2″ diameter (not 1/4″), and minimize quick-connect fittings. Or upsize your compressor CFM by 20% to compensate.
Specialty Applications and Their Requirements
Auto Body and Painting
HVLP spray guns are CFM hogs. A full-size gun needs 10-15 CFM continuously. You need a compressor that can deliver that without dropping pressure mid-coat.
Minimum recommendation: 10-12 CFM @ 90 PSI, 60+ gallon tank, two-stage pump
Many auto body shops run 15-20 CFM compressors to handle painting plus other simultaneous tool use.
Sandblasting
Sandblasters consume 8-16 CFM depending on nozzle size. Larger nozzles work faster but need more air.
Minimum recommendation: 12-15 CFM @ 90 PSI, 60+ gallon tank
Underpowered compressors for sandblasting are miserable. The blaster works for 30 seconds, then you wait 2 minutes for recovery. Get adequate CFM or don’t bother.
Plasma Cutting
Plasma cutters need clean, dry air at specific CFM levels depending on amperage. A 40-amp plasma cutter typically needs 4-6 CFM.
The challenge with plasma isn’t CFM volume – it’s air quality. Moisture and oil contamination ruin consumables fast. You need a good filter/dryer system between compressor and plasma cutter.
For plasma cutting parameters and settings, check out the Plasma Cutting Calculator.
Tire Service and Inflation
Tire changing and inflation needs bursts of high volume for bead seating but low CFM for actual inflation. A tire inflator only needs 1-2 CFM, but bead blasters want 10+ CFM in short bursts.
Minimum recommendation: 4-6 CFM @ 90 PSI, 20-30 gallon tank
The tank provides the burst capacity for bead seating. The CFM handles continuous inflation without waiting.
Oil vs Oil-Free Compressors
Oil-lubricated compressors last longer and run quieter, but they require regular oil changes and can contaminate air with oil vapor (bad for painting and food-contact applications).
Oil-free compressors need no maintenance, deliver clean air, but run louder and have shorter lifespans (500-1,000 hours vs 3,000-10,000 hours for oil-lubricated).
Choose oil-lubricated if:
- You need longevity and frequent use
- You can perform basic maintenance
- Noise isn’t a major concern
- You can add proper filtration for clean air needs
Choose oil-free if:
- You need absolutely clean air (painting, food, medical)
- You want zero maintenance
- You’re okay with more noise and shorter life
- Usage is light and intermittent
How to Read Compressor Specifications
When comparing compressors, here’s what matters:
SCFM @ 90 PSI: Standard Cubic Feet per Minute at 90 pounds per square inch. This is the number that counts. Ignore “max CFM” or CFM at other pressures.
Tank Size: Gallons of storage capacity. Bigger = more reserve, but doesn’t replace adequate CFM.
Motor HP: Horsepower rating. More HP generally means more CFM, but compare actual SCFM numbers, not just HP.
Pressure Switch Range: Usually cuts on at 115-135 PSI and cuts off around 145-175 PSI. This determines your max working pressure.
Pump Type: Oil or oil-free, single-stage or two-stage. Affects longevity and efficiency.
Power Requirements: 120V or 240V, amperage draw. Make sure you have compatible power available.
Don’t get distracted by marketing features like “ultra-quiet” or “industrial grade” unless they’re backed by actual specs. Focus on CFM at your working pressure.
Final Recommendation: What Size Should You Buy?
Here’s my simplified buying guide:
For occasional nailer/inflator use: 2-4 CFM, 6-20 gallon, oil-free portable
For home garage mechanical work: 5-7 CFM, 20-30 gallon, oil-lubricated vertical or portable
For serious home shop/light professional: 8-12 CFM, 60-80 gallon, oil-lubricated two-stage
For professional production work: 15-25 CFM, 80-120 gallon, industrial two-stage or rotary screw
When in doubt, size up one level. It’s better to have excess capacity than constantly max out your compressor.
Use the CFM Calculator to get precise recommendations based on your specific tools and usage. Then use the Tank Size Calculator and Runtime Calculator to fine-tune your selection.
For more air compressor resources and buying guides, visit the Air Compressor Tools Hub.
Disclaimer: Compressor sizing depends on specific tools, usage patterns, and environmental conditions. Always verify manufacturer specifications and consult with professionals for critical applications. See our full disclaimer.
HVAC
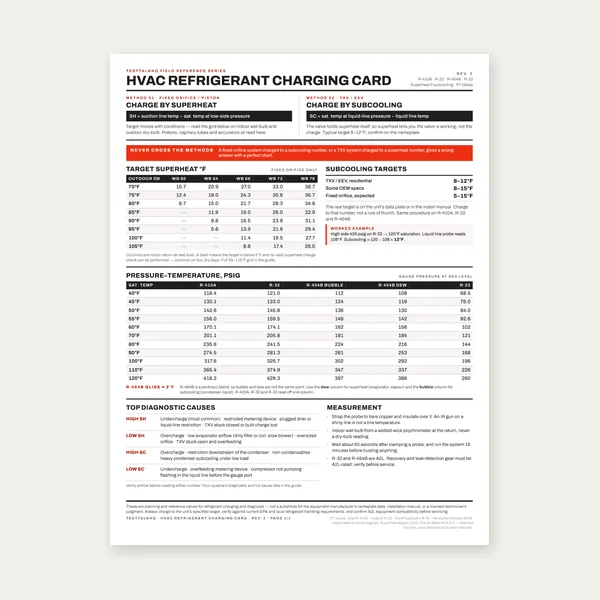
HVAC Refrigerant Charging Card
One page. Superheat, subcooling and PT for four refrigerants.
$3.99
Buy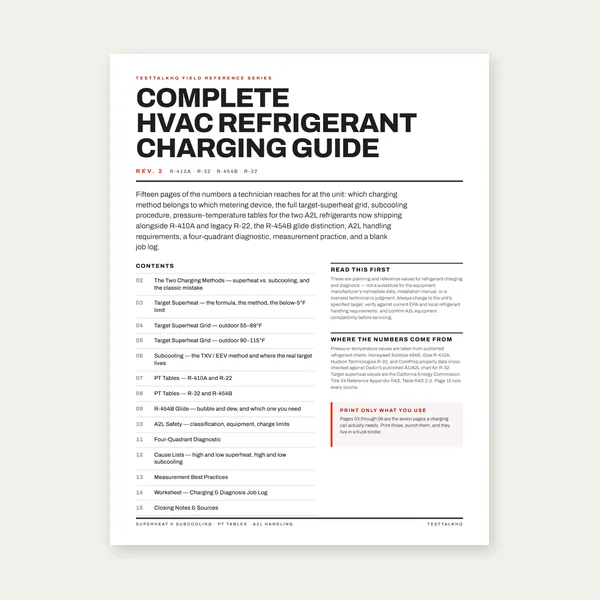
Complete HVAC Charging Guide
15 pages. Full superheat grid, PT tables, A2L safety and diagnosis.
$12.99
Buy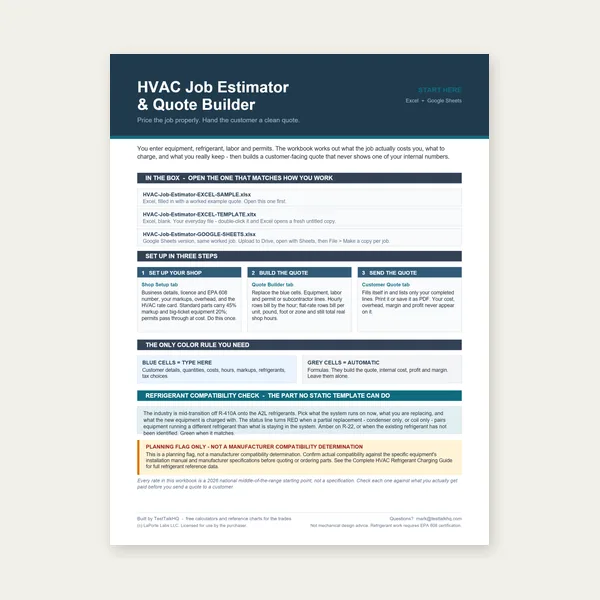
HVAC Job Estimator
Quote HVAC work and catch a refrigerant mismatch before you order.
Excel or Google Sheets. Best on a computer.
$29.00
Buy
HVAC Complete Bundle
Card, 15-page guide and the estimator workbook. All six files.
Excel or Google Sheets. Best on a computer.
$34.99
$45.98 if bought separately — save $10.99
BuyCheckout opens in a new tab.