Fillet Weld Sizing Technique
How to gauge actual leg size after welding, avoid under- and oversizing, and when intermittent vs continuous fillets make sense
Focused how-to — same practical angle as dialing in MIG wire speed. Not a fillet-vs-groove comparison. Run numbers in the Fillet Weld Strength Calculator, then measure so the metal matches what you claimed.

Size Is a Measurement — Not a Guess From the Face
Design strength assumes a leg size. Welders often judge “about a quarter” from the face width or the tallest reinforcement. That habit silently undersizes one leg while the other looks huge — and the weak leg governs throat.
For the strength math (0.707, Fw, D/C), use the strength guide. This technique page is the shop how-to: gauge correctly, catch sizing mistakes, and choose intermittent vs continuous deposits when the print allows.
How to Measure / Gauge Actual Leg Size
- Cool enough to handle safely — hot soft metal “springs” under a gauge and lies about size.
- Clean slag and spatter at the toes so the gauge seats on plate and weld, not debris.
- Use a fillet weld gauge (or verified templates) for the nominal size on the print. Seat one blade against each face; both legs must clear for an equal-leg callout.
- Check both legs independently. A tall vertical face and a short horizontal leg is still undersize.
- Sample starts, mids, and stops — craters and restarts are where size usually drops.
- If unequal-leg is specified, gauge each specified size; do not average them into one throat assumption without the detail.
Common Sizing Mistakes
| Mistake | What you think you saved | What you actually cost |
|---|---|---|
| Undersizing to “save time” | Faster travel, fewer passes | Fails gauge / NDT; redesign or grind-and-reweld; real throat below calculated P |
| Oversizing “for safety” | Peace of mind | Extra filler, heat, distortion, cost — and still may miss AWS fit/thickness limits |
| Measuring face height as leg | Looks big on the face | One short leg; false confidence in the calculator |
| Crediting intermittent gaps as length | More length on paper | Entered L longer than deposited metal — D/C lies |
Undersizing is the more dangerous habit on load-bearing joints: capacity falls with the short leg, and inspectors reject the size regardless of your “it held on the last job” story. Oversizing wastes wire and pulls plates — use the next standard increment only when D/C or minimum size requires it, then stop.
When Intermittent vs Continuous Fillet Welds Are Appropriate
Use continuous fillets when:
- The print / WPS requires continuous or seal welds (tank bottoms, weather seals, code callouts).
- Fatigue, vibration, or corrosion needs an unbroken toe line.
- Required capacity needs full length and intermittent spacing cannot deliver enough deposited metal.
Intermittent fillets (staggered or chain) can be appropriate when:
- The detail explicitly shows segment length and pitch (e.g., 3–3, 2–4).
- Stiffness / connection needs are met with less weld volume and less distortion risk.
- You enter total effective deposited length into the calculator — not the overall joint span.
Never invent intermittents to save time on a drawing that shows continuous. When converting print symbols to calculator inputs, multiply number of segments × segment length (and sides) carefully.
When defects already exist, use strength troubleshooting. When you need P and D/C for a leg and length, return to the calculator and the lb/in chart.
Recommended Gear for Fillet Welds
Machines, consumables, and cleanup tools that support sized fillets with sound toes
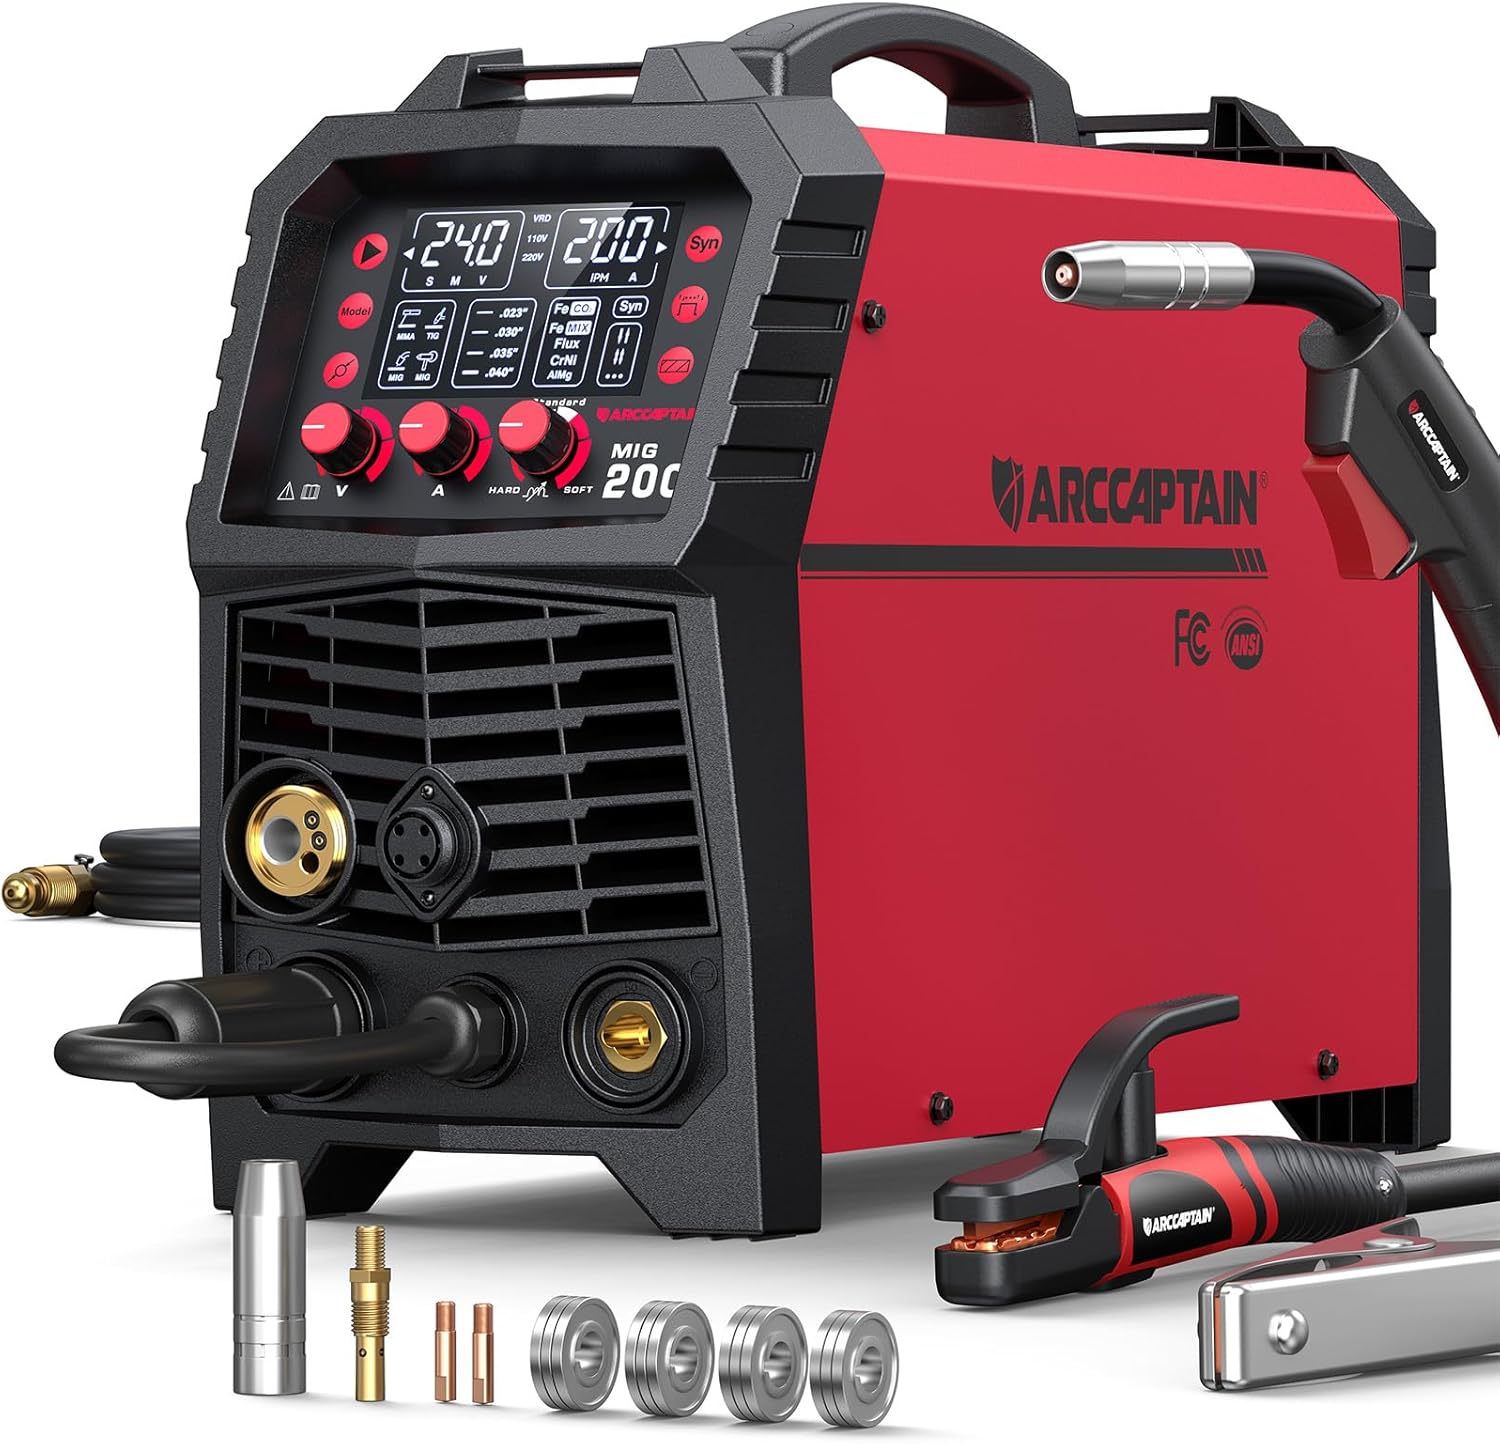
ARCCAPTAIN 6-in-1 Multi-Process
- MIG / flux-core / stick for shop fillets
- Stable digital meters for repeatable heat
- Dual voltage for shop or field
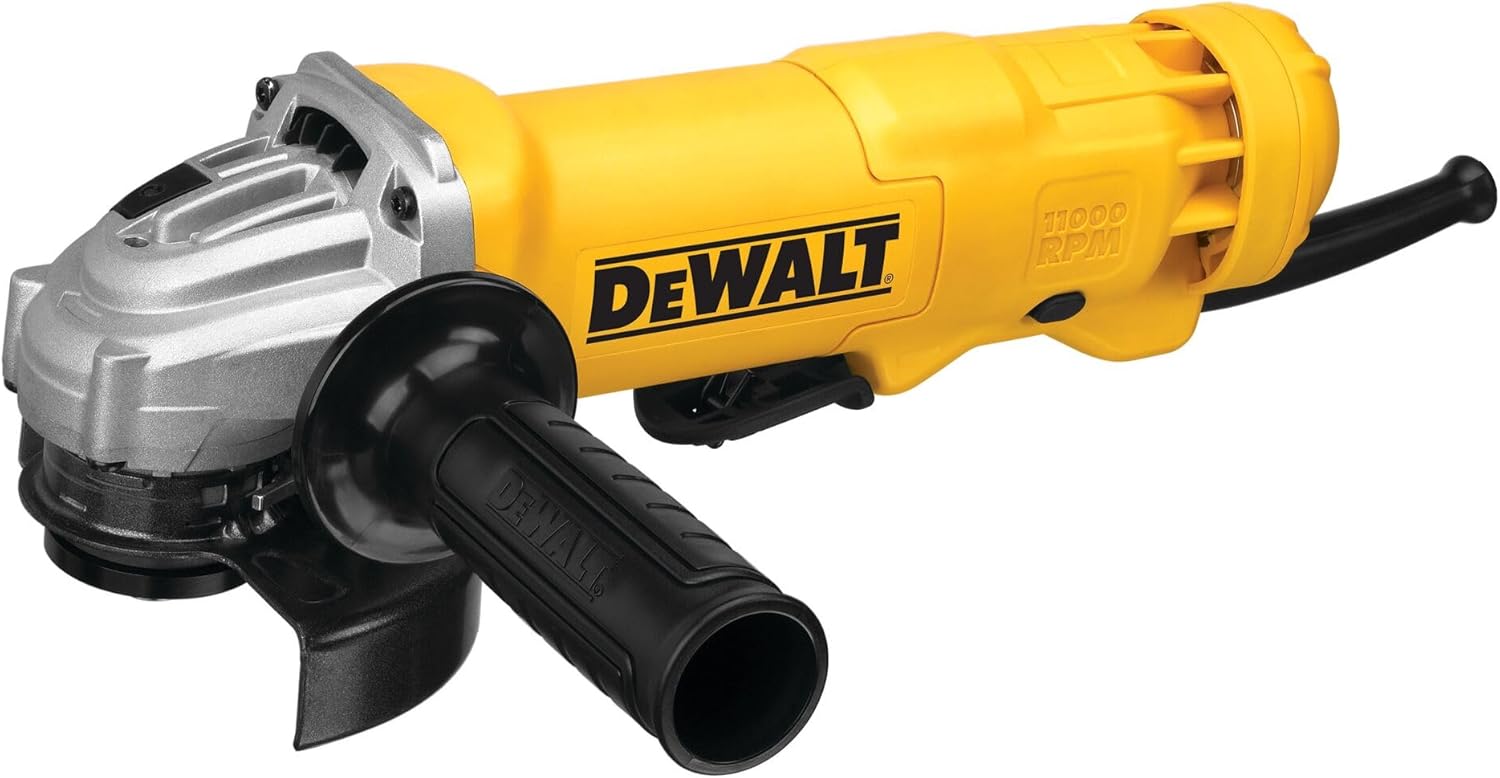
DEWALT 4.5" Angle Grinder
- Clean toes, undercut, and oversized starts
- Prep lap/T-joint edges before welding
- Essential repair tool before re-sizing
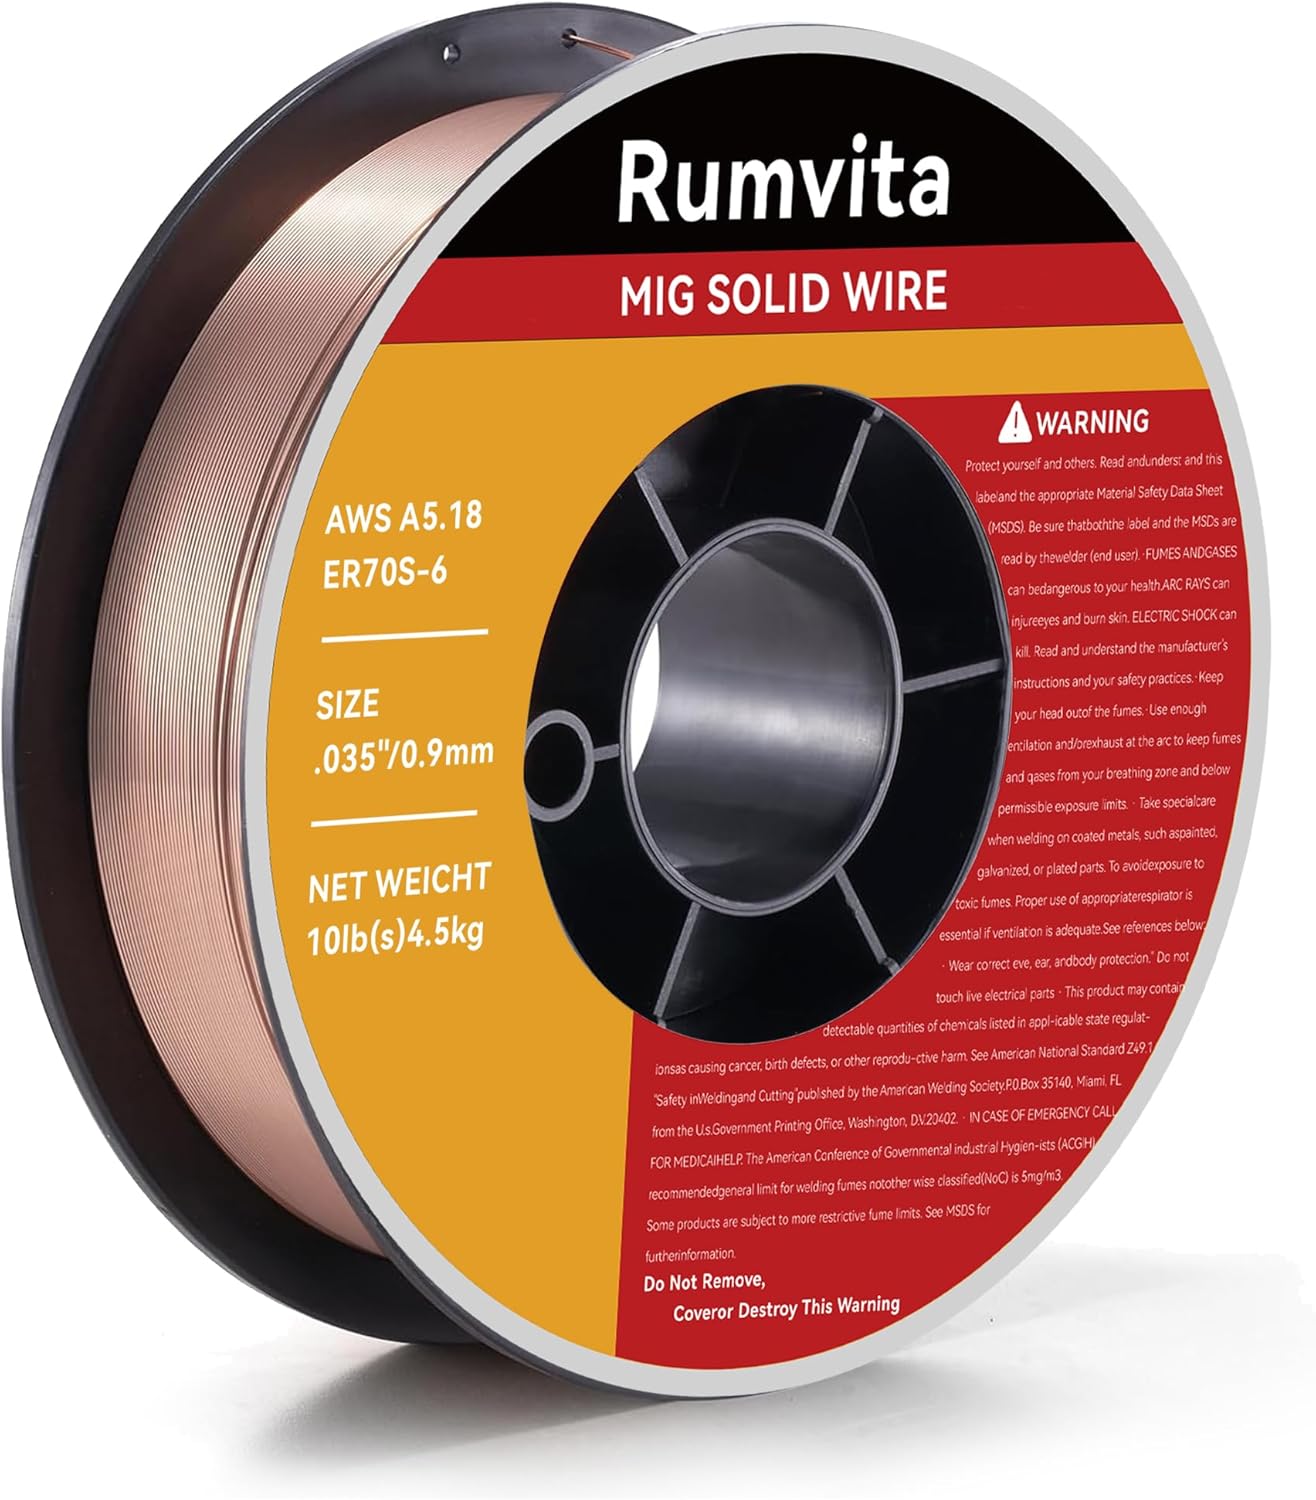
Hobart ER70S-6 .035" MIG Wire
- Matches E70XX strength class
- Common for mild-steel fillets
- Store dry for clean toes

VASTOOLS Welding Accessories Kit
- Chip and brush between fillet passes
- Keeps slag from hiding toe defects
- Pairs with multi-pass fillets
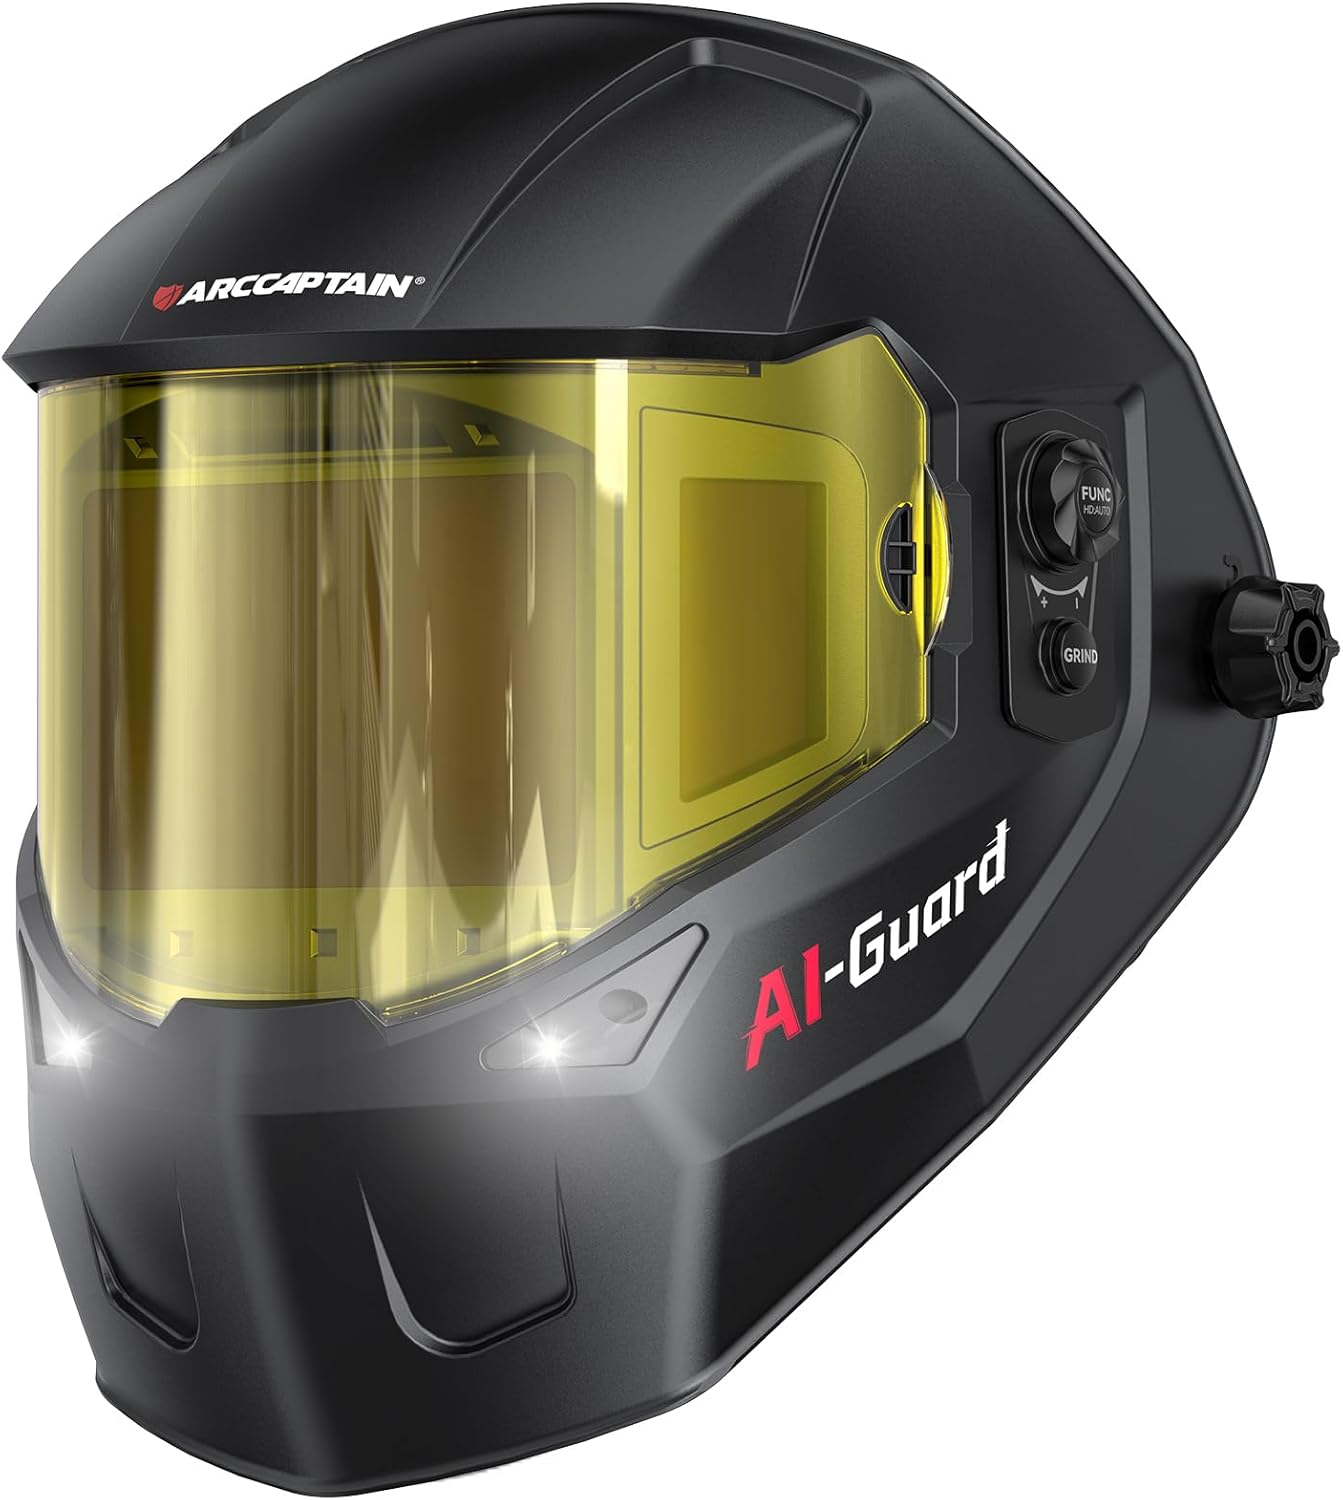
ARCCAPTAIN Halo Helmet
- Wide view for reading both fillet legs
- True-color lens helps spot undercut
- Comfortable for long intermittent runs
As an Amazon Associate, TestTalkHQ earns from qualifying purchases.
Unequal Legs and Skewed Joints
Some details call different legs on each face. Gauge each; effective throat for strength is not automatically 0.707 × the larger leg. When the geometry is skewed past standard equal-leg assumptions, stop guessing and involve the connection design — this technique page stays on shop measurement discipline.
Multi-Pass Builds
Lay the root corner first, clean, then build legs to size. Gauging only after a cosmetic wash pass hides an undersized first pass under a pretty face. Chip/brush between passes so slag does not fake fusion in the root.
Verify Against Strength, Not Aesthetics
Even ripples and a flush face do not prove design throat. Gauge the legs, keep effective length honest, and confirm D/C in the strength calculator before you stamp “done.”