Groove Weld Strength Troubleshooting
Defects that make real groove capacity fall below the calculated value — incomplete fusion, lack of penetration, toe undercut, and root porosity
Same diagnostic angle as our MIG problems guide: spot it, name the cause, fix the technique. Pair with the Groove Weld Strength Calculator for the number you were aiming at, and joint prep technique so the next root pass can develop that throat.

Why Calculated Strength Is an Upper Bound
The calculator assumes the effective throat you entered is fused metal across the weld length. Anything that removes fusion area, notches the toe, or seeds gas in the root reduces actual capacity — sometimes to a fraction of φRn — without changing how “pretty” the cap looks.
| Defect | What capacity loses | First check |
|---|---|---|
| Incomplete fusion | Effective area / load path | Angle, heat, clean faces |
| Incomplete penetration | te less than design E / t | Root gap, amps, keyhole / backgouge |
| Toe undercut | Section + stress riser | Travel speed, toe pause, amps |
| Root porosity | Throat soundness + NDT rejects | Cleanliness, gas, moisture, draft |
1. Incomplete Fusion (Sidewall or Interpass)
How to spot it: Cold shelving against the bevel face, lack of wetting at the sidewall, or a straight dark line on a ground section / RT / UT. Cap may look fine while the sidewall never merged.
What causes it: Wrong work angle (arc not directed into the bevel), heat too low for the thickness, travel too fast to wet the wall, slag left between passes, mill scale or rust on groove faces, or weaving that skims the face without dwelling on the sidewall.
Fix the technique:
- Point the arc into the root of the bevel, not down the plate centerline.
- Raise heat into the qualified WPS range before blaming filler class.
- Chip / brush to bright metal between passes — slag lines are fake fusion.
- Grind groove faces to clean metal before the root; grit left under the puddle is fusion insurance that fails.
2. Incomplete / Lack of Penetration
How to spot it: Root does not show on the back side when open-root is required; remaining land or sharp root notch on cross-section; RT/UT shows an unfused root. Cap height is irrelevant here.
What causes it: Root opening too tight, land too thick, amps/volts too low for root pass, travel too fast, no backgouging when the procedure requires it, backing omitted when the WPS expects it, or starting with fill settings on a root that still needs keyhole control.
Fix the technique: Open the root gap to the WPS (see prep technique), thin the land if it is blocking the keyhole, slow down and feed enough heat for root penetration, and backgouge / grind to bright sound metal before the first fill when the procedure demands full penetration from both sides.
3. Undercut at the Toe
How to spot it: A sharp notch melted into the plate at the weld toe — common on the high-heat side of the final pass. Inspectors fail undercut that exceeds code limits even when throat looks full.
What causes it / fixes: Excess amps or voltage, travel too fast to fill the melted toe, long arc, or weave that skips the toes. Drop heat into range, slow enough to wash and fill, pause briefly at each toe, shorten arc length. For general undercut visual ID across fillet and groove work, see Common Weld Defects: Porosity, Undercut & Overlap — this page stays focused on why undercut punches a hole in assumed strength (section loss + fatigue raiser).
4. Porosity in the Root Pass
How to spot it: Pinholes or worm tracks on a ground root, sponge-like fracture of a test coupon, or RT indications at the root land. Surface foam on a cold fill pass after a porous root does not “heal” the root.
What causes it / fixes: Oil, paint, rust, wet electrodes, mill scale in the groove, drafts stealing shielding, clogged nozzles, moisture in flux-core / stick, or contaminating backing. Clean to bright metal, verify gas CFH, block drafts, dry consumables, and grind out porous root — do not bury it. General porosity causes/fixes are covered in Common Weld Defects; on grooves, root porosity is uniquely expensive because it sits exactly where te starts.
Closing the Gap Between Calculated and Actual Strength
- Re-verify CJP vs PJP and te on the print before blaming the welder.
- Inspect the root first — fill and cap cannot invent missing te.
- Repair with grind-out to sound metal, then requalified passes — cold stacking over defects preserves the weak path.
- Recheck capacity in the calculator after any intentional PJP change so the file matches the metal.
Recommended Gear for Groove Welds
Prep, consumables, and machines that support sound root passes and full design throat
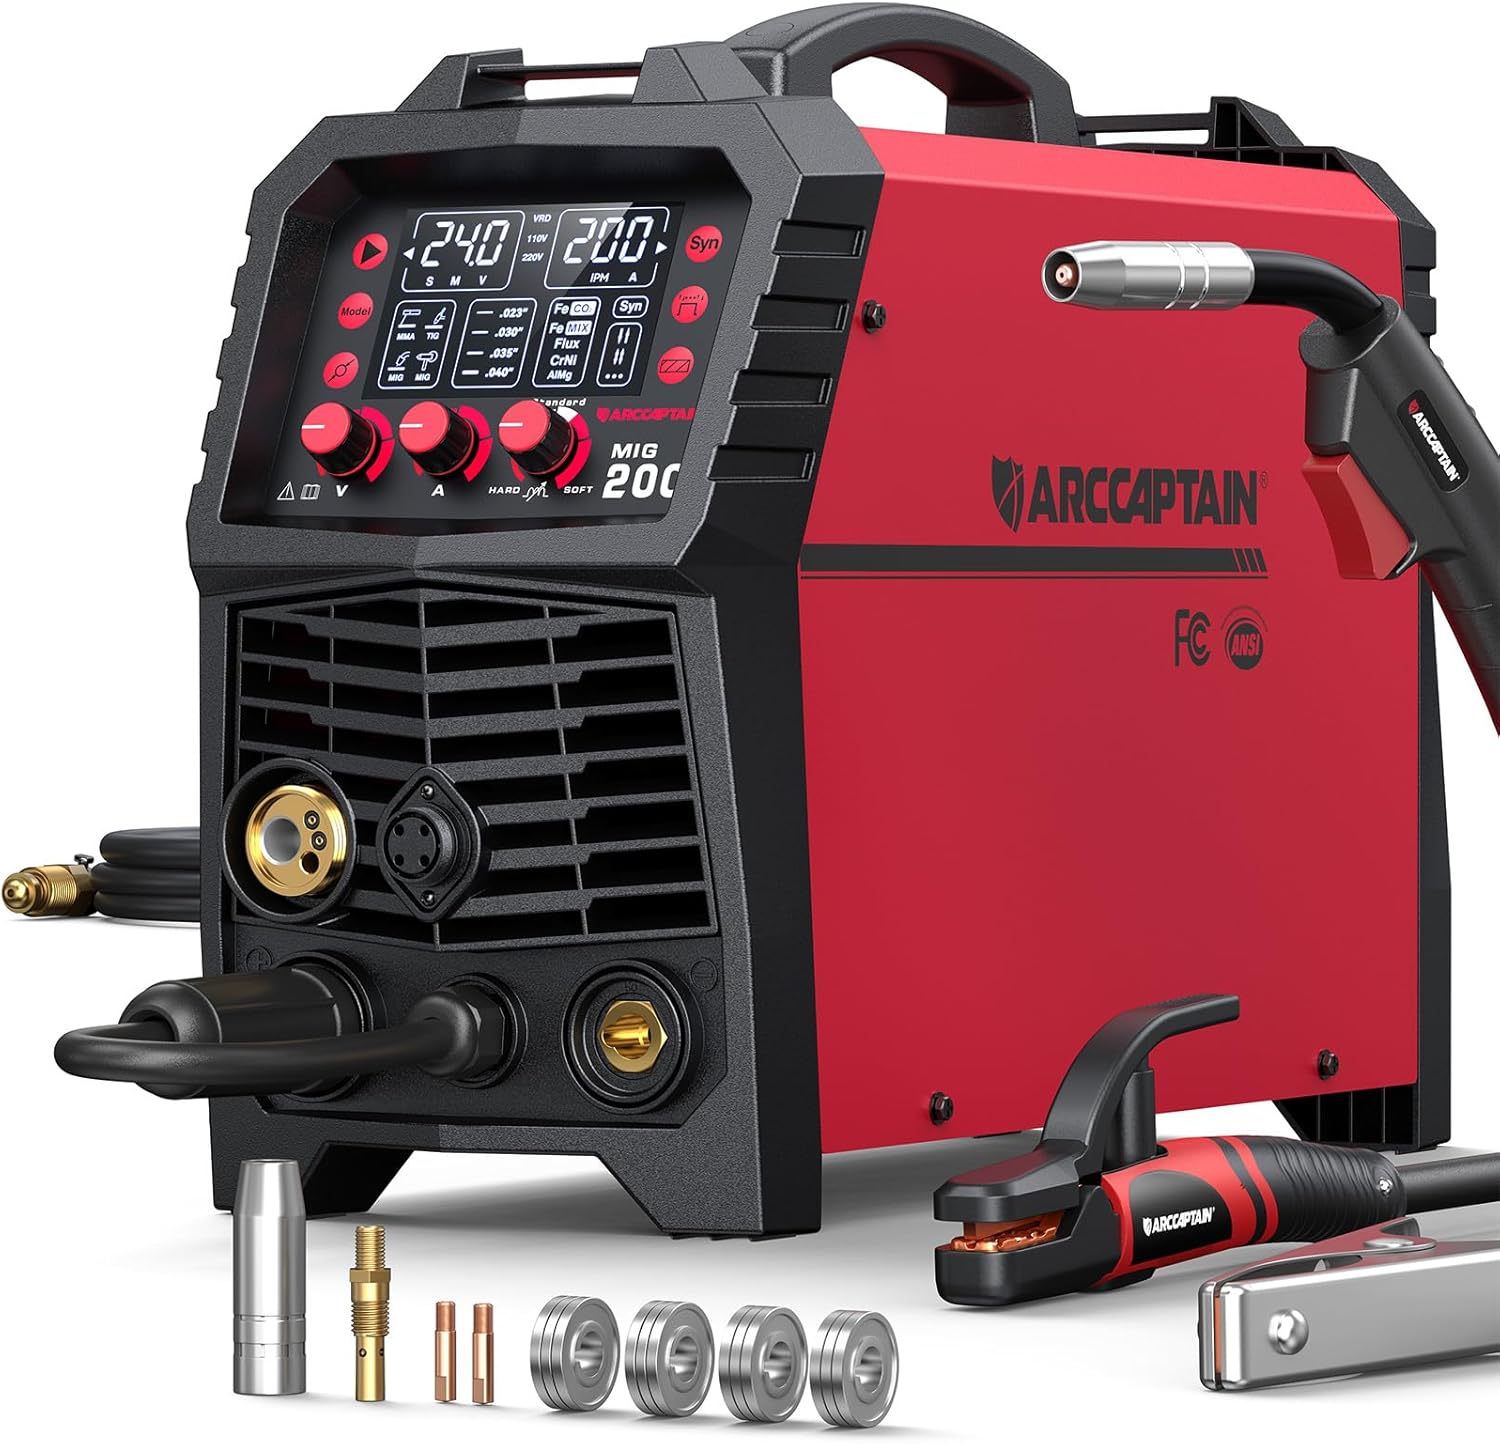
ARCCAPTAIN 6-in-1 Multi-Process
- MIG / TIG / stick for root and fill
- Stable digital meters for repeatable heat
- Dual voltage for shop or field
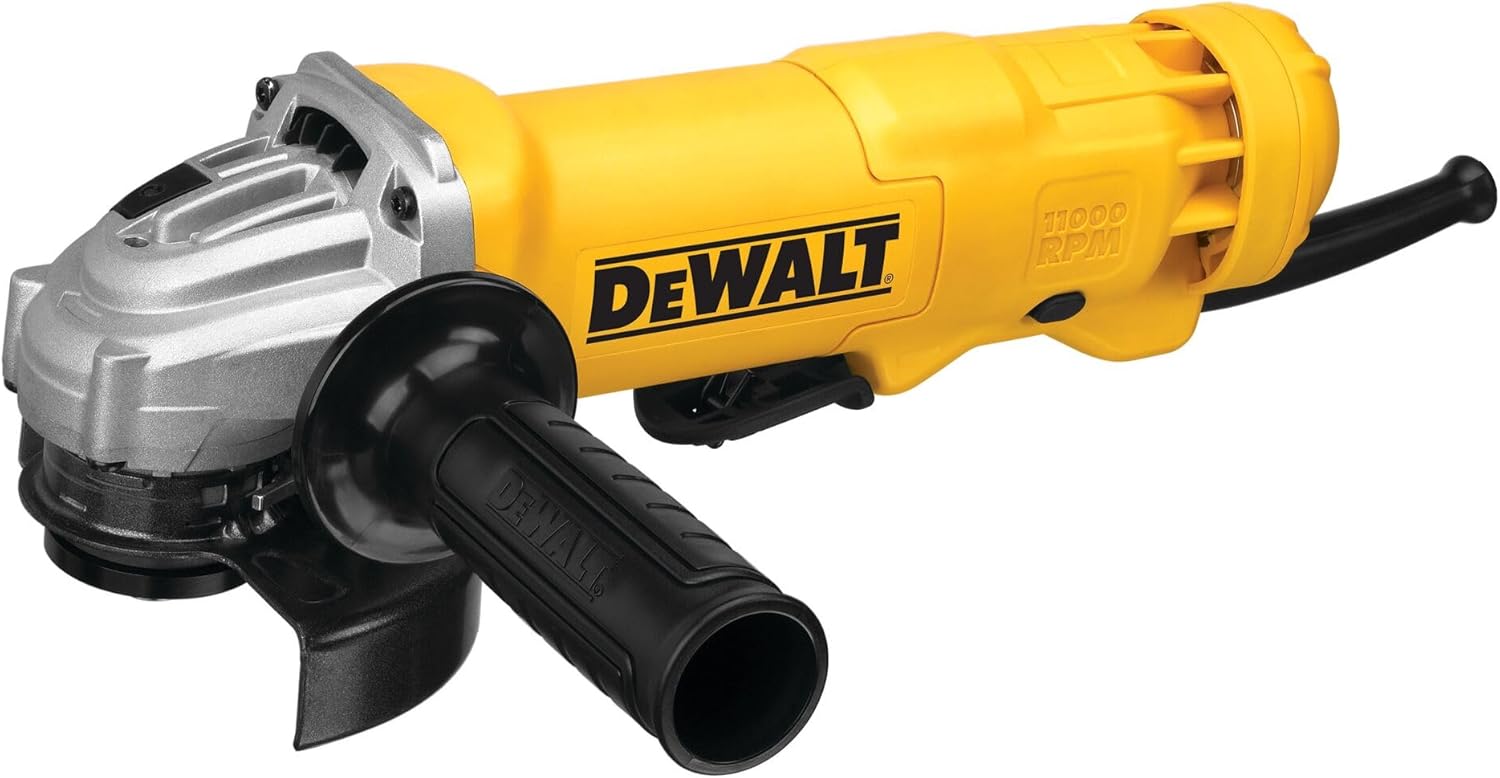
DEWALT 4.5" Angle Grinder
- Bevel edges and clean groove faces
- Open root faces without undercutting
- Essential V-groove fit-up tool
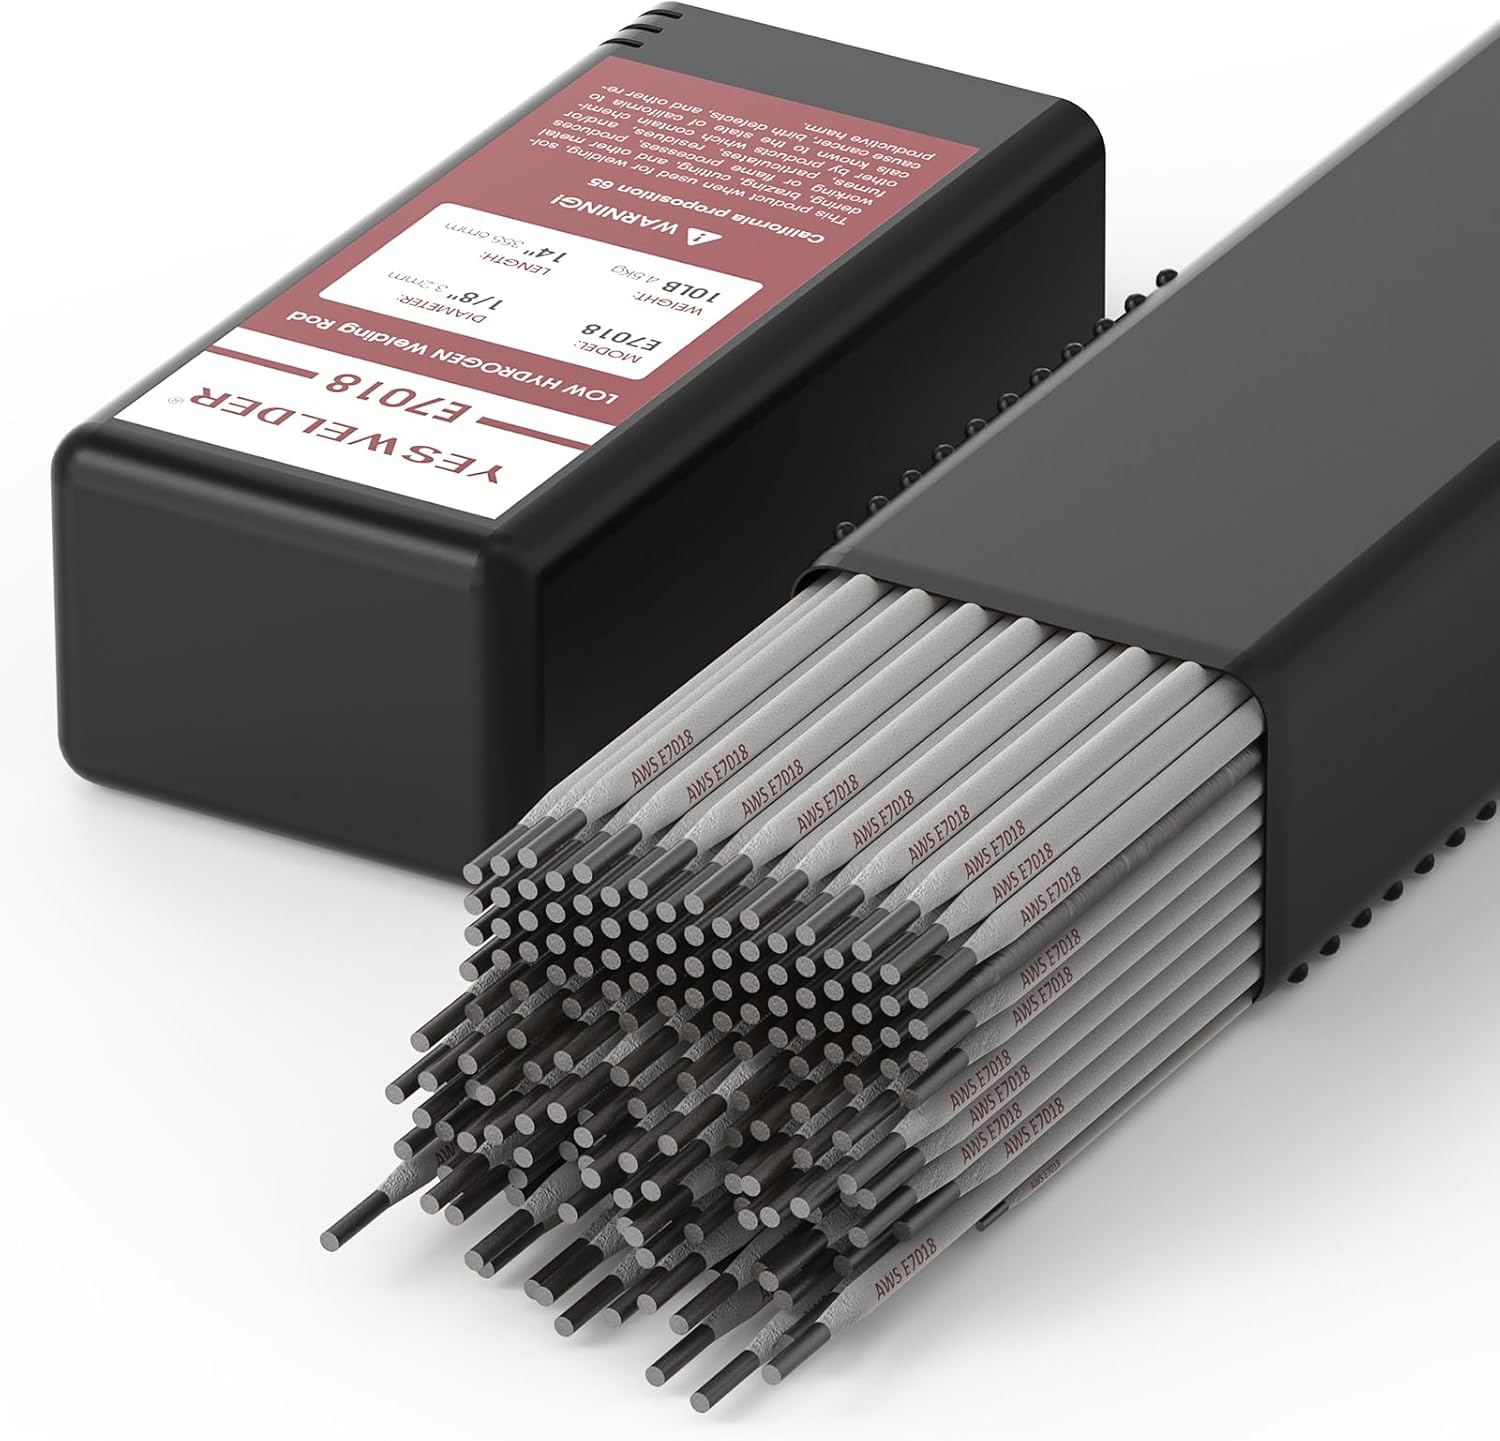
YESWELDER E7018 1/8" Stick
- E70XX class for structural grooves
- Common for CJP / PJP field work
- Keep dry for low-hydrogen soundness

VASTOOLS Welding Accessories Kit
- Chip and brush between groove passes
- Keeps slag from trapping defects
- Pairs with multi-pass root/fill work
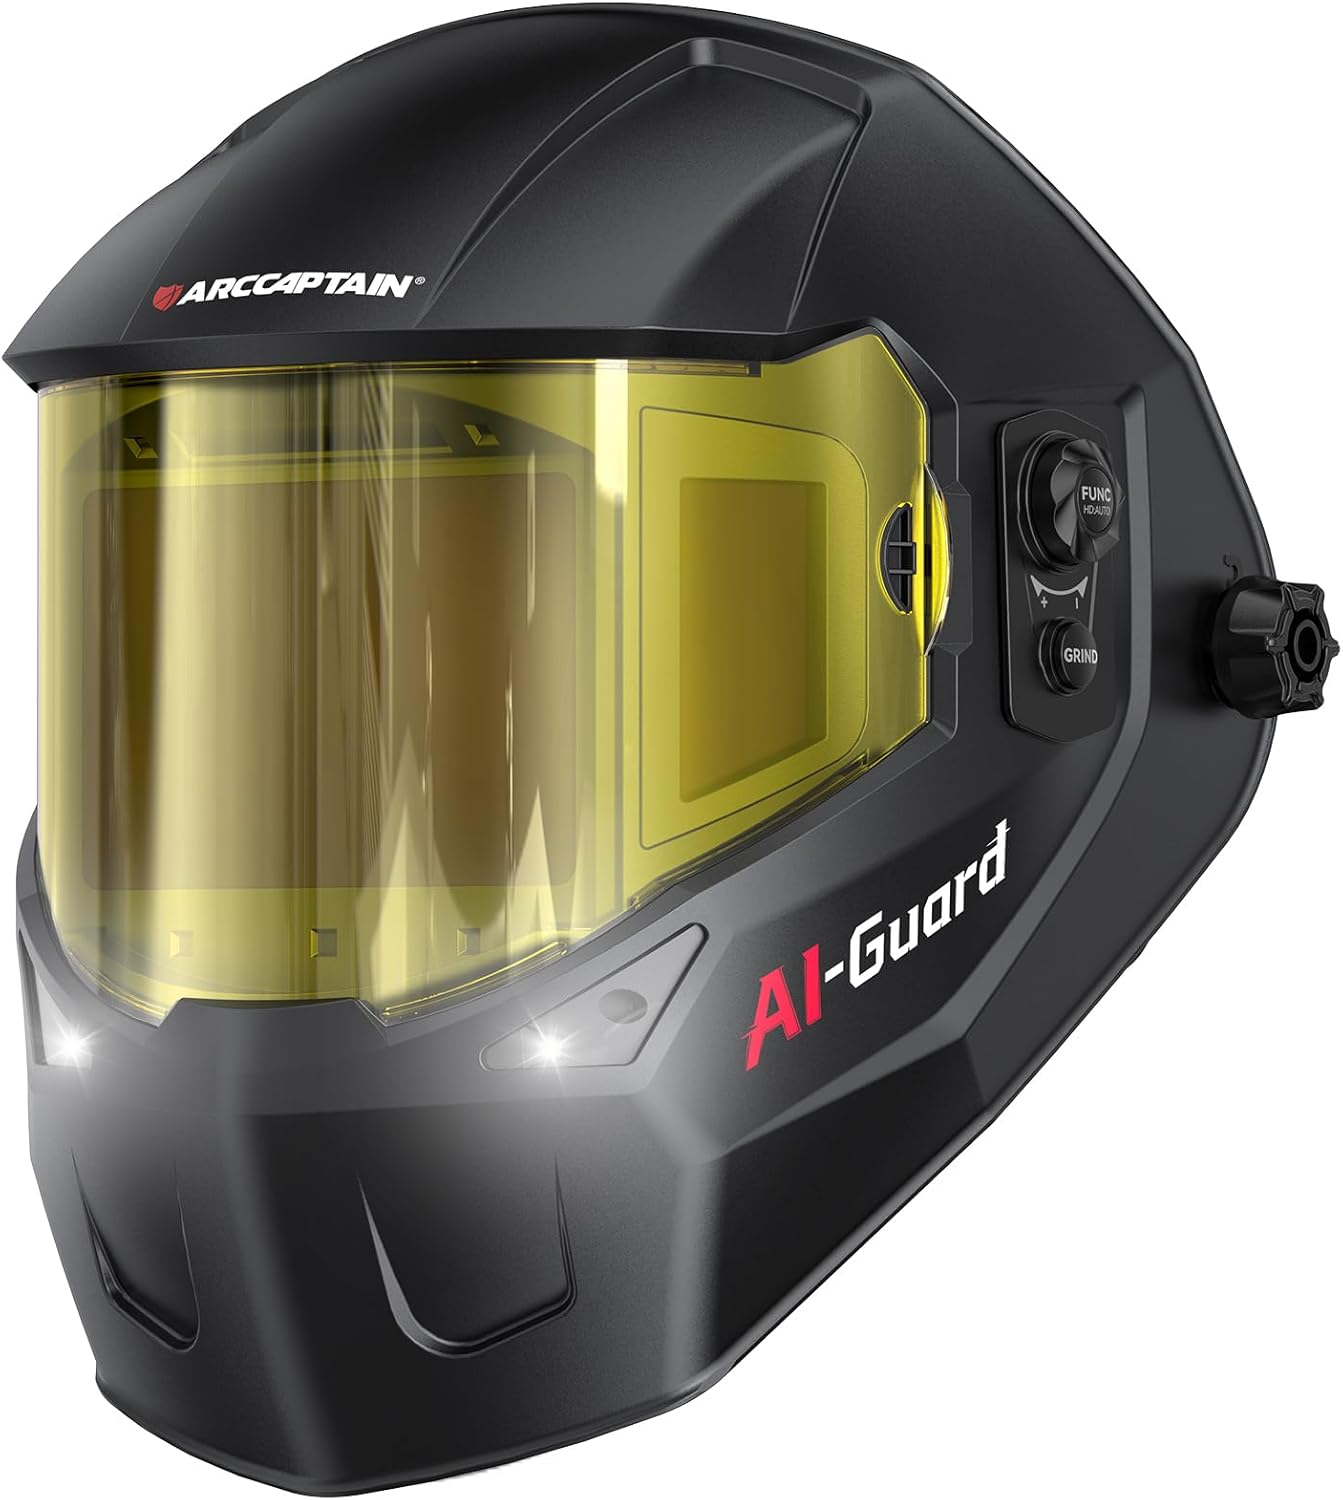
ARCCAPTAIN Halo Helmet
- Wide view for root-gap alignment
- True-color lens helps read fusion
- Comfortable for long multi-pass grooves
As an Amazon Associate, TestTalkHQ earns from qualifying purchases.
NDT Reality Check
VT catches undercut and open surface porosity. Incomplete fusion and incomplete penetration often need RT/UT or destructive coupons. If your job is CJP-critical, plan examination methods that can see the root — not only the glitter on the face.
Heat Input Is Not a Free Fix
Turning heat up blindly can stop incomplete fusion and create undercut, burn-through, or excess HAZ. Stay inside the WPS and use the Heat Input Calculator when travel and amps are part of the argument.
Related Reading
Mechanics: strength guide · Prep: joint prep technique · Joint selection tables: joint design guide.