Weld Distortion Troubleshooting
Diagnose angular distortion, longitudinal bowing, thin-sheet buckling, and twisting — then fix the cause
Same diagnostic style as our MIG problems guide: identify the pattern, name the cause, apply a practical fix. Use the shrinkage calculator for layout allowance on the next job, and sequencing technique to prevent repeats.

Quick Diagnosis Matrix
| Pattern you see | Likely cause | First fix to try |
|---|---|---|
| Joint opens/closes out of plane (wings up) | Angular distortion from one-sided heat | Preset opposite; alternate sides; reduce fillet size |
| Long member curves along length | Longitudinal bowing from seam on one face | Balance welds both sides; backstep; stiffen while welding |
| Thin sheet ripples / oil-cans | Buckling from excessive heat on low stiffness | Skip welds; heat sinks; lower HI; intermittent fillets |
| Assembly corkscrew / ends rotate | Twisting from asymmetric sequence on long fab | Symmetric sequence plan; clamp to strongback; reverse steps |
1. Angular Distortion (Joint Bends Out of Plane)
What it looks like: Fillet or single-sided groove joints where the free plate rotates. T-joints “wing up.” Butt joints dish so the face is concave on the weld side.
Why it happens: More weld metal and heat on one side of the neutral axis. As that side contracts, the joint rotates. Large fillets, wide single-V grooves, and continuous one-side welding amplify it.
Fixes:
- Preset / pre-bend the joint opposite the expected rotation so cooling pulls it flat.
- Clamp to a strongback or fixture until cool.
- Balance the weld: double fillets, double-V, or alternate passes each side.
- Reduce throat/leg to the design minimum — oversized fillets are a common angular driver.
2. Longitudinal Bowing
What it looks like: Beams, channels, and long bars curve like a banana after a seam along one flange or face.
Why it happens: Longitudinal shrinkage on one side of the section shortens that fiber. The neutral axis shifts and the part cams.
Fixes: Weld both sides in a balanced order; use backstep so heat does not race down one edge; leave the part clamped to a straightedge; for severe cases, planned flame straightening by a qualified tech after welding.
3. Buckling on Thin Sheet
What it looks like: Oil-canning, ripples, and locked-in waves on sheet metal panels and light ducting.
Why it happens: Compressive residual stress in a low-stiffness panel exceeds the buckling load. Continuous welds and high heat input are the usual triggers.
Fixes: Switch to intermittent or skip welds; add copper heat sinks; lower amperage/travel for less heat input (heat input calculator); stitch from the center out; avoid stacking passes while the sheet is still hot.
4. Twisting on Long Assemblies
What it looks like: Frames and trailers where one end rotates relative to the other; doors that will not latch evenly.
Why it happens: Weld sequence is asymmetric around the assembly centerline. Each seam adds a small torque; over a long length those torques accumulate into twist.
Fixes: Write a sequence that mirrors left/right and top/bottom; clamp to a flat table or strongback; weld short segments in a star or skip pattern; never finish one entire long seam before its opposite counterpart.
Practical Repair vs Prevention
Once metal has yielded into a new shape, “just clamping harder” rarely recovers flatness. Prevention (allowance, sequence, fixtures, heat input) is cheaper than post-weld straightening. If you must straighten, use controlled mechanical or flame methods appropriate to the alloy — aluminum and stainless need extra care.
Recommended Welding Gear
Gear that supports clean fit-up and controlled heat while you fight distortion
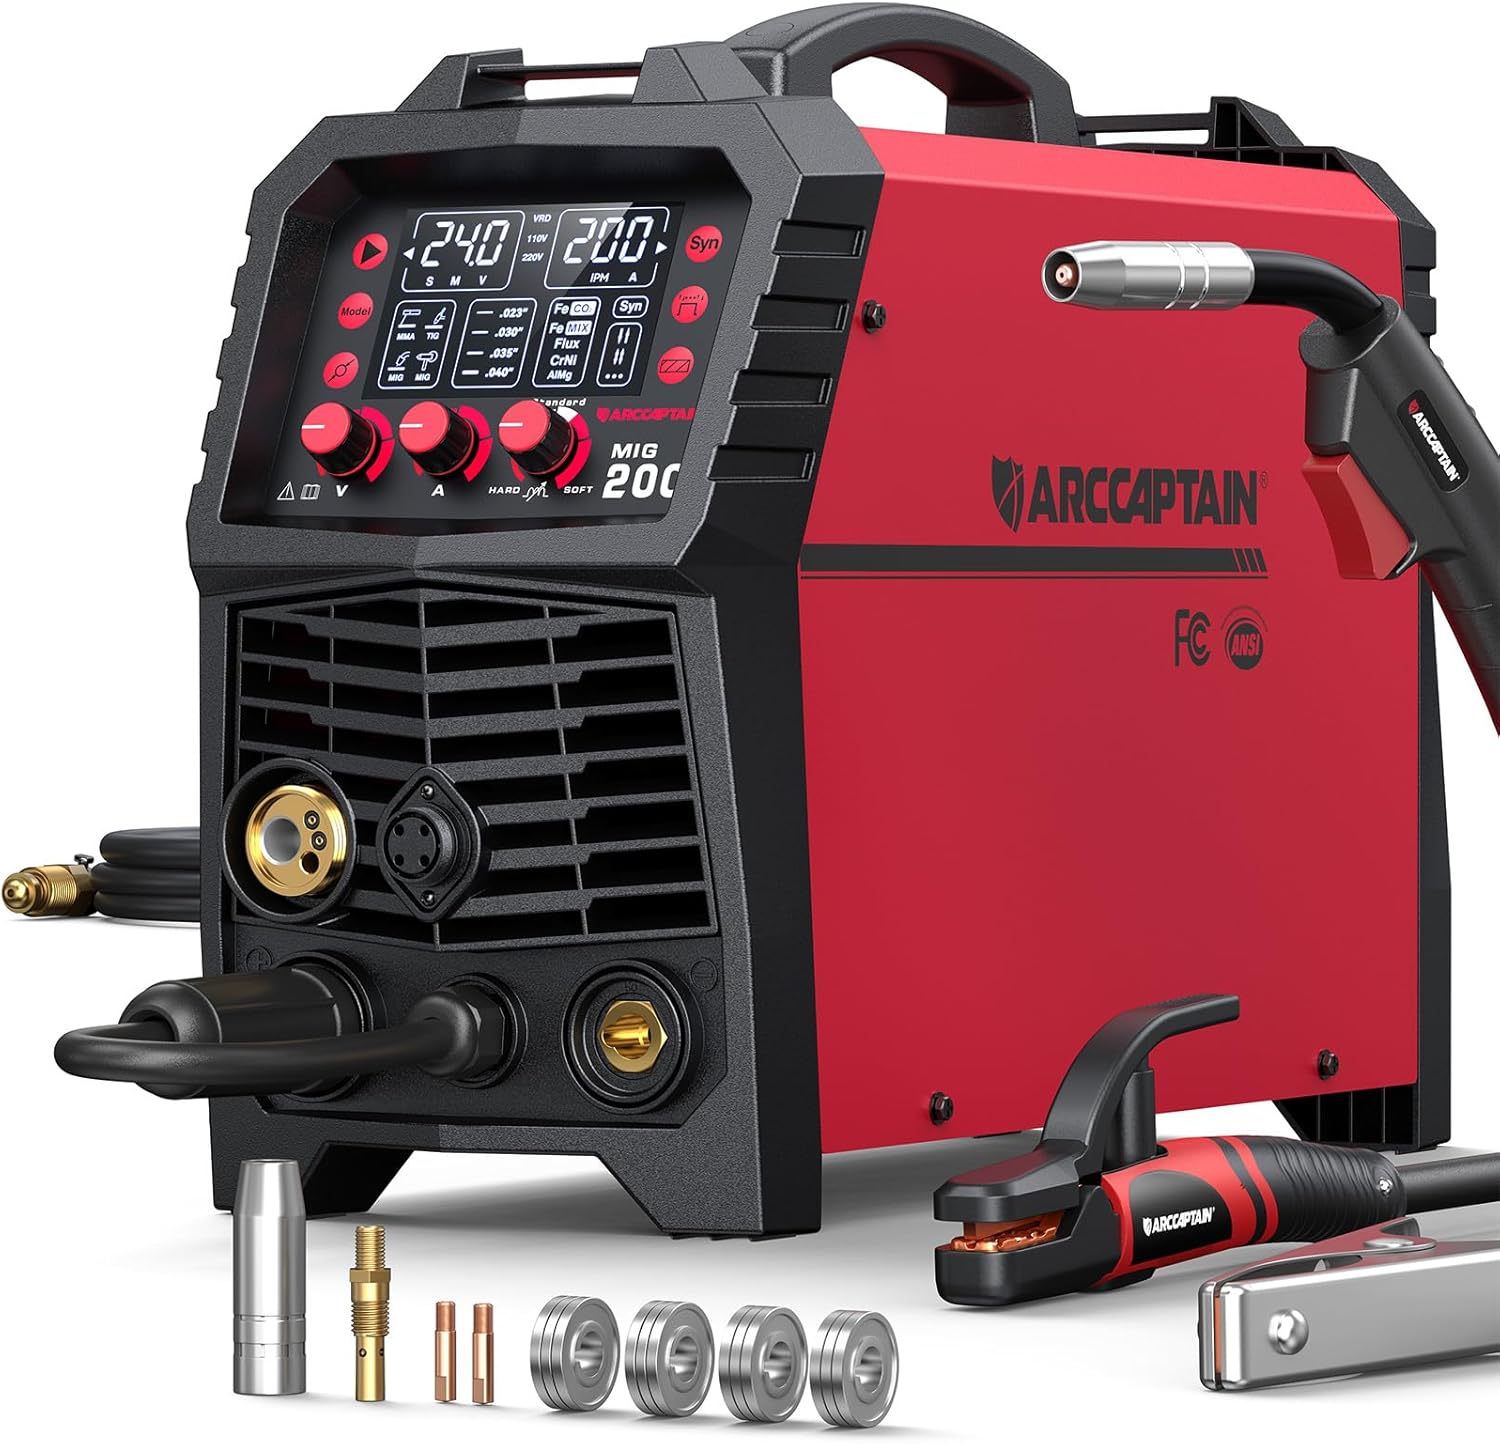
ARCCAPTAIN 6-in-1 Multi-Process
- Stable settings for sequenced fab
- MIG / TIG / stick flexibility
- Dual voltage
ER70S-6 MIG Wire (.035")
- Consistent feed for stable amps
- Common fab diameters
- Low-spatter copper coating
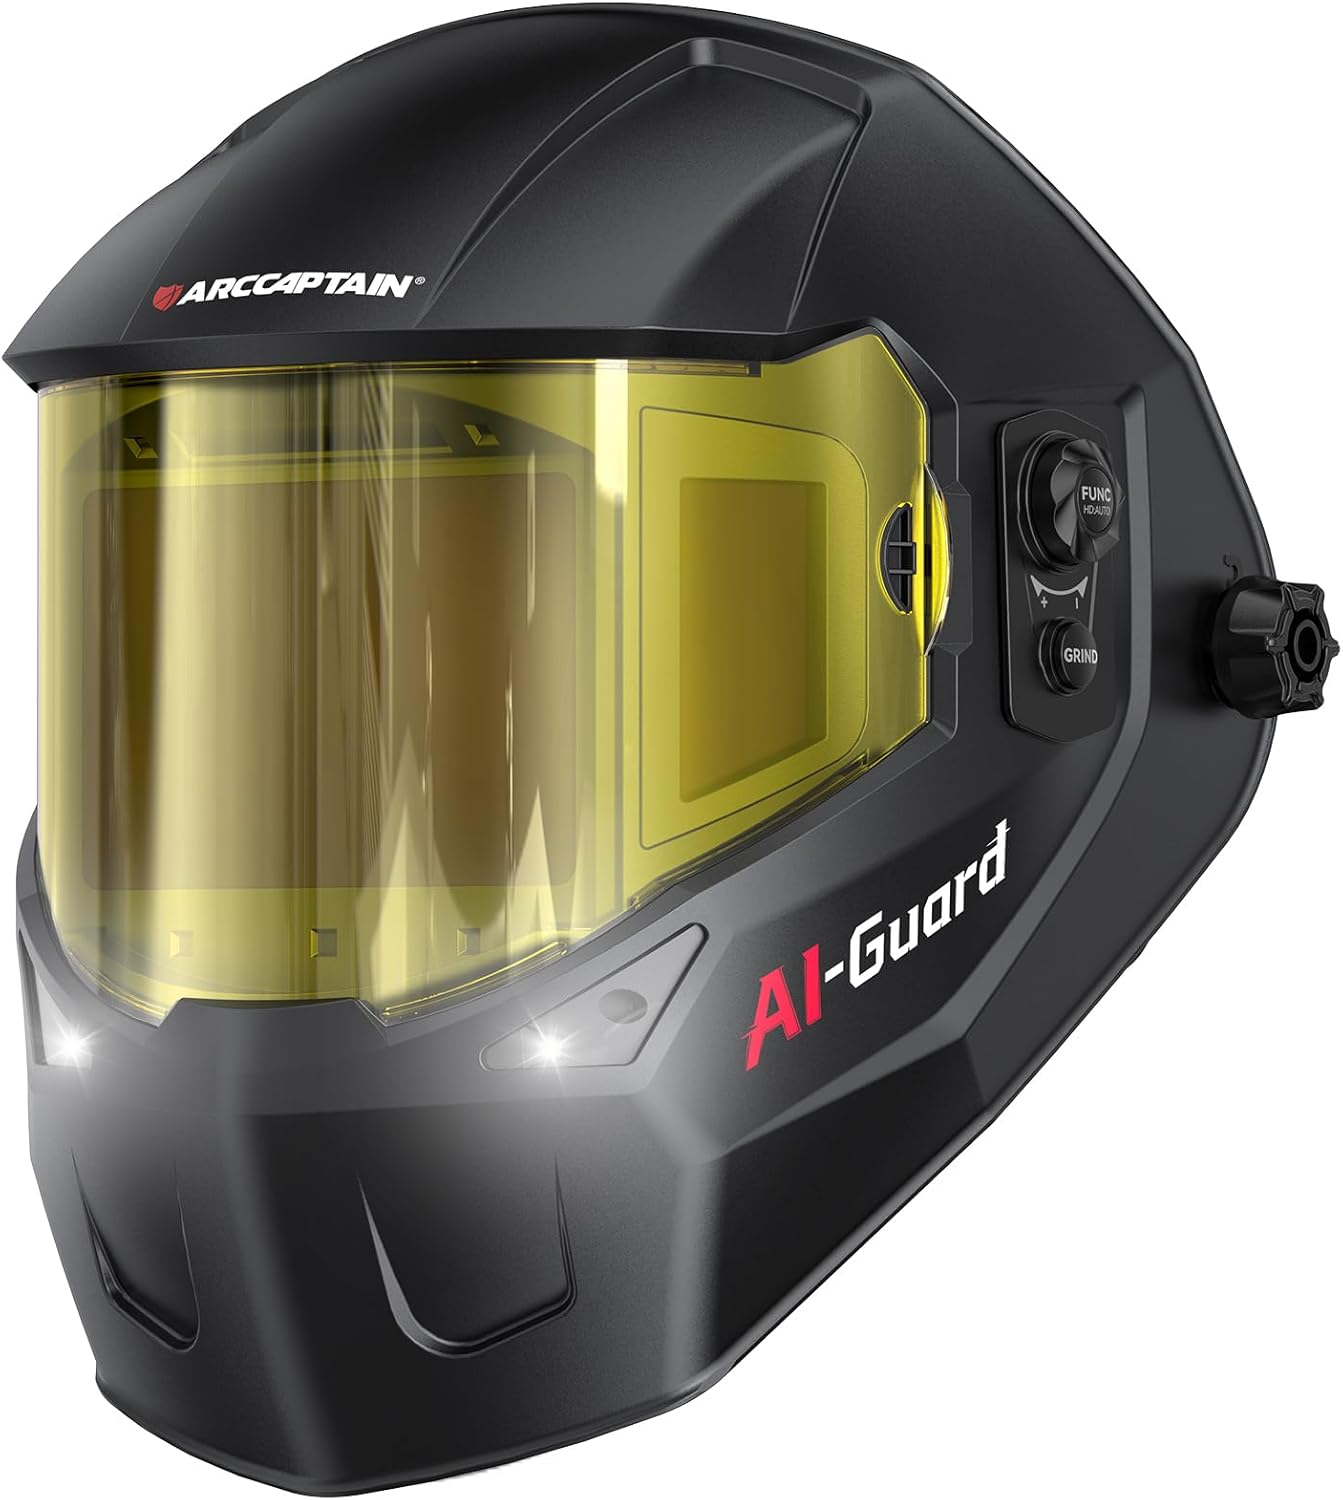
ARCCAPTAIN Halo Helmet
- Wide true-color view
- Spot heat tint and warp early
- Comfortable for long sequences
As an Amazon Associate, TestTalkHQ earns from qualifying purchases.
Clamping and Fixturing Checklist
Clamp near the joint, not only at distant corners. Support against the expected rotation direction. Release clamps only after the joint is cool enough that further contraction is small.
Heat Sinks That Actually Help
Copper bars, aluminum chill blocks, and wet rags (where safe and code-allowed) pull heat out of thin panels. Place sinks close to the puddle without contaminating the weld.
When Distortion Means Procedure Problems
Chronic warp on every job usually means oversized welds, no sequence plan, or heat input far above what the thickness needs — not “bad luck.”
Related Reading
Layout numbers: calculator · Mechanics: guide · Prevention sequences: sequencing.