
Continuous and discontinuous systems compared as a decision rather than a how-to – what each is sized from, how the style moves the tributary math, what each actually fails at, who carries the responsibility, and the option of not retaining at all
There are only two concepts, and the catalogue hides that
Snow retention products come in dozens of shapes and two actual designs. IIBEC and the Construction Specifier both draw the line in the same place, and once you see it the catalogue gets much easier to read.
Continuous systems use “continuous horizontal components, assembled laterally across the roof in the style of a fence.” Rails, pipes, fences — a spanning member carried on brackets. Discontinuous systems are “small, discontinuous individual units used as cleats, generally spot-located at or near the eave, or repeated in a pattern progressing up the slope of the roof.” Pads, blocks, individual guards.
Both rely on the snowbank’s own strength to work between the hardware, and that is the key to understanding the trade. A continuous system means “the snowbank creates a bridge between rows to distribute vector loads” — bridging up the slope. A discontinuous system “relies on the shear and compressive strength within a snowbank to ‘bridge’ between the individual units in both axes” — bridging up the slope and sideways. Two axes is a bigger ask of the snow.
The Construction Specifier adds a note worth taking to heart: “common specifications do not always clearly identify whether the design is continuous or discontinuous. The specifier would benefit by breaking from convention and making this distinction.” If a spec does not say which, nobody has decided.
The demand is the same number. What changes is how you divide it
This is the part that trips people up. The vector force on the roof does not care what you bolt to it. A 40 ft slope at 6:12 under 35 psf is pulling 626 lb per lineal foot of eave whatever you choose. The style decides how that total gets split.
| Continuous (rail / fence) | Discontinuous (pads / cleats) | |
|---|---|---|
| Sized from | Load per lineal foot of eave, then bracket spacing | Load per attachment, from the tributary strip it serves |
| Two capacities to check | Bracket holding capacity and rail bending between brackets | Device holding capacity only |
| Relies on the snow to bridge | Up the slope, between rows | Up the slope and across, between units |
| Device count on a 40 ft eave | Roughly one bracket per seam, one or two rows | Tens to hundreds, many rows |
| Typical capacity class | Hundreds to thousands of lb per bracket | Tens of lb per unit |
| Fails by | Rail deflection, bracket pull-out, seam deformation | Snow flowing between units, adhesive release, individual pull-out |
The arithmetic that makes this concrete: on the standard 6:12 example the engineered answer is two rows of a 1,000 lb clamp. Run a prescriptive pad layout on the same roof — 18 rows at the published 24 inch spacing — and each unit carries about 52 lb. Both resist 939 lb per seam. One does it with two big things, the other with eighteen small ones. Neither is wrong; they are different answers to the same force, and the spacing calculator prints the implied per-device load so you can see which class you are actually in.
How it attaches matters more than what it looks like
IIBEC counts three mounting methods, and this is a more consequential choice than the shape of the guard: “Two of these techniques use mechanical attachment. The first attaches clamps directly to the roof seam using setscrews that do not penetrate the roof; the second uses fastening screws to penetrate through the roof material into the structure. The remaining third technique uses a chemically attached ‘peel-and-stick’ adhesive tape or pumpable glue.”
Non-penetrative seam clamps
The default on standing seam, and for good reason: no holes, high capacity, reversible. IIBEC calls it “a measurably secure option for an SSMR profile, but only when evidence of adequate testing is presented to prove it.” Note the condition. The load goes into the seam, so the capacity is a property of clamp plus your specific seam profile, and a report from a different profile tells you nothing. It also leaves the panel free to move thermally, which through-fastening does not.
Through-fastened
Simple, cheap, works on exposed-fastener and corrugated roofs where there is no seam to clamp. The cost is two problems you have now created: a penetration to keep watertight for the life of the roof, and a pinned point on a panel that wants to expand and contract. On a floating standing seam assembly that second one is serious enough that we treat it separately — see fixed vs floating standing seam clips and the metal roof thermal expansion calculator for how far those panels actually travel.
Adhesive
Lowest cost, lowest capacity, least predictable, and “often used for individual discontinuous snow guards.” It is a legitimate choice on a low-load roof with many small units, and a poor one wherever a single device has to carry real load. Its performance depends on surface preparation, installation temperature, cure time and finish compatibility — four variables you control on the day and cannot inspect afterwards.
Any trade
Contractor Job Estimator
Price remodels and GC work, then send a quote with no internal numbers.
Excel or Google Sheets. Best on a computer.
$29.00
BuyCheckout opens in a new tab.
The one input that is actually on the roof
Two of the three terms that set the demand come off paper. The pitch comes off the roof, and it is the term that moves fastest: a roof drawn 4:12 and built 6:12 is 41 per cent more sliding force, which can be the difference between two rows and three. Measure it. The rest of the list is layout and staying attached to the building while you work above the eave.
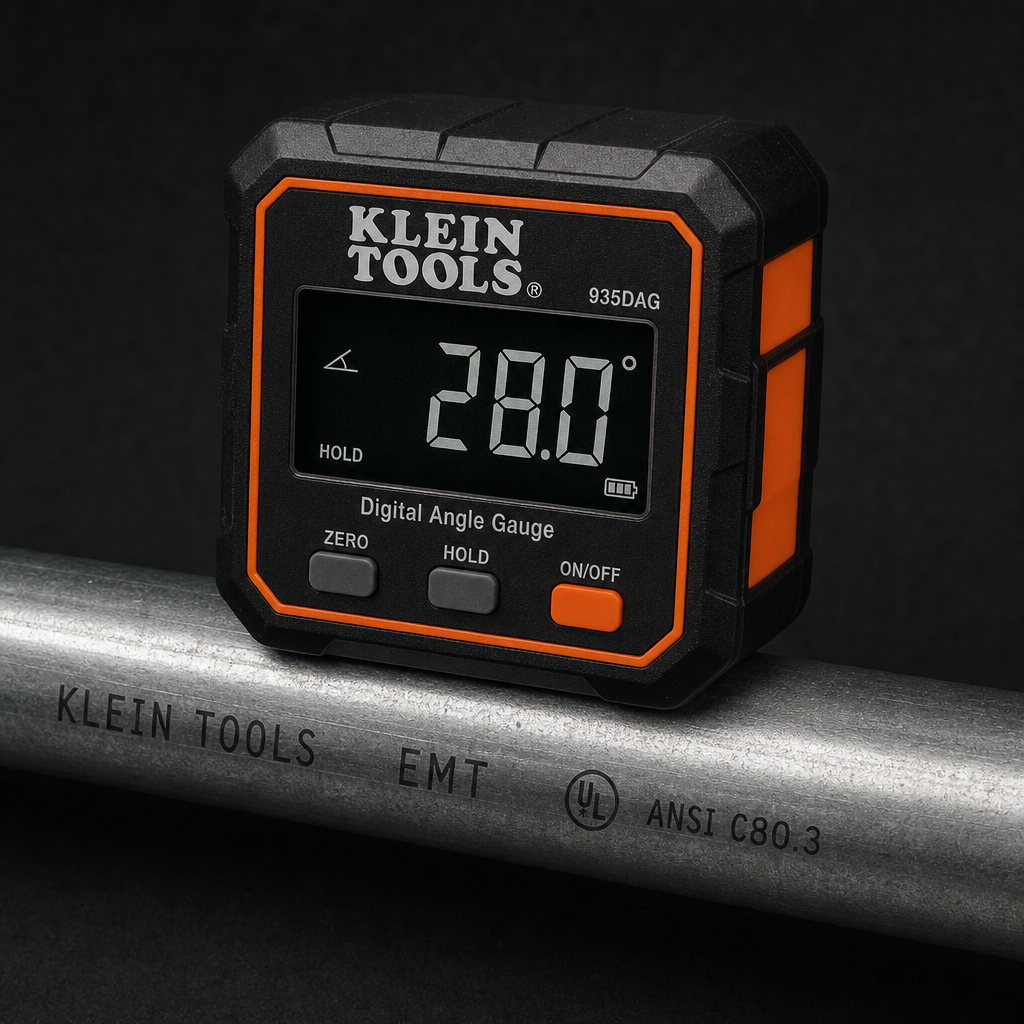
Klein Tools 935DGGP Digital Angle Gauge
- Reads the actual roof angle in degrees, which is what sin θ needs
- Magnetic base sits on a panel rib instead of fighting a shingle course
- Settles a drawn pitch against a built pitch in about ten seconds

TAJIMA Chalk‑Rite CR301JF Jam‑Free Chalk Line
- Straight rows up the slope, which is the whole point of a staggered pattern
- Jam-free crank for the repeated pulls a multi-row layout takes
- Fine line, so a clamp lands on the mark and not a half inch off it
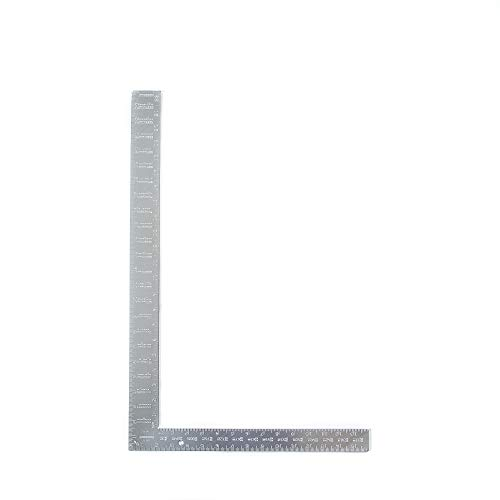
Swanson TA122 Aluminum Rafter Square 16×24
- Reads pitch directly from a rafter or a panel, no batteries involved
- Doubles as the layout square for the first row off the eave
- The cross-check when a digital gauge gives you a number you doubt
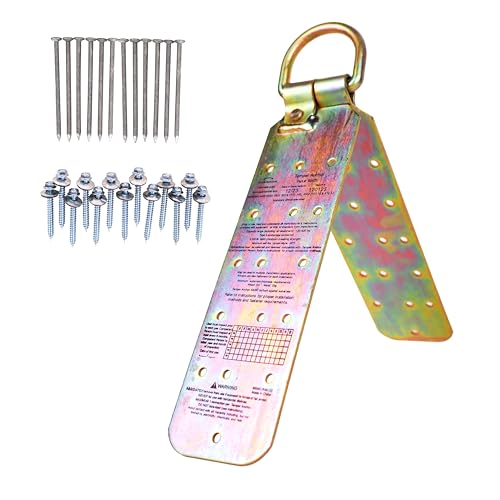
Guardian 00455 Temper Reusable Roof Anchor
- A mid-slope row means time spent above the eave on a slippery panel
- Reusable anchor rather than a nail-through plate left behind
- The honest cost line on a multi-row layout nobody quotes for

Garelick 89421 21‑Foot Aluminum Snow Roof Rake
- Retention means the snow stays on the roof, which is a load you now own
- Reach for the eave zone where the bank densifies deepest
- Aluminium sections, for the retrofit where the structure is the weak link
As an Amazon Associate, TestTalkHQ earns from qualifying purchases. Prices and availability can change.
Run your own roof. The snow guard spacing calculator takes the design snow load, the pitch, the eave-to-ridge rafter length, the seam spacing and the device capacity, and returns the vector force, the tributary force on every attachment, the allowable capacity after your factor of safety, the rows required and the minimum tested ultimate strength to shop for.
Choosing: what actually decides it
Load per lineal foot of eave
This is the first filter and it is nearly decisive on its own. Below a couple of hundred pounds per foot, discontinuous pads are in range. Up around a thousand or more, you are in continuous-system territory, because getting there with small units means a device count and a row count that stops being practical — and every extra row is more time spent above the eave on a slippery roof.
What is below the eave
Retention is a consequence calculation, not just a load one. A discharge zone over a public entrance, a fire exit, a gas meter, a heat pump or a parking space is a different risk category from one over a shrub bed. Where the consequence of a release is severe, a continuous system is easier to defend: it does not depend on the snow bridging sideways between units, which is the less reliable of the two bridging mechanisms.
Whether it is a retrofit
On a retrofit the structural question comes first, and it is not about the hardware. The code requires that a sloping roof fitted with snow guards “shall be designed for the unit snow loads required for a flat roof” — retaining snow removes the slope reduction. A system that holds perfectly on a structure that cannot carry the retained load has made the building worse. This question has the same answer for every style, and it should be asked before any of them is chosen.
Whether the vendor will put it in writing
IIBEC’s recommendation here is direct: “Project-specific engineering should be provided by the vendor and incorporate the tested ultimate strength of the system with an appropriate factor of safety applied… Insist that vendors provide calculations before product selection.” That is a product-selection criterion in its own right. A vendor who will produce a stamped, project-specific calculation for your profile and your snow load has told you something about the product that no datasheet does.
Aesthetics, honestly
A fence across a visible roof slope looks like a fence across a visible roof slope. Discontinuous pads nearly disappear. That is a real reason clients choose them and a bad reason to pick them for a roof whose load needs a rail — but on a lightly loaded roof where either works, it is a perfectly sound tiebreaker. Colour matching and metal compatibility both belong on the list too; IIBEC groups them with “verifying metals’ compatibility, matching corrosion resistance of the device with that of the panel materials, and color matching” with the aim of “serviceability that lasts as long as the roof.”
The fourth option: do not retain
Worth saying out loud, because it is free and it is sometimes correct. The problem snow retention solves is not “snow on a roof” — it is “the potential for rooftop avalanches in the discharge areas below the eaves, causing property damage, personal injury, and even death.” If you can change the discharge area, you have solved the same problem without putting a single pound of new load on the structure.
- Move what is underneath. Relocate the walkway, the parking space, the condenser, the gas meter. Cheaper than any retention system and it never fails in a hard winter.
- Change the entrance. A canopy, a different door, or a railing that keeps people out of the discharge zone.
- Let it slide where sliding is fine. A slope discharging onto a field does not need retention, and retention there buys you a structural liability for nothing.
- Retain selectively. Protect the stretch that matters and let the rest shed — accepting, as the troubleshooting companion covers, that the edge of a retained zone is a shear plane and the snow beside it will come off in a slab.
None of that is a dodge. On the long barn slope in the sizing guide — 80 feet of 6:12 under 50 psf, 1,789 lb per lineal foot of eave — no product choice makes retention cheap, and moving what is below the eave is very likely the right engineering answer.
The order to work the decision in
- Decide whether retention is the answer at all. What is below the eave, and can it move? If yes, stop here.
- Check the structure can carry retained snow as a flat-roof load. On a retrofit this is a stopper, not a detail.
- Calculate the demand — per attachment and per lineal foot of eave. You cannot choose a style without both numbers.
- Pick the class from the load per foot. Low: discontinuous is in range. High: continuous.
- Pick the attachment method from the roof. Standing seam with a tested clamp for your profile; through-fastened only where there is no seam and you have accepted the penetration; adhesive only on low-load, many-unit layouts.
- Make the vendor produce project-specific calculations with the tested ultimate and your factor of safety, and get the registered design professional to confirm the load path into the structure.
Notice that the product shape is step four or five, not step one. That inversion is most of what goes wrong on these jobs: the system gets chosen from a catalogue page and then a spacing chart gets used to justify a quantity, with steps one, two and three never happening at all.