Working backwards from what you found on the ground to which link actually gave way – the attachment, the seam, the substrate, the layout or the structure – plus the four problems that only look like a retention failure
Snow retention fails as a chain, so diagnose it as one
A snow retention system is a load path, and IIBEC describes it exactly that way: “Because the system may comprise multiple components, a ‘load path’ (or ‘load chain’) results. Each link (component) in the chain must be proven by testing and/or engineering analysis. The weakest link determines the strength of the chain.”
That is the diagnostic frame for everything below. When a system lets go, one link failed first, and which one it was is usually written on the roof in a way you can read. Work the chain from the top down:
- The snowbank itself — did it shear, or bridge, or go over the top?
- The device — is the guard bent, broken, or missing?
- The attachment — clamp, screw or adhesive: did the connection to the roof give?
- The roof element — seam deformed, panel torn, shingle course pulled?
- The structure — clip, purlin, deck, frame.
Before any of that, one question settles half the calls: was the system ever sized? Not “was it specified” — sized, against a design snow load, with a tested capacity and a factor of safety. If the answer is that a pitch-keyed spacing chart was used, run the numbers through the snow guard spacing calculator before you diagnose anything. On a heavily loaded roof the demand frequently turns out to be two or three times what the installed system can hold, and no inspection finding is going to be more useful than that.
1. The guards are gone and the panel looks fine
What you found: clamps or pads on the ground, sometimes still bolted to a length of rail. Seams undamaged.
What that means: the attachment was the weakest link, and it was overloaded. This is the cleanest signal you will get and it almost always traces to one of three arithmetic failures:
- Ultimate used as allowable. The 1,000 lb datasheet number was treated as a working load. Construction Canada names this specifically as a cause of failures: applying a factor of safety of two gives 500 lb, “which is what the snow guard should be designed around.”
- Tributary length halved. Somebody used half the rafter, or the horizontal span, or the distance to the nearest upper row rather than to the ridge.
- Panel width ignored. A product that performed on 16 inch panels moved to a 24 inch profile is carrying 50 per cent more load per clamp.
What to do: recalculate from the design snow load before re-specifying anything. If the demand comes back at 1,300 lb per seam and the installed device was 500 lb allowable, you need three rows or a bigger device, not a tighter torque spec.
2. The clamp held but the seam is deformed, or the clamp slid down the seam
What you found: clamps still attached, but the seam is crushed, rolled open or showing a bright scar where the clamp travelled down it.
What that means: the device was stronger than the roof. The load got into the clamp fine and then found the real weakest link. IIBEC describes the mechanism: “When clamp-mounted attachments are used, the sliding force of the snow is transferred to the clamp and then into the roof panels—specifically the roof seams.”
This is the classic consequence of a capacity tested on the wrong profile. A clamp tested on a heavy-gauge mechanically seamed panel and installed on a lighter snap-lock seam is not the same system, which is why the code wants effectiveness “demonstrated by tests” and why Sheffield Metals describes clamps being “tested on actual roof panels until failure.”
What to do: get the test report and check which profile it was run on, including gauge and seam type. If it does not match what is on the roof, the installed capacity is unknown, not merely lower.
3. Adhesive pads peeled off, taking paint with them
What you found: pad guards on the ground with a clean patch of finish stuck to each one, or a sheared layer of adhesive left on the panel.
What that means: the chemically attached method hit its limit, and that limit is more variable than a mechanical one. IIBEC lists it as the third mounting technique: “a chemically attached ‘peel-and-stick’ adhesive tape or pumpable glue. This method is often used for individual discontinuous snow guards.”
Three things commonly conspire: surface preparation (adhesives are unforgiving about oil, oxidation and chalking), installation temperature and cure time before the first loading, and finish compatibility — some coatings release before the adhesive does, which is why the paint comes off with the pad.
What to do: this is a case where the demand calculation matters most, because adhesive pads are low-capacity devices and the honest answer is often that far too few were fitted. Work out the per-device load the layout implies: if the roof needs 939 lb held and 18 pads are doing it, each is carrying 52 lb, and that number has to be inside the adhesive’s rated capacity on your finish, at winter temperature, with a factor of safety.
4. Screw-down pads are leaking, a year or two in
What you found: stains below the fastener line, or washers that look chewed.
What that means: probably not a retention failure at all — a thermal movement failure at a penetration you created. A through-fastened device pins the panel at that point, and the panel still wants to grow and shrink with temperature. That is a different force, it cycles daily rather than seasonally, and it is the one that works fasteners loose and tears grommets.
This overlaps a subject we cover properly elsewhere rather than repeating here: the metal roof thermal expansion guide covers how far panels actually move, metal roof expansion troubleshooting works the symptoms, and fixed vs floating standing seam clips explains why pinning a panel that was designed to float is a decision with consequences.
What to do: on a standing seam roof this is the main argument for non-penetrative seam clamps. IIBEC calls the clamping method “a measurably secure option for an SSMR profile, but only when evidence of adequate testing is presented to prove it” — the caveat matters, but so does the fact that it puts no holes in the roof.
5. The snow went straight over the top of the guards
What you found: the guards are intact and still attached. The snow left anyway, over them.
What that means: usually a device-height-versus-bank-depth mismatch, but be careful here, because the intuitive diagnosis is often wrong. IIBEC is explicit that height is not normally the governing issue: “Because the compressive strength is so great at the snow-roof interface, snow guard devices only a few inches in height have demonstrated success even when snowbanks are quite deep.”
The cases where overtopping is real tend to involve a wet, dense, low-cohesion pack, a thaw-refreeze cycle that turned the lower bank to ice and gave the upper pack a slip plane well above the roof, or discontinuous pads spaced too far apart to bridge, so the snow simply flowed between and over them.
What to do: check spacing and bridging before you reach for taller guards. A discontinuous system “relies on the shear and compressive strength within a snowbank to ‘bridge’ between the individual units in both axes” — if the units are too sparse for the snow you actually get, bridging fails and height will not save it.
6. The snow sheared off beside a partially protected run
What you found: retention over the doorway worked. The snow came off twenty feet to the left, in a slab, with a clean vertical face at the edge of the protected zone.
What that means: the system did its job and the layout created a new problem. A partial run has edges, and the edge of a retained area is a shear plane. Unretained snow beside it slides, loses its lateral support and takes a slab with it.
What to do: this is a design decision, not a defect, and it should be a conscious one. Either extend the run to a natural break — a valley, a hip, a ridge end — or accept the shear line and make sure what is below it is nothing that matters. Worth saying to the client in writing beforehand.
Any trade

Contractor Job Estimator
Price remodels and GC work, then send a quote with no internal numbers.
Excel or Google Sheets. Best on a computer.
$29.00
BuyCheckout opens in a new tab.
The one input that is actually on the roof
Two of the three terms that set the demand come off paper. The pitch comes off the roof, and it is the term that moves fastest: a roof drawn 4:12 and built 6:12 is 41 per cent more sliding force, which can be the difference between two rows and three. Measure it. The rest of the list is layout and staying attached to the building while you work above the eave.
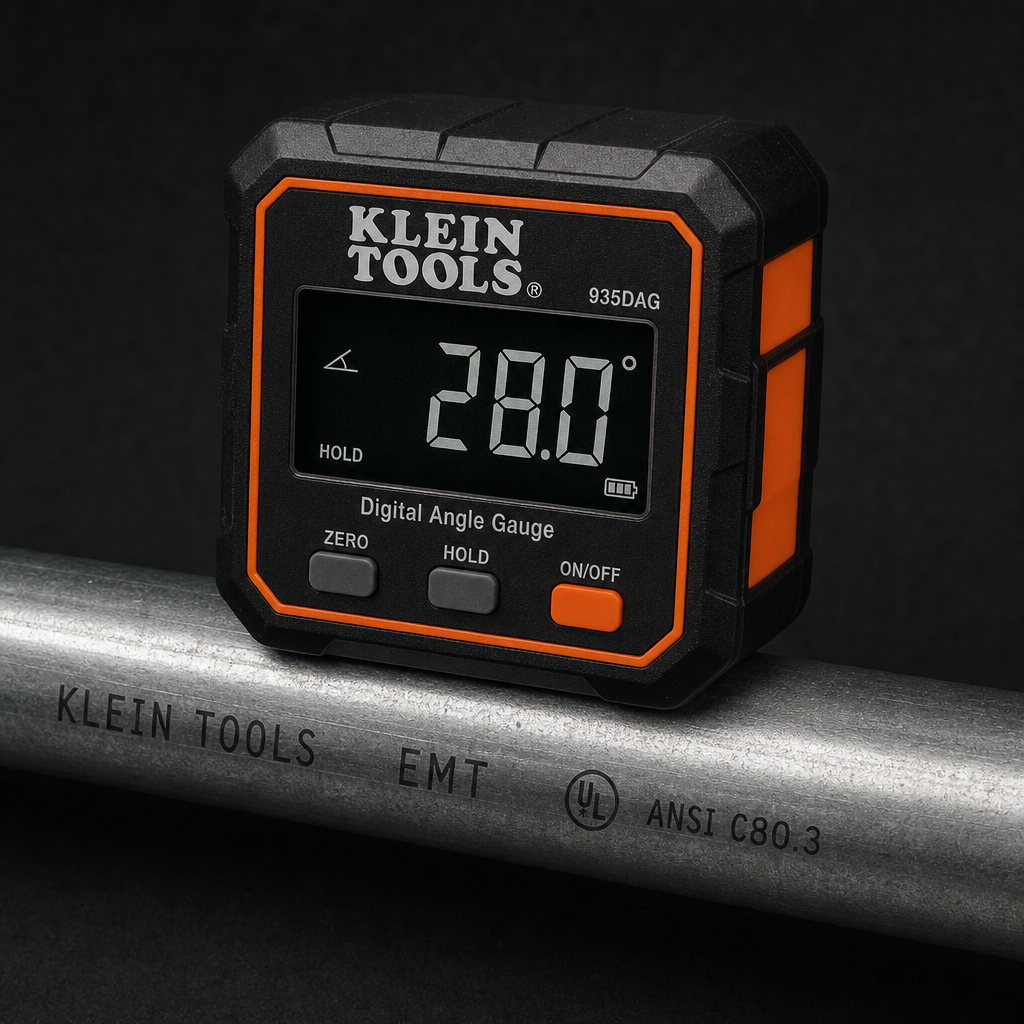
Klein Tools 935DGGP Digital Angle Gauge
- Reads the actual roof angle in degrees, which is what sin θ needs
- Magnetic base sits on a panel rib instead of fighting a shingle course
- Settles a drawn pitch against a built pitch in about ten seconds

TAJIMA Chalk‑Rite CR301JF Jam‑Free Chalk Line
- Straight rows up the slope, which is the whole point of a staggered pattern
- Jam-free crank for the repeated pulls a multi-row layout takes
- Fine line, so a clamp lands on the mark and not a half inch off it
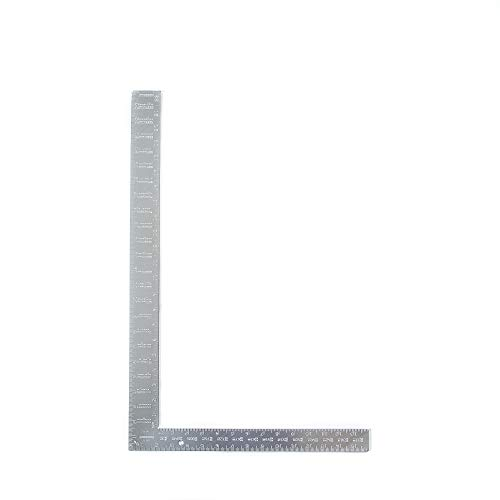
Swanson TA122 Aluminum Rafter Square 16×24
- Reads pitch directly from a rafter or a panel, no batteries involved
- Doubles as the layout square for the first row off the eave
- The cross-check when a digital gauge gives you a number you doubt
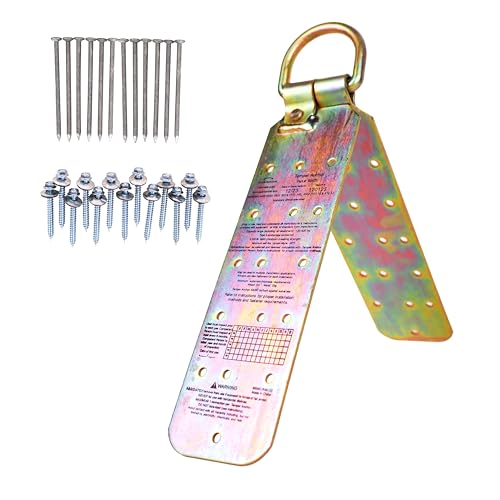
Guardian 00455 Temper Reusable Roof Anchor
- A mid-slope row means time spent above the eave on a slippery panel
- Reusable anchor rather than a nail-through plate left behind
- The honest cost line on a multi-row layout nobody quotes for

Garelick 89421 21‑Foot Aluminum Snow Roof Rake
- Retention means the snow stays on the roof, which is a load you now own
- Reach for the eave zone where the bank densifies deepest
- Aluminium sections, for the retrofit where the structure is the weak link
As an Amazon Associate, TestTalkHQ earns from qualifying purchases. Prices and availability can change.
Run your own roof. The snow guard spacing calculator takes the design snow load, the pitch, the eave-to-ridge rafter length, the seam spacing and the device capacity, and returns the vector force, the tributary force on every attachment, the allowable capacity after your factor of safety, the rows required and the minimum tested ultimate strength to shop for.
7. The rail bowed between brackets but nothing came off
What you found: a continuous rail or fence visibly deflected between attachment points. Clamps fine, seams fine.
What that means: the attachments were adequate and the spanning member was not. Continuous systems have two capacities: the holding capacity of each attachment and the bending capacity of the rail between them. The vector force calculation sizes the first. The second is a beam problem on the rail’s own published span table.
What to do: compare the installed bracket spacing against the manufacturer’s span table at your load per lineal foot of eave — which is the figure the calculator prints precisely because rail capacities are quoted that way. A bowed rail is a warning shot; it is still holding, and it does not have to be next winter.
8. Nothing failed, but the roof structure is complaining
What you found: deflection, cracked finishes, a purlin line showing, a door that sticks in February. The retention system is immaculate.
What that means: the retention system worked and nobody told the structure. The code says it directly: where snow guards are fitted, “the sloping roof with snow guards shall be designed for the unit snow loads required for a flat roof.” Holding snow removes the assumption that it leaves, and with it the slope reduction the original design took.
What to do: stop, and get this in front of a structural engineer rather than adjusting the roof. On a retrofit this is the single most consequential thing retention does, and it is invisible until a heavy winter. It is also the honest reason some roofs should not get snow guards at all.
9. An ice dam formed behind the retained bank
What you found: ice building above the first row, water backing up, sometimes interior staining.
What that means: a retained bank sits on the roof for longer, and if there is heat loss through the assembly it melts from underneath and refreezes at the cold eave. Retention does not cause ice dams, but it removes the mechanism — snow leaving — that was masking an insulation or ventilation defect.
What to do: treat it as a thermal problem, not a retention one. Air sealing, insulation and ventilation are the fix; the eave membrane detail is the backstop. Our ice and water shield coverage calculator covers how far up the slope that membrane has to reach, and attic ventilation covers the other half.
10. The gutter is torn off and the guards are fine
What you found: a gutter peeled away from the fascia. Retention intact.
What that means: most likely the first row was set too low, so snow packed into the gutter instead of shedding clear of it, and the bank took the gutter with it when it finally moved. This is the exact failure the prescriptive guideline is protecting against when it says to “start first horizontal row 24” – 36” from eaves” because that “allows the first 2 – 3 feet of snow to shed off roof, preventing snow accumulation at the eaves.”
What to do: measure where the first row actually is. If it is within a foot of the eave, that is the finding. Re-establish the setback on reinstallation.
11. A correctly sized system still failed
What you found: you have the test report, the arithmetic is right, the factor of safety is 2.0, and it came off anyway.
What that means: look below the attachment. The calculation sizes the demand on the device; it says nothing about the clip, the purlin, the deck or the frame, which is precisely why the code hands that to a registered design professional who “shall insure that there are adequate load paths from the snow guards into the supporting members and from the supporting members into the primary structure.”
Three other candidates in this situation: the actual winter exceeded the design snow load, which is what the factor of safety exists for and is not an infinite buffer; impact rather than static load, which the code names separately as something the design “shall account for”; and installation — setscrew torque on a clamp is a specified value, and a clamp torqued by feel has an unknown capacity.
What to do: document the load path link by link and check each against something published. The weakest link decides, and if you have not identified which one it was, the replacement will fail the same way.
Four things that look like a retention failure and are not
- Wind damage. Uplift and lateral wind load on a fence-style system are not in the vector force calculation at all. A rail twisted upward, or damage out of snow season, points at wind.
- Galvanic corrosion. Aluminium hardware on a steel panel, or copper against either, degrades the attachment over years and then it fails on an ordinary day. IIBEC lists “verifying metals’ compatibility, matching corrosion resistance of the device with that of the panel materials” as a design consideration for exactly this reason.
- Thermal cycling at a pinned point. Covered in case 4 — daily movement, not seasonal load, and it is the most commonly misattributed cause on screw-down systems.
- Snow that slid from a roof above. If a higher roof discharged onto this one, the impact load is a different calculation entirely — the one the code sends to ASCE 7 Section 7.9 — and no eave retention system was sized for it.
A four-step procedure that settles most of these
- Calculate the demand before you inspect anything. Design snow load, measured pitch, measured rafter length, measured panel cover width. If the demand exceeds what the installed system can hold, you are done — everything else is a symptom.
- Get the test report and check the profile it was run on. Gauge and seam type included. A capacity from a different profile is not a lower capacity, it is an unknown one.
- Check which link shows damage. Device, attachment, seam, panel, clip, structure. Photograph it before anything is removed, because the evidence goes in the skip.
- Check the three layout facts: distance of the first row from the eave, row spacing and stagger, and whether the protected run has an unprotected edge next to it.
If all four come back clean, the remaining candidates are a winter that beat the design load, an impact event, an installation torque problem, or a load path below the attachment that nobody checked. All four of those belong with the registered design professional, not with a bigger clamp.