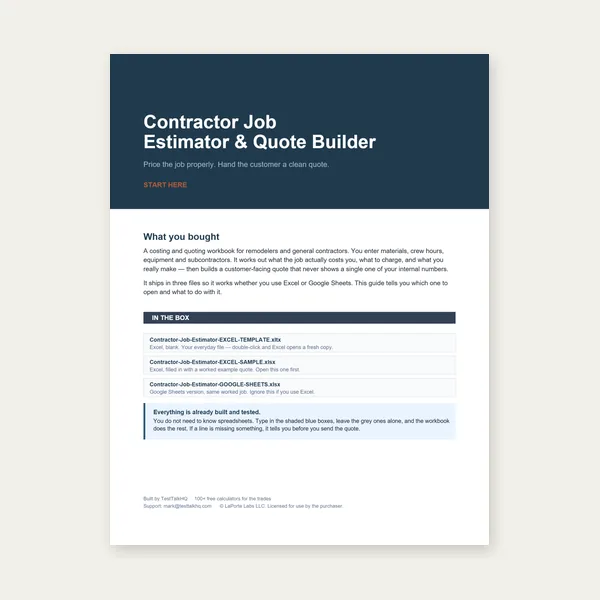
Contractor Job Estimator
Price remodels and GC work, then send a quote with no internal numbers.
Excel or Google Sheets. Best on a computer.
$29.00
BuyPick the filler-metal estimating approach that matches your job geometry — not the one that is merely fastest on paper.
Volume-based estimates win on complex grooves. Length × lbs/ft charts win on repetitive fillets. Pure weight rules win when you already know deposited pounds. Run numbers with the Electrode & Wire Consumption Calculator and Filler Metal Weight Calculator after you choose the method.
| Method | Best for | Strength | Weakness |
|---|---|---|---|
| Weld volume | Grooves, multi-pass, uneven gaps | Most accurate geometry → metal | Slower; needs joint dims / passes |
| Length × chart (lbs/ft) | Repetitive fillets, production rails | Fast takeoffs from linear footage | Fails when bead size ≠ chart size |
| Weight-first | Known deposited lb targets, deposition planning | Ties directly to spool buys & lbs/hr | Does not invent weld size for you |
All three still need deposition efficiency and a waste factor. Method choice is about how you get to theoretical weld metal — not a license to skip stub loss or spatter.
Compute cross-section area × length (fillet triangle, groove polygons, multi-pass stacks), convert to weight with density, then divide by efficiency. This is what the consumption calculator and filler-weight guide do under the hood.
Choose volume when: V-grooves, bevels, multi-pass butts, open roots, or any joint where the drawing size is not a simple equal-leg fillet. Skip volume when: you are quoting 2,000 identical 3/16" fillets and a calibrated lbs/ft chart already matches your shop beads.
Measure weld length, multiply by a known pounds-per-foot for that fillet (or butt) size, then apply efficiency/waste. Speed is the point — estimators can take off hundreds of feet quickly.
Choose length charts when: structural rails, frames, and shop standards with fixed leg sizes. Danger: chart assumes the bead you actually weld. If fitters leave gaps and welders overbuild to 5/16" on a 1/4" callout, length × chart underbids every time.
Start from required deposited pounds (from a prior job, deposition target, or customer spec), then buy wire/rods with efficiency and waste. Pairs with deposition rate planning for schedule.
Choose weight-first when: repeating a known part family, or converting a deposition-rate schedule into spool counts. Do not use it as a substitute for measuring a new groove geometry you have never welded.
If estimates keep failing after the method is right, diagnose with Electrode & Wire Consumption Troubleshooting — efficiency, waste, and pass count are usually the remaining villains.
Price remodels and GC work, then send a quote with no internal numbers.
Excel or Google Sheets. Best on a computer.
$29.00
BuyCheckout opens in a new tab.
Weigh leftovers against the method you chose — CSV Welding Consumables picks
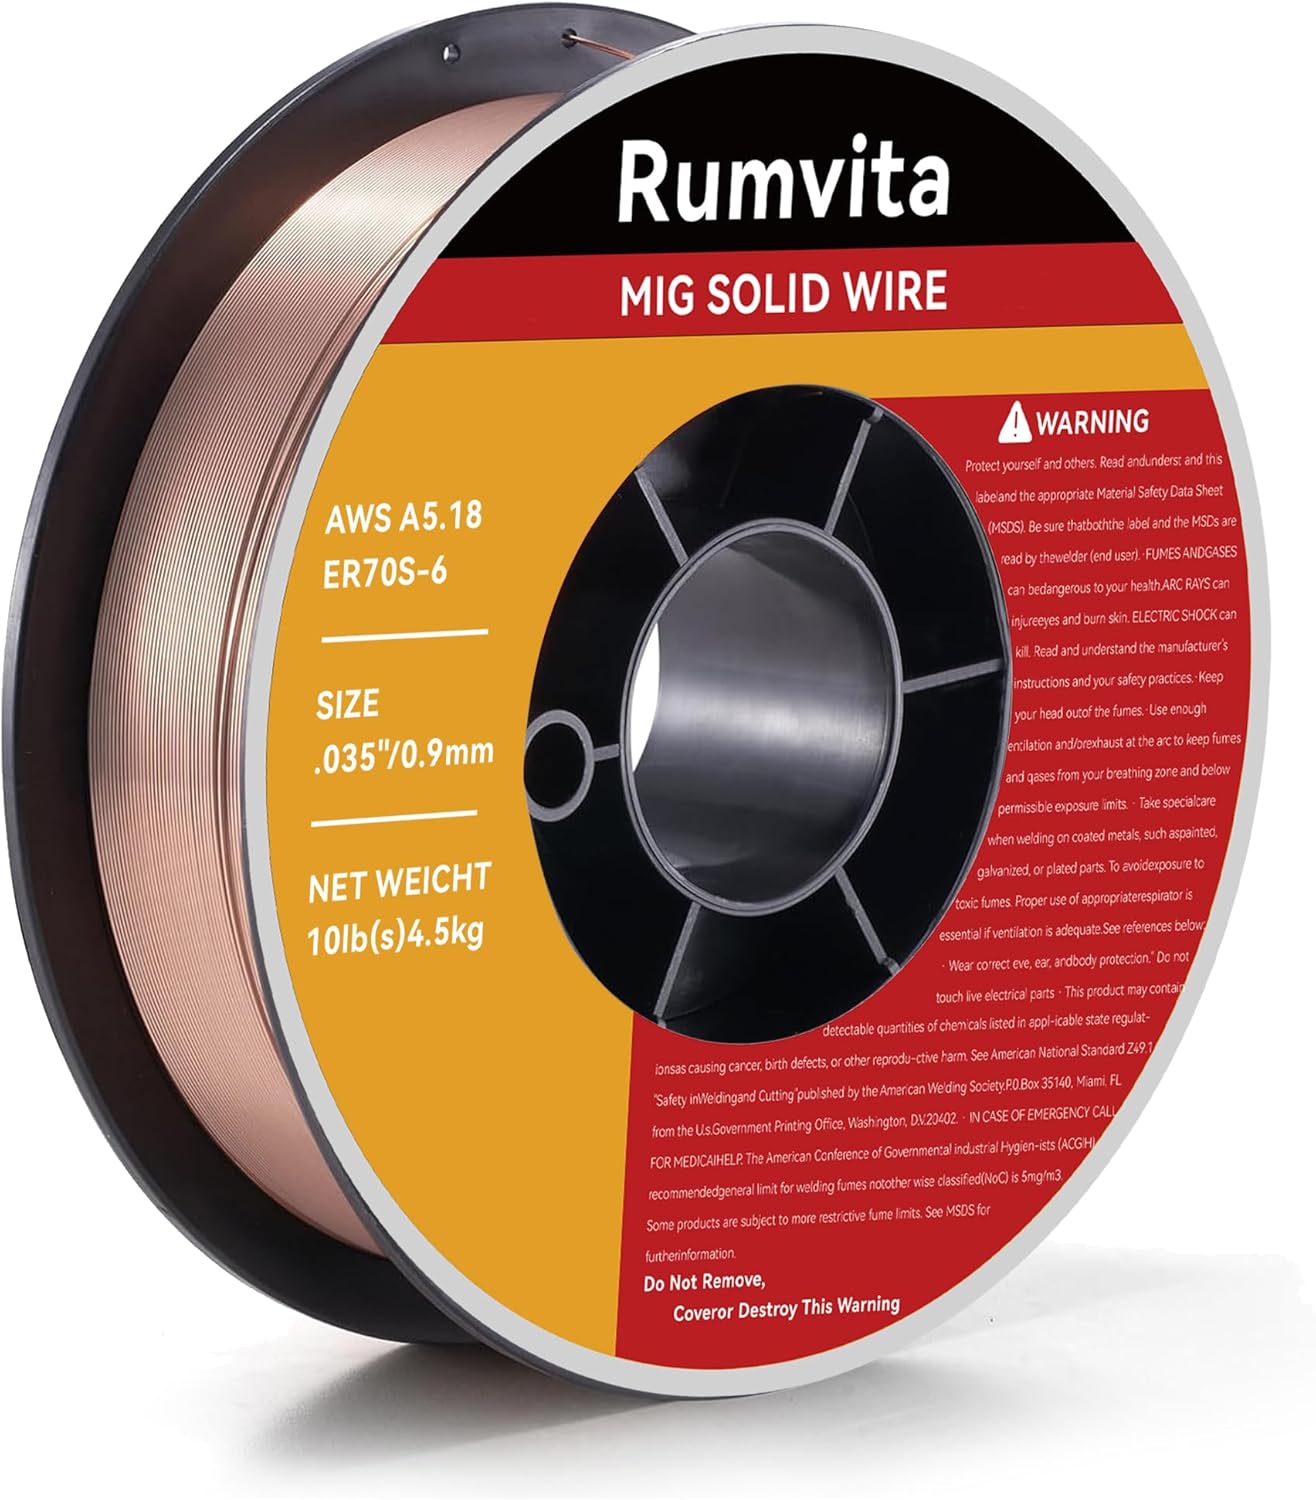
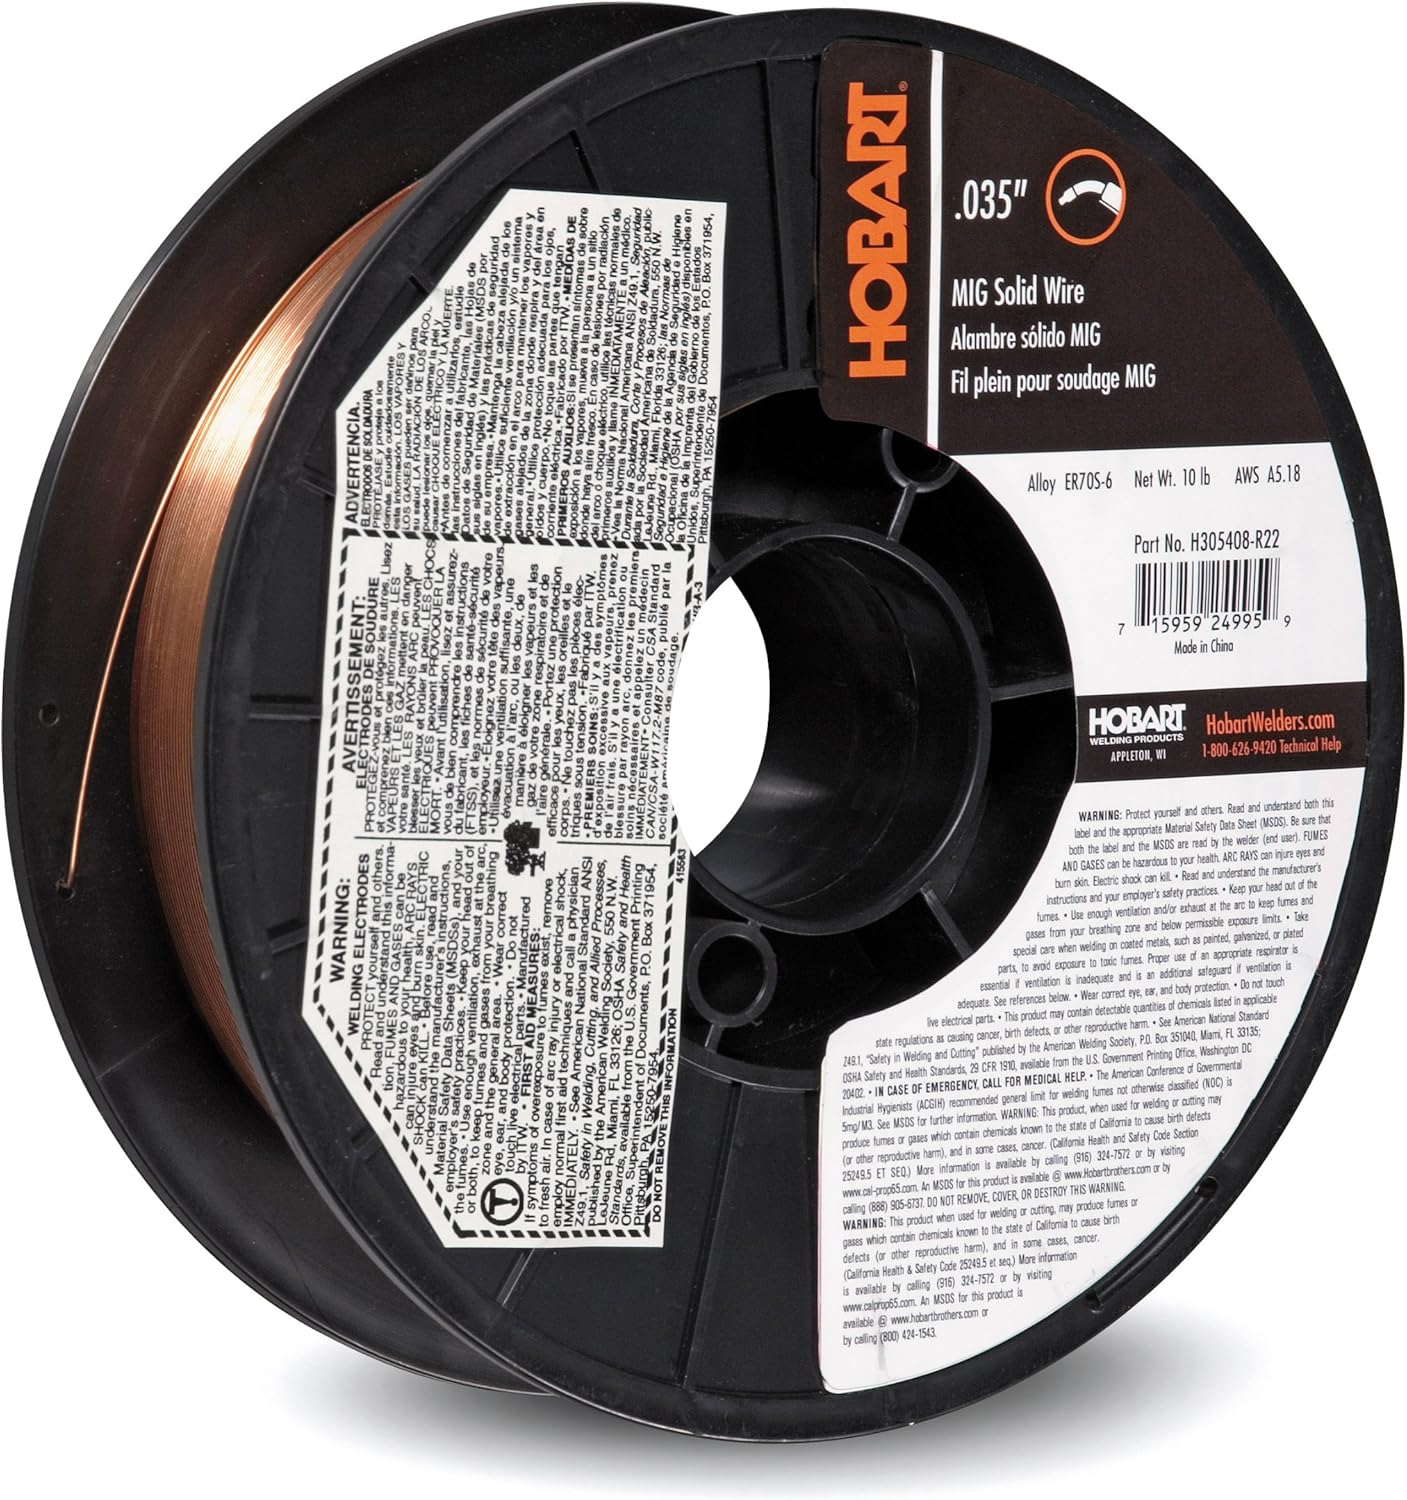
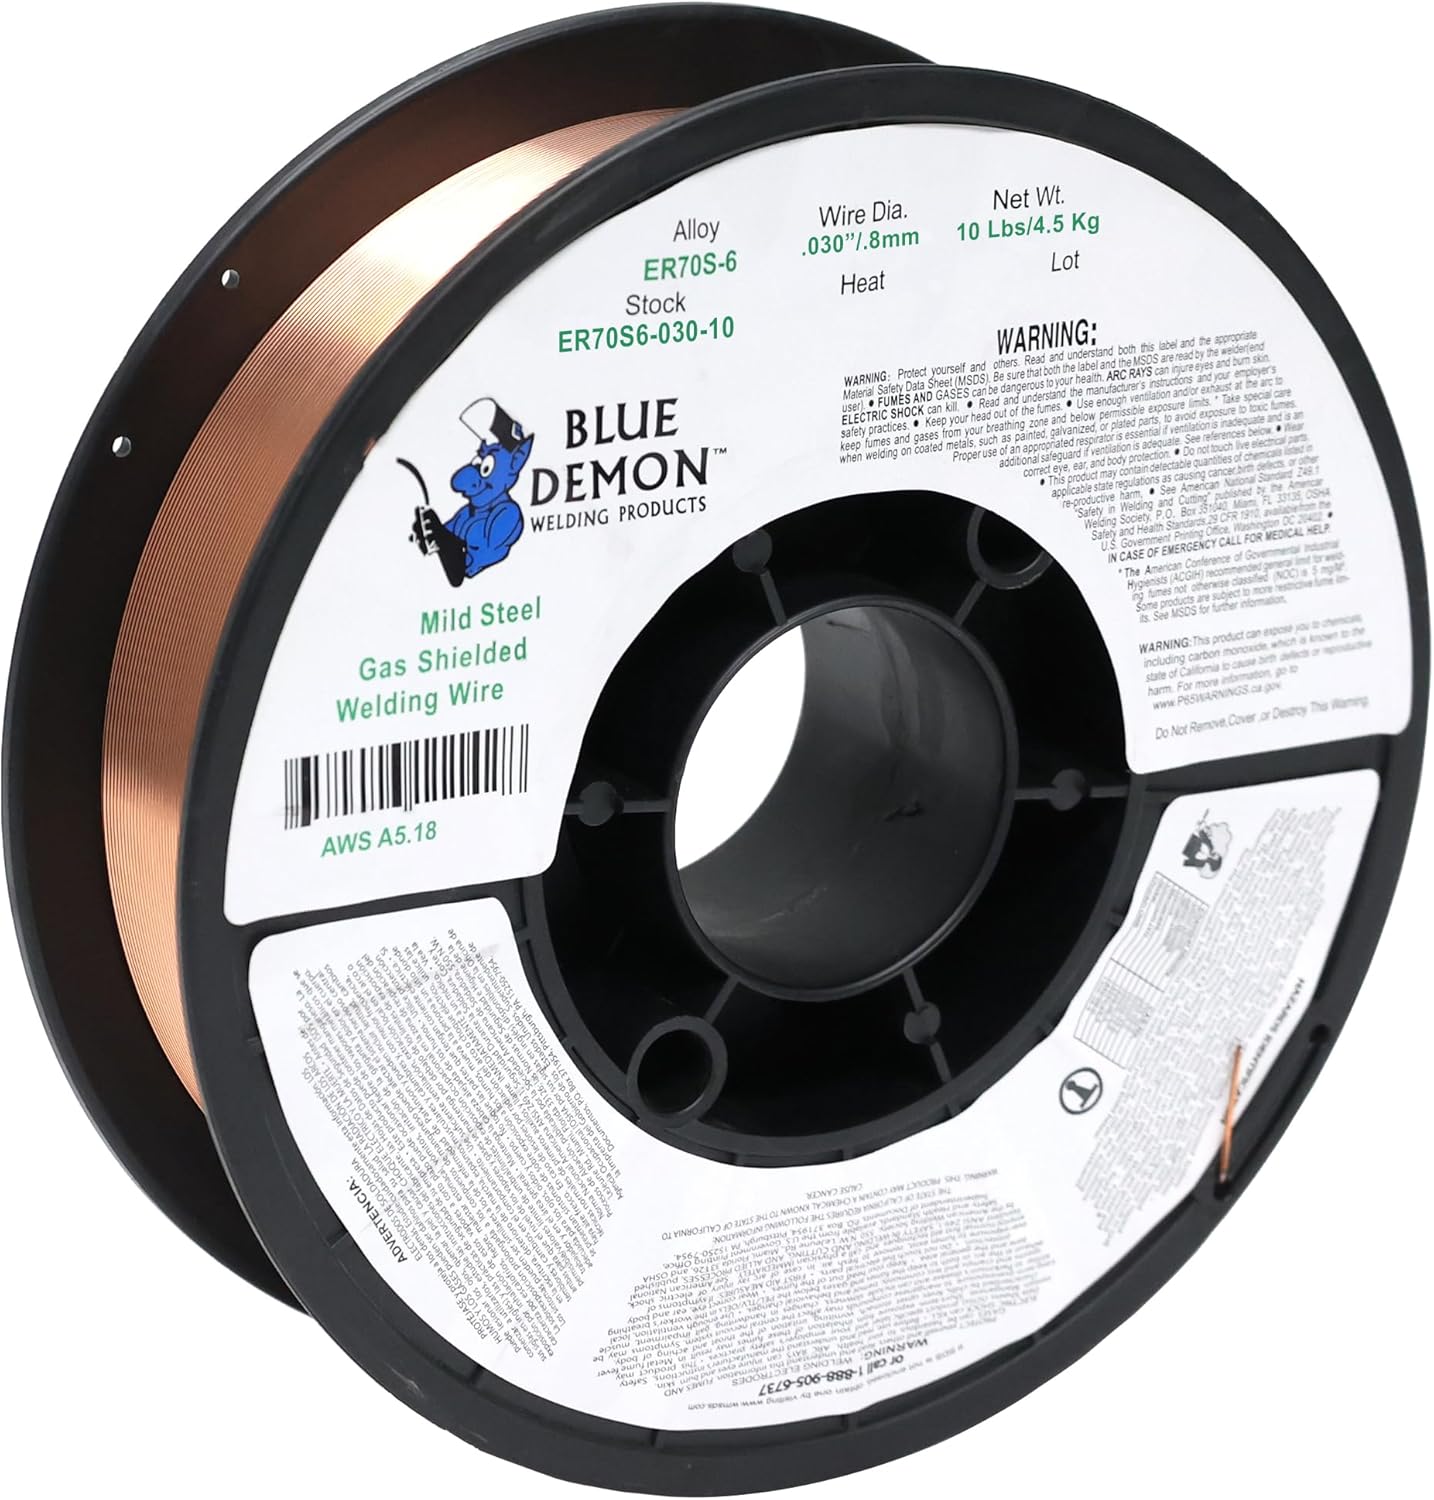
As an Amazon Associate, TestTalkHQ earns from qualifying purchases.