Contractor Job Estimator
Price remodels and GC work, then send a quote with no internal numbers.
Excel or Google Sheets. Best on a computer.
$29.00
BuyLock seam · weld · rivet · solder — why one default doesn’t work
Typical seam allowance ranges for lock seams, welding, riveting, and soldering — and why the flat-pattern generator cannot assume one for you.

There isn’t a clean pairwise “method A vs method B” decision tree that covers every shop. Seam allowance varies by joint type, gauge, and tooling enough that no single default belongs in the flat-pattern tool. Use the ranges below as starting points, then match your shop standard.
Back to the Flat-Pattern Generator →A Pittsburgh lock, a butt weld, a riveted lap, and a soldered seam do not share one overlap. Baking any single value into the PDF would silently wrong-size blanks for everyone else. The pattern is the finished developed surface; you add stock for the join you actually intend to make.
Typical added stock is on the order of ~1/4 in to 1/2 in (6–13 mm) total across the seam edges, depending on pocket depth and machine setup — often split between male/female edges per the lock style. Follow your lock former’s chart for the exact pocket and flange. Thin HVAC gauges lean toward the lower end; heavier duct can need more.
True butt welds may need little or no extra width if edges meet cleanly — but many shops leave a small trim margin (~1/16–1/8 in / 1.5–3 mm) for fit-up. Lap welds need a defined lap width (often ~1/2 in / 12 mm or more on light sheet). Don’t confuse weld gap with pattern development — add lap stock after the developed outline is correct.
Riveted seams usually need a lap wide enough for the rivet line plus edge distance — commonly ~1/2 in to 1 in (12–25 mm) of lap depending on rivet diameter and pitch. Punch or drill after the lap is marked; the flat-pattern tool does not place fastener holes.
Soldered sheet-metal seams (common on lighter gauges and some HVAC/copper work) typically use a modest lap — often ~1/4 in to 3/8 in (6–10 mm) — so capillary action can fill the joint. Cleanliness and flux matter more than a precise tenths-of-an-inch allowance, but you still must add the lap before cutting.
Print and verify the reference square first. Trace or cut the finished outline, then add a parallel strip outside the seam edges for your chosen method. For multi-page taped patterns, add allowance on the assembled blank so tape joints don’t steal lap width. If you already cut short, see troubleshooting.
Mode walkthrough: Cone / Transition Flat-Pattern Guide. Same print discipline for pipe copes: Tube Notch Guide. Gauge and bend planning: Sheet Metal Gauge Chart and Sheet Metal Bending Guide.
Price remodels and GC work, then send a quote with no internal numbers.
Excel or Google Sheets. Best on a computer.
$29.00
BuyCheckout opens in a new tab.
Cut the developed pattern, then form and join — products from the TestTalkHQ affiliate catalog
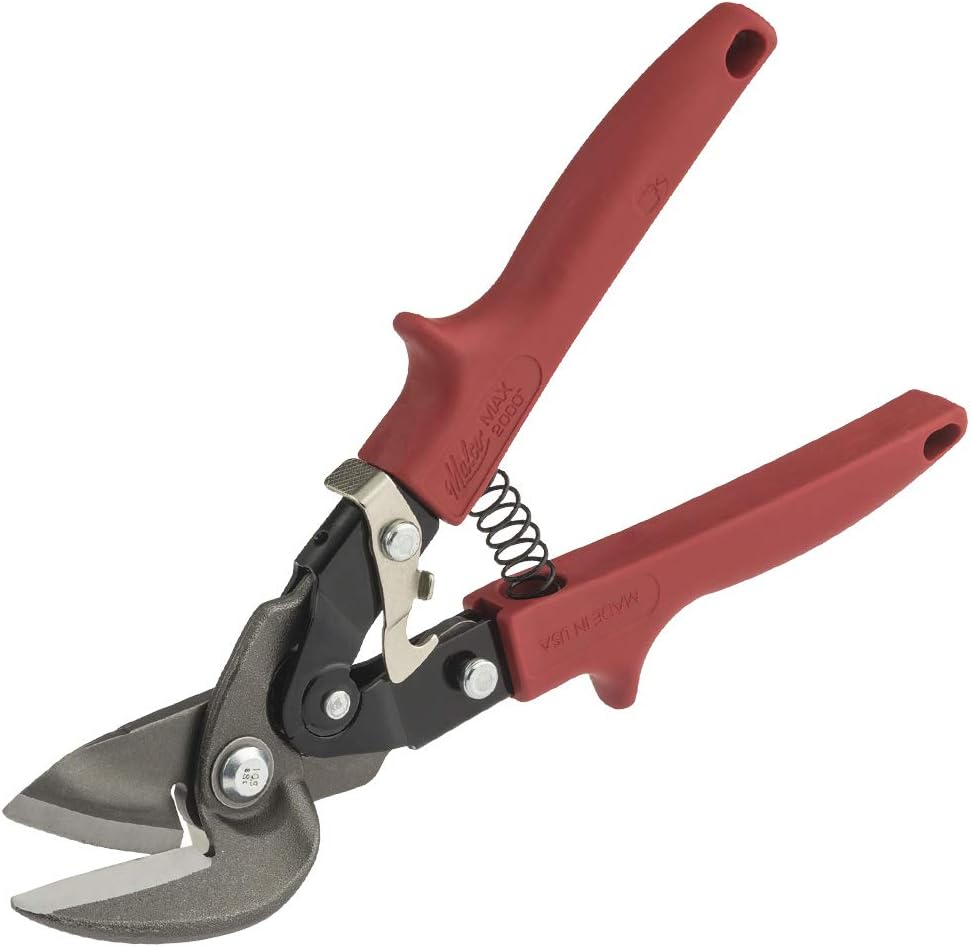
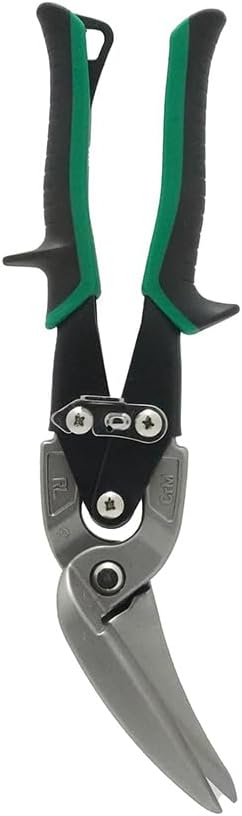
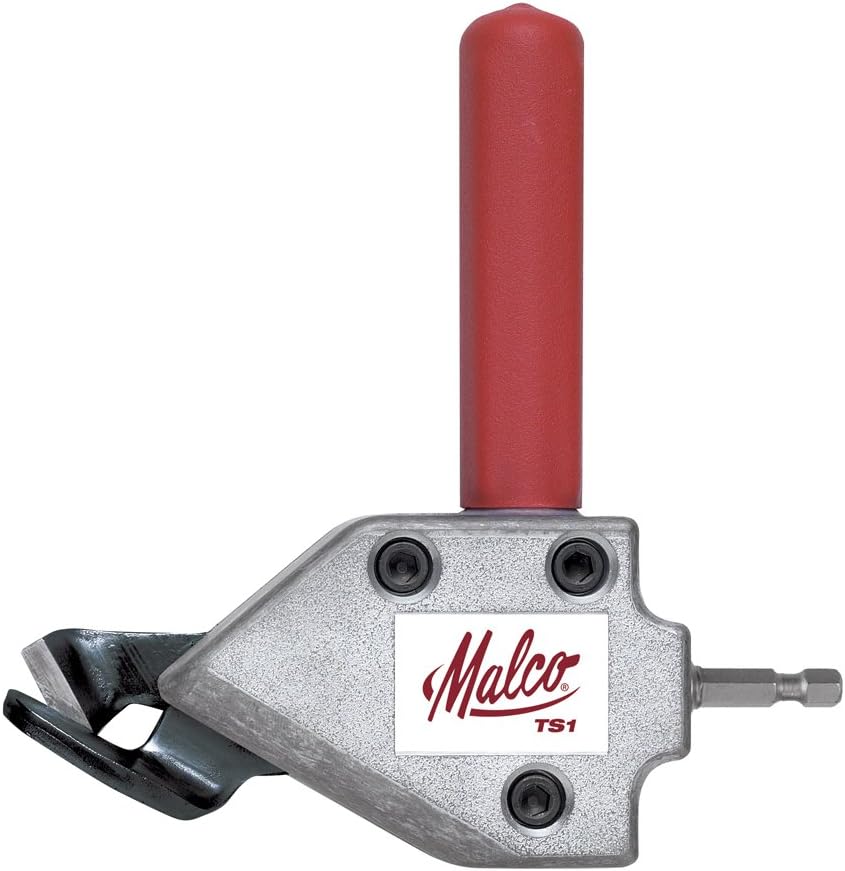
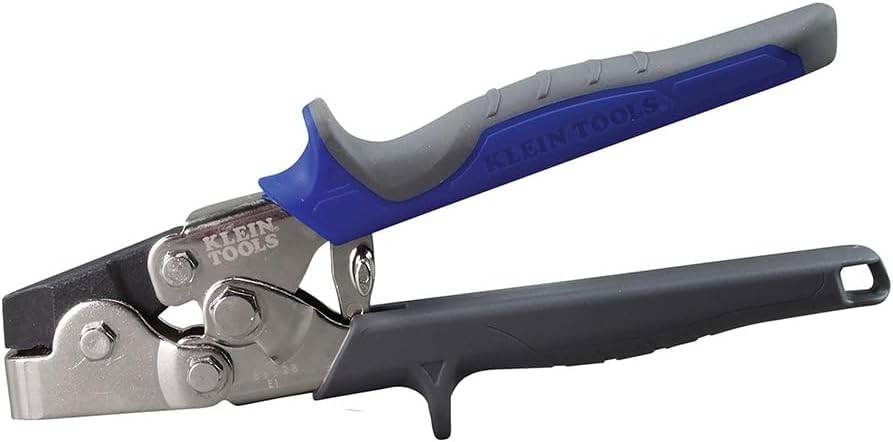
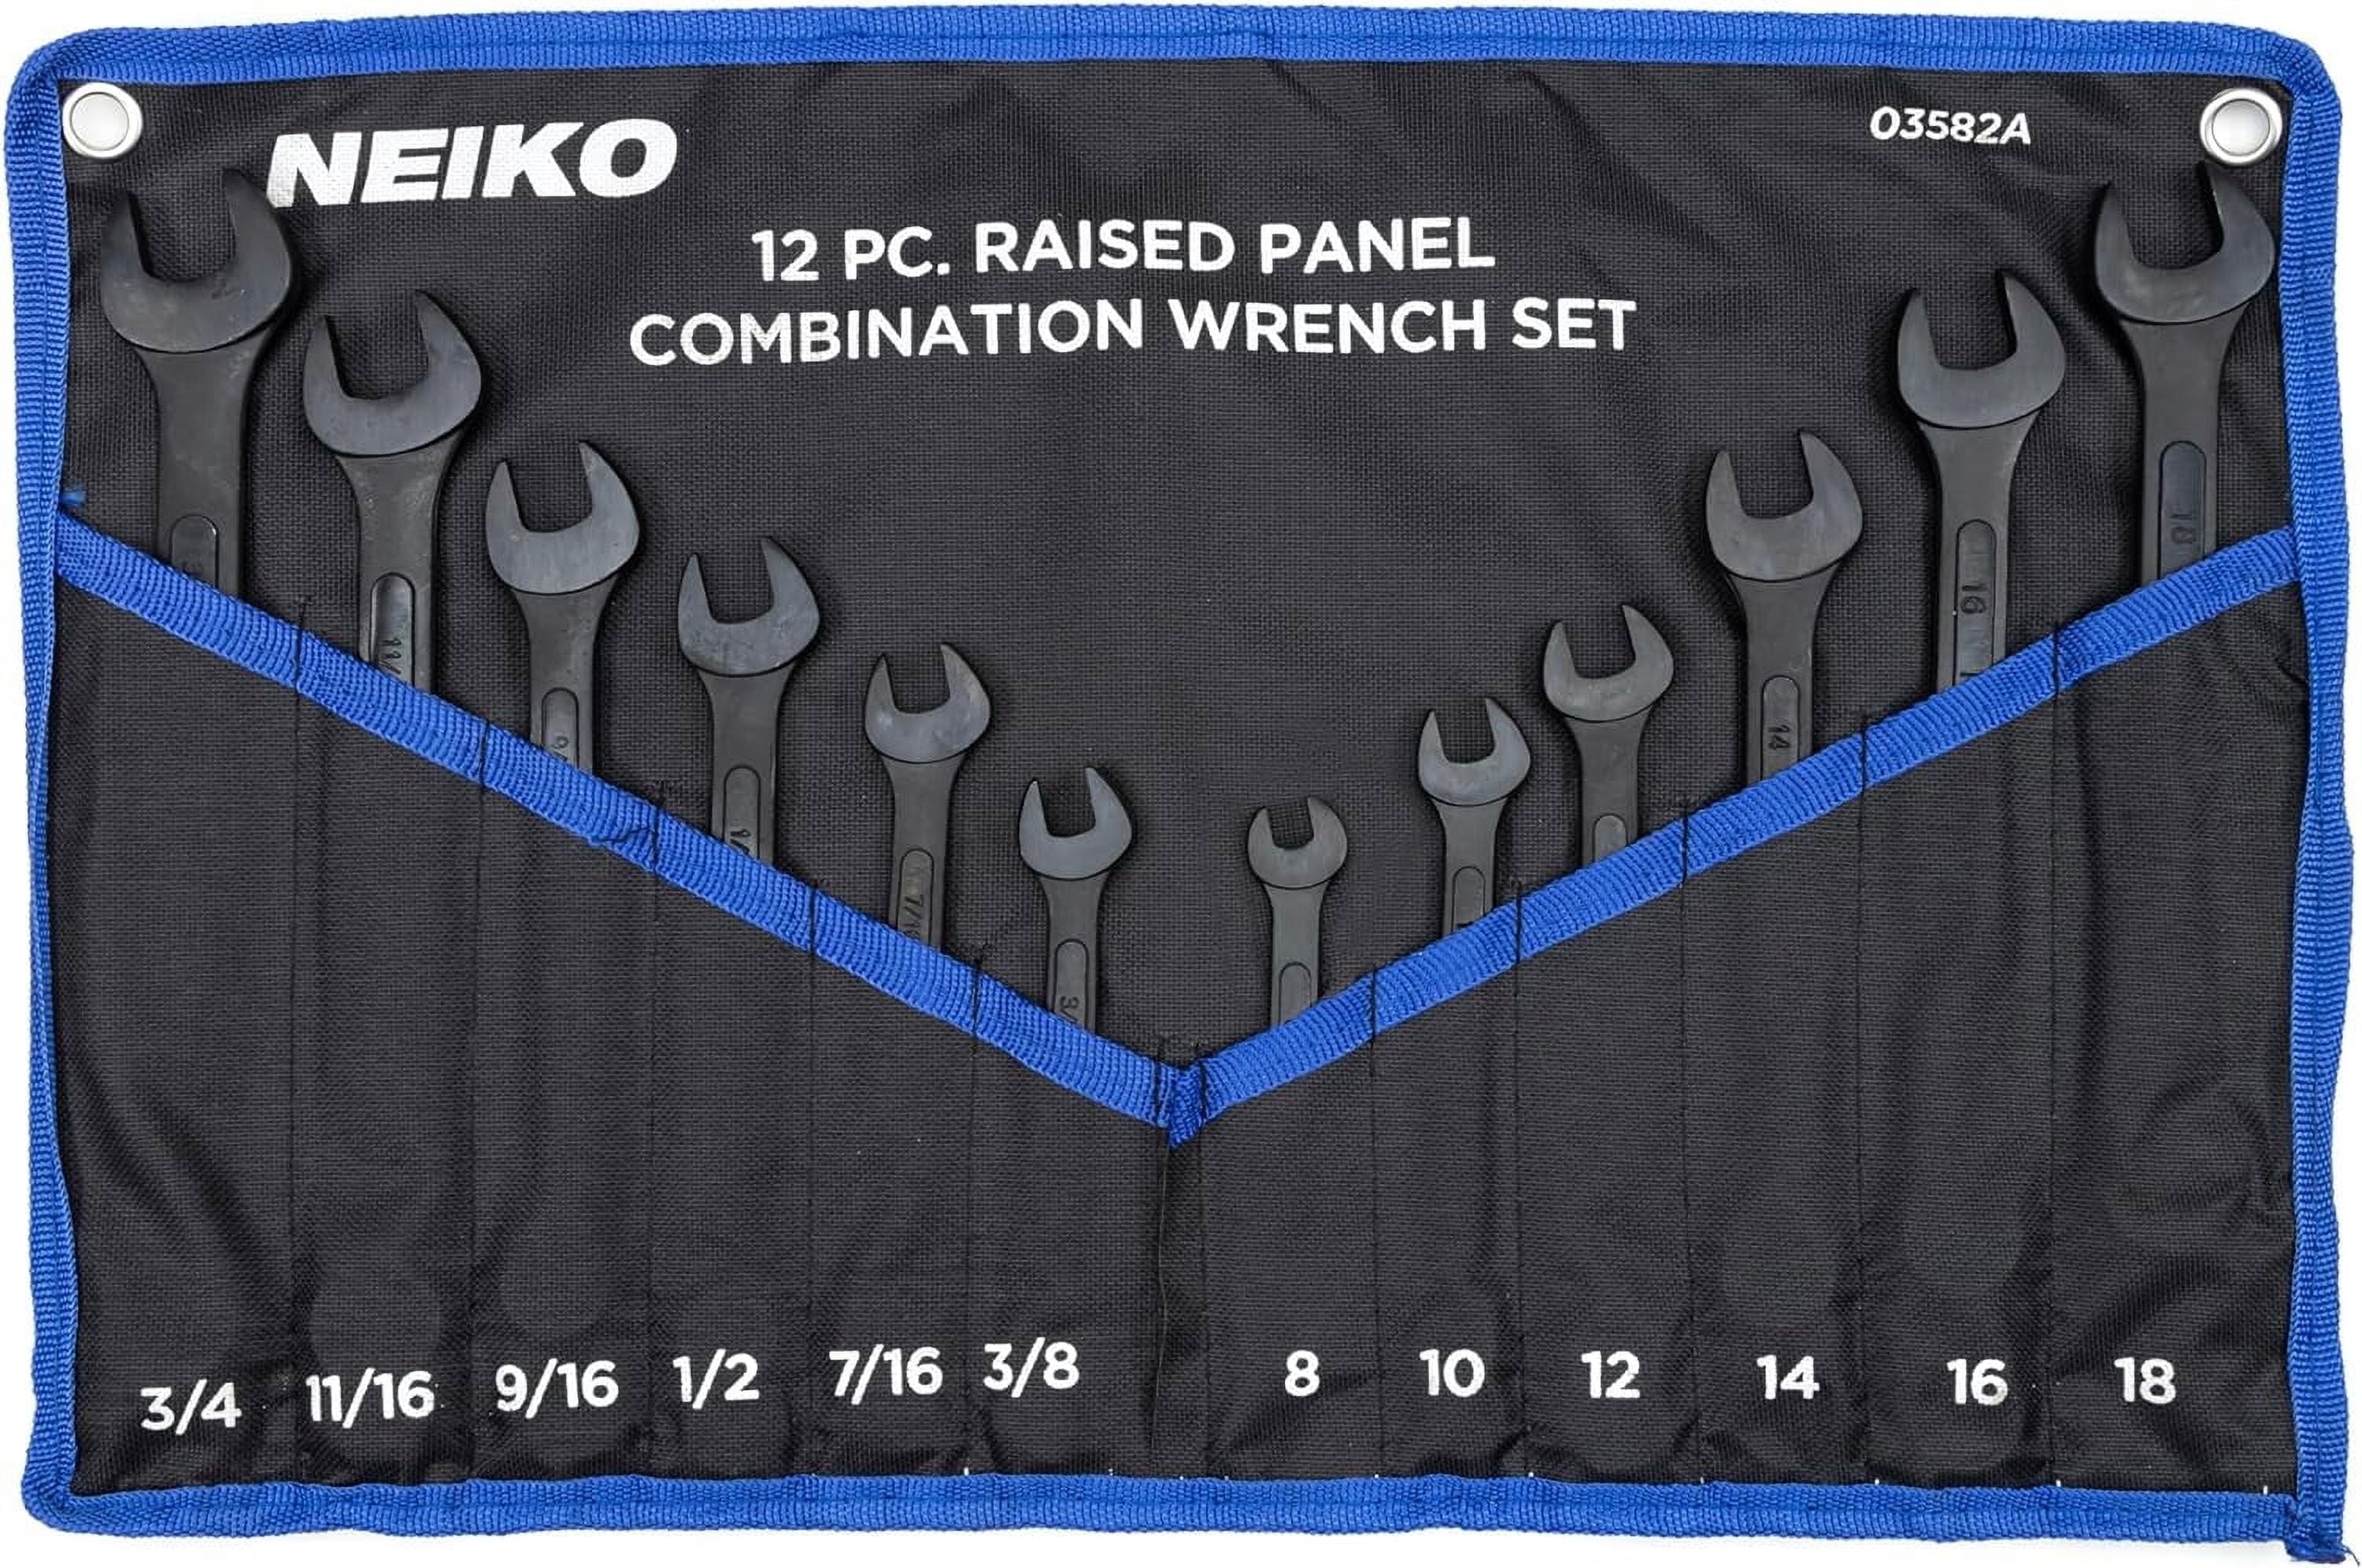
As an Amazon Associate, TestTalkHQ earns from qualifying purchases.