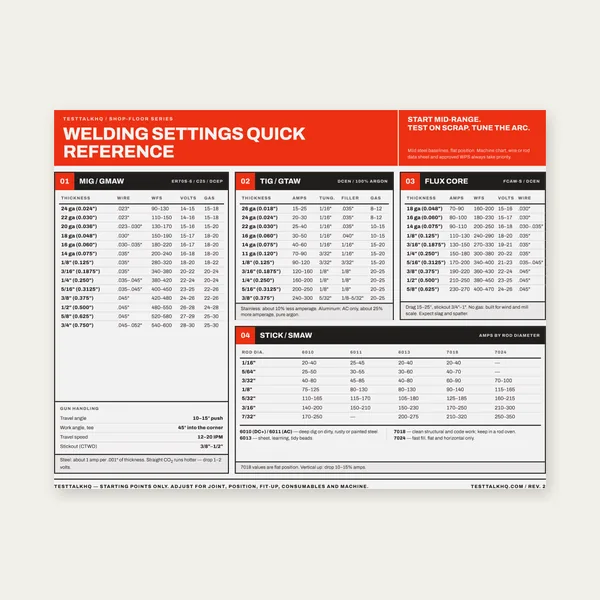
Welding Reference Card
One page. MIG, TIG, stick and flux core settings by thickness.
$3.99
BuyMeasure OD, print at 100%, verify the square, wrap, trace, cut, and test-fit
A practical walkthrough for the Tube Notch Template Generator Calculator — from accurate OD measurement through print-scale verification, wrap-and-trace, and pre-weld fit checks.

Enter OD, run OD, and joint angle, then download the PDF before you cut metal.
Tube Notch Template Generator →The template length is π × OD of the tube being cut. A 0.020" error in OD is over 1/16" around the wrap — enough to leave a gap or an overlap at the seam. Measure the actual tube with a caliper or micrometer, not the nominal size stamped on a stock list. Confirm both the branch (notched) and run diameters; the tool requires branch OD ≤ run OD.
90° is a T-joint. Lower angles (down to 30°) produce longer, more sensitive templates. Measure the angle on the actual fixture or layout with a digital angle gauge or protractor — do not guess from a drawing that has already been revised on the bench.
Download the PDF template (not the browser print dialog of the on-screen preview). In your PDF viewer or printer dialog, set scale to 100% / Actual size — never “Fit to page” or “Shrink to fit.” On page 1, measure the labeled 1 in or 50 mm square with a steel rule. If it is short or long, fix printer scaling before you cut the strip.
Large diameters tile across multiple landscape letter pages. Align the dashed overlap line, tape the pages into one continuous strip, then cut out the wrap.
Square the tube end roughly. Wrap the strip so the straight top edge sits at a constant circumferential line (use a square mark or wrap of masking tape as a datum). Tape the template, then trace the orange cut curve onto the tube. Remove the paper and grind or bandsaw to the line — leave a little for a final dress if the wall is thick.
Some free tools use a sine-wave approximation of cut-back depth. That shortcut only approaches the true saddle when the branch is much smaller than the run. For equal diameters at 90°, the correct notch depth equals the tube radius — a full fishmouth. The TestTalkHQ generator uses the closed-form cylinder–cylinder intersection for centered, coplanar axes, so angled joints and near-equal diameters stay accurate instead of drifting into a “good enough” sine curve.
Unrolled position s = a·θ; cut-back is measured down from the longest tip of the saddle. Wall thickness is reference-only on the print — the cut line is computed on the outer surface (thin-wall assumption).
Hold the joint in a fixture that keeps the axes centered and coplanar — the math assumes that. After tracing and cutting, dress the root for fusion access on thick wall, then tack opposite sides to pull the joint square. If a gap opens after tacking, stop and re-check fixture alignment rather than filling with weld.
For bend work on the same tube after notching, see the Tube Bending Calculator and Tube Bending Guide. If the template fails to wrap or the root stays open, use Tube Notch Troubleshooting.
One page. MIG, TIG, stick and flux core settings by thickness.
$3.99
Buy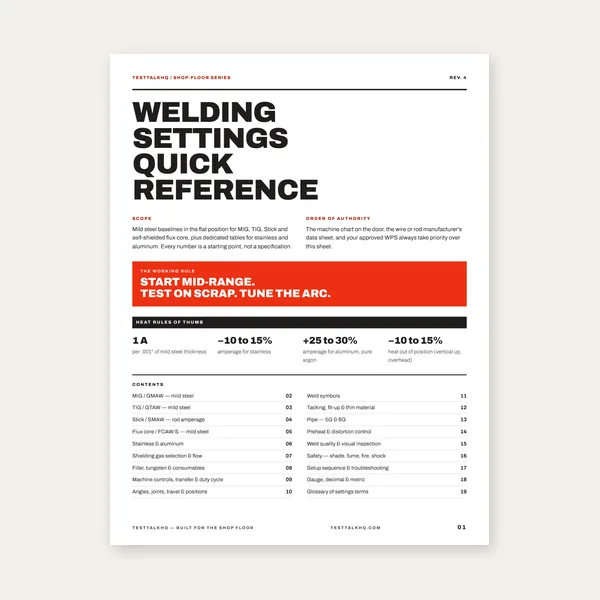
19 pages. Four processes, stainless and aluminum, symbols and inspection.
$12.99
Buy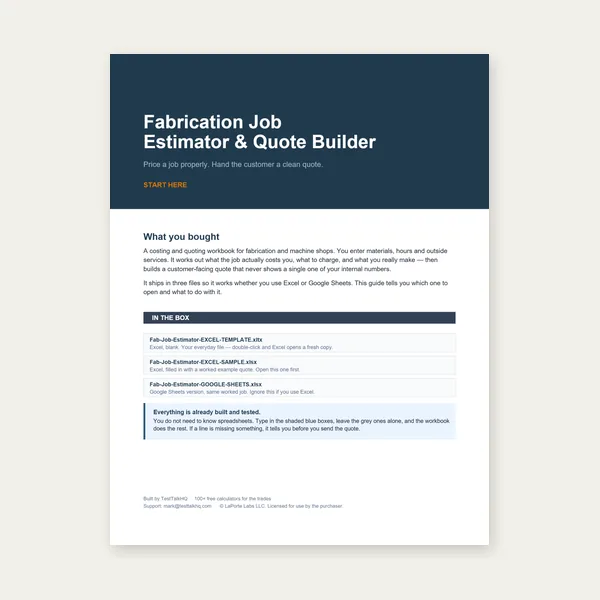
Price the job, then hand over a quote with no internal numbers.
Excel or Google Sheets. Best on a computer.
$29.00
Buy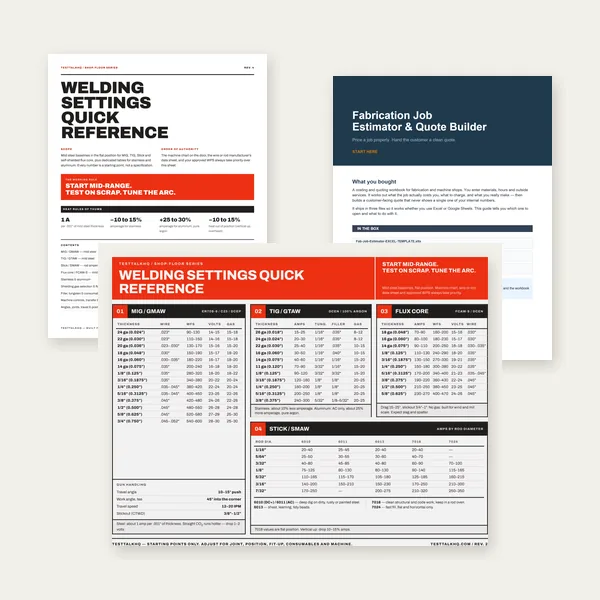
Card, 19-page guide and the estimator workbook. All six files.
Excel or Google Sheets. Best on a computer.
$34.99
$45.98 if bought separately — save $10.99
BuyCheckout opens in a new tab.
Measure OD and joint angle accurately, then grind or cut the cope — products from the TestTalkHQ affiliate catalog
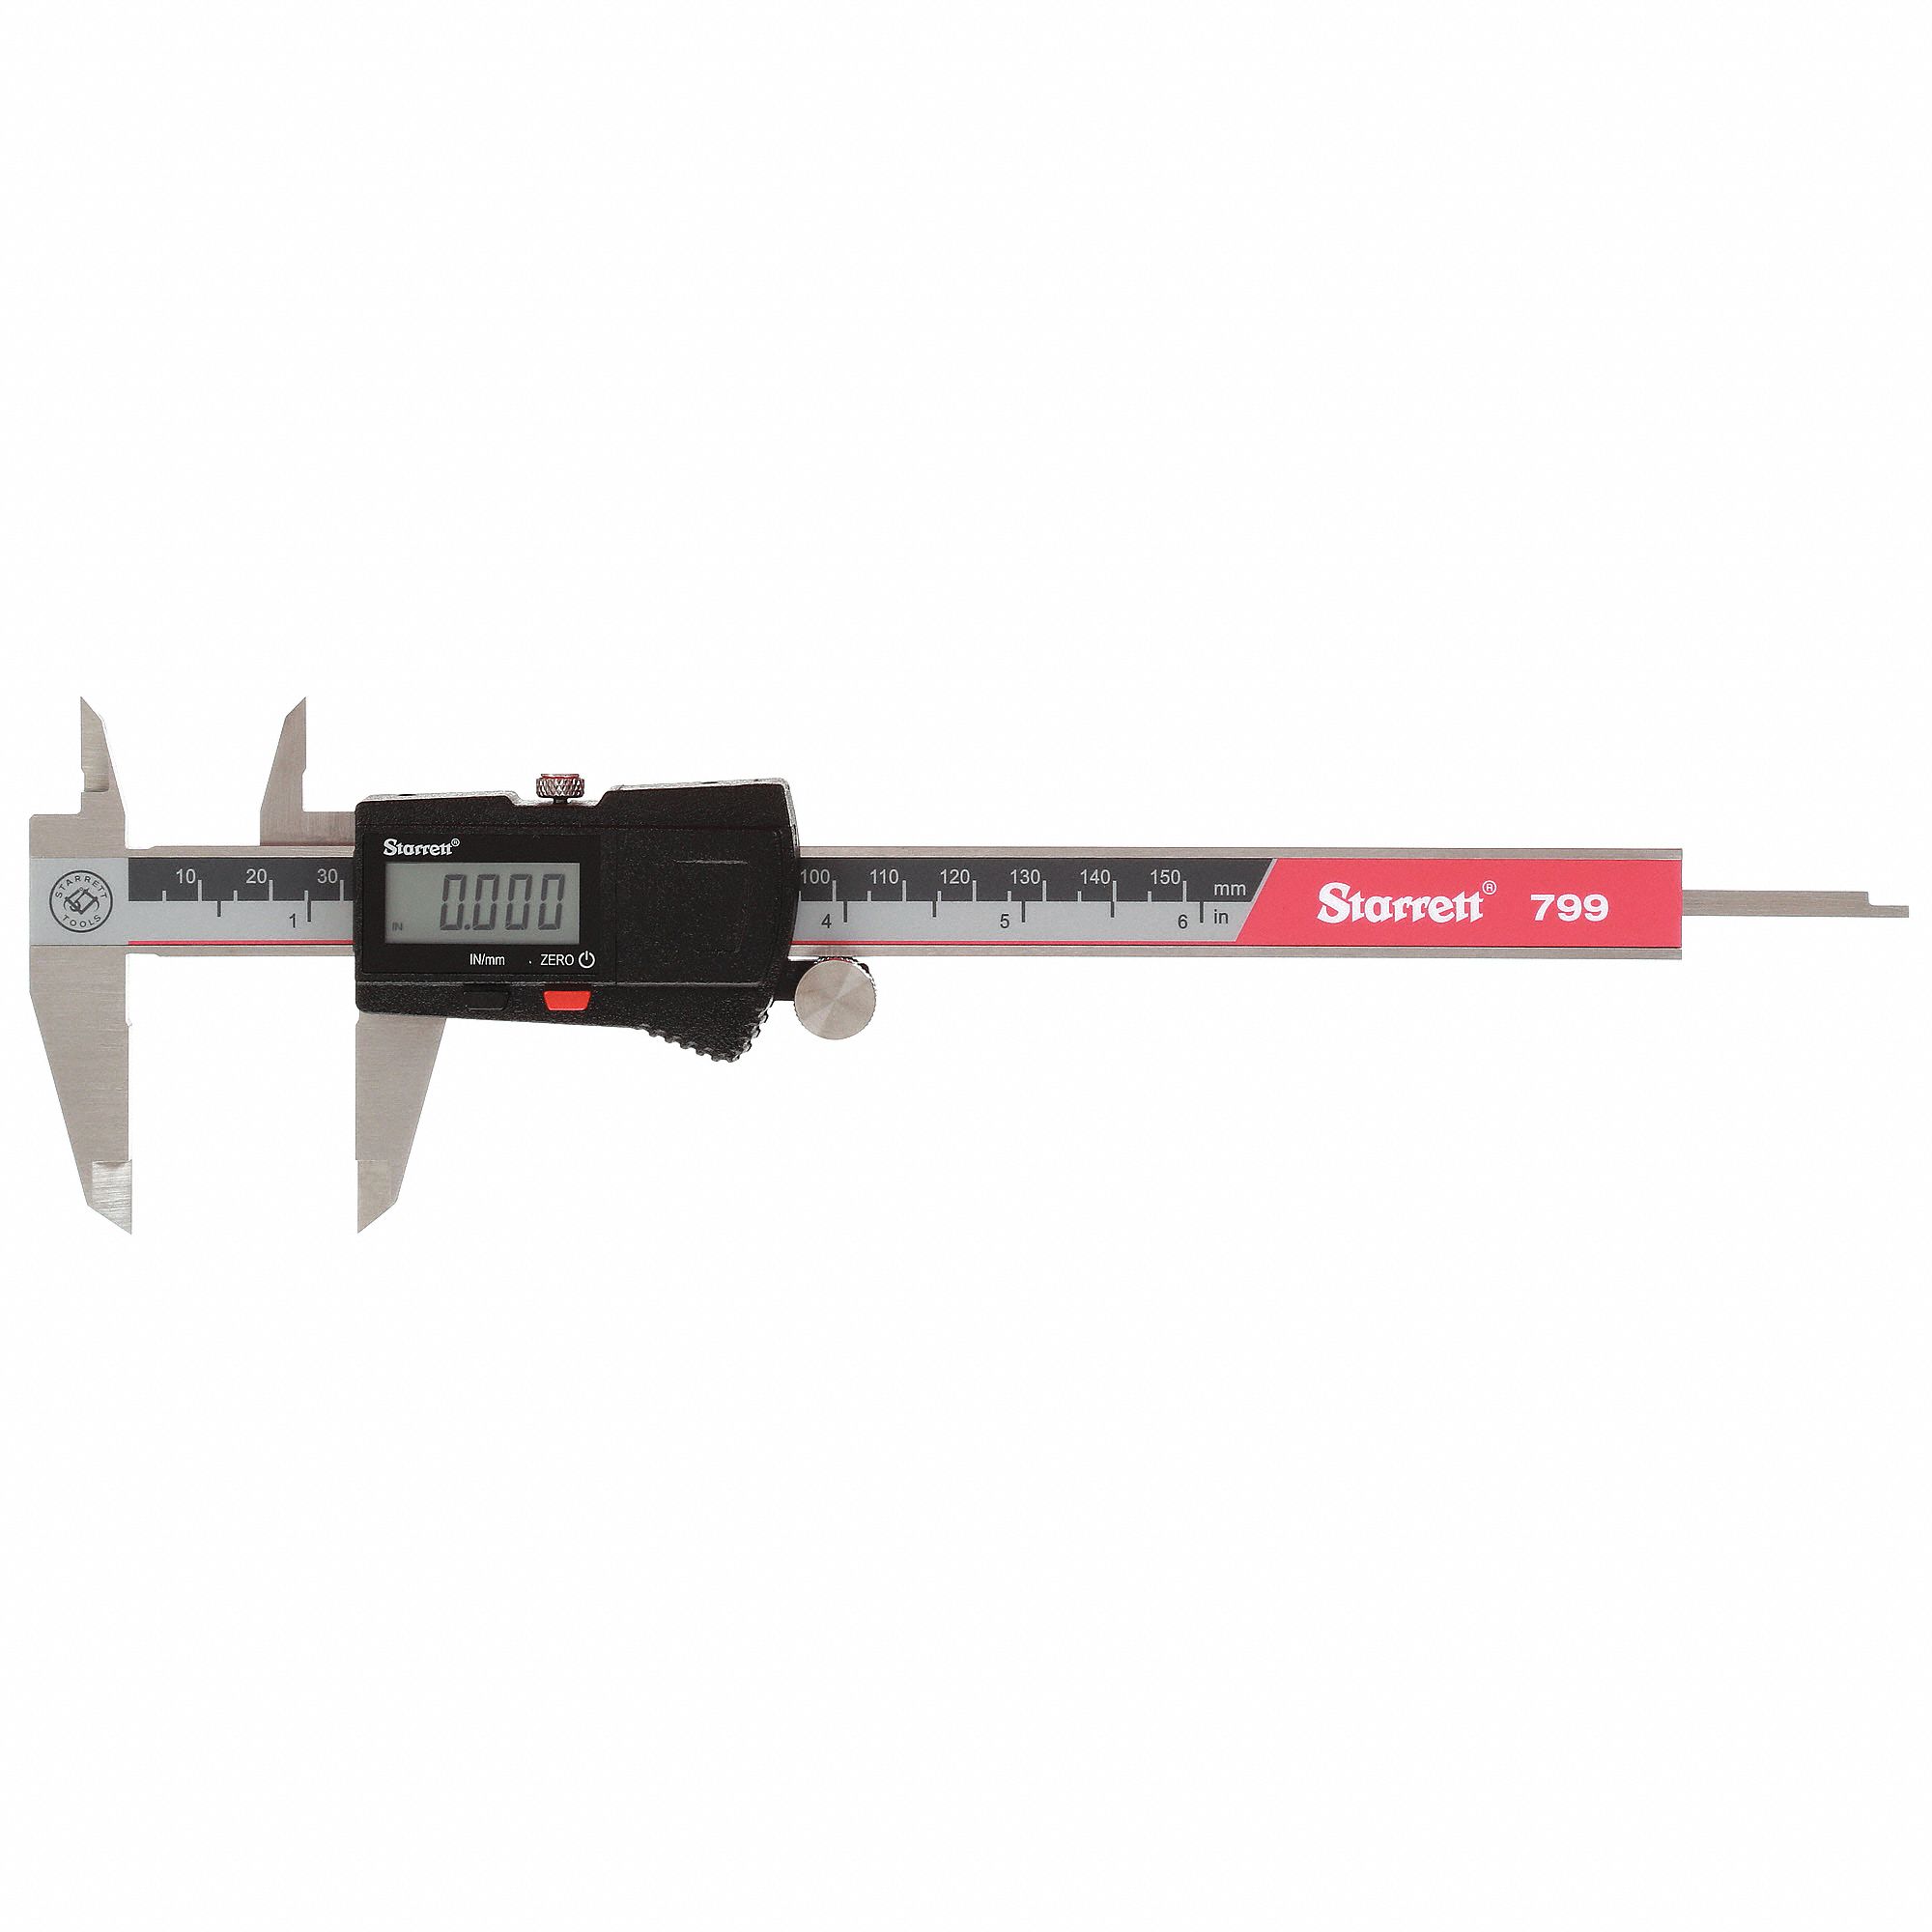
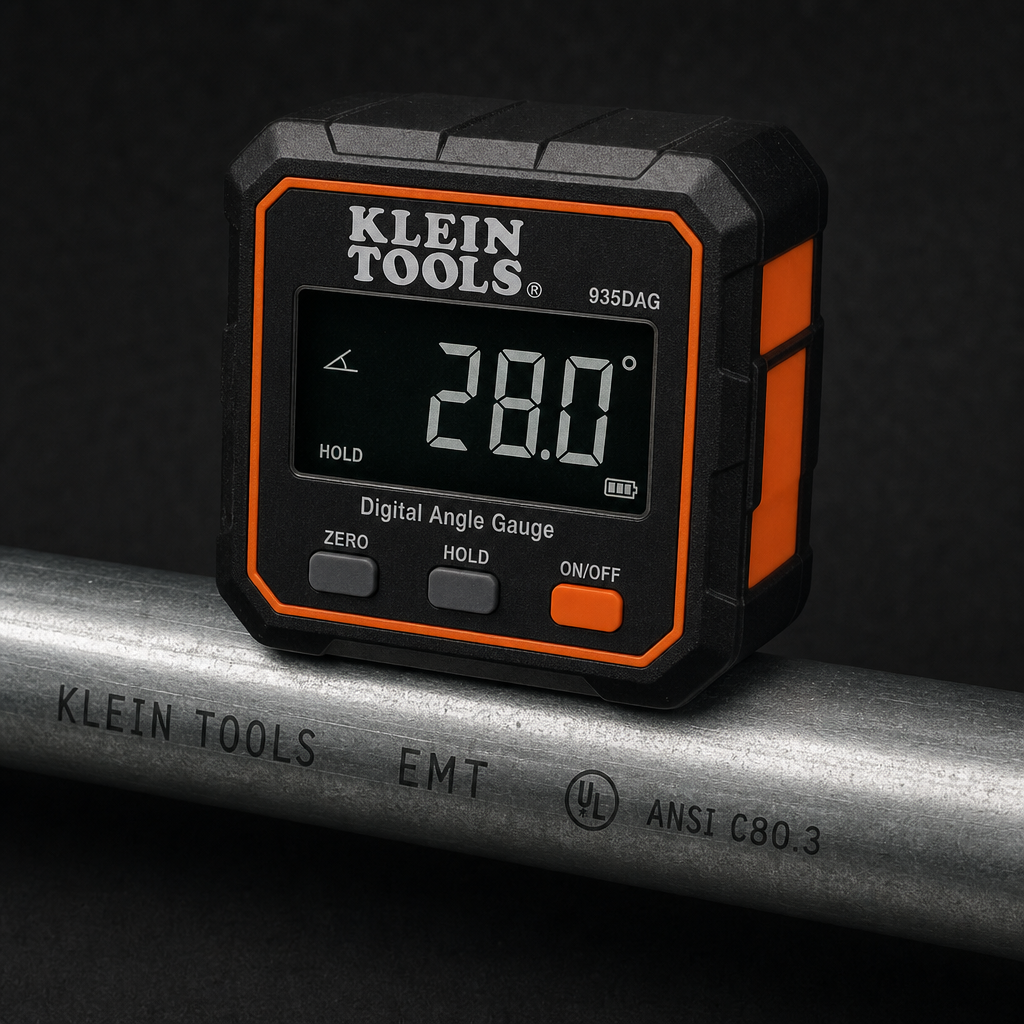
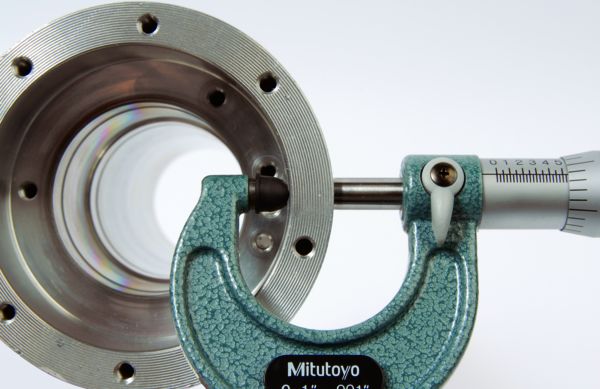
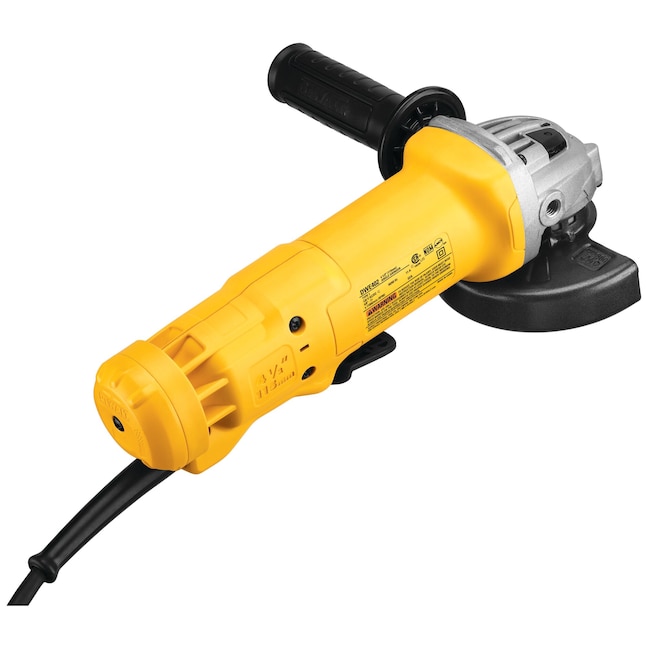
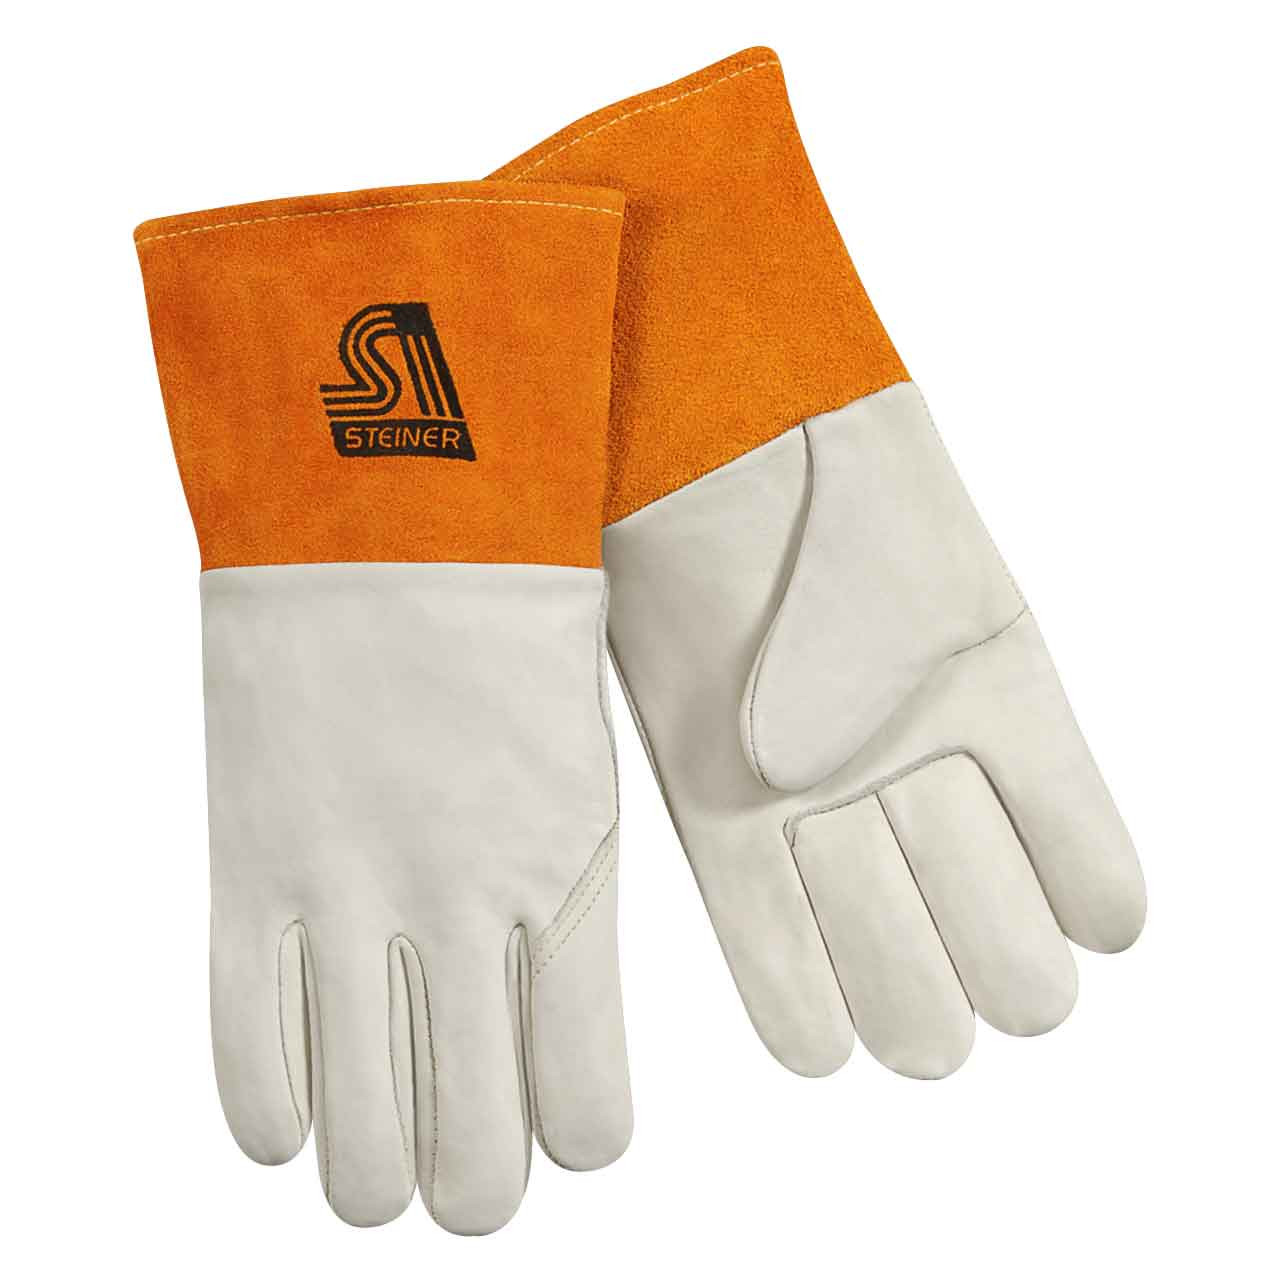
As an Amazon Associate, TestTalkHQ earns from qualifying purchases. Catalog gap: no dedicated tube notcher or tube fixturing/jig products in the affiliate CSV at publish time.