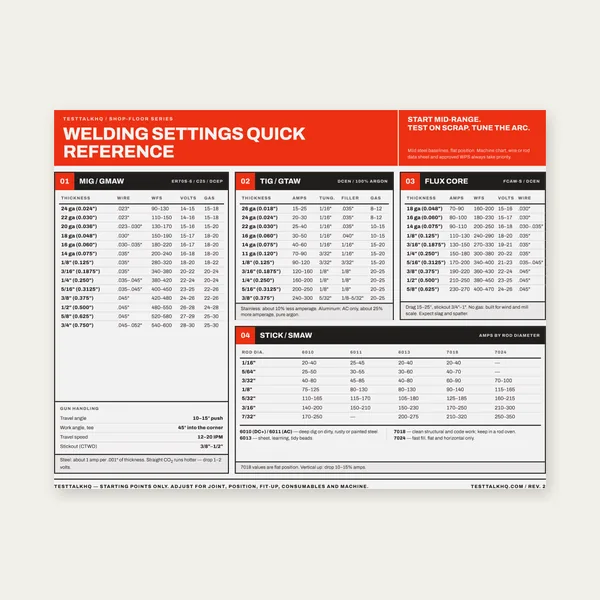
Welding Reference Card
One page. MIG, TIG, stick and flux core settings by thickness.
$3.99
BuyDiagnose shortages mid-job, over-ordering, wrong process efficiency, and joint-volume errors when the calculator already “matched”
Not another weight-per-foot lesson. Pair this with the Filler Metal Weight Calculator when pounds looked right and the spool still died early — or when you overbought by half. Formulas and charts live in the Filler Metal Weight Guide. Shop consumption overruns that are not volume/efficiency mistakes: Electrode & Wire Consumption Troubleshooting. Plate, bar, or scrap density/dimension fights that are not filler takeoff: metal weight troubleshooting.

Use this when the calculator returned a clean lb total and you still ran out, stocked a pallet nobody needed, or discovered the efficiency/bevel assumptions were wrong for the process on the traveler.
| Problem | What it usually means | First fix | Next tool |
|---|---|---|---|
| Ran out mid-job | Underestimated volume, efficiency too high, or no waste/overfill | Measure actual bead; drop efficiency; add 10–20% contingency | Filler Weight Calc |
| Ordered way too much | Steel density on aluminum, double-counted overfill, or stick waste on MIG | Confirm material density + process; remove stacked margins | Weight Guide |
| Wrong efficiency assumed | MIG solid wire % used for flux-core or stick (or reverse) | Split by process; use process-realistic deposition % | Deposition Rate |
| Joint volume wrong | Print bevel/gap ≠ as-fit; fillet legs oversize vs min callout | Measure gap/bevel on scrap; weigh sample bead length | Filler Weight Calc |
What it looks like: Calculator said 22 lb; spool dies at ~70% of the traveler. Emergency run to the supplier at end of shift.
Likely causes: Theoretical volume from minimum print size while welders built larger fillets for fit/gap. Deposition efficiency too optimistic. Overfill left at 0% or “already covered” in the head. No repair/tack/cutoff allowance. Feet vs inches mix-up on length.
Fixes: Re-measure a finished bead on scrap of the same joint. Raise overfill into the 10–15% shop band (15–25% field/code). Drop efficiency to process reality, then add an explicit waste contingency — do not only bump the hourly rate. Re-run the Filler Metal Weight Calculator with honest inputs.
What it looks like: Three unused 44 lb boxes on the shelf after a “safe” estimate. Bid lost on consumable line that never burned.
Likely causes: Steel density used for aluminum (≈3× heavy). Stick stub/slag waste factor applied to solid-wire MIG. Overfill + safety margin + “round up to next spool” stacked three times. Counting intermittent welds as continuous.
Fixes: Confirm material in the calculator. Use one efficiency and one overfill that match the process — then round once. For aluminum, density error dwarfs any waste debate. Theory: Filler Metal Weight Guide.
What it looks like: Same joint geometry, wildly different wire/rod burn depending on whether the traveler used MIG solid, flux-core, or stick — but one efficiency was typed for the whole job.
Likely causes: Spray MIG ~95%+ applied to short-circuit outdoors (~mid-80s). Flux-core slag/spatter treated like solid wire. Stick entered without stub + slag loss (~60–68% net common). Mixed-process jobs with one “job total.”
Fixes: Split the estimate by process. Never carry MIG efficiency onto stick fill. Use deposition context from the Weld Deposition Rate Calculator when hours and pounds both matter.
Efficiency is an input, not a constant. Re-run weight after you pick the real process waste factor.
Filler Weight CalcWhat it looks like: Print called 60° included with 1/16" gap; as-fit was wider gap or shallower bevel. Or fillet legs grew past the min callout to hide fit-up.
Likely causes: Volume from drawing minimum, not as-welded. Groove volume treated as a fillet shortcut. Multi-pass grooves counted as single-pass volume. Root opening larger than modeled after flame cut.
Fixes: Measure bevel angle, root face, and gap on the actual fit-up. For multi-pass, count passes or use groove inputs — not a fillet lbs/ft row. Weigh a known length of finished weld on scrap when the print lies. Then recalculate.
This page stays on weight takeoff failures (volume, density, process efficiency, overfill). If arc-on factor, mixed-process spool math, or bid overruns after volume looked honest are the issue, use Electrode & Wire Consumption Troubleshooting instead of duplicating that diagnosis here.
Filler Weight Calculator → Weight Guide → Consumption Troubleshooting →
One page. MIG, TIG, stick and flux core settings by thickness.
$3.99
Buy
19 pages. Four processes, stainless and aluminum, symbols and inspection.
$12.99
Buy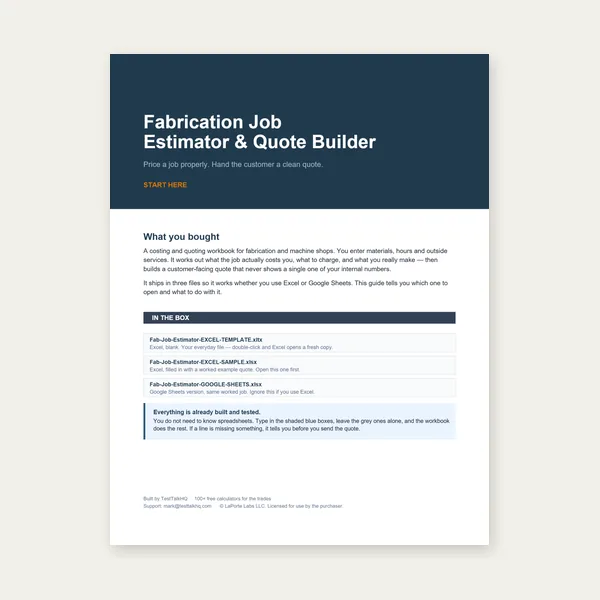
Price the job, then hand over a quote with no internal numbers.
Excel or Google Sheets. Best on a computer.
$29.00
Buy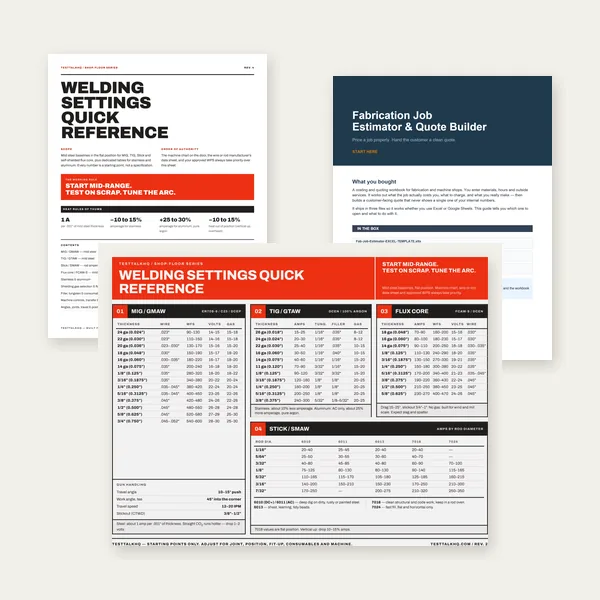
Card, 19-page guide and the estimator workbook. All six files.
Excel or Google Sheets. Best on a computer.
$34.99
$45.98 if bought separately — save $10.99
BuyCheckout opens in a new tab.
CSV catalog picks — verify orders against real process waste, then stock the correct family
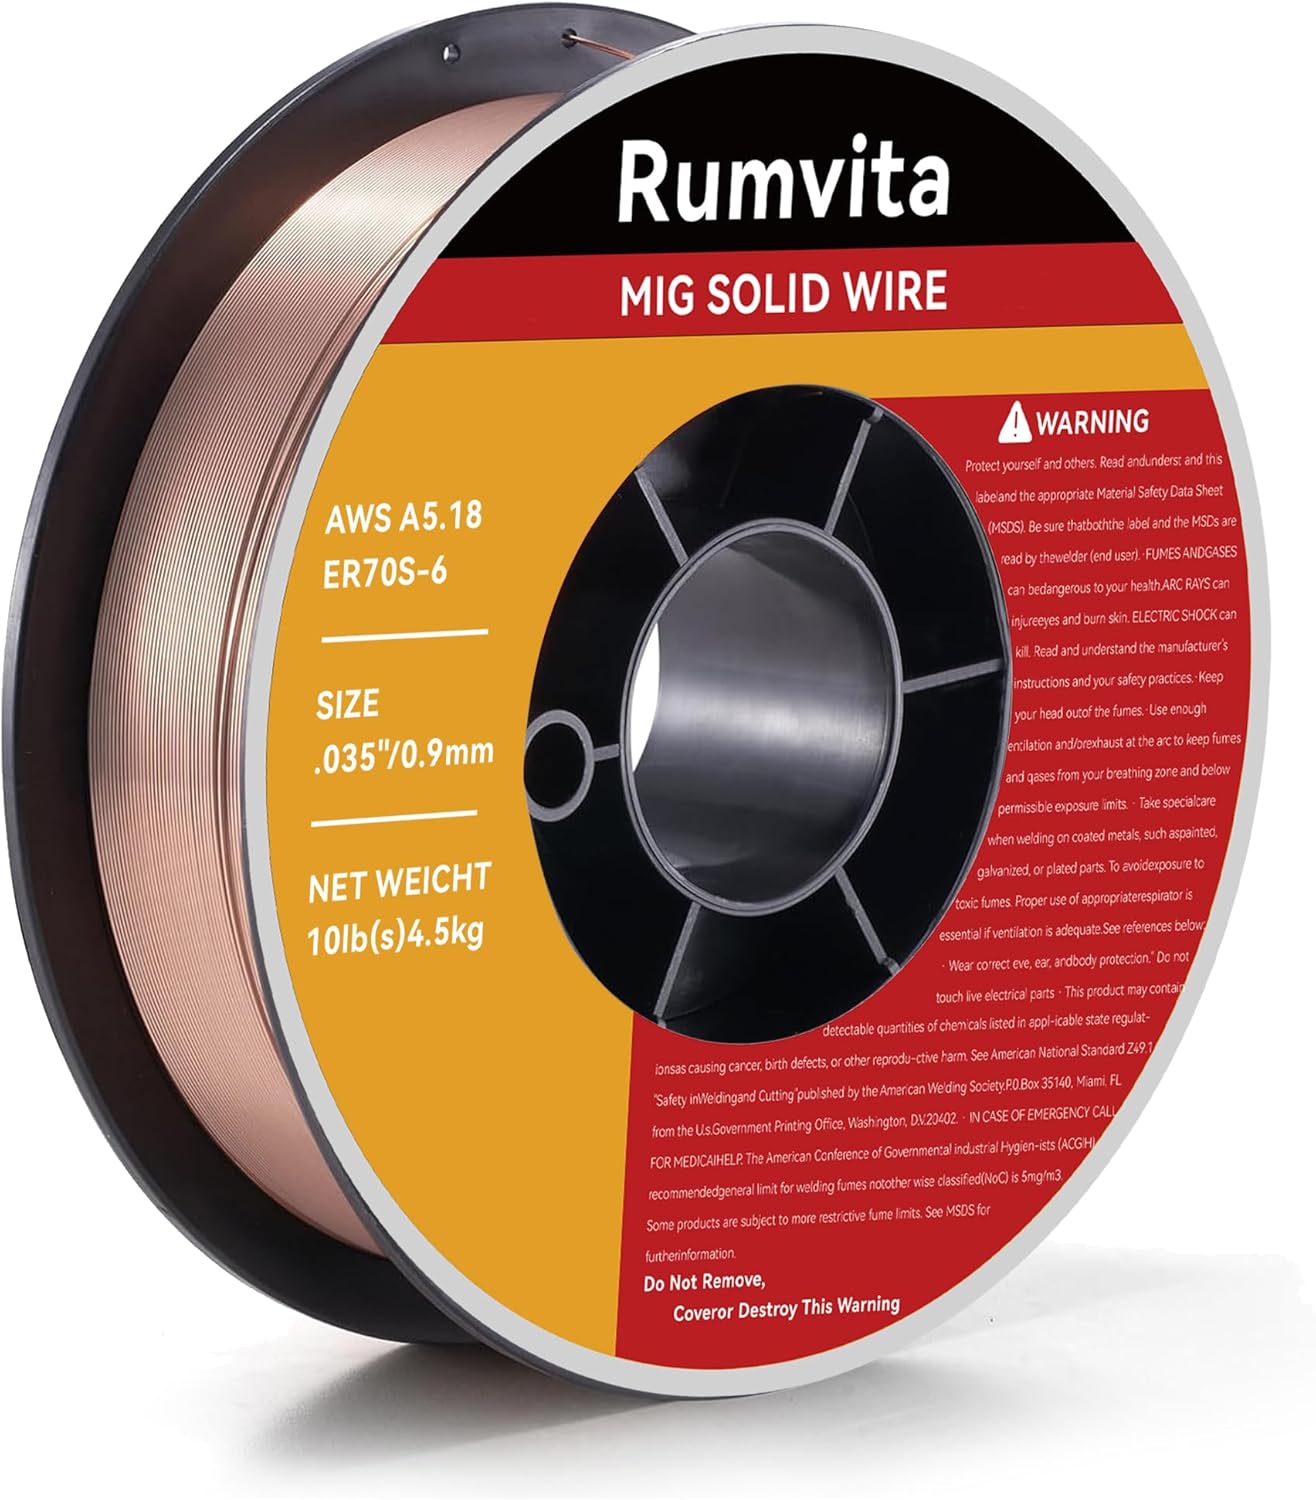
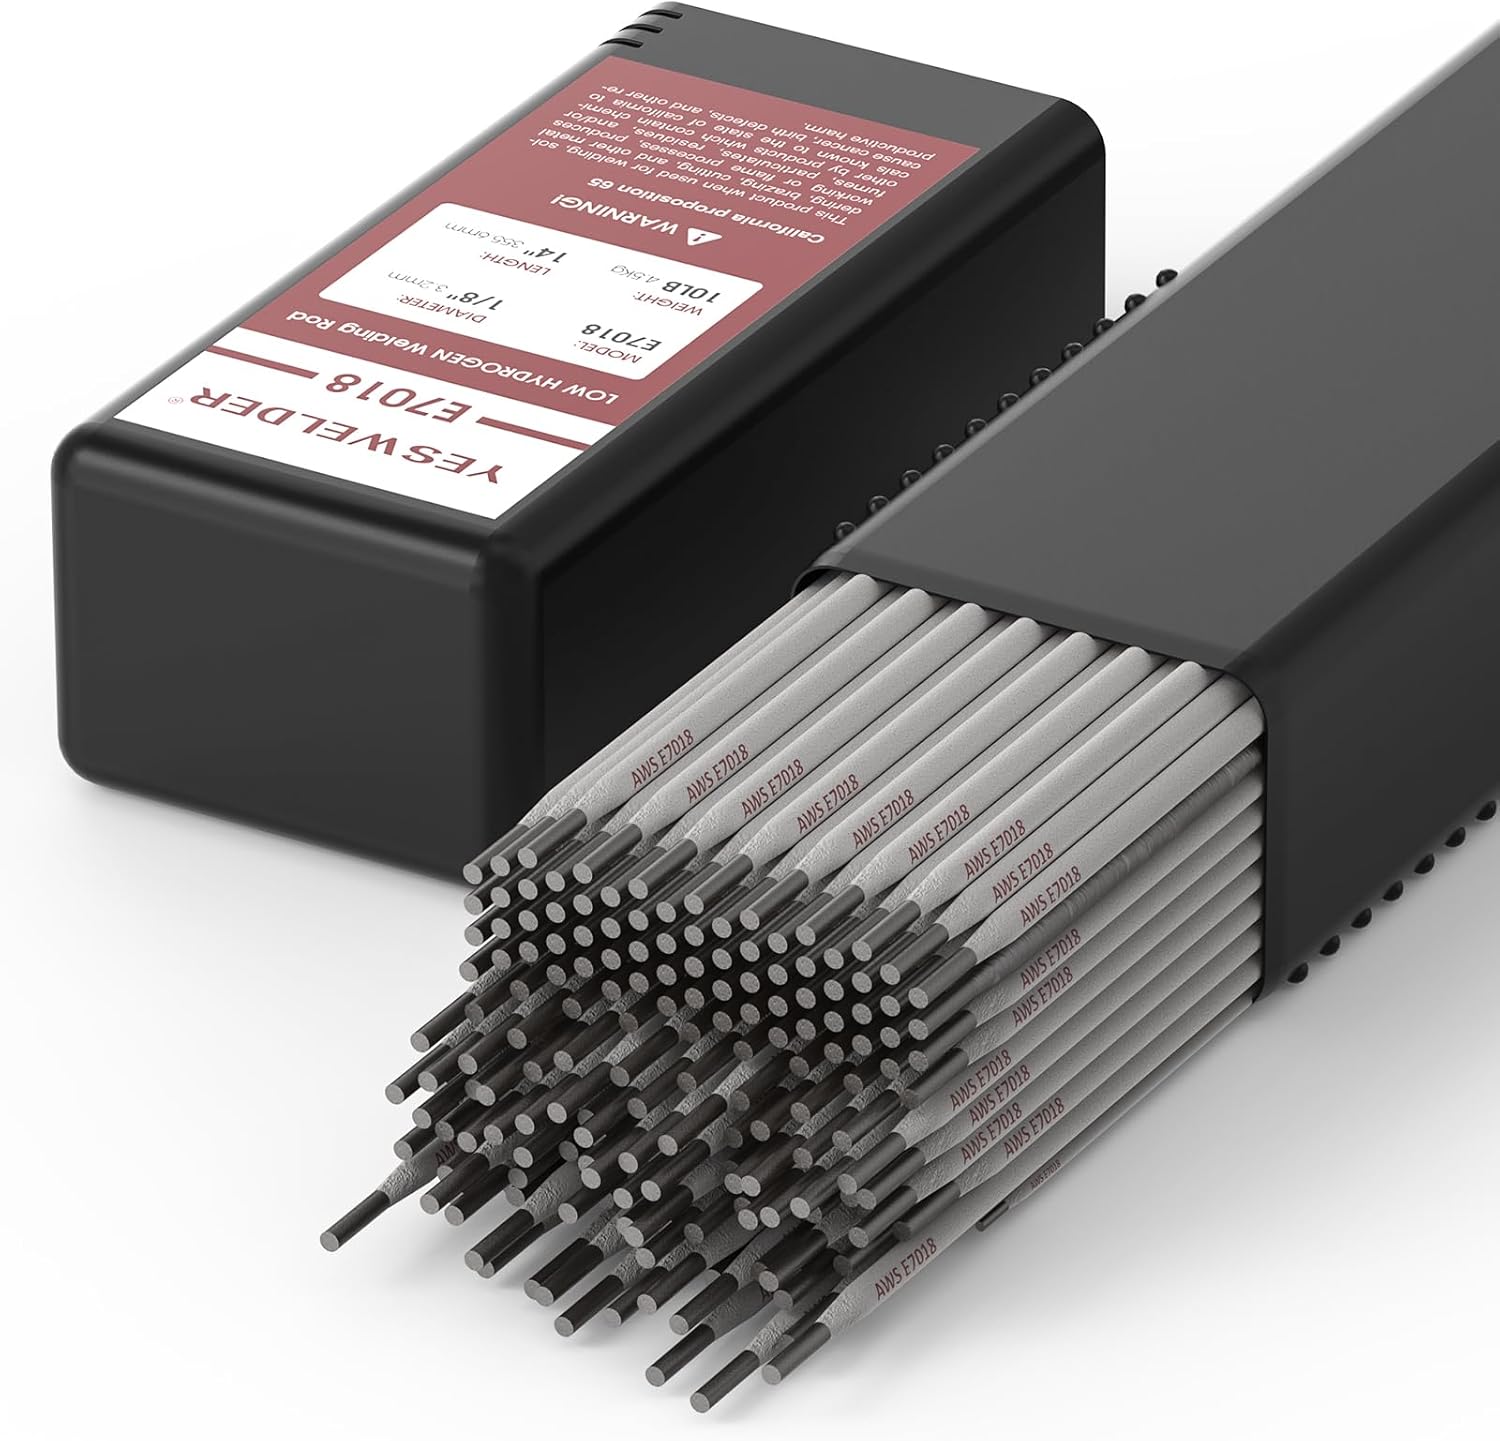
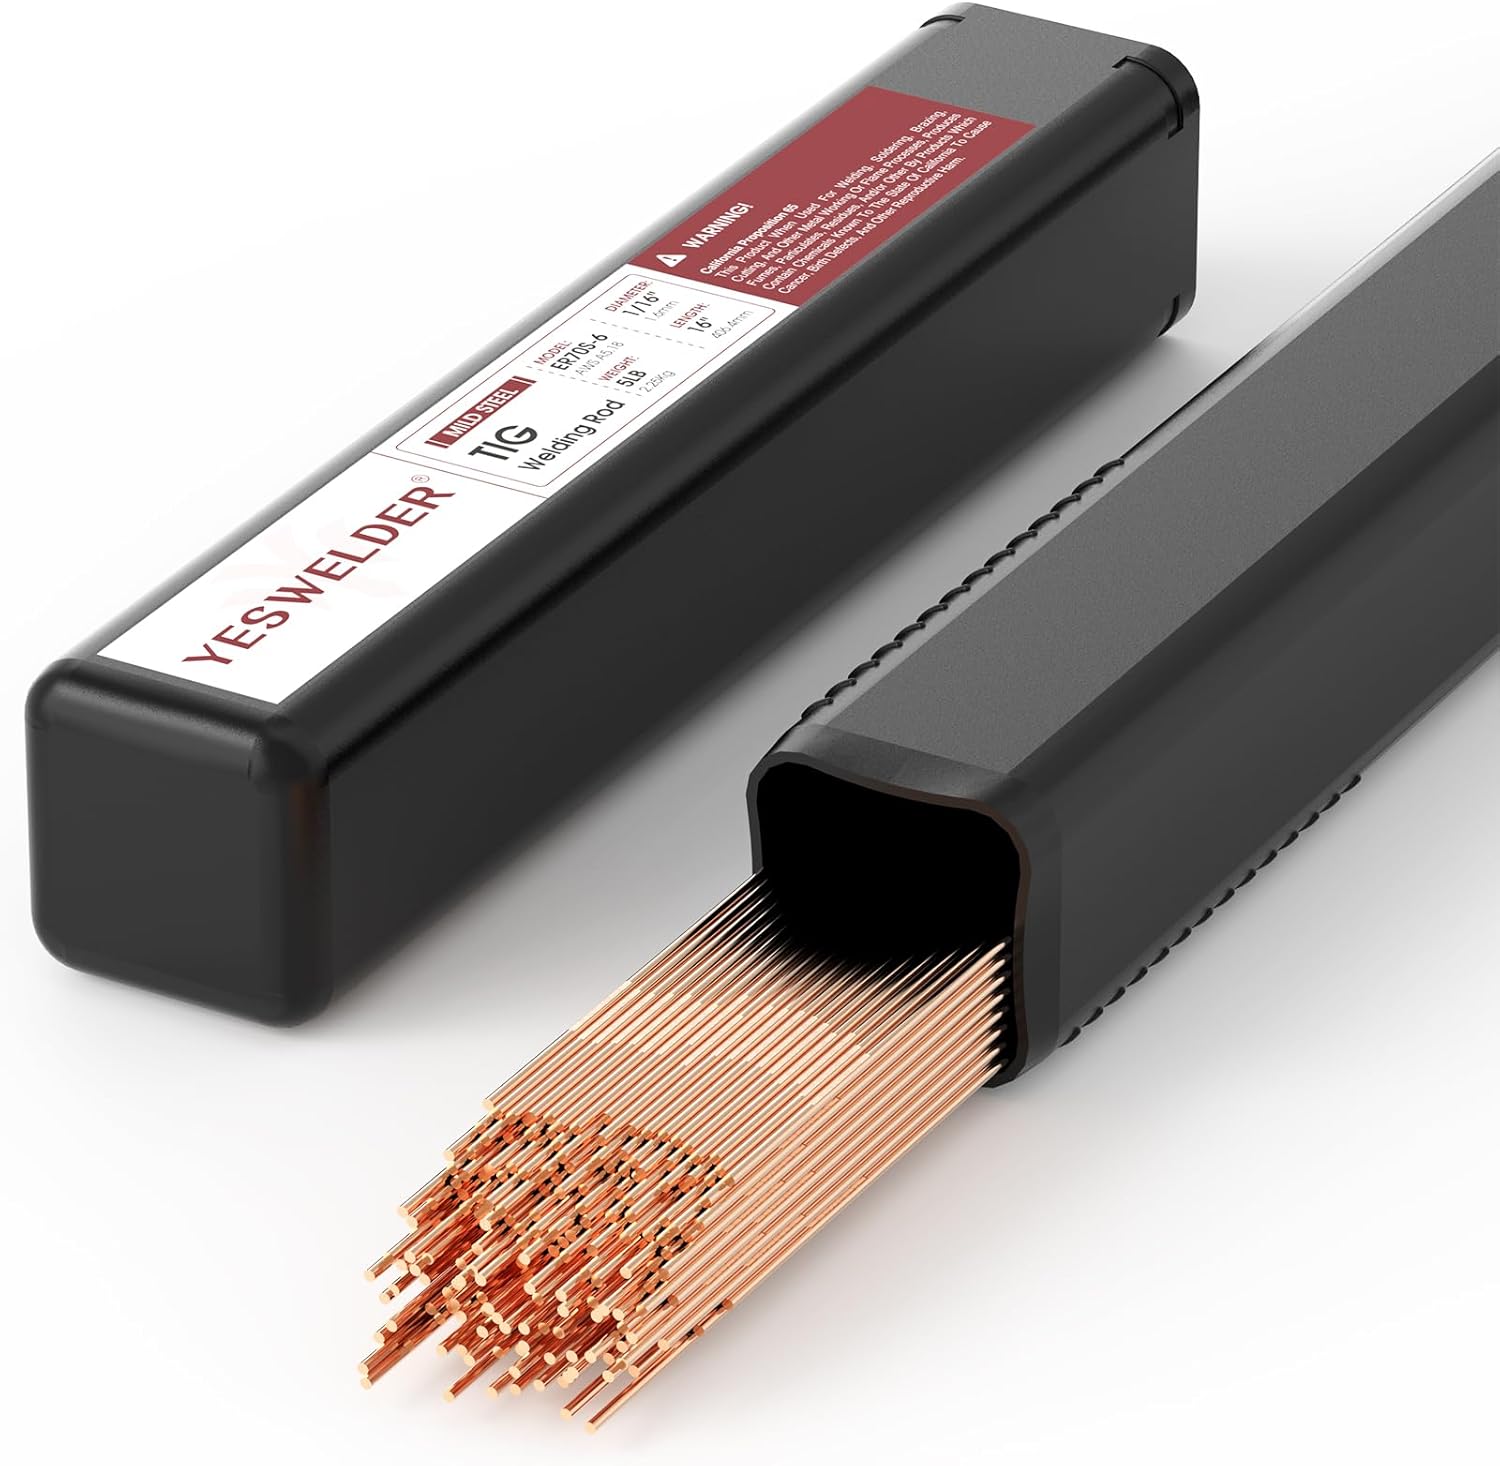
As an Amazon Associate, TestTalkHQ earns from qualifying purchases. Catalog cards reuse verified images from the filler-weight calculator family.
Print minimum ≠ as-welded volume. Efficiency, overfill, gap, or process waste drifted from the inputs. Re-audit those before changing formulas.
Use overfill + one contingency that matches shop vs field — then round once. Stacking 20% on top of already-inflated efficiency hides the real error.
No. This page diagnoses weight takeoff (volume, density, process efficiency). Consumption troubleshooting covers arc-on, mixed-process spool math, and bid overruns after volume looked honest.
Stub loss and slag mean lower deposition efficiency — more purchased pounds for the same deposited metal. Do not reuse MIG efficiency on stick.
In the Filler Metal Weight Guide — this page stays on diagnosis.