Nine years ago at ProShaper Workshop, I filmed my mentor Wray talking about beginner metal fab tools. I was brand new to fabrication, eager to learn, and documenting everything I could. That video captured what a seasoned fabricator recommended to someone just starting out.
Today, after a decade of hands-on experience welding, metal shaping, testing equipment for TestTalkHQ, and building everything from custom car parts to structural repairs, here’s what I’d actually recommend. Some things haven’t changed. Others? I’ve learned the hard way what’s worth the money and what’s just taking up space in your toolbox.
If you’re just getting into metal fabrication and don’t want to waste money on tools you’ll never use, this list is for you.
The Core 5 Tools (Still Essential)
1. Bench Vise
Then: Wray said get a good bench vise.
Now: I use mine every single day, and I should’ve bought a better one from the start.
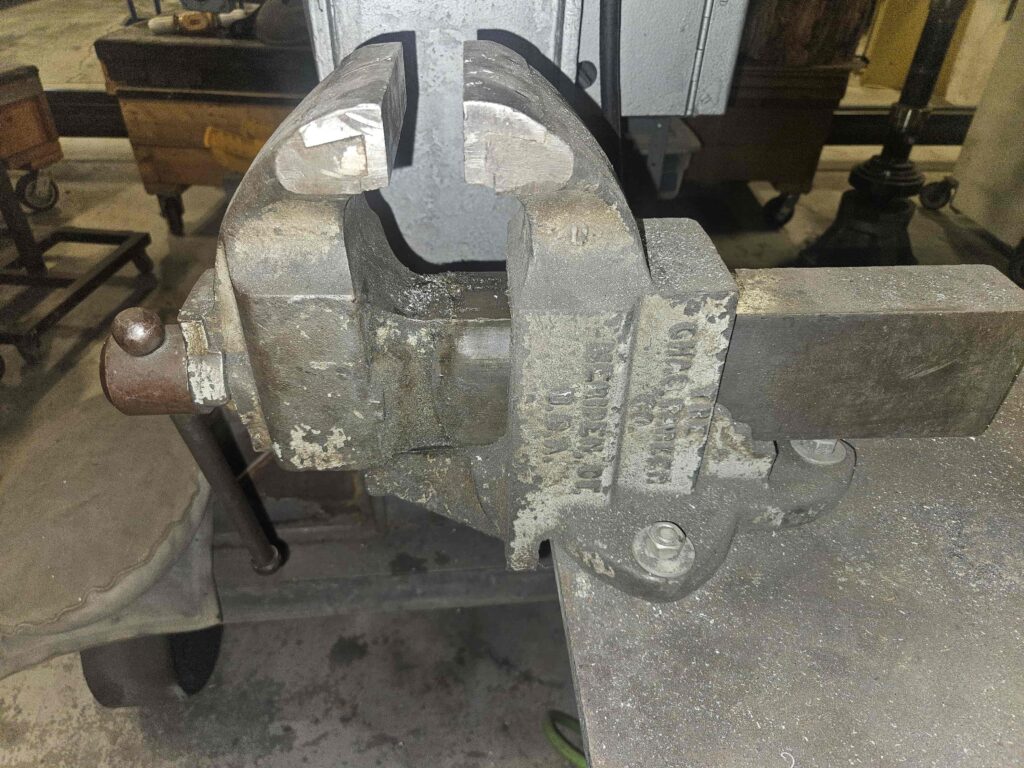
A bench vise is your extra set of hands. You can clamp metal for grinding, hold pieces for welding, and this is huge, mount a dolly in the vise and hammer metal over it. Instead of trying to juggle a hammer, dolly, and workpiece all at once, the vise holds the dolly steady while you shape.
I have two: one bolted to my welding table that doesn’t move, and one that’s portable so I can position it wherever I need it. Sometimes I flip it sideways and use it as a third hand for tack welding.
Budget pick: Harbor Freight has decent 4-6″ vises for under $50. If you’re serious, spend $100-150 on a Wilton or Yost they’ll outlast you.
2. Shop Bag & Hammers
Then: Sandbag and rubber/plastic hammers for shaping.
Now: Still my go-to for moving metal without heat or heavy equipment.
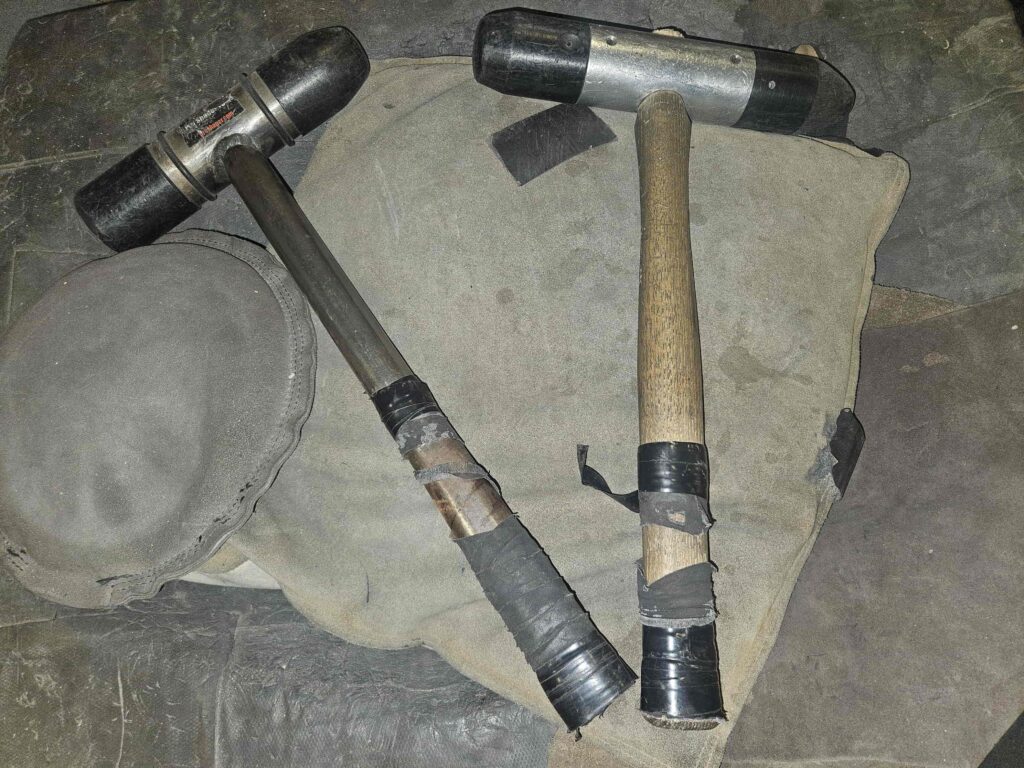
A sandbag is dead simple but ridiculously effective. Lay a piece of sheet metal over it, grab a plastic or rubber mallet, and you can form curves, bowls, and compound shapes by hand. The sand absorbs the impact and supports the metal so you’re not just denting it randomly.
I’ve got three hammers I use constantly:
- Plastic teardrop hammer – Lightweight, slow shaping, perfect for fine adjustments
- Rubber dead-blow hammer – Heavier, moves metal fast, great for initial forming
- Flat-face rubber mallet – For flattening edges or working tight corners
Pro tip: Throw your sandbag on top of metal you’re grinding on the bench. It kills vibration and noise like Dynamat. Makes the whole process way more tolerable.
Budget pick: $30-40 gets you a decent sandbag and a few mallets from Eastwood or Amazon.
3. Railroad Track & Oxygen Tank Bottom
Then: Wray swore by these for forming edges and radiuses.
Now: I kick myself for not getting them sooner.
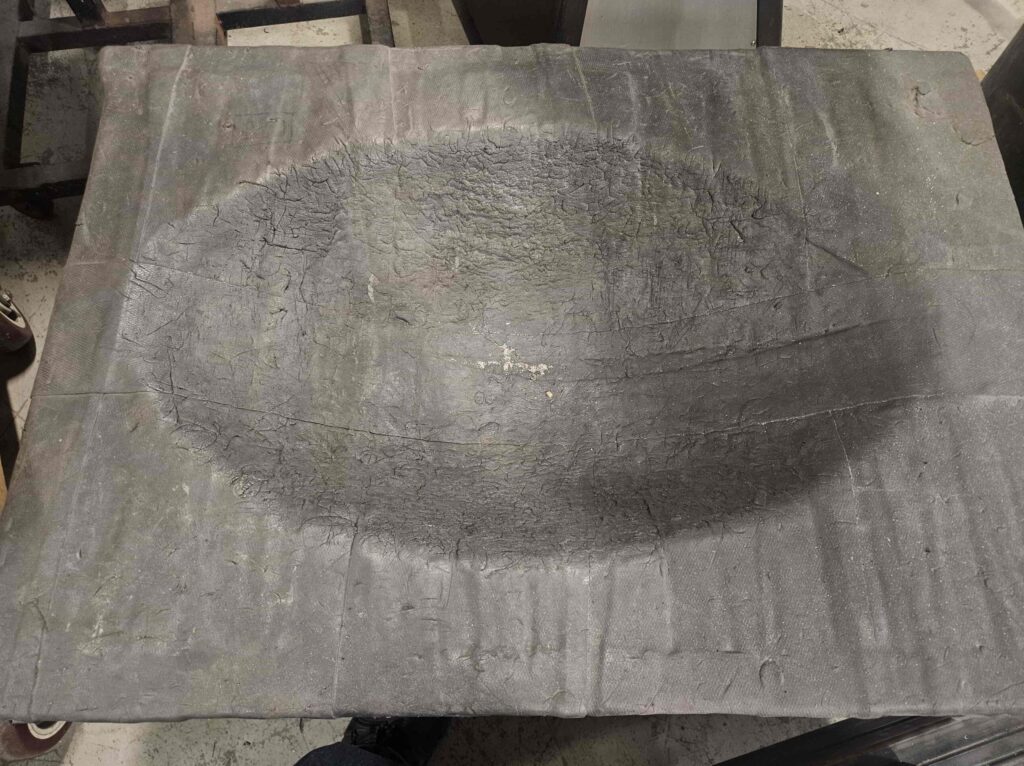
These aren’t tools you’ll find at Home Depot. You need to hit up a scrapyard or metal recycling center. But once you have them, you’ll wonder how you ever worked without them. You can also use a hollowed out stump instead of an oxygen tank bottom.
Railroad track (cut to about 15 inches): It’s heavy, won’t move around on you, and has edges everywhere. You can bend metal over the rounded top, use the flat sides for 90-degree bends, or stand it upright for tighter radiuses. I use mine for everything from flanging edges to forming brackets.
Oxygen tank bottom (empty tank, top cut off, flipped upside down): The rounded bottom is perfect for hammering curves into sheet metal. You’ve got a built-in forming dome with a nice radius that you can work metal around. Plus, the belly of the tank gives you different curve depths depending on where you hammer. Or if you are able to use a tree trunk that is concave in the middle.
These are harder to source, but if you find them, grab them. They’re free (or cheap), indestructible, and irreplaceable.
Budget pick: Free to $20 at a scrapyard. Cutting an oxygen tank requires a torch and safety precautions, make sure it’s empty and the valve is removed before you cut.
4. Stretcher & Shrinker
Then: Wray said you need both if you’re serious about metal shaping.
Now: He was right. You cannot do one without the other.
If you’ve ever tried to make a curved piece of trim, a headlight bezel, or a custom fender patch, you know flat metal doesn’t just bend into compound curves. You have to stretch or shrink the material to get it to conform.
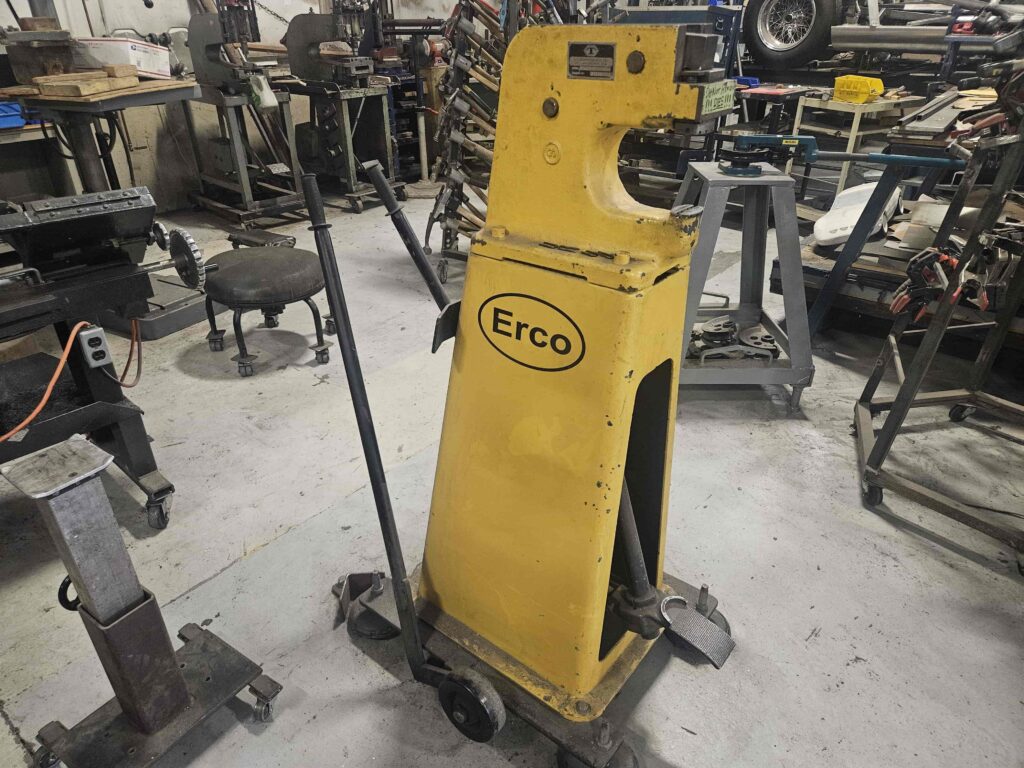
Stretcher: Elongates the metal along an edge, making it curve outward (like the outer edge of a wheel arch).
Shrinker: Compresses the metal, making it curve inward (like the inner edge of a radius).
You step on the handle (or squeeze if you have manual ones), and the metal gets worked between two jaws. A few passes, and you’ve got a curve. I use these on almost every custom panel I make.
You don’t need the $500 pneumatic versions with foot pedals. Manual hand-operated stretchers and shrinkers from eBay or Harbor Freight work fine for hobbyists and small shops. You’ll just get a workout.
Budget pick: $150-250 for a manual set. If you’re doing production work, upgrade to pneumatic later.
5. Hammer & Dolly
Then: The number one tool for metal shaping.
Now: Still number one. You will never stop buying hammers and dollies.
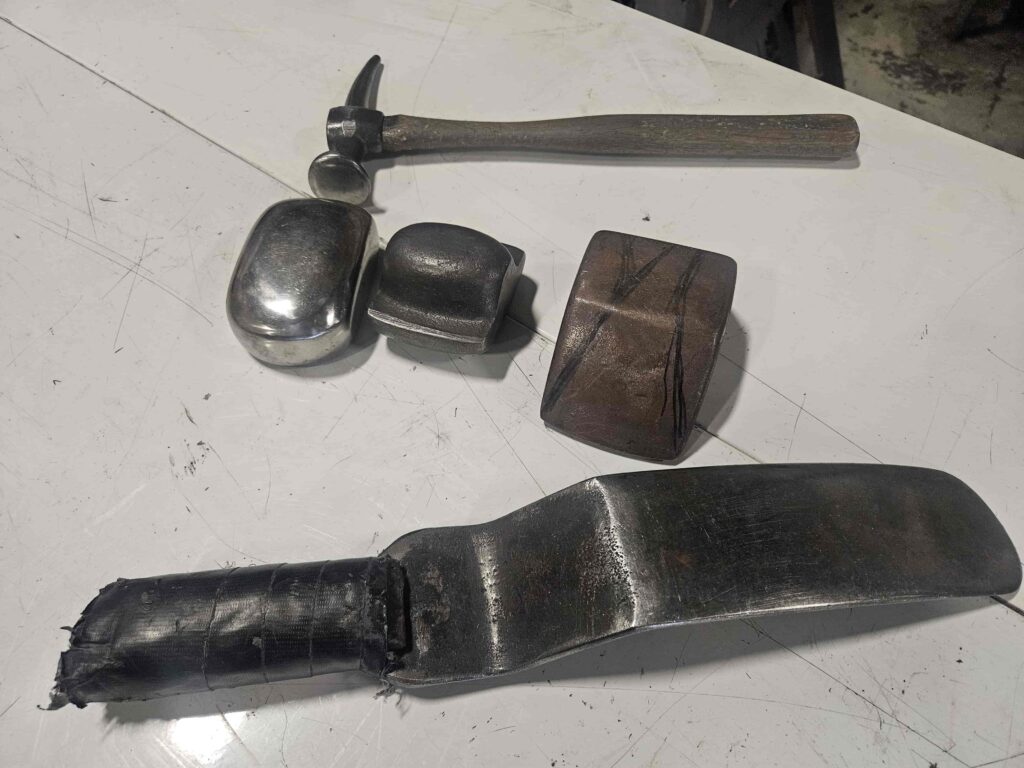
A hammer and dolly are how you finesse metal. After you’ve rough-formed a panel, you hold the dolly behind the metal and tap with the hammer on the front. The metal gets squeezed between the two, smoothing out dents, raising low spots, and refining curves.
Hammers: They all look similar, but the head shapes matter. Flat faces move metal slowly and precisely. Domed or crowned faces move metal faster. Pointed hammers get into tight corners. I probably have 10 different hammers now, but I use the same 3 about 90% of the time.
Dollies: Different shapes for different curves. A flat dolly for flat panels. A curved dolly (high crown) for aggressive shaping. A heel dolly (wedge-shaped) for tight corners and edges.
You can also make your own dollies. I’ve welded scrap pipe to flat bar, cut up old ball joints, and shaped chunks of steel into custom dollies for specific jobs. Some of my most-used dollies are the ones I built myself for weird one-off shapes.
Budget pick: Harbor Freight has a beginner hammer and dolly set for under $100. It’s not the best quality, but it’ll get you started. As you learn, you’ll know what shapes you actually need and can invest in better tools.
What I’d Add Today (Tools That Didn’t Exist or I Didn’t Know About 9 Years Ago)
6. Shrinking Disc
Game changer. A shrinking disc is a special grinding disc that mounts on an angle grinder and shrinks metal through controlled heat and pressure. You can remove stretched metal, pull in warped panels, and tighten up areas that have been over-worked, all without a torch or hammer.
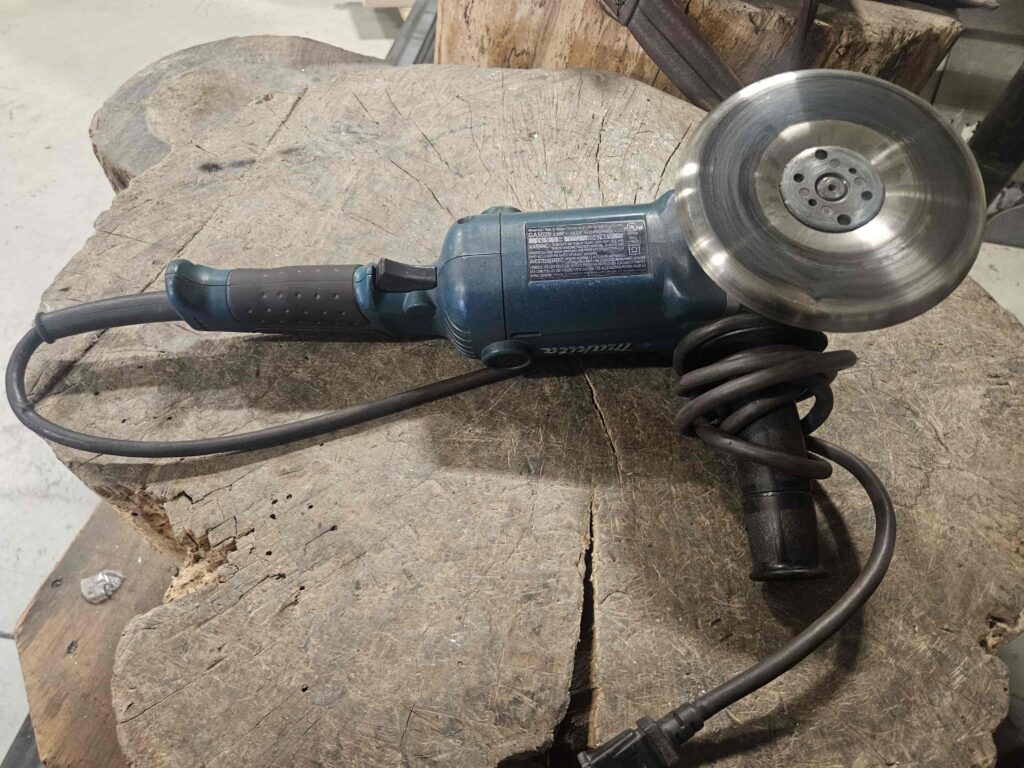
I use mine constantly on auto body work, patch panels, and anywhere I’ve got a high spot that needs to come down. It’s faster than hammer and dolly work for certain repairs, and it doesn’t leave the same kind of work-hardening that traditional shrinking does.
If you’re doing any kind of collision repair, custom bodywork, or panel replacement, get one. The Eastwood and Malco shrinking discs are both solid.
Budget pick: $30-50 for the disc. You’ll need an angle grinder (which you probably already have).
7. Cordless Shears
Then: We used hand snips or an angle grinder with a cutoff wheel for everything.
Now: Cordless electric shears are a must-have.
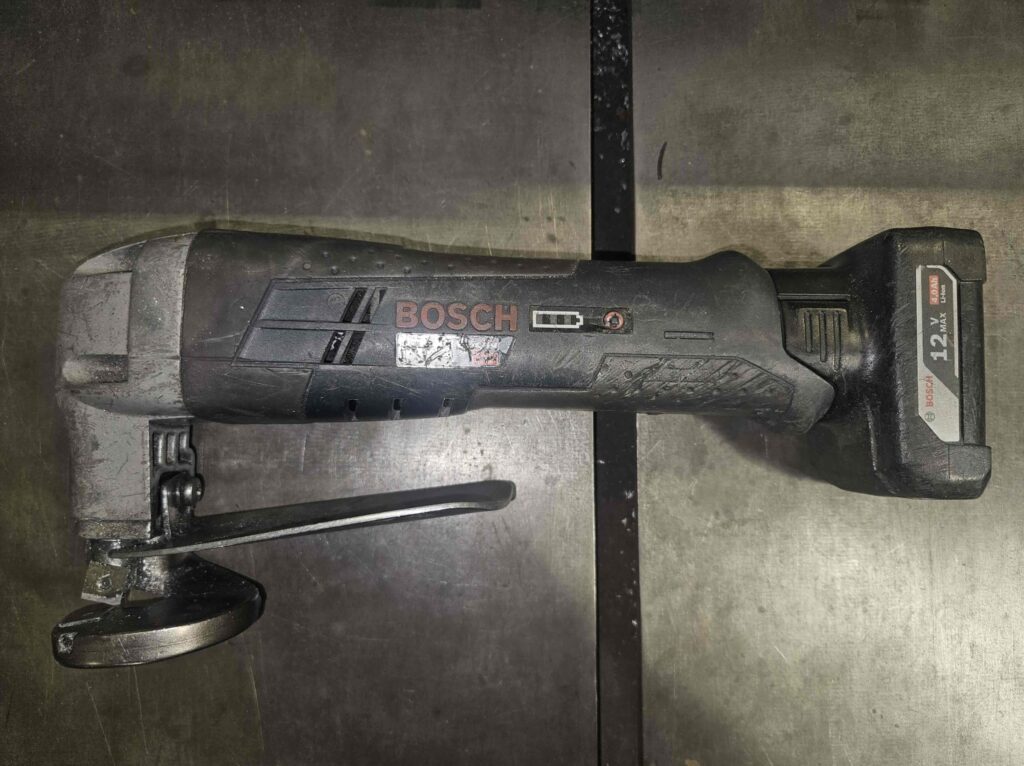
Cordless shears let you cut sheet metal quickly, cleanly, and without the heat distortion you get from a cutoff wheel or plasma cutter. They’re perfect for trimming patch panels, cutting out rust, or sizing down large sheets.
I use Milwaukee or Makita cordless shears almost daily now. They cut up to 18-gauge steel effortlessly, and because they’re battery-powered, you’re not dragging a cord around or limited to where your compressor reaches.
Hand aviation snips still have their place for detail work, but for production cutting, cordless shears win every time.
Budget pick: $150-200 for a bare tool (if you’re already in a battery platform). Otherwise, look at corded versions for $80-100.
8. Angle Grinder with Cutoff Wheels
Then: Used it occasionally.
Now: I go through cutoff wheels like they’re disposable, because they are.
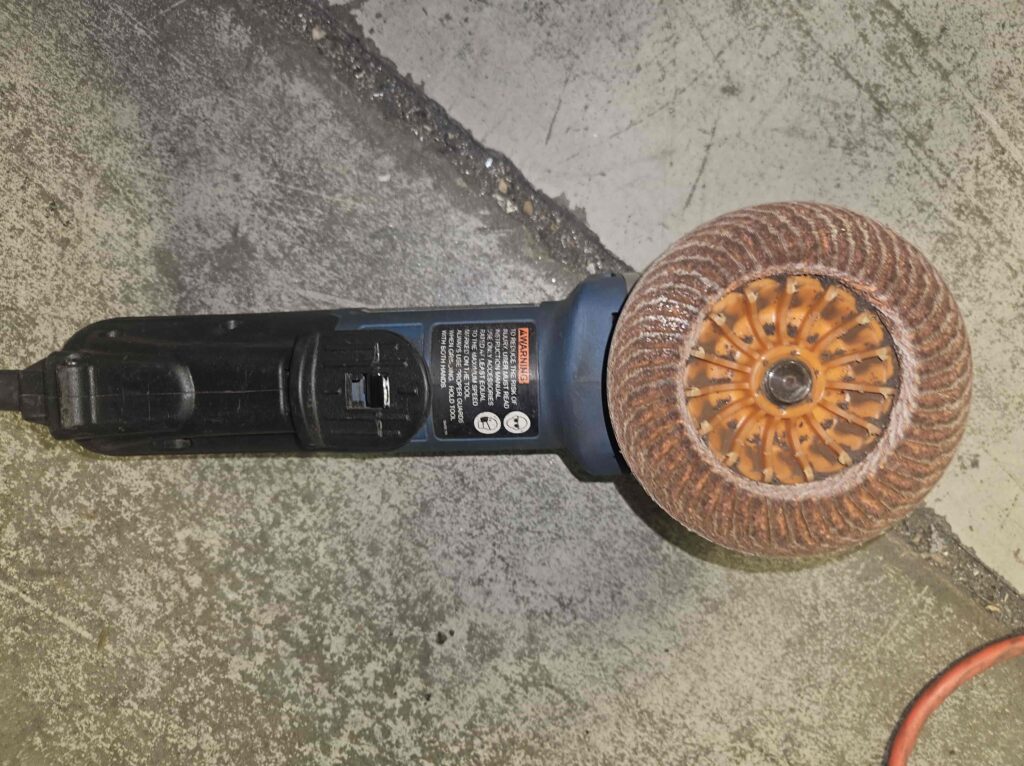
An angle grinder with a cutoff wheel (or zip disc) is your go-to for rough cuts, removing old welds, trimming brackets, and notching tubing. It’s aggressive, fast, and gets you in the ballpark. You’ll clean up the edges later with a file or flap disc, but for initial cuts, nothing beats it.
I keep a 4.5″ angle grinder dedicated to cutoff wheels and another one dedicated to flap discs for grinding/finishing. Keeps me from constantly swapping discs.
Pro tip: Don’t cheap out on cutoff wheels. The garbage ones shatter or wear down in 30 seconds. Spend a little more on Diablo, DeWalt, or Norton wheels they last way longer and cut cleaner.
Budget pick: A basic corded angle grinder is $30-40. Spend another $20 on decent cutoff wheels and flap discs.
Bonus: You’re Going to Need a Welder
You can shape metal all day, but eventually, you need to join it together. A welder isn’t optional if you’re serious about fabrication.
MIG Welder: Easiest to learn, most versatile for sheet metal and structural work. Great for beginners. If you’re on a budget, the Vevor MIG 270 is a solid 3-in-1 machine (MIG, TIG, Stick) that won’t break the bank but still delivers quality welds.
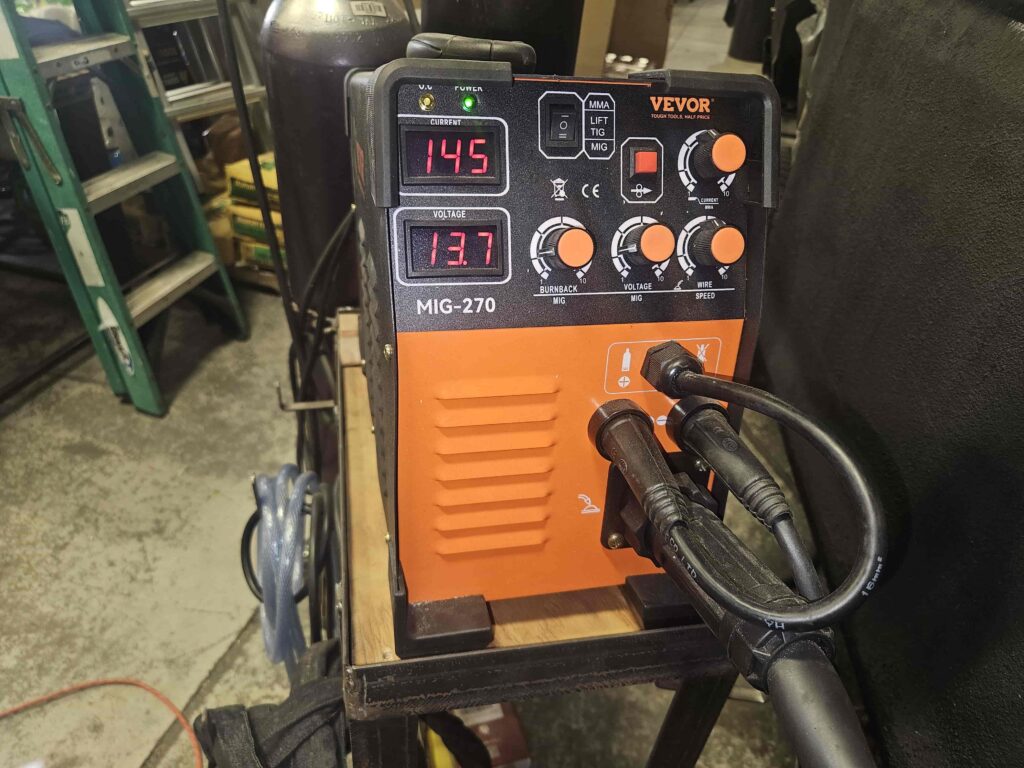
4-in-1 Machines: If you want flexibility and don’t want to invest in three separate machines, a 4-in-1 (MIG, TIG, Stick, Plasma) is a great option. Vevor and other budget brands make surprisingly capable machines now.
Once you’ve got a welder, you’ll need to dial in your settings. Don’t guess, use our MIG Welding Calculator to calculate wire feed speed and voltage based on material thickness, or check out our MIG Welding Settings Chart for quick reference values.
Budget pick: $300-600 for a decent starter MIG welder. $400-700 for a capable 4-in-1.
Final Thoughts
Metal fabrication doesn’t require a fully-equipped shop to get started. These tools, bench vise, sandbag and hammers, scrap forming tools, stretcher/shrinker, hammer and dolly, shrinking disc, cordless shears, angle grinder, and a welder will cover 90% of what you need to shape, cut, form, and join metal.
Some of this stuff you can find cheap or even free if you’re resourceful. Other tools (like a good vise or a quality welder) are worth investing in from the start because you’ll use them every single day for the rest of your fabrication career.
Nine years ago, I was filming Wray because I didn’t know what I needed. Today, I’m telling you: start with these tools, get your hands dirty, and learn by doing. You’ll figure out pretty quickly what works for you and what doesn’t.
And if you want more fabrication resources, tool reviews, and welding guides, check out our full collection at TestTalkHQ’s Free Calculators & Tools. We’ve built this site to help people like you, folks who want to build, fix, and create without wasting money on tools that don’t deliver.
Now get in the shop and start making something.
Related Resources:
- MIG Welding Calculator – Calculate perfect settings for any thickness
- MIG Welding Settings Chart – Quick reference for common materials
- Vevor MIG 270 Review – Budget 3-in-1 welder that actually works
- All Equipment Reviews – Honest reviews from a working fabricator
- Free Welding & Fabrication Tools – Calculators, charts, and resources