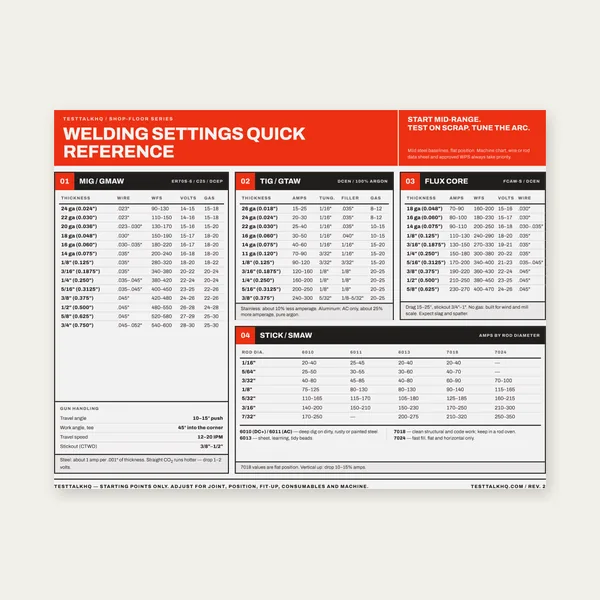
Welding Reference Card
One page. MIG, TIG, stick and flux core settings by thickness.
$3.99
BuyChoose the right method: programmed CNC mill/router or printed template + center punch + drill press
A genuine comparison of two workflows for drilling bolt circles, grids, and linear hole patterns. Both use the same coordinates from the Bolt-Circle / Hole-Pattern Generator — one via G-code on a CNC, the other via a printed template, center punch, and manual drilling. When does each make sense?

Both workflows start with the same calculator. Download G-code for CNC or PDF template for manual punch marking.
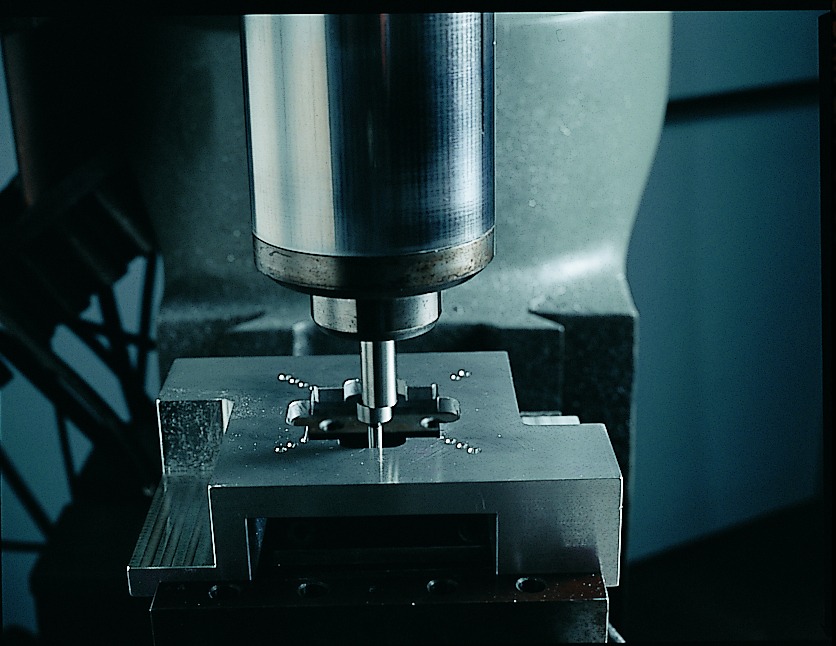
Bolt-Circle / Hole-Pattern Generator →Workflow: Generate coordinates in the calculator, export G-code, edit the safe Z / retract / depth / feed placeholders, load the .nc file onto a CNC mill or router with a drill bit in the spindle, zero X/Y at the origin, and run the program. The machine rapids to each hole position and drills automatically.
Precision: Excellent. Hole-to-hole positioning is as accurate as the machine's ballscrew or linear encoder repeatability — typically ±0.001 in (±0.025 mm) or better on a decent mill. No hand layout error, no punch drift, no drill walking. If the G-code coordinates are correct and the origin is set accurately, the holes land exactly where the math says.
Best for:
Equipment required: CNC mill, CNC router, or drill press with CNC conversion. Spindle must accept drill bits (twist drills or center-cutting end mills). Machine control must run G-code (Mach3, LinuxCNC, Centroid, FANUC, Haas, etc.). Edge finder or probe to zero the origin accurately.
Workflow: Generate coordinates in the calculator, export the PDF template, print at 100% scale (verify the reference square), tape the template to the stock with the origin aligned, center-punch through each marked hole, remove the template, and drill on a drill press or with a hand drill. Clamp or hold the stock securely, use a sharp bit, and drill each punch mark in sequence.
Precision: Good for most shop work. Positioning accuracy depends on print scale (±1% typical if you verify the reference square), tape alignment (±1/32 in typical with careful work), punch accuracy (±1/64 in with a sharp automatic punch), and drill walking (minimized by the punch dimple and a sharp bit). Total error budget: ±0.03–0.05 in (±0.75–1.25 mm) on hole centers. Plenty tight for most fixtures, brackets, and structural joints. Not tight enough for close-fitting dowel pins or precision bearing bores.
Best for:
Equipment required: Printer (inkjet or laser, any brand — scale accuracy matters, not print quality), steel rule to verify the reference square, center punch (automatic or spring-loaded preferred), drill press or hand drill, sharp twist drill bits, clamps or vise.
| Factor | CNC Drilling (G-code) | Manual Template + Punch |
|---|---|---|
| Positioning precision | ±0.001–0.002 in typical | ±0.03–0.05 in typical |
| Setup time (single part) | 10–20 min (edit G-code, zero machine, load stock) | 5–10 min (print, tape, punch) |
| Drilling time | Automatic — machine runs unattended per hole | Manual — operator drills each hole individually |
| Repeatability (multiple parts) | Excellent — re-zero and run same program | Fair — re-print and re-punch each part |
| Hole count sweet spot | 12+ holes (setup time amortizes) | 1–12 holes (fast for small counts) |
| Equipment cost | $3,000–$50,000+ (CNC mill or retrofit) | $50–$500 (printer, punch, drill press) |
| Skill requirement | CNC programming, G-code editing, zeroing procedures | Basic layout, center punch, drill press operation |
| Best use case | Production runs, tight tolerances, high hole counts | One-offs, prototypes, field work, low counts |
Some shops use both methods on the same part. Example: CNC drill the critical holes that need tight positioning (dowel pin holes, bearing bores, alignment features), then use a printed template to lay out and drill the non-critical clearance holes (mounting bolts, wire pass-throughs, lightening holes). This saves CNC time while keeping precision where it matters.
Another hybrid: use the CNC to mark hole centers (spot drill or spring pass with a pointed tool at each XY coordinate), then finish-drill the holes on a drill press with the correct bit and feed. The CNC handles the layout accuracy; the drill press handles the actual chip removal. Useful when the CNC spindle is too slow or the part is too large to fit under the spindle for full drilling.
Choose CNC drilling if:
Choose manual template + punch if:
Both methods use the same source data from the generator. The coordinates are identical — only the transfer method changes. If precision matters, go CNC. If speed and simplicity matter for a one-off, go manual template.
One page. MIG, TIG, stick and flux core settings by thickness.
$3.99
Buy
19 pages. Four processes, stainless and aluminum, symbols and inspection.
$12.99
Buy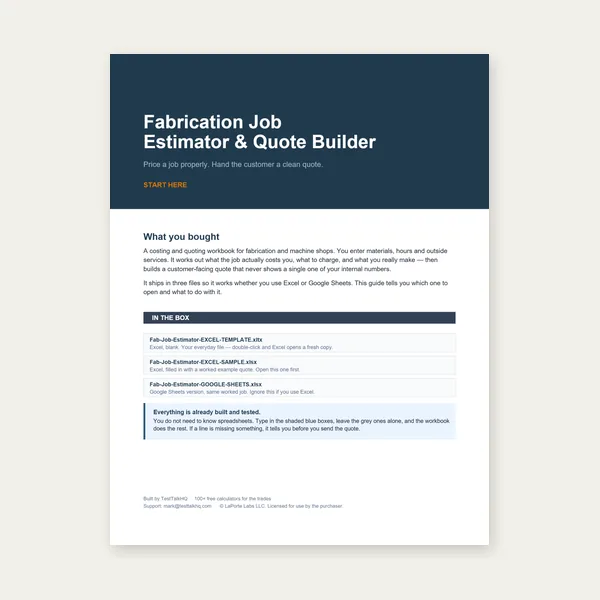
Price the job, then hand over a quote with no internal numbers.
Excel or Google Sheets. Best on a computer.
$29.00
Buy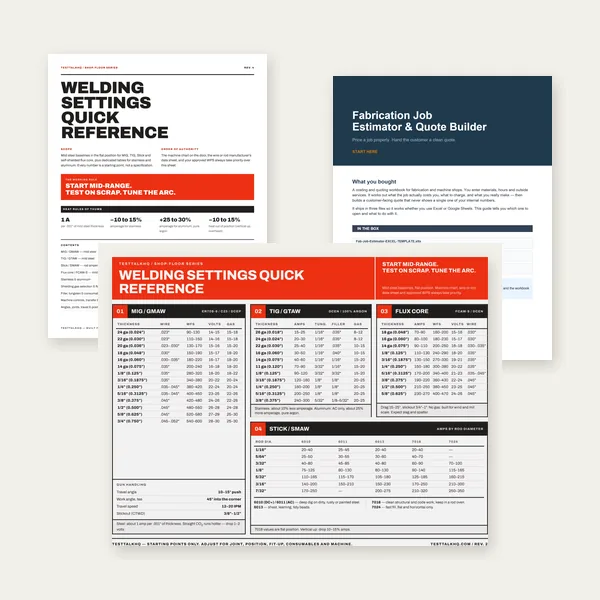
Card, 19-page guide and the estimator workbook. All six files.
Excel or Google Sheets. Best on a computer.
$34.99
$45.98 if bought separately — save $10.99
BuyCheckout opens in a new tab.
Measure accurately, mark precisely, and drill with confidence — products from the TestTalkHQ affiliate catalog
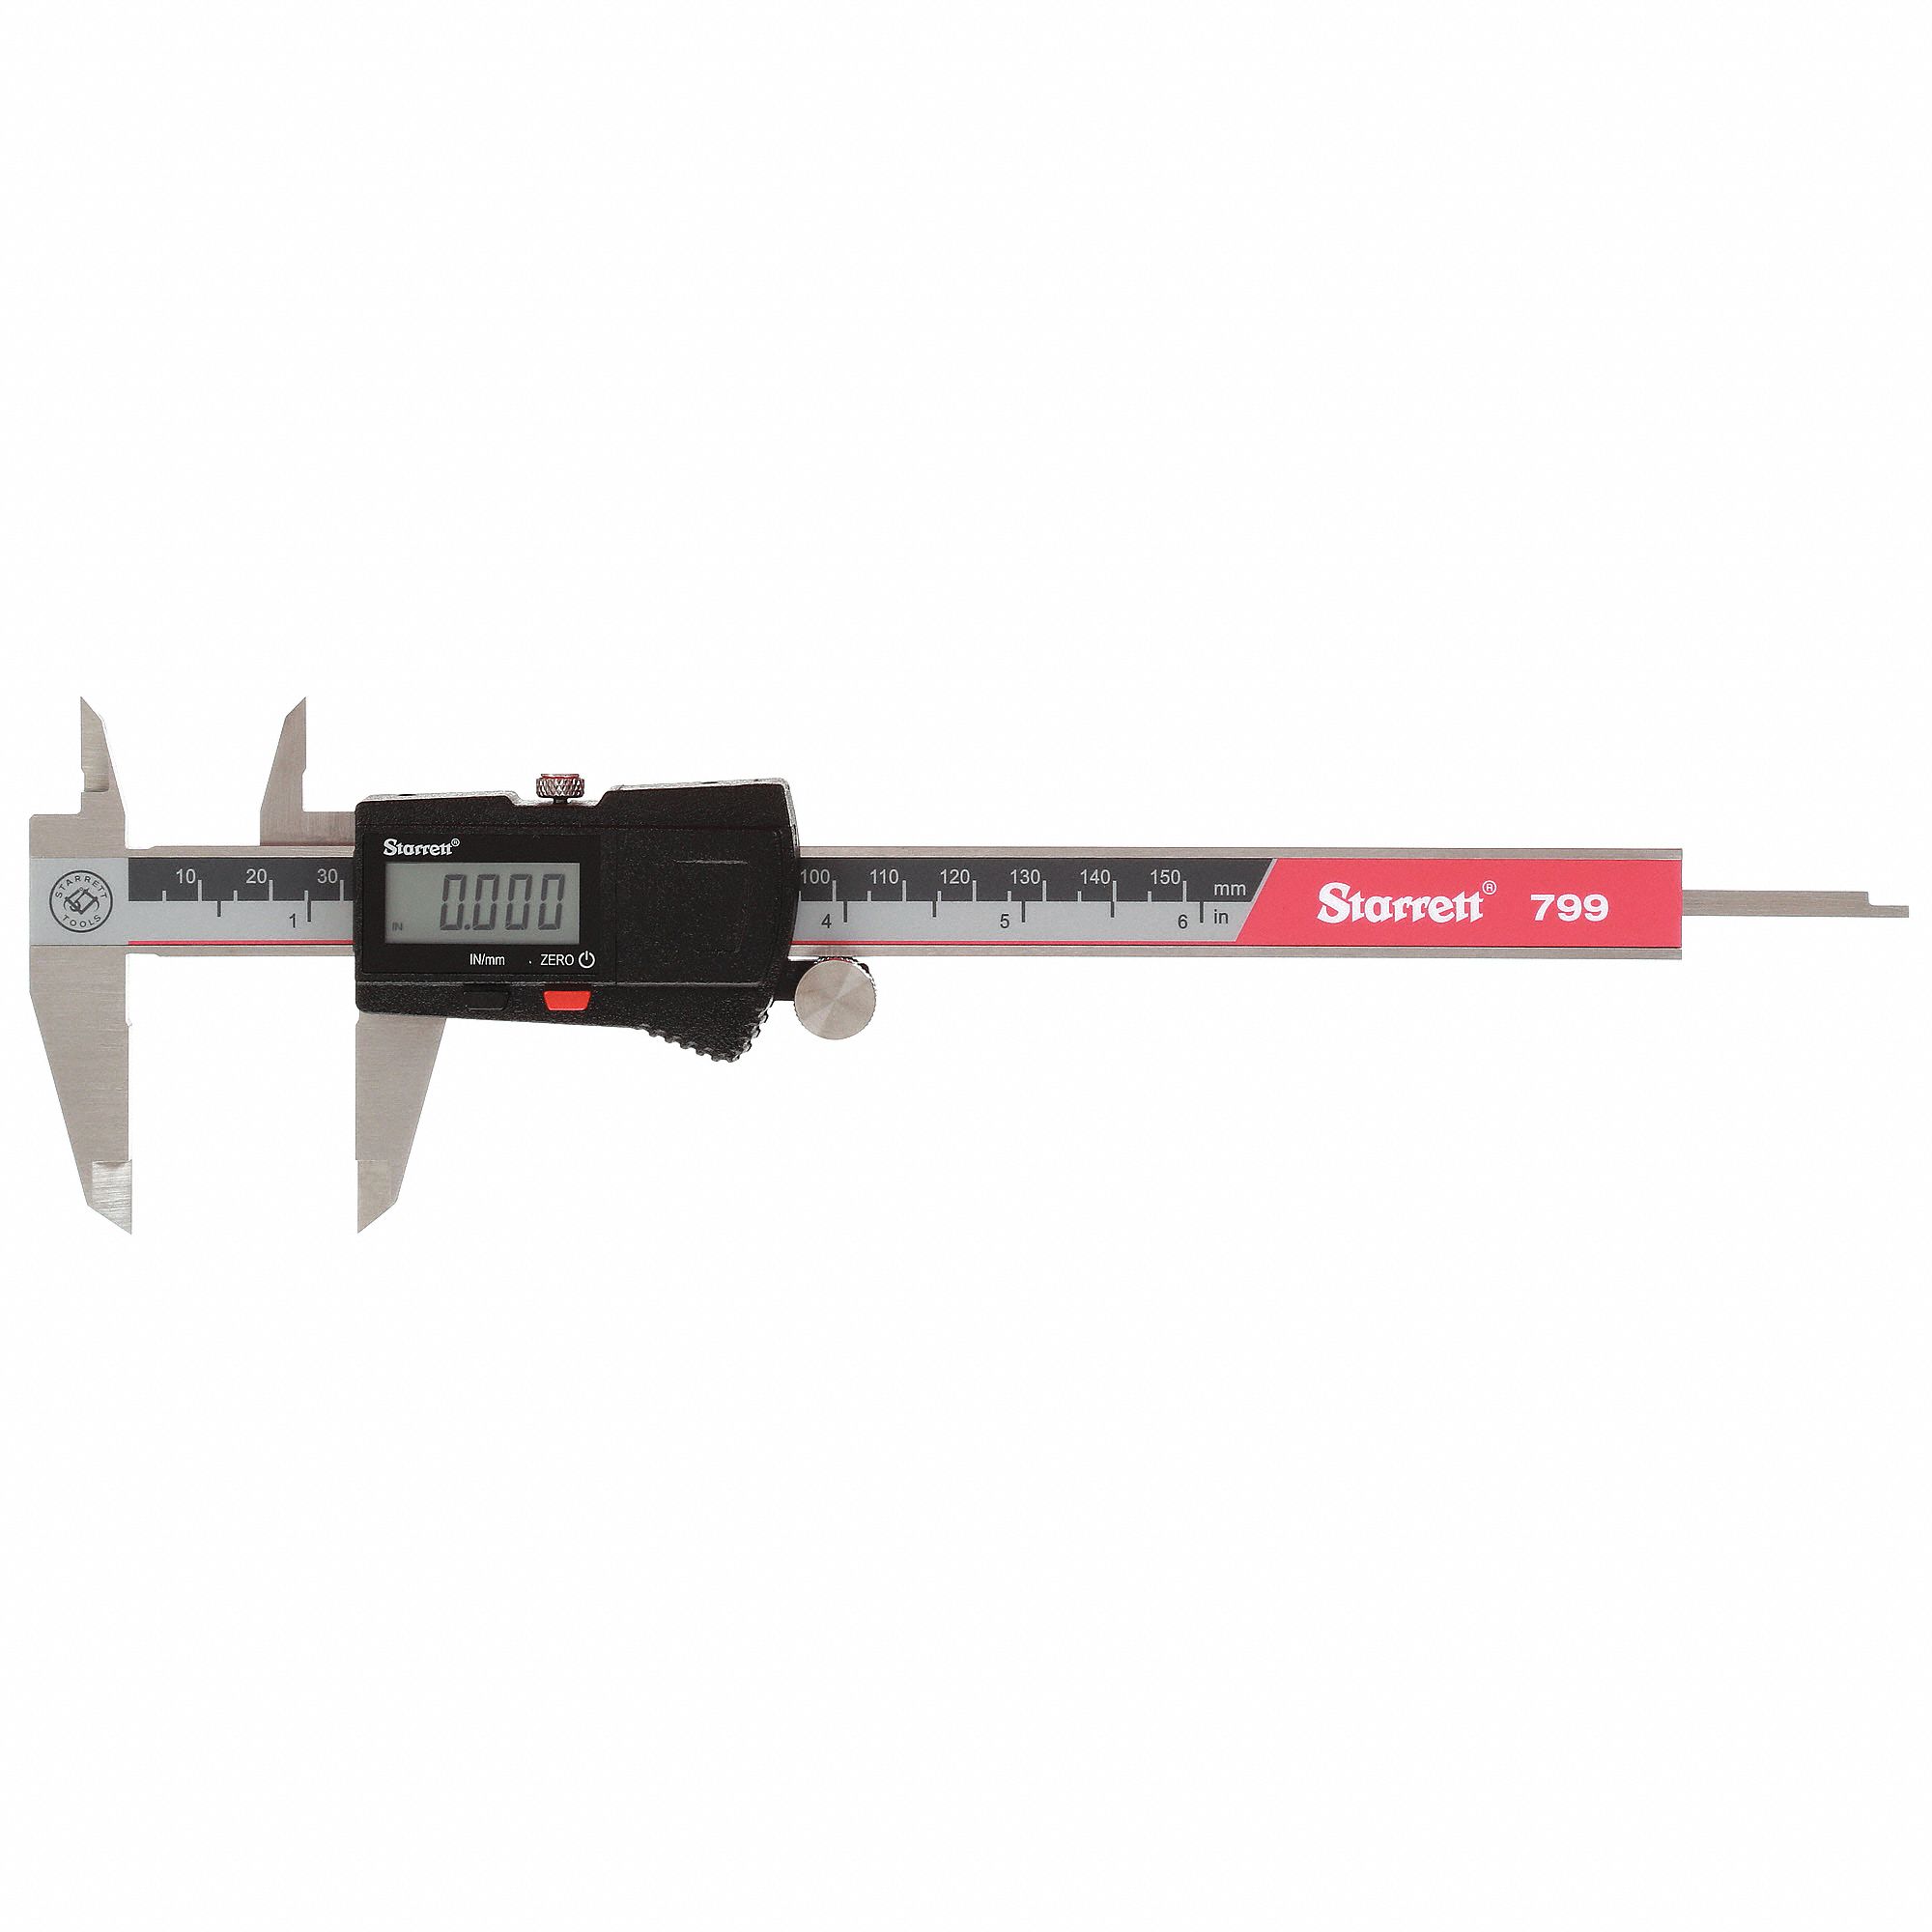
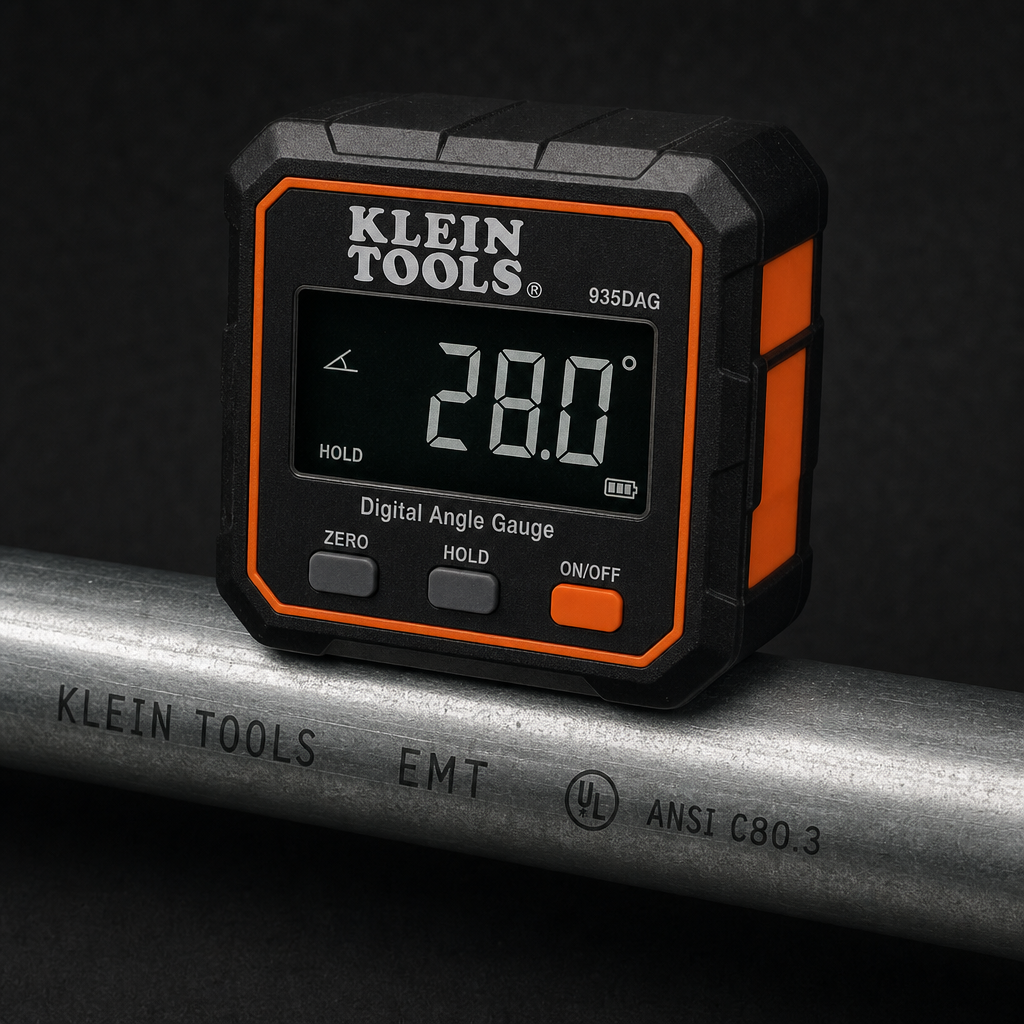


As an Amazon Associate, TestTalkHQ earns from qualifying purchases. Catalog gap: no dedicated center punch, transfer punch, or drill press in the affiliate CSV at publish time.