
A compressor that runs more than it used to is telling you something, but it is not necessarily telling you there are leaks. Four different faults produce the same symptom, three of them are cheaper to fix than a leak survey, and one of them gets worse if you treat it as leakage. This works through the diagnosis in the order that costs least, then deals with the two situations that stop a leak programme dead: the tests disagreeing with each other, and a well-surveyed system that stubbornly refuses to improve.
Quick answer
Shut every point of use, run one measurement test, and read the number. Above about 20% of capacity you have a genuine leak problem or a single failed component. Below about 10% the extra running is coming from somewhere else, and the four candidates are demand that genuinely grew, artificial demand created by unregulated tools, pressure drop that is forcing the setpoint up, or a compressor that no longer makes its nameplate.
For the small-shop symptom triage — won’t build pressure, short-cycling, tools bogging — the existing air compressor troubleshooting guide covers it and this article does not repeat it. What follows is the system-level version: how to be sure the number you measured is leakage, and what to do when it will not behave.
1. Is it actually leakage? The four impostors
Impostor 1 — artificial demand
Artificial demand is air consumed above what the tool needs, purely because the pressure at the tool is higher than the tool requires. An unregulated impact wrench on a 110 psig line consumes noticeably more air per trigger pull than the same wrench regulated to its rated 90 psig, and does no more work for it. Multiply that across a shop and it looks exactly like a leak load: the compressor runs more, and nothing obvious is wrong.
How to tell it apart: artificial demand disappears when the shop is shut down and leakage does not. Run the measurement test on a still shop. If the measured leak load is modest but the compressor works hard during the day, the extra is demand, not leakage, and the fix is a regulator at each drop rather than a detector.
Impostor 2 — demand that genuinely grew
The dullest explanation and a common one. A machine was added, a second bay came online, a process changed, somebody started using a blow gun for housekeeping. The system is not leaking more, it is being used more. Check what changed before you check for holes — the per-tool CFM requirement calculator will tell you whether the current tool list explains the current running time.
Impostor 3 — pressure drop being compensated for
Air lost out of the pipe is leakage. Pressure lost along the pipe is a different fault with a different fix, and it produces the same complaint because the usual response to it is to raise the compressor setpoint. Once the setpoint is up, the compressor runs longer, draws more power, and every existing leak flows proportionally more — so a pressure-drop problem quietly turns itself into a leak problem.
How to tell it apart: put a gauge at the compressor and a gauge at the furthest drop, and read both with a tool running. A large gap under load is pressure drop; a system that bleeds down with no tools running is leakage. They are independent and you can have both. The pressure-map method is set out in the pressure drop troubleshooting guide and is not repeated here.
Impostor 4 — the compressor no longer makes nameplate
Worn rings, a slipping belt, a clogged inlet filter, failing valves on a reciprocating machine. Delivery falls, so the machine runs longer to do the same work, and if you then run a load/unload leak test you will divide by a rated capacity the machine can no longer produce — which understates the leak. A decay test does not care about compressor condition at all, so disagreement between the two methods in this specific direction is a useful signal.
2. When the two tests disagree
If you can run both a decay test and a load/unload test, they should land within roughly 20% of each other. When they do not, the direction of the disagreement tells you what is wrong.
| Symptom | Most likely cause | How to confirm |
|---|---|---|
| Decay result much higher than load/unload | System volume overestimated, or the decay test was run so fast the air cooled | Re-derive the volume from receiver nameplates plus pipe length × internal area. Re-run the decay over at least ten minutes. |
| Decay result much lower than load/unload | System volume underestimated — long runs and large mains are easy to miss by half | Measure the pipe route properly. Also check you isolated the whole system and not just the receiver. |
| Load/unload much higher than decay | Compressor no longer delivers nameplate, so the loaded fraction is doing more work than it appears to | Do a pump-up test: time the receiver from one pressure to another with everything closed and compare against the rated delivery. |
| Both agree but both look absurdly high (>40%) | A single failed component, not a leak population | Isolate branch by branch and re-run. A population falls smoothly as you isolate; one failed part collapses the moment its branch is shut. |
| Decay shows a leak, load/unload shows almost none | The leak is upstream of the point the compressor controls against — commonly a blowdown or check valve venting the receiver back through the compressor | Close the isolating valve between receiver and distribution and re-run the decay on each side. |
The last row is worth dwelling on, because it is the one that sends people on a fruitless survey of the shop floor. If the compressor’s own blowdown valve does not seat, the receiver vents back through the machine every time it unloads. The decay test sees that as leakage, correctly. But it is one repair in the plant room, not forty repairs across the building.
The parts of the job we have verified links for
Couplers, fittings, regulation and hose management — between them these account for the large majority of the leaks in a typical shop. Ultrasonic leak detectors are discussed at length throughout this article but are not linked, because TestTalkHQ does not carry sourced affiliate links for them yet.
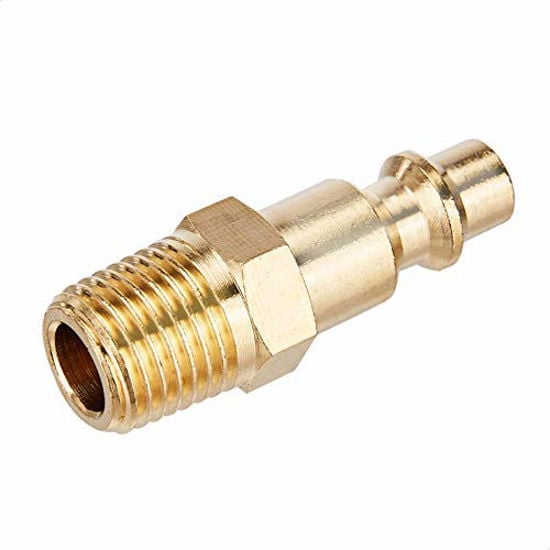
Quick Connect Brass Coupler Kit (14 pc)
- Worn couplers are the most common leak in any shop
- Brass seats keep sealing after the o-ring does not
- Cheap enough to replace on suspicion, not on proof
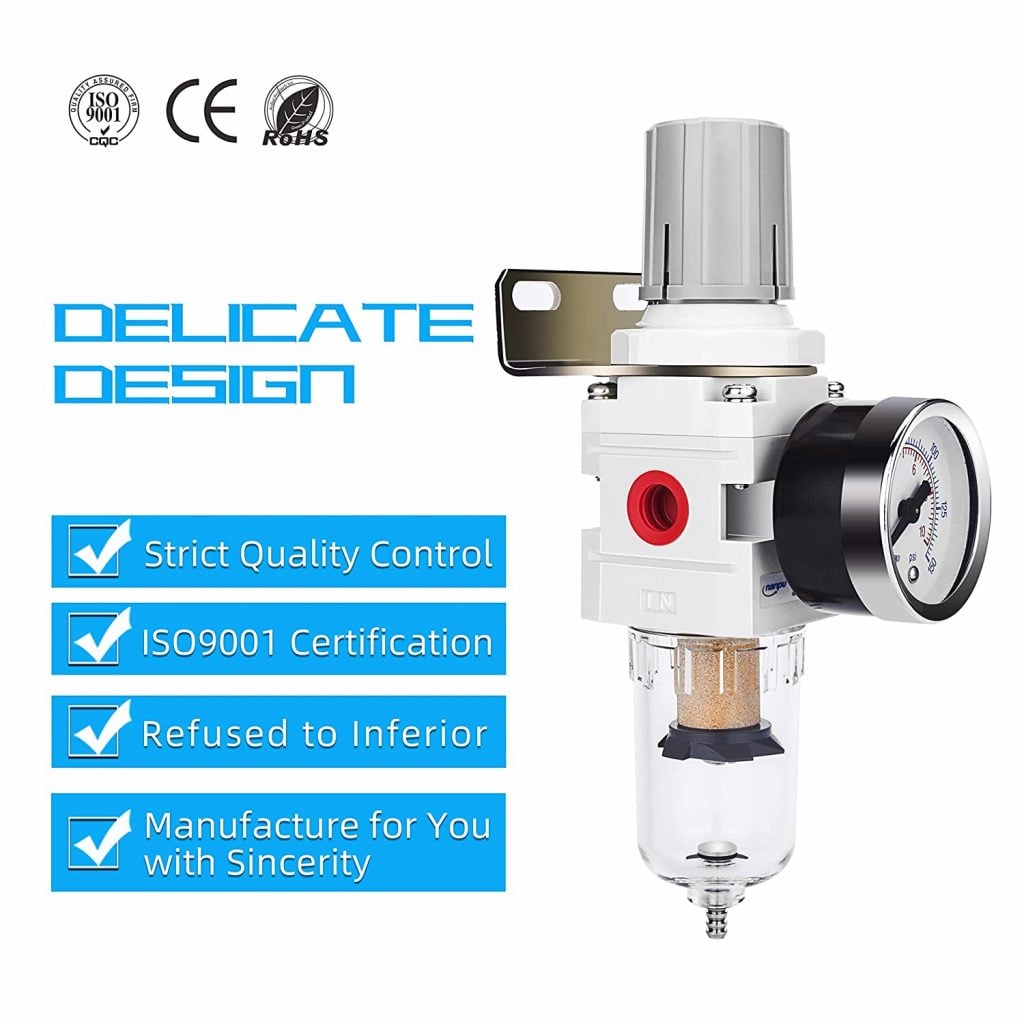
Hromee AW2000-02 Filter / Regulator
- Regulating at the drop cuts artificial demand
- Lower local pressure shrinks every leak downstream
- Lets you isolate one bench and test the rest

LE LEMATEC Regulator 0–150 PSI
- Leak flow is proportional to absolute pressure
- Drop the setpoint and every leak shrinks at once
- The gauge is what you read during a decay test
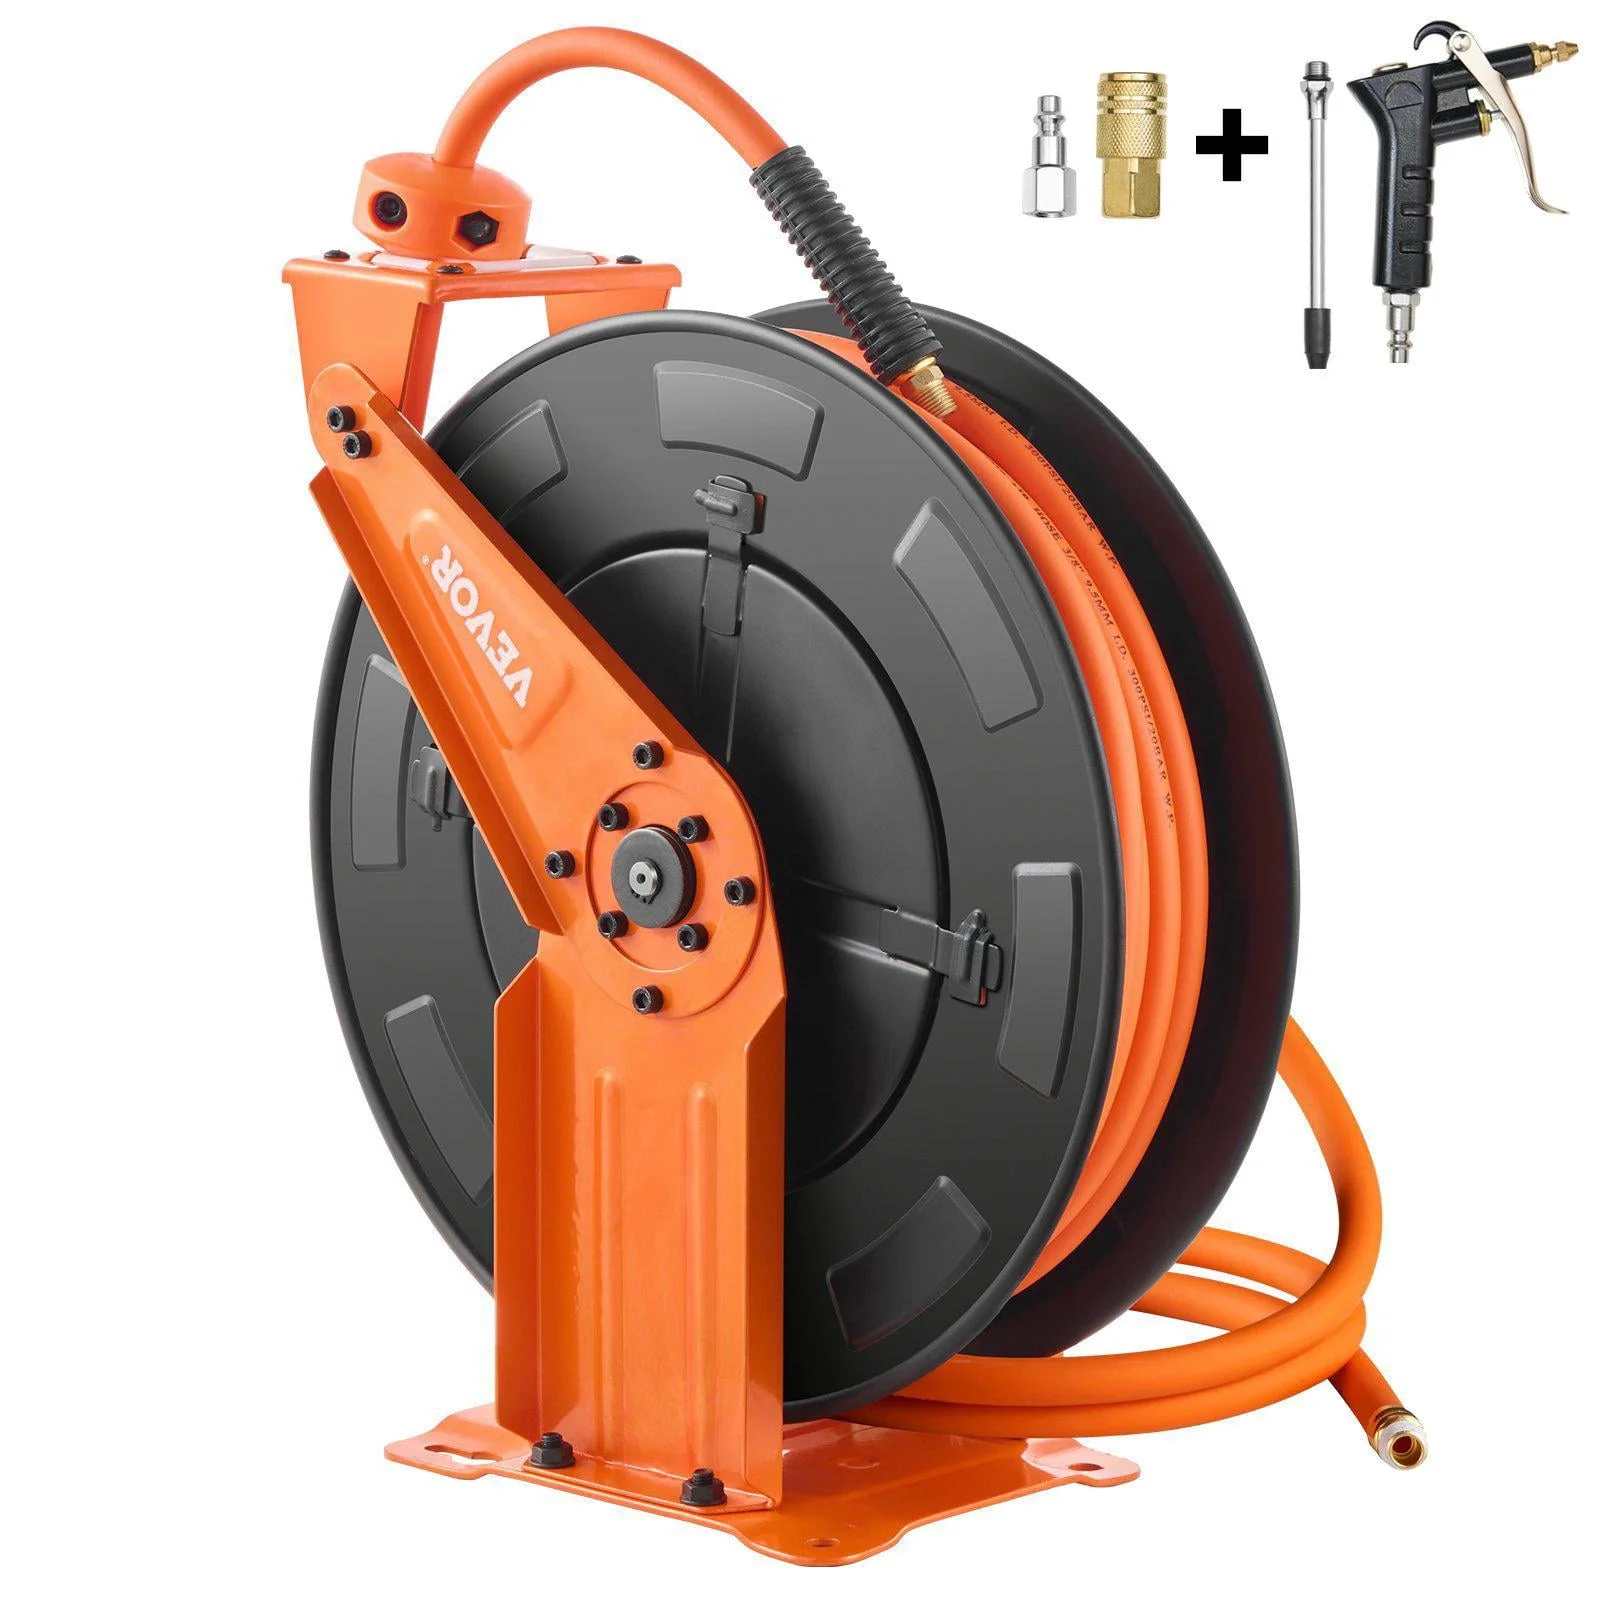
Relhost Retractable Hose Reel 65 ft
- Hose dragged over concrete splits, then leaks
- Reeled hose is the cheapest leak prevention there is
- Keeps the coupler off the floor
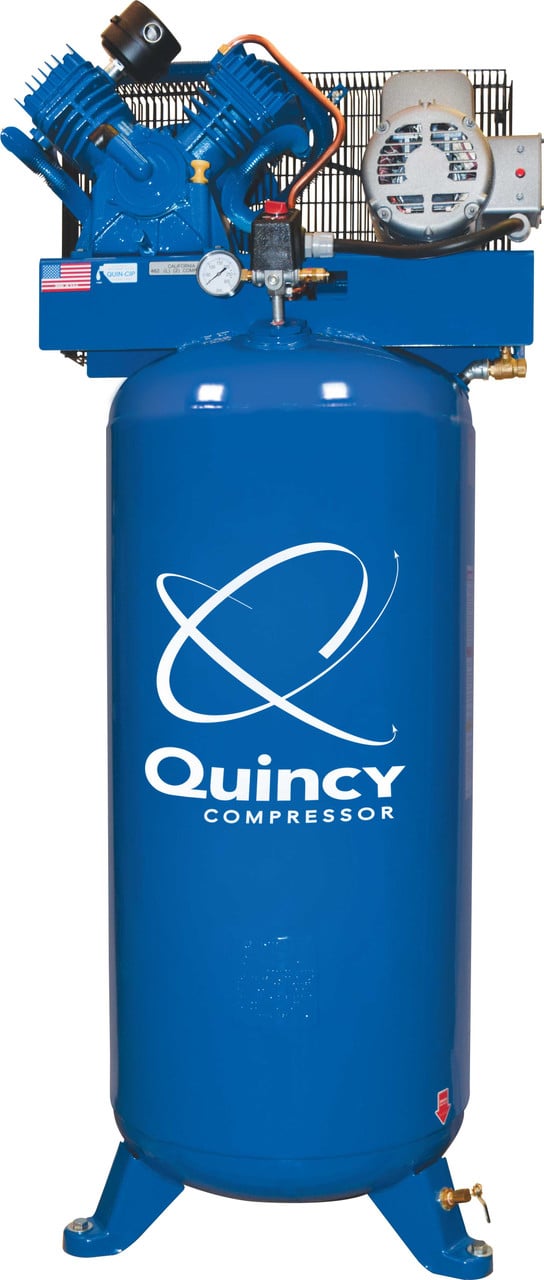
Quincy QT-54 5 HP 60-Gallon
- A known receiver volume makes a decay test possible
- More storage gives cleaner load/unload timing
- Nameplate CFM and hp feed the cost calculation
As an Amazon Associate, TestTalkHQ earns from qualifying purchases. Prices and availability can change.
3. The surveyed system that will not improve
You measured, you surveyed, you fixed everything you found, and you re-measured — and the number barely moved. This is the point at which most leak programmes are abandoned. It almost always has one of five causes.
The leaks are somewhere you did not go
Overhead runs, roof plant, lines inside machine enclosures, buried mains, the mezzanine nobody uses. A survey covers what is reachable, and the unreachable parts do not leak any less. Isolate section by section with the mains valves and re-run a decay test on each; the section whose number does not drop when you shut it off is the one you did not survey.
Something large is open in the plant room
A condensate drain stuck open, a dryer purging continuously instead of on demand, a blowdown valve that never seats, a relief valve weeping. All of these are counted as leakage by both tests, none of them are on the shop floor, and any one of them can be larger than every fitting in the building put together. Stand in the plant room with the shop shut down and listen before you do anything else.
The repairs did not hold
Thread sealant applied over a joint that was never properly cleaned, a coupler rebuilt when it should have been replaced, a hose repaired at the split. Leave the tags on until the next measurement and you will see which ones came back.
The pressure went up
If somebody raised the setpoint between the two measurements — often because the leaks were making the shop feel starved — the repairs are working and the measurement is hiding it. Leak flow is proportional to absolute pressure, so a system that went from 100 to 115 psig shows every remaining leak flowing about 13% harder. Always record the setpoint alongside the leak measurement.
It was never leakage
Back to section 1. If the measured leak load was only ever 8% and the compressor runs hard all day, leak repair was never going to change much. The running time is demand, artificial demand, pressure drop or compressor condition, and the leak survey was the wrong project.
4. Diagnosis in the order that costs least
| Step | What it costs | What it rules in or out |
|---|---|---|
| Stand in the plant room with the shop shut down and listen | Ten minutes | A single large failure: stuck drain, blowdown valve, dryer purge |
| Check the inlet filter and the belt | Ten minutes | Lost delivery masquerading as leakage |
| Read the setpoint and compare it to what the shop needs | Five minutes | Pressure that was raised to compensate for something else |
| Run a load/unload or decay test | Half an hour | The actual leak load, as a number |
| Gauge at the compressor vs gauge at the far drop, under load | Half an hour | Pressure drop as a separate fault from leakage |
| Isolate branch by branch, re-run the decay on each | An afternoon | Which part of the building the leakage is in |
| Walk it with soapy water on reachable joints | An afternoon | The leaks you can touch |
| Ultrasonic survey with tags | A day, plus the instrument | Everything else |
The point of the order is that the first three steps take under half an hour between them and rule out the three faults that would have made the survey a waste of a day. They are worth doing even when you are confident the answer is leaks.
Frequently asked questions
Why does my air compressor run constantly with no tools running?
Something is consuming air. Start in the plant room, not the shop: a condensate drain stuck open, a dryer purging on a timer, a blowdown or check valve that does not seat, or a relief valve weeping will each do it, and any one of them can be larger than every fitting in the building combined. If the plant room is quiet, run a decay or load/unload test to put a number on the distribution leakage and survey from there.
How do I tell leaks from pressure drop?
Leakage is air lost out of the system; pressure drop is pressure lost along it. Test them differently. With no tools running, a system that bleeds down has leakage. With a tool running, a large gap between a gauge at the compressor and a gauge at the far drop is pressure drop. They are independent faults and you can have both — but raising the setpoint to cure the second makes the first worse, so diagnose before you adjust.
My decay test and load/unload test give different answers. Which do I trust?
Trust the load/unload result if the compressor cycles cleanly and you are confident it still makes its rated delivery, because there is no volume estimate in it. Trust the decay result if the compressor modulates or is of uncertain condition. When the decay result is much higher, suspect an overestimated system volume or a test run too fast; when it is much lower, suspect an underestimated volume. A load/unload figure much higher than the decay figure usually means the compressor is no longer making nameplate.
I fixed all the leaks I found and nothing changed. Why?
Five usual causes: the leaks are in places the survey did not reach, something large is open in the plant room, the repairs did not hold, the system pressure was raised between the two measurements so the remaining leaks flow harder, or the extra running was never leakage in the first place. Isolating branch by branch and re-testing each one identifies the first; recording the setpoint alongside every measurement prevents the fourth.
Does a bigger compressor fix a leak problem?
No, it funds it. A leak load of 25% means a quarter of the machine you already own is dedicated to holes, and buying more capacity means a quarter of the new machine will be too, at a higher running cost. Measure the leak load before anyone quotes for capacity — recovering it is usually cheaper than buying it, and the recovered CFM is available immediately.