
Nearly every shop knows it has leaks and nearly none of them know how many. That gap is why leak repair is the energy project that keeps getting postponed: without a number, it is a chore, and with a number it is a line item with a payback period. This is the method that turns one into the other — measure the total before you touch anything, survey it with a tool that suits your building, tag instead of fixing on the spot, repair in the order the money says, then measure again so the saving is a fact rather than a claim.
Why measuring first is not optional
The instinct is to grab a detector and start walking. Resist it for one afternoon, because a survey without a starting number cannot tell you three things you will need: how much of the leak load you actually found, whether the repair was worth doing, and whether it is still worth doing next year.
The first of those is the one that surprises people. Shops that measure themselves properly and then survey thoroughly routinely find that the leaks they could point at add up to noticeably less than the leaks the test says they have. The difference is behind machines, above ceilings, inside cabinets and on the roof. If you never measured, you will assume the survey was complete, and you will be wrong by exactly the amount you cannot see.
The two measurements, in the order of preference
Load/unload test first, if your compressor supports it. Close every point of use, let the machine run, and time the loaded and unloaded portions across four or five complete cycles. The loaded fraction is the leakage as a share of rated capacity. There is no correction factor and no volume to estimate — the machine was already working against your real system pressure while you timed it. This is the cleaner test.
Pressure-decay test if it does not. Pump up, shut the compressor off, close everything, and time the bleed-down. You need a system volume you actually know, which means adding up the receivers and the pipe rather than guessing. The result scales one-for-one with that volume, so a volume estimate that is 50% low gives a leak figure that is 50% low.
If you can run both tests, do. They should agree within roughly 20%. When they do not, the disagreement itself is diagnostic — that case is worked through in the leak troubleshooting companion.
Surveying: four methods, matched to the building
Once you know the total, go and find it. There is no single correct tool — the right one depends on how noisy your shop is, whether you can shut it down, and how much of your pipework is reachable.
1. Shut down and listen
Free, and better than its reputation. In a genuinely quiet building with the system pressurised, a human ear picks up anything from roughly 1/32 in upward at a few feet, and the big ones are audible across a bay. A Saturday morning walk-around with nothing running finds the worst offenders in an hour.
What it cannot do: work in a running plant, work at distance, or work through an enclosure. And it will not find the 1/64 in pinholes — which individually cost little but collectively add up, because there are always dozens of them.
2. Soapy water
Also free, and the confirmation step for everything else. A spray bottle of water with a squirt of dish soap, applied to a joint, foams where air is escaping. It is unambiguous in a way nothing else on this list is: you are looking at the leak, not inferring it.
What it cannot do: scale. It works on joints you can reach and touch, which rules out anything overhead, buried, inside a machine or behind a guard. Use it to confirm a suspect, not to search.
3. Ultrasonic leak detection
Turbulent air escaping through a small hole generates sound well above human hearing, centred around 40 kHz. An ultrasonic detector shifts that band down into audio and puts it in a headset, with a directional probe or cone so you can walk a line and swing the probe until the hiss peaks. Because shop noise is overwhelmingly low-frequency, the 40 kHz band stays comparatively quiet even next to a running machine — which is the entire reason the technique exists.
This is what a professional survey uses, and it is the only method on this list that works at distance, in a running plant, and on overhead pipework from the floor. The trade-off is that it tells you where sound is coming from, not what the sound is; the decision of when to reach for one is worked through in ultrasonic vs soap test.
4. Tracer gas
For the leaks the other three cannot reach — buried mains, lines inside walls, anything where the leak is real but the sound never reaches you. The system is charged with a tracer, commonly a hydrogen/nitrogen mix, and a sniffer follows the pipe route at the surface. It is a specialist job and it is priced like one, so it is the answer when a decay test on an isolated branch says the leak is on a run you cannot see, and not before.
The parts of the job we have verified links for
Couplers, fittings, regulation and hose management — between them these account for the large majority of the leaks in a typical shop. Ultrasonic leak detectors are discussed at length throughout this article but are not linked, because TestTalkHQ does not carry sourced affiliate links for them yet.
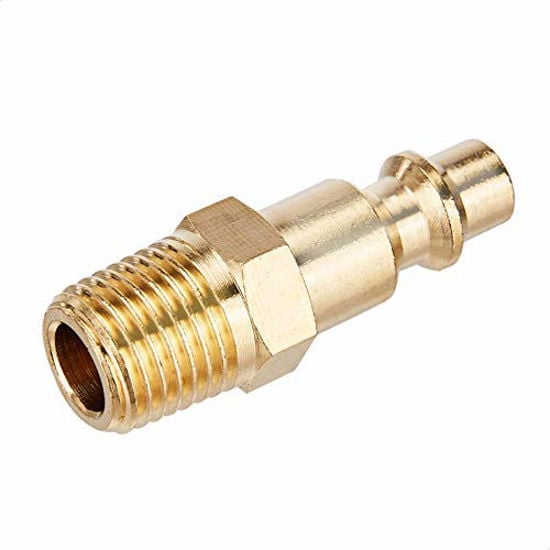
Quick Connect Brass Coupler Kit (14 pc)
- Worn couplers are the most common leak in any shop
- Brass seats keep sealing after the o-ring does not
- Cheap enough to replace on suspicion, not on proof
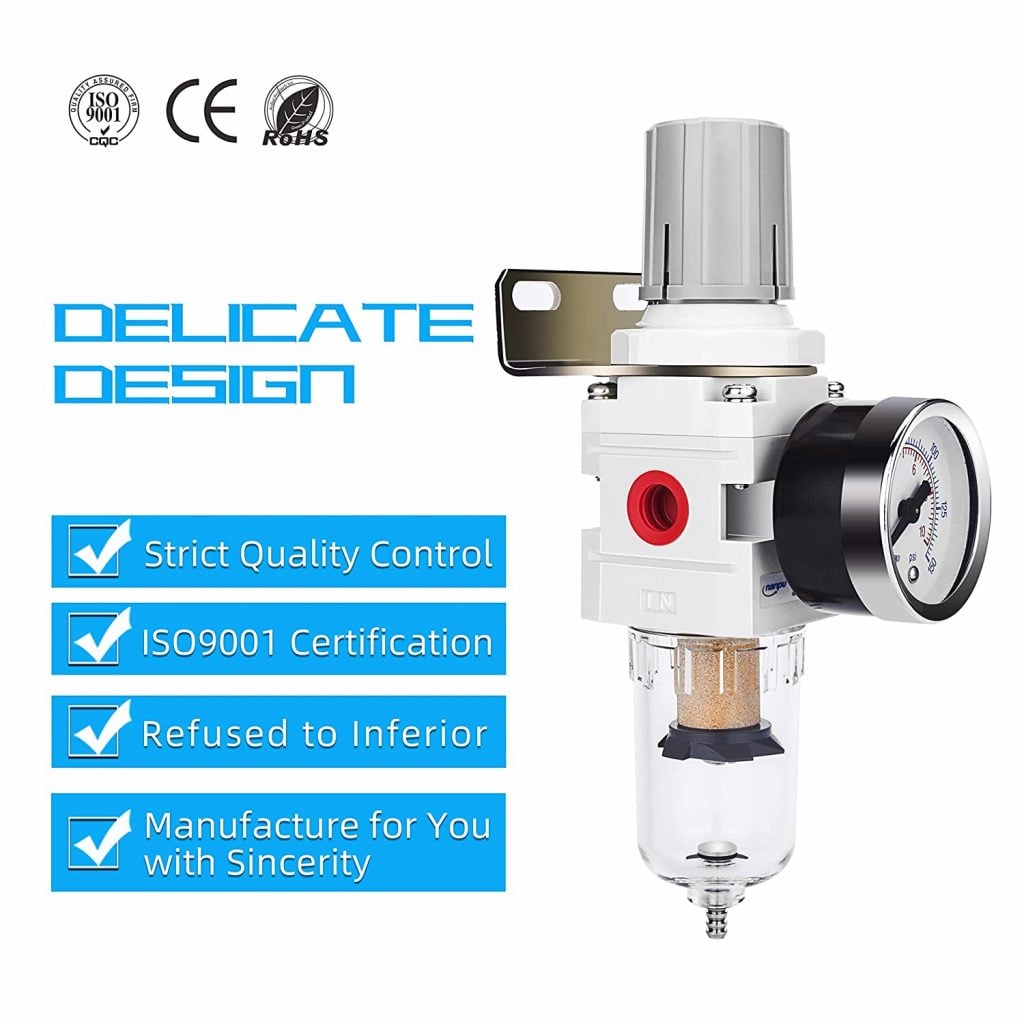
Hromee AW2000-02 Filter / Regulator
- Regulating at the drop cuts artificial demand
- Lower local pressure shrinks every leak downstream
- Lets you isolate one bench and test the rest

LE LEMATEC Regulator 0–150 PSI
- Leak flow is proportional to absolute pressure
- Drop the setpoint and every leak shrinks at once
- The gauge is what you read during a decay test
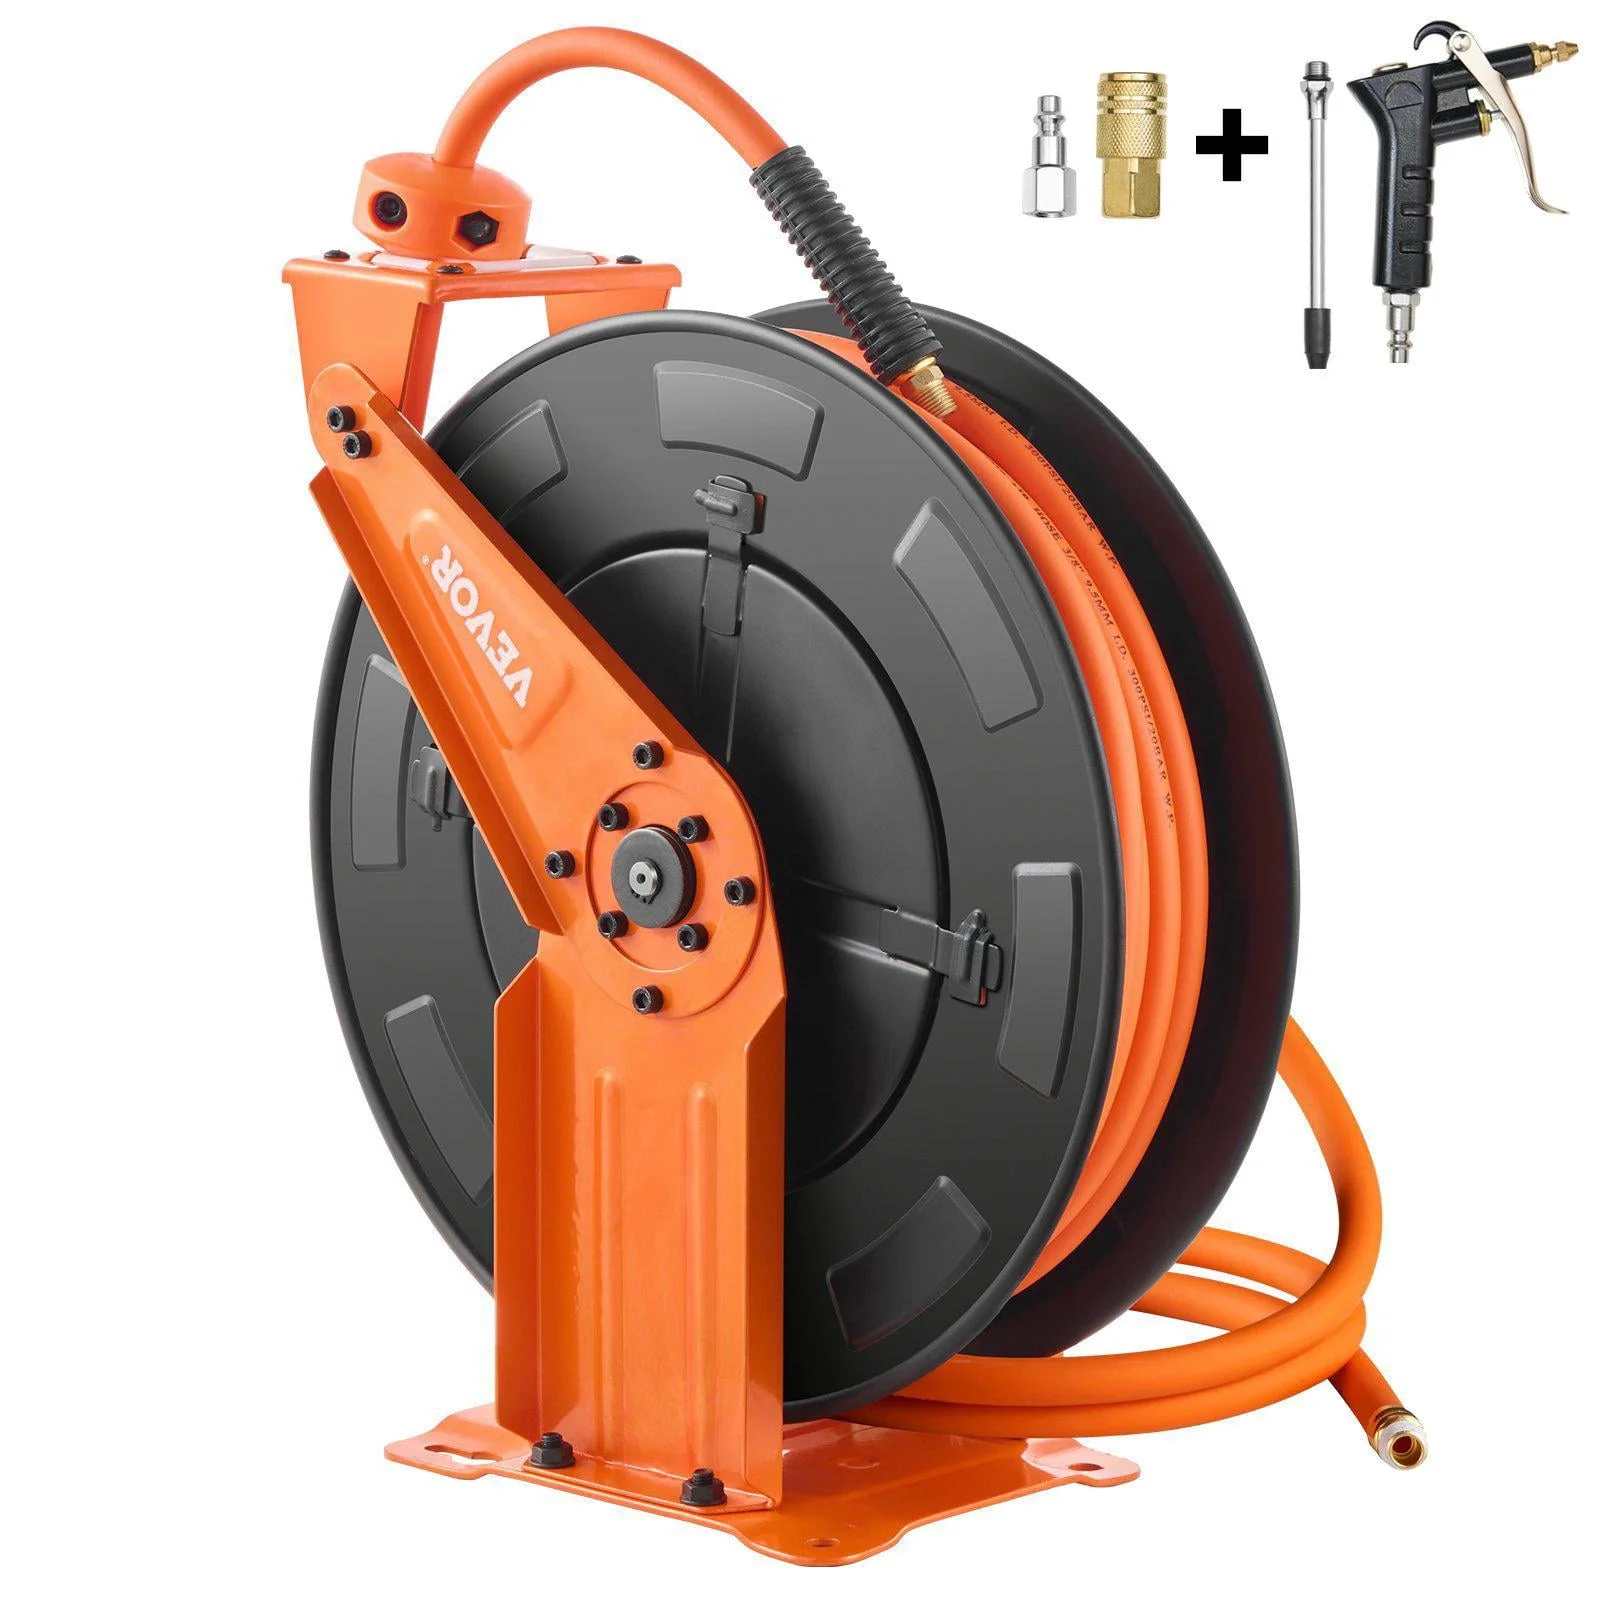
Relhost Retractable Hose Reel 65 ft
- Hose dragged over concrete splits, then leaks
- Reeled hose is the cheapest leak prevention there is
- Keeps the coupler off the floor
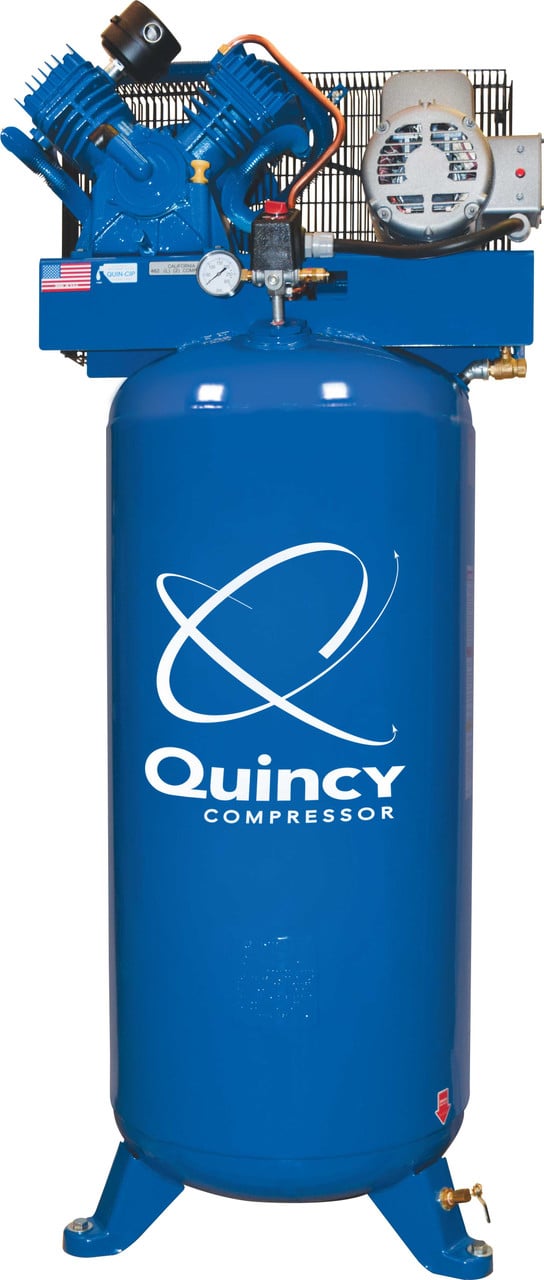
Quincy QT-54 5 HP 60-Gallon
- A known receiver volume makes a decay test possible
- More storage gives cleaner load/unload timing
- Nameplate CFM and hp feed the cost calculation
As an Amazon Associate, TestTalkHQ earns from qualifying purchases. Prices and availability can change.
Tag, do not fix
This is the single procedural change that separates shops whose leak load stays down from shops that repeat the whole exercise in eighteen months.
When you find a leak, do not repair it there and then. Hang a numbered tag on it, and write the same number on a list with four things: where it is, what it appears to be, an estimated size, and whether fixing it needs the line shut down. Then keep walking. There are three reasons this is better than fixing as you go:
- You stay in survey mode. Stopping to find a fitting, walk to the store and come back costs twenty minutes and breaks the pattern. A surveyor who is also a fitter finds a fraction of the leaks a surveyor finds.
- You can repair in cost order. A tagged list with sizes on it can be sorted. Fixing the three worst leaks in the building first is worth more than fixing the first fifteen you happened to walk past.
- You end up with a record. Next year’s survey starts from this year’s list, and repeat offenders become visible — the same coupler leaking three years running is not a coupler problem, it is a hose-routing problem.
Repairing in cost order
Leak flow goes with the square of the diameter, so the distribution of cost across a tagged list is always far more lopsided than the distribution of tags. Doubling the hole size quadruples the flow. In practical terms one clearly audible 1/8 in leak is worth about sixteen 1/32 in pinholes, which is why a list sorted by size and repaired from the top recovers most of the money in the first fraction of the work.
That said, the pinholes are not free and they are the ones that come back. A programme that only ever fixes the loud ones converges on a shop full of quiet ones, and the measured leak load stops falling somewhere around 15%. Fix the top of the list for the money and work down the rest of it for the trend.
What actually leaks, in rough order
| Where | Why it leaks | The durable fix |
|---|---|---|
| Quick-connect couplers | Seals harden, seats get dinged, the body wears where the plug locks in. Dropped on concrete repeatedly. | Replace rather than rebuild; they are cheap. Keep the coupler off the floor with a reel or a hanger. |
| Hose and hose ends | Dragged over concrete, driven over, kinked at the ferrule until it splits | Reel it. A retractable reel pays for itself in hose, never mind air. |
| Threaded joints in the distribution | Sealant applied thinly, joints disturbed by vibration, dissimilar metals | Redo the joint properly rather than adding sealant over the top. Support the pipe so vibration is not loading the thread. |
| FRL units and their bowls | Bowl o-rings age, drain valves stick part-open, gauges weep at the port | Service kit, or replace the unit. A permanently damp bowl area is usually a slow leak rather than condensate. |
| Condensate drains | Timed solenoid drains stick open on rust and sludge; manual drains get left cracked open deliberately | Zero-loss demand drains that open on level rather than on a clock. See the moisture removal guide for the sizing side of this. |
| Dead legs | A line to equipment that was removed, left capped with a fitting nobody maintains | Cut it back to the main and cap it properly. Dead legs are also where water collects. |
| Tools and their connectors | Internal bleeds, worn triggers, a tool left plugged in overnight | Unplug at the end of the shift. This is procedural, not mechanical. |
Prove it, then keep it
Re-run the same test, the same way, after the repairs. This is not ceremony — it is the only thing that tells you whether the survey was thorough or whether half the leak load is still out there in the places you could not reach.
Expect the number to fall substantially but not to nothing. A first pass through a shop that has never had a leak programme commonly takes the measured leak load from the 20–30% band down into the low teens; a second pass some weeks later, with fresh ears and the awkward areas planned for, takes it towards the 10% that a managed system holds. Getting below that is possible and is rarely where the money is.
Why the number creeps back
Leak load is not a state you reach, it is a rate you hold. Hoses keep getting dragged, couplers keep getting dropped, joints keep vibrating. Left alone, a system that was surveyed down to 10% drifts back up by a few percent a year, and the drift is invisible because nothing about it is sudden. The counter is a short, fixed loop:
- Re-measure quarterly. One load/unload or decay test takes half an hour and gives you a trend line. A number that has moved is the trigger for a survey; a number that has not saves you the survey.
- Survey annually, starting from last year’s tag list.
- Keep the tags on the fixed ones until the next survey, so you can see which repairs held.
- Fix the routing, not just the fitting, when the same tag number comes back twice.
The two free repairs everybody forgets
Lower the pressure. Leak flow through a hole above about 13 psig is choked, which makes it directly proportional to the absolute pressure upstream. Dropping a system from 110 to 100 psig cuts every leak in the building by about 8% in the same instant — on top of the roughly 5% the compressor stops drawing to make that pressure. If the shop runs high because one machine needs it, regulate that machine rather than the building.
Shut the system down. A leak runs whenever the system holds pressure, so a compressor left energised overnight and across the weekend leaks for 8,760 hours a year rather than 2,000. Closing an isolating valve at the end of the shift, or fitting a timer, costs nothing and removes two thirds of the leak hours. Run the calculator twice with the hours input changed and the size of that is startling.
Frequently asked questions
How do I find compressed air leaks without a detector?
Shut the shop down so the building is quiet, pressurise the system, and walk it listening. Anything from about 1/32 in up is audible at close range, and the big ones carry across a bay. Confirm each suspect with soapy water. That combination finds most of the cost in a small shop, because cost is concentrated in the few largest leaks. What it will not find is anything overhead, inside a machine, behind a guard or in a plant you cannot shut down — which is where an ultrasonic detector starts to earn its price.
How often should I do a compressed air leak survey?
Measure quarterly and survey annually. The quarterly measurement is a half-hour test that gives you a trend; the annual survey is the walk-around with tags. If the quarterly number jumps, survey early rather than waiting. Systems that get surveyed once and then left drift back up by a few percent a year, so the measurement loop matters more than the survey itself.
Is it worth fixing small compressed air leaks?
Individually, barely. Collectively, yes, and the reason is arithmetic: flow scales with the square of diameter, so one 1/8 in leak equals about sixteen 1/32 in pinholes. Fix the large ones for the money. Fix the small ones because a shop that only ever fixes the loud ones stops improving at around 15% leak load, and because the small ones are the ones that grow.
Should I fix leaks as I find them or tag them?
Tag them. Stopping mid-survey to find a fitting and walk to the store costs twenty minutes each time and badly reduces how many leaks you find in a session. Tagging also lets you repair in cost order rather than in walking order, and it leaves a record that makes next year’s survey faster and shows you which repairs did not hold.
Does lowering system pressure really reduce leaks?
Yes, and it is the only repair that fixes every leak in the building at once. Above roughly 13 psig the flow through a hole is choked and therefore proportional to absolute upstream pressure, so going from 110 to 100 psig cuts leak flow by about 8% immediately. The compressor also draws roughly 5% less to make the lower pressure. If one machine is the reason the whole shop runs high, put a regulator on that machine instead.