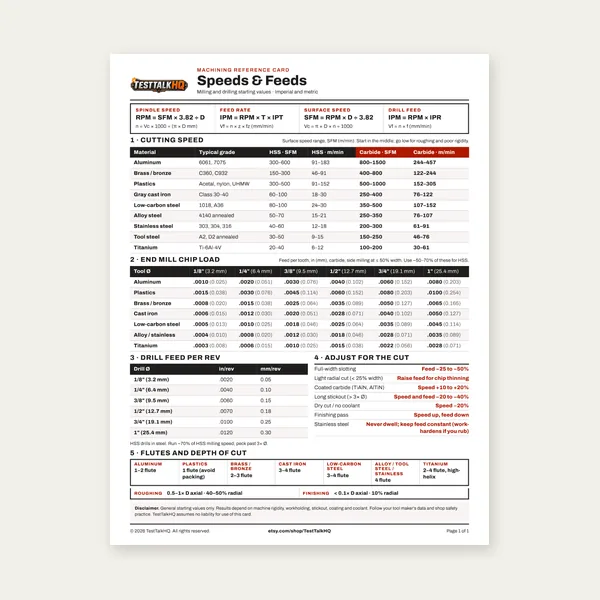
Machining Speeds & Feeds Card
One page. Speeds, chip load and drill feed, imperial and metric.
$3.99
BuyFormula, gauge-block stacks, wringing, and plate technique
A sine bar turns a carefully built height into a precise angle. This guide covers how the geometry works, how to select and wring gauge blocks, and how to use the bar on a surface plate or against an angle plate for inspection and setup.
Jump to the Sine Bar / Sine Plate Angle Calculator when you need stack height or the reverse angle without doing the trig by hand.
A sine bar is a hardened, ground bar with two precision rollers fixed a known center-to-center distance L apart (commonly 5.000" or 10.000"). Raise one roller on a stack of gauge blocks of height H and the top face of the bar forms an angle θ with the surface plate where:
The beauty of the method is that length and height are measurable to ten-thousandths with shop metrology, while small angles are hard to measure directly with a protractor. Building H correctly is the entire job.
5" bars are compact, cheaper, and adequate for most inspection and light setup work. For a given angle they need a shorter stack, which means fewer blocks and less thermal/wringing risk.
10" bars spread the same angle over a longer baseline. Height resolution improves — a 0.0001" height error maps to a smaller angle error — but stacks get taller and the bar needs more plate real estate.
Sine plates use the same math with a magnetic or bolted workholding surface on top. Use them when you will mill or grind the workpiece at the set angle rather than only inspect it. Always use the stamped roller center distance as L, not the overall plate length.
Build height from a standard rectangular inch set (81- or 83-piece). Work largest blocks first so you minimize block count and keep the stack stable:
The calculator does this largest-first suggestion automatically. Always verify the finished stack with a micrometer or height gauge before you trust the angle — block combinations can be exact on paper and still wrong if a block is misread.
Wringing joins clean, dry gauge-block faces so molecular attraction holds them without clamps. Poor wringing is the #1 source of stack error that still "looks" right.
Clean the plate. Seat the sine bar with one roller on the plate and the other on the gauge-block stack. The top of the bar (or sine plate) is now your angle reference.
Inspection: Place the workpiece or a precision square/indicator setup against the bar face. Compare the print angle to the geometric angle you built. For hole patterns or compound angles, combine with tools like the Bolt-Circle / Hole-Pattern Generator when the print also specifies polar hole locations.
Setup for machining: On a sine plate, clamp or magnetically hold the part, indicate to confirm, then mill or grind. Recheck after unclamping — clamp distortion can move the effective angle.
When angular error shows up in an assembly, treat the angle as one contributor in a larger stack — the Tolerance Stack-Up Guide is the right companion for that analysis.
Need the number now?Convert angle ↔ stack height and get a gauge-block suggestion in one screen.
Open Calculator →If the indicated angle refuses to match the math, go to Sine Bar Troubleshooting. For choosing sine bar vs electronic protractor on a given job, see Sine Bar vs Digital Angle Gauge.
Steel sets are fine for most shops if you keep them clean and oiled in storage. Ceramic resists corrosion and wear better for high-duty inspection rooms.
Geometrically yes until H approaches L, but tall stacks get unstable and thermal/wringing error grows. Prefer a 10" bar or a sine plate with a lower angle plus a secondary setup when possible.
Angle and finish are separate callouts. After you set the angle, finishing passes still follow normal Ra practice — use the Surface Finish Ra Calculator when the print specifies roughness on the angled face.
One page. Speeds, chip load and drill feed, imperial and metric.
$3.99
Buy
27 pages. Milling, drilling, tapping, turning and CNC routing.
$12.99
Buy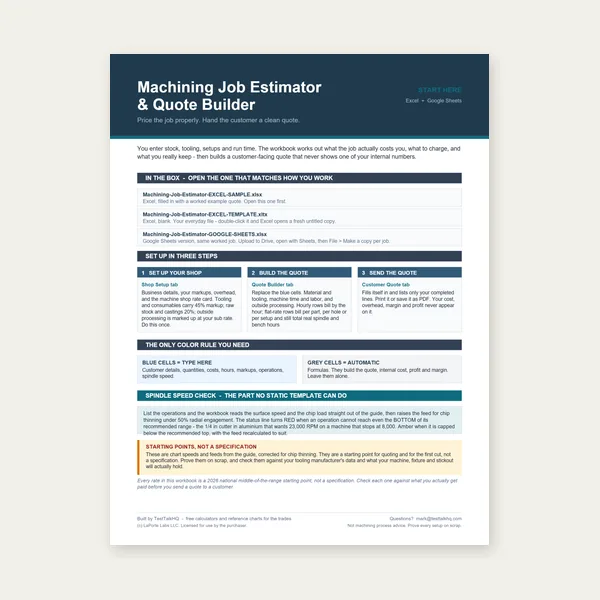
Quote shop work and check operations against your spindle's top speed.
Excel or Google Sheets. Best on a computer.
$29.00
Buy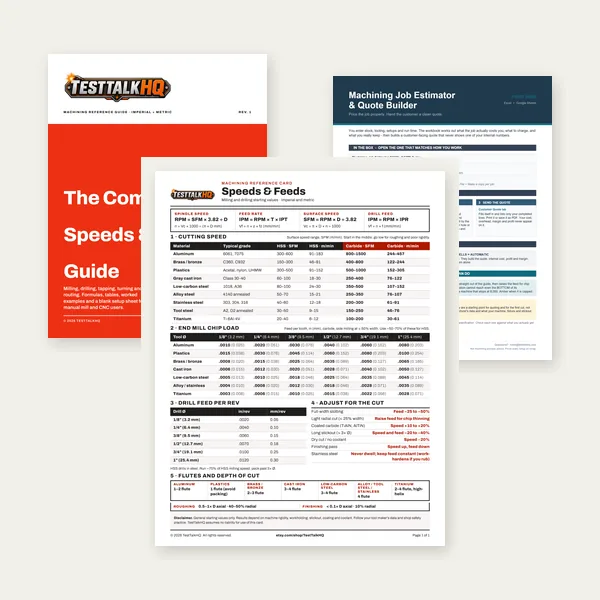
Card, 27-page guide and the estimator workbook. All six files.
Excel or Google Sheets. Best on a computer.
$34.99
$45.98 if bought separately — save $10.99
BuyCheckout opens in a new tab.