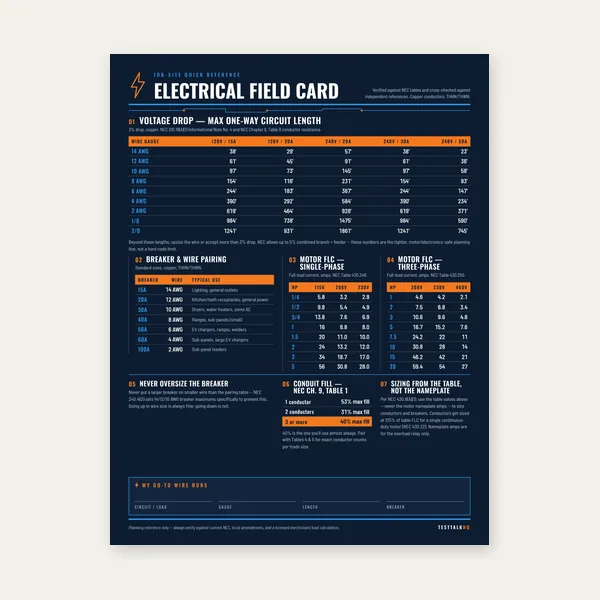
Electrical Reference Card
One page. Voltage drop lengths, breaker and wire pairing, motor FLC.
$3.99
BuyWrong finished angle, kinked pipe, misaligned multi-bends, short/long sticks, and uneven segment sweeps — diagnose what the layout math alone will not fix
The Conduit Bending Guide teaches how to mark stub-ups, offsets, and saddles. This page stays on diagnosis when the marks were “right” and the stick still fails. Recalculate marks with the Conduit Bending Calculator only after you know which physical fault you are chasing.

Use this when the bend leaves the shoe wrong — not when you still need the formula for mark spacing.
| Problem | What it usually means | First fix | Next tool |
|---|---|---|---|
| Finished angle wrong despite marks | Shoe not seated, wrong deduct/gain for size, springback ignored | Reseat conduit hard in the shoe; over-bend EMT a few degrees and verify with an angle gauge | Calculator |
| Kinked or flattened at the bend | Wrong shoe for size/type, bending too fast, unsupported long stick | Match bender to trade size; slow the stroke; support the free end | Bender types |
| Offset / saddle / back-to-back misaligned | Arrow on wrong mark, travel distance error, shoe rotated wrong way | Sight the first bend plane; remake travel from a fixed reference | Guide |
| Stick comes up short or long | Take-up/gain not subtracted, measured from wrong reference | Confirm deduct/gain and whether you measured from cut end or back of bend | Calculator |
| Segment / large-radius sweep uneven | Inconsistent increments or wrong segment count for the radius | Mark equal chord increments; keep each kick the same degree | Bender types |
What it looks like: Level or digital gauge reads 82° or 97° when you wanted 90°. Offsets look “open” or “closed.” Saddle center does not match the side kicks.
Likely causes:
Fixes: Slam the pipe fully into the shoe before you start the stroke. Confirm the deduct stamped on your head, not a memory from last week’s size. On EMT, bend a few degrees past target, check with a magnetic digital angle gauge on the handle or pipe, and correct while still in the shoe. Recalculate only after seating and springback are ruled out — use the calculator for a fresh mark, not as the first move.
What it looks like: Intrados collapses, wall ovalizes, or a sharp crease appears opposite the shoe. Wire will hang or insulation will scrape later.
Likely causes:
Fixes: Match shoe to trade size and conduit type. Slow the stroke — especially past ~45°. Support long sticks with a helper or stand so the pipe stays centered in the groove. If the job needs radii or sizes your hand bender cannot form cleanly, change tooling class — see hand vs hydraulic vs segment. Scrap the kinked section; do not “round it out” and leave it in a finished run.
What it looks like: Offset dog-legs. Saddle rides off-center on the obstacle. Back-to-back 90s are not parallel. Second bend plane does not match the first when you sight down the stick.
Likely causes:
Fixes: Before the second bend, sight the first bend so it is vertical/horizontal and lock that plane with your body line or a level on the handle. Remeasure travel from a fixed reference (floor, box face, obstacle centerline) — not from a Sharpie smudge that moved. For mark symbols and which stamp to use, return to the guide; this page only tells you which failure mode you are in.
What it looks like: Stub lands low or high. Box-to-box stick is short after offsets. Back-to-back legs miss center-to-center even though the tape said otherwise.
Likely causes:
Fixes: Write the deduct on the stick next to the mark. Confirm whether this layout uses arrow-from-end (typical stub) or star/back-of-bend reference. Add shrink for every offset and 90 when the far end is fixed. When length is still wrong after a careful remake, rebuild the mark with the calculator for that bend type and size — then re-check the reference end before blaming the tool.
What it looks like: Sweep looks lumpy; some kicks are sharp and others barely show; finished radius does not match the planned centerline.
Likely causes:
Fixes: Lay equal chord marks along the developed length before the first kick. Use the same degree increment every time and verify with an angle gauge — do not “eyeball a little more” mid-sweep. If the required radius exceeds what even, consistent segments can deliver on your hand bender, move to the right machine class rather than forcing more kicks — bender types decision.
Hand benders, hydraulic/mechanical benders, and segment technique solve different size, radius, and field constraints. If you keep kinking large rigid or fighting sweeps that exceed the shoe, you may need a different tooling class — not another Sharpie mark.
One page. Voltage drop lengths, breaker and wire pairing, motor FLC.
$3.99
Buy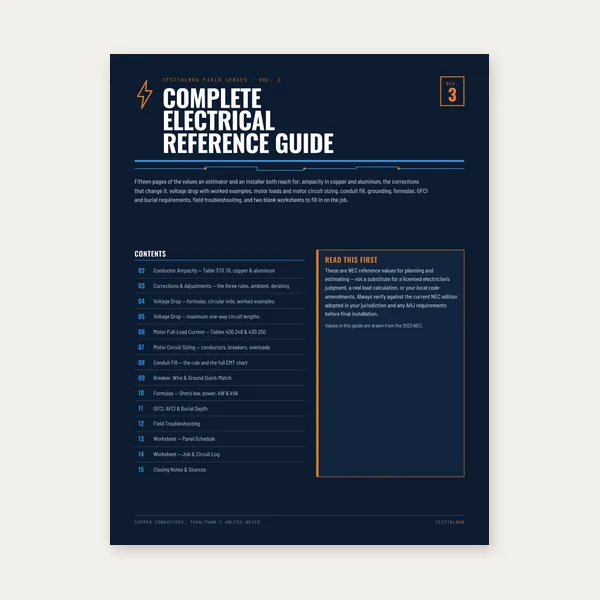
15 pages. Ampacity, corrections, voltage drop, motor circuits, conduit fill.
$12.99
Buy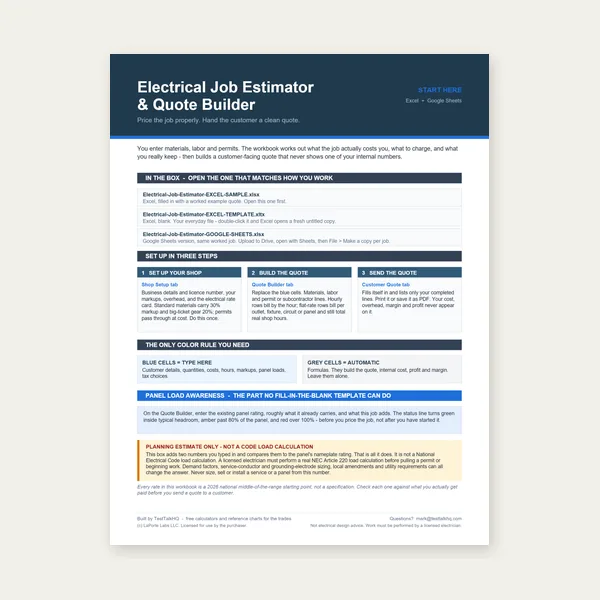
Quote electrical work and flag panel headroom before you price it.
Excel or Google Sheets. Best on a computer.
$29.00
Buy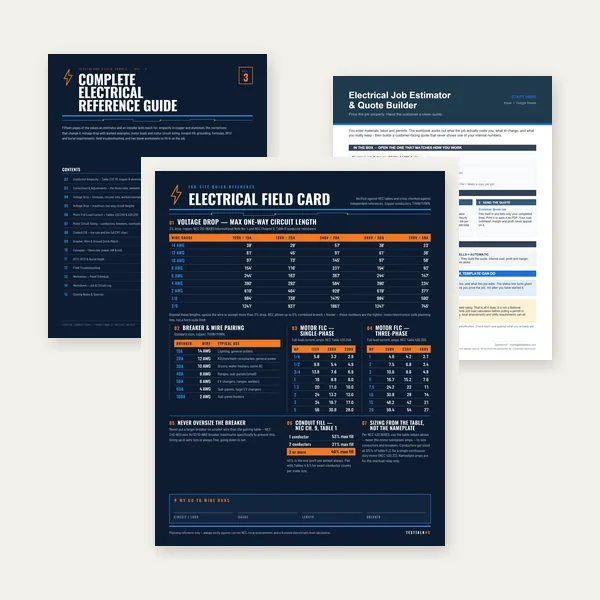
Card, 15-page guide and the estimator workbook. All six files.
Excel or Google Sheets. Best on a computer.
$34.99
$45.98 if bought separately — save $10.99
BuyCheckout opens in a new tab.
Five catalog picks for diagnosis and layout — digital angle gauge plus EMT hand benders, a pocket bending card, and fish tape for the pull after the stick is right
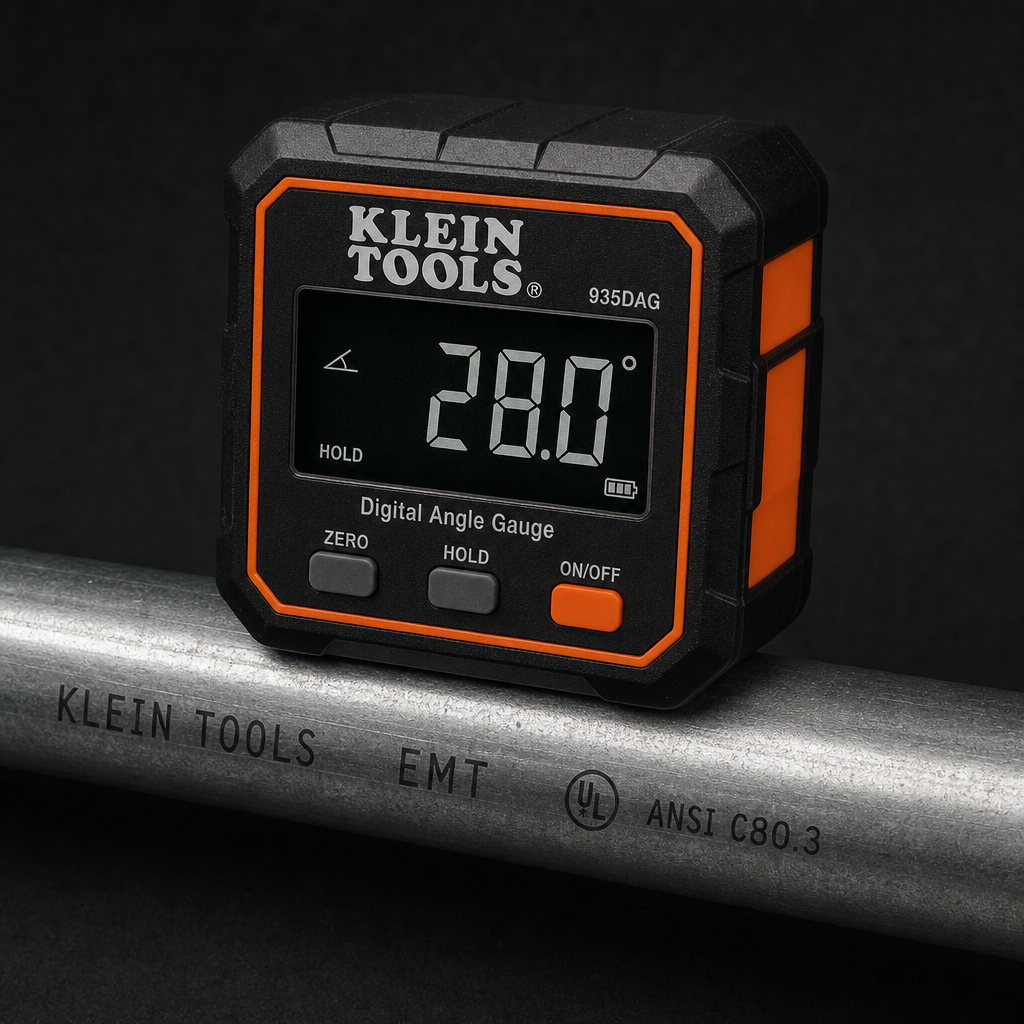
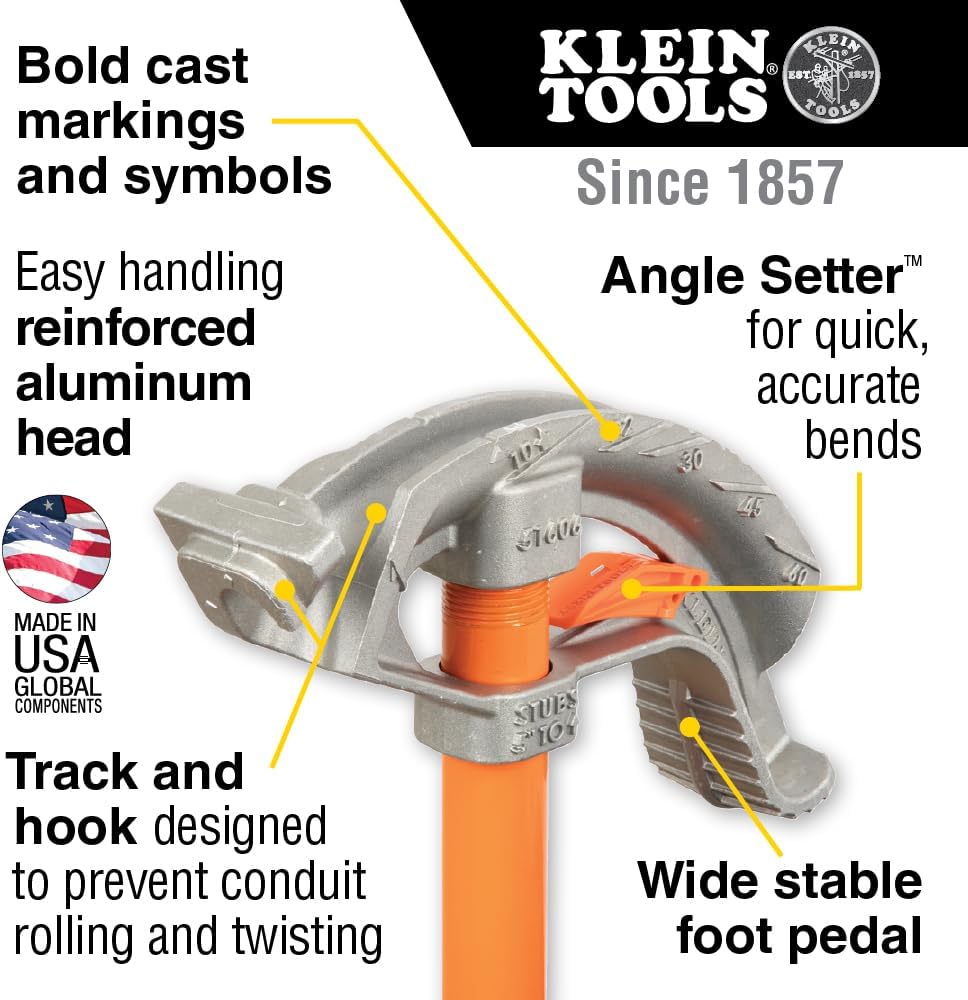
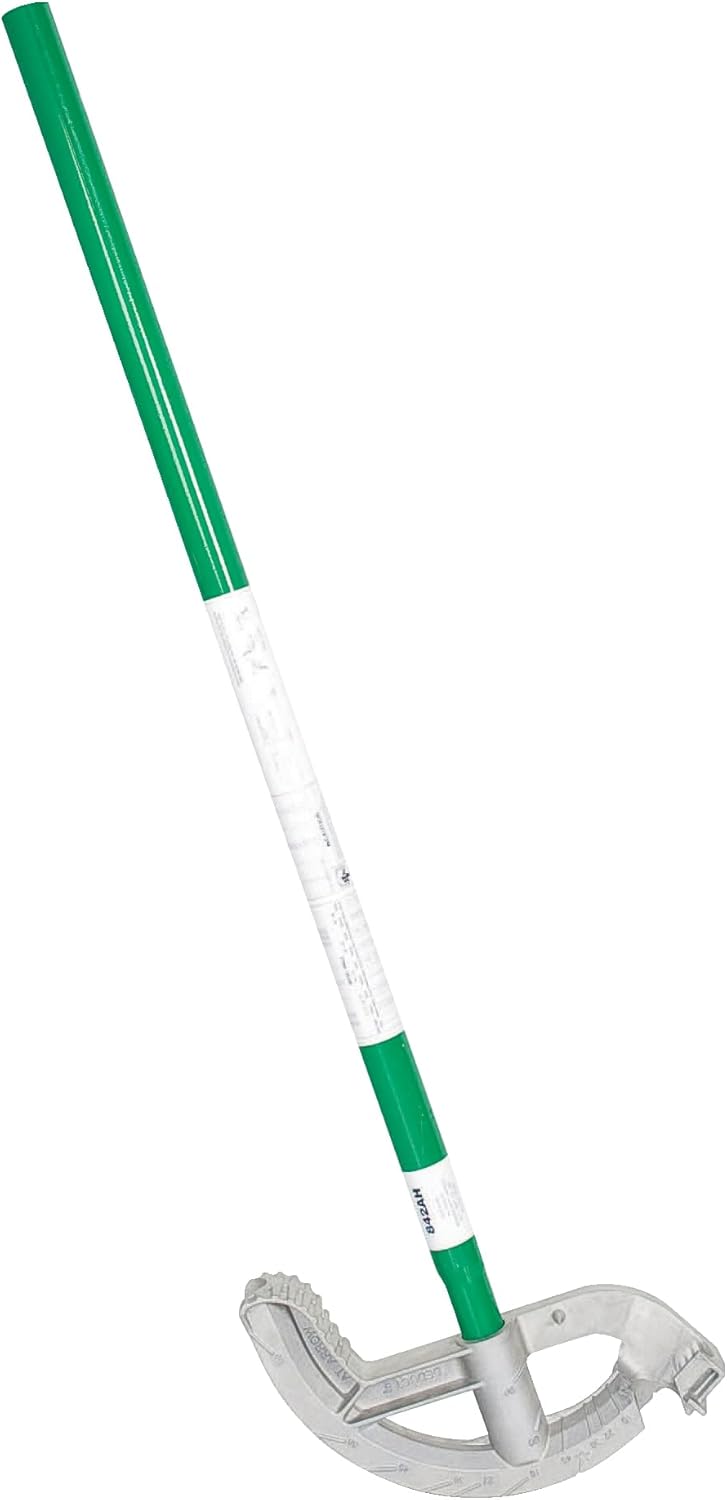
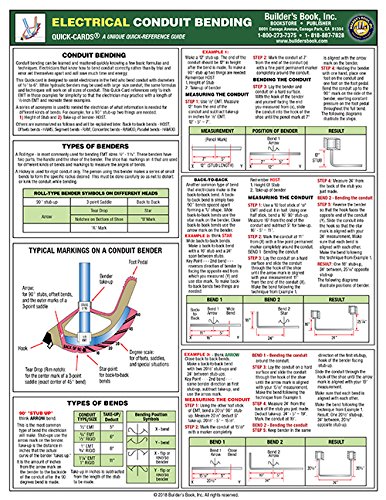
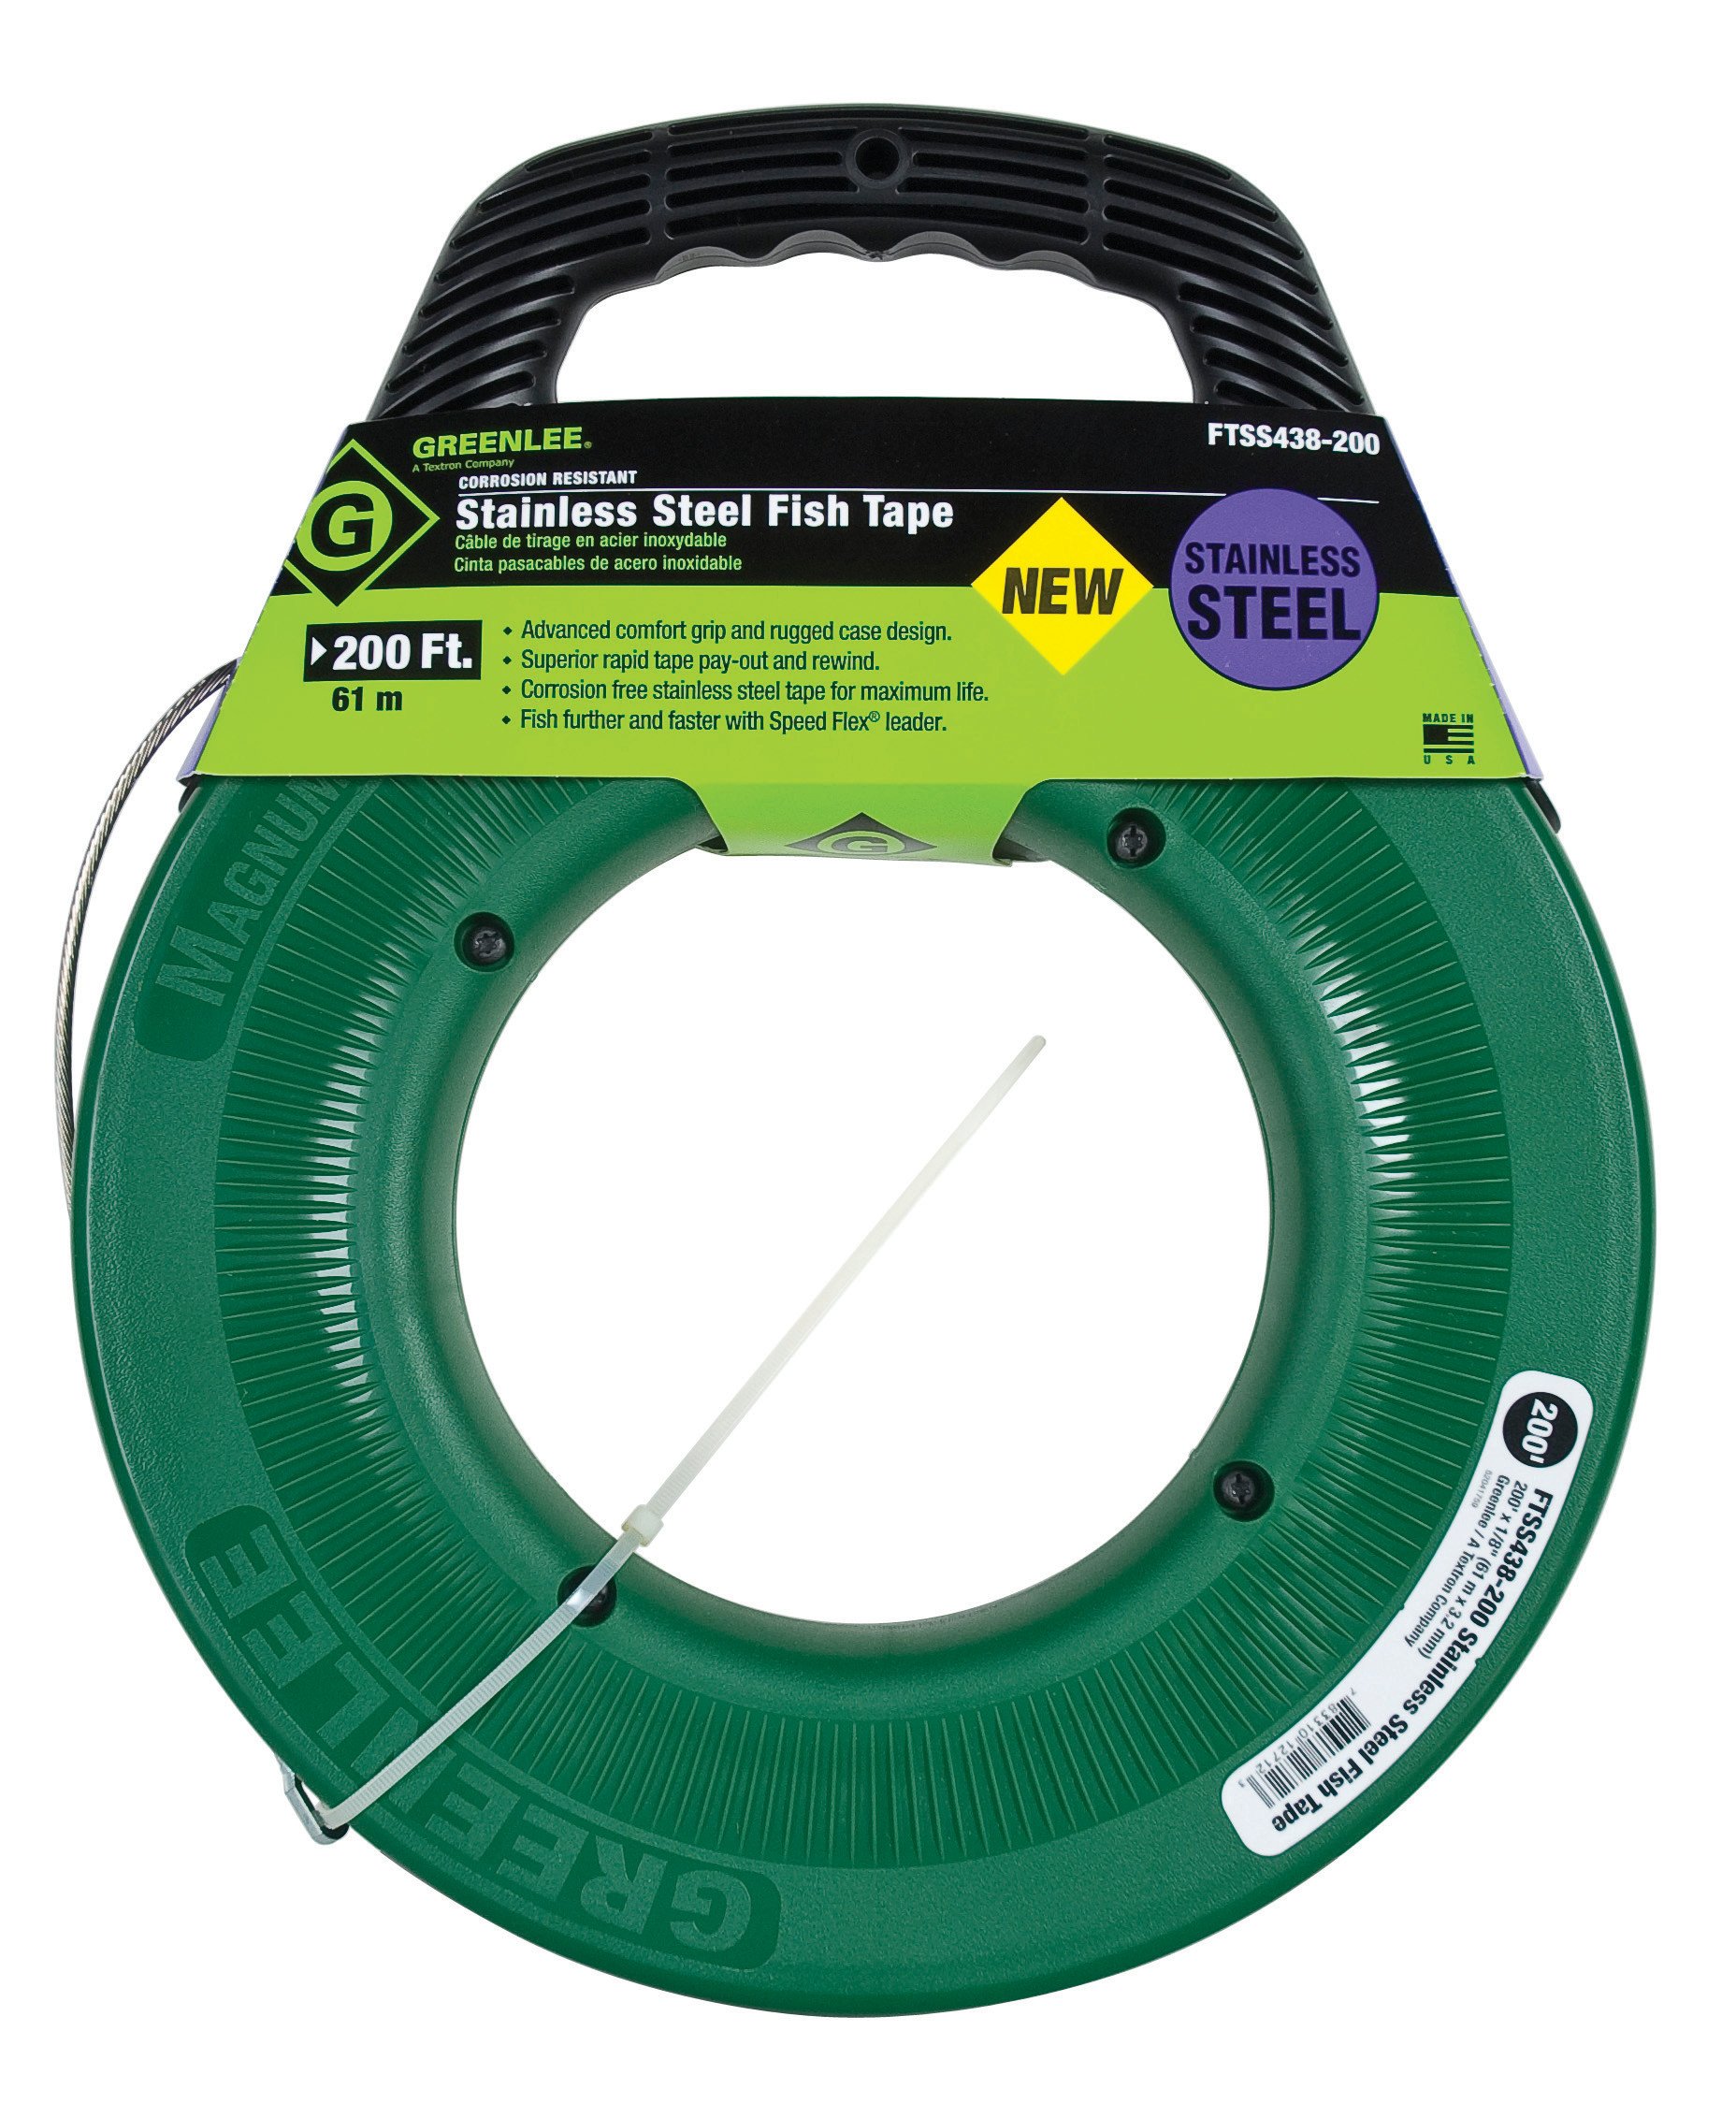
As an Amazon Associate, TestTalkHQ earns from qualifying purchases. Match shoe size to conduit — the angle gauge diagnoses; it does not replace the correct bender.
Confirm you subtracted deduct from the cut end and that the arrow (not the star) is on the mark. Then check springback — EMT often needs a few degrees of over-bend.
The second bend is out of plane. Sight the first bend, lock that plane, and bend the second the same rotational direction — angle equality alone is not enough.
Usually tooling/technique: steep angles on thin-wall need a slower stroke and a matched shoe. Try a shallower angle with more travel, or the correct size bender, before changing multipliers.
No. The guide teaches mark layout. This page diagnoses failures after the layout was attempted.
When size, rigid/IMC, or required radius exceeds clean hand-bender capacity — see the bender types decision page.