Introduction
I’ve spent way too many hours of my life standing in front of a MIG welder, turning knobs back and forth, trying to figure out why my welds look like garbage. Wire speed too fast, too much spatter. Wire speed too slow, the wire’s stubbing into the base metal and making that awful popping sound.
Here’s the thing about MIG welding: wire speed is the most important setting on your machine. Get it wrong and you can’t weld. Period. It doesn’t matter how perfect your voltage is – if your wire speed is off, you’re fighting a losing battle.
But most people overthink it. They stare at charts that don’t match their machine, or they just guess and waste a bunch of time and metal figuring it out.
There’s a simpler way. A formula that gets you in the ballpark immediately, then you fine-tune by listening to the weld. That’s what I’m going to show you – the method I actually use in the shop when I need to dial in settings fast.
Use our free MIG welding calculator to get instant wire speed and voltage settings for your next project.
Why Wire Speed Actually Matters
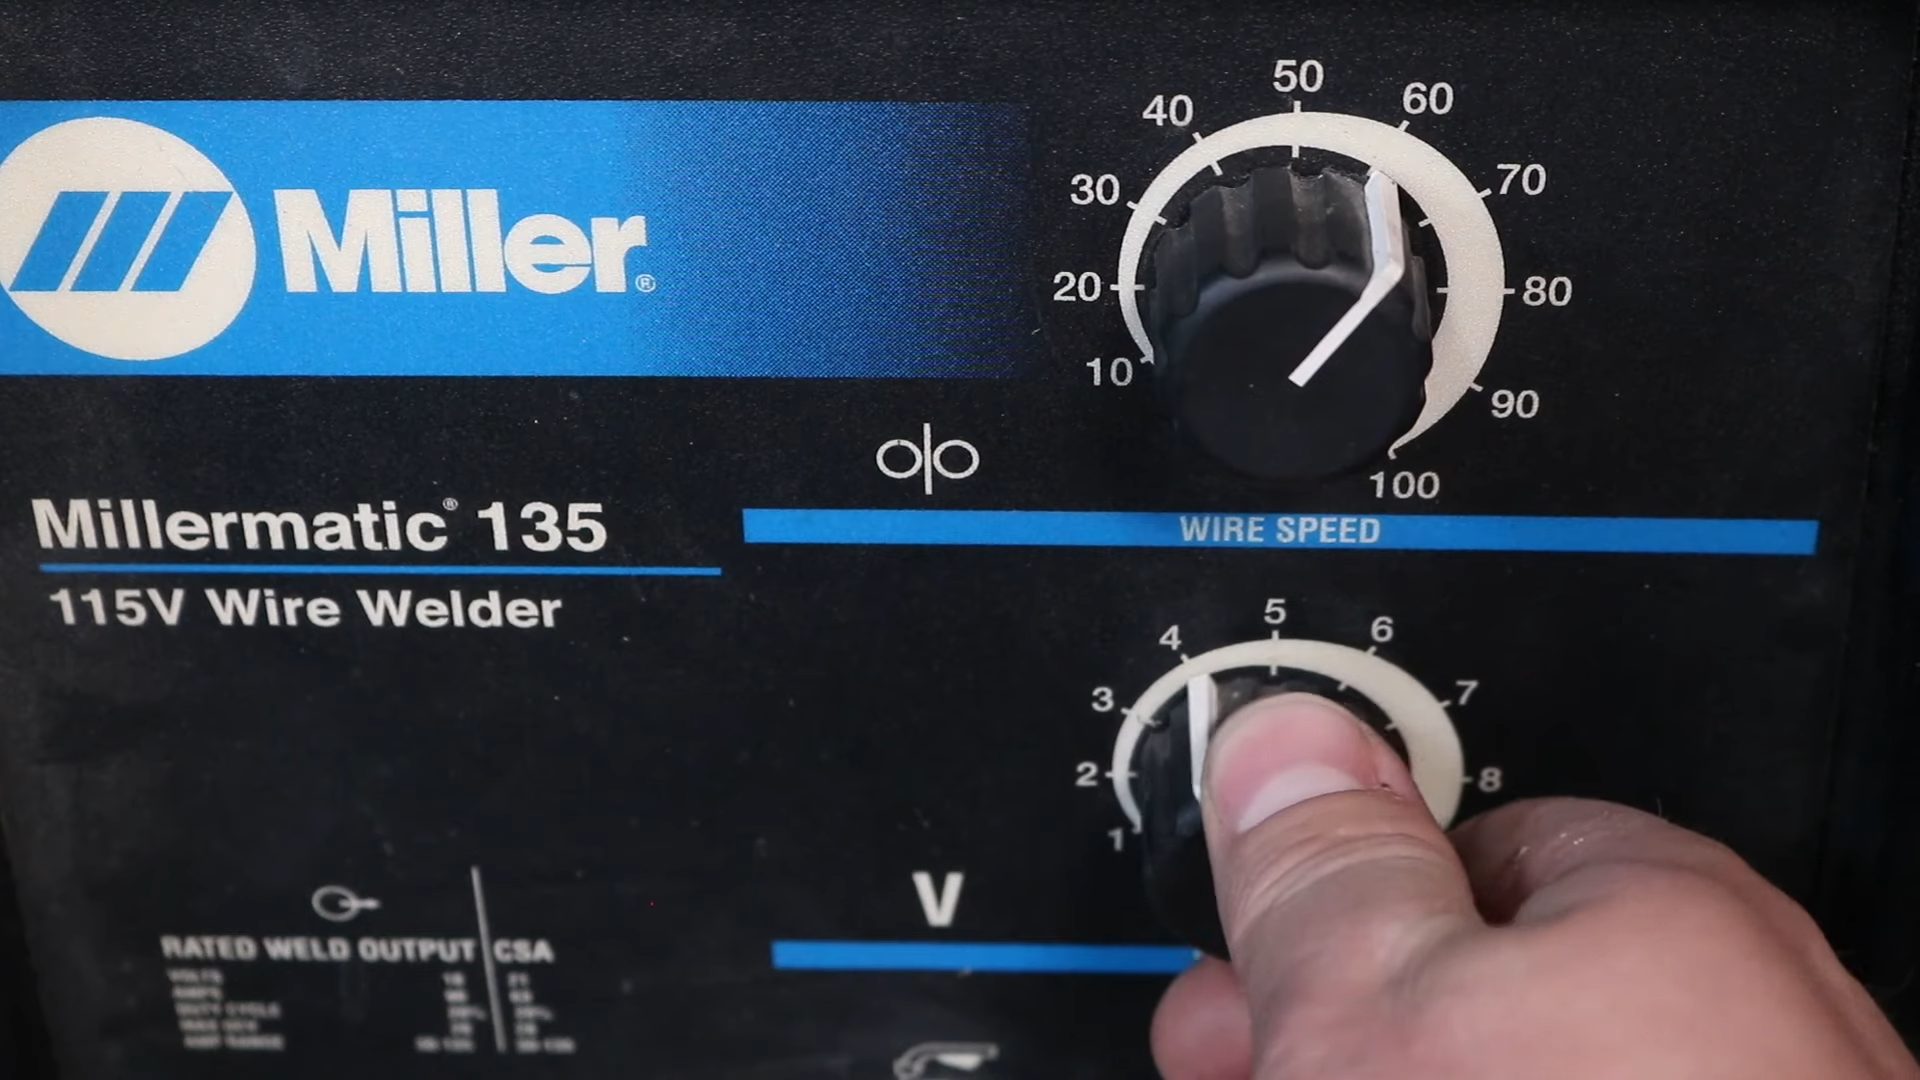
Let me get this out of the way first: wire speed controls your heat and amperage. Not the voltage knob. Wire speed.
A lot of people don’t realize this because they’re used to TIG or stick welding where you set amps directly. With MIG, you set wire speed, and the machine automatically adjusts the amperage to match. Higher wire speed = more heat. Lower wire speed = less heat.
This is why wire speed is so critical. Get it wrong and you’ll have:
- Wire speed too slow: Wire burns back to the contact tip, poor penetration, cold welds, stuttering arc
- Wire speed too fast: Excessive spatter, torch pushing away from the work, burn-through on thin material
Wire speed and voltage work together. Wire speed controls the heat, voltage controls the arc length and bead width. You need both dialed in, but you set wire speed FIRST based on material thickness.
The Formula That Actually Works
Here’s the simple formula I use: Material thickness (in thousandths of an inch) × wire diameter multiplier = wire speed in IPM
This is based on the rule of 1 amp per 1 thousandth of material thickness. It works up to about 1/4″ material. After that, you’re into different territory.
Here’s how it works:
Let’s say you’re welding 1/8″ thick steel. That’s 0.125″, which is 125 thousandths. If you’re using .030 wire, the multiplier is 2.
125 × 2 = 250 inches per minute (IPM)
That’s your wire speed. Simple.
Multipliers for different wire sizes:
- .023/.024 wire: multiply by 2.5 (or use 3.5 for more precision)
- .030 wire: multiply by 2
- .035 wire: multiply by 1.6
- .045 wire: multiply by 1.2
Now, your machine might not read out in inches per minute. Maybe it just has a 1-10 knob or a 1-100 dial. That’s fine. Here’s how you check your actual wire speed:
Press the trigger for exactly 6 seconds (don’t touch any metal, gas can be off). Cut and measure the wire that came out. Add a zero to the end. That’s your wire speed in IPM.
Example: If you get 25 inches of wire in 6 seconds, your wire speed is 250 IPM.
Or you can run it for 15 seconds, measure it, and multiply by 4. Same result.
Rulers don’t lie. Digital readouts on machines can be off by 10-30%. This method is accurate every time.
Our MIG calculator does this math for you in 2 seconds. Just plug in your material thickness and wire size.
Listen to Your Weld (It’s Telling You Everything)
Once you’ve got your wire speed set using the formula, you need to dial in your voltage. And the best way to do that is by listening.
A good MIG weld sounds like bacon frying. A consistent sizzle or buzz. That’s what you’re listening for. If it sounds like that, your settings are close.
Wire speed too slow:
- Sound: Popping, stuttering, intermittent contact
- What’s happening: Wire is touching the base metal and burning back too fast
- Fix: Increase wire speed
Wire speed too fast:
- Sound: Aggressive crackling, machine gun effect, lots of noise
- What’s happening: Too much wire being fed, can’t melt fast enough
- Fix: Decrease wire speed
Wire speed just right:
- Sound: Smooth, consistent bacon-frying sizzle
- What’s happening: Wire melting at the same rate it’s being fed
- Result: Clean penetration, minimal spatter, good-looking bead
I learned this from experience – you weld enough and you start to hear the difference immediately. But when you’re starting out, pay attention to that sound. It’s the fastest feedback you’re going to get.
What the Weld Bead Is Telling You
The sound gets you close. The bead tells you if you’re actually dialed in.
Good bead characteristics:
- Flat or slightly convex profile
- Good tie-in at the toes (edges blend smoothly into base metal)
- Consistent width along the entire weld
- Minimal spatter on the base material
- Penetration on the backside when you flip it over
If the bead is too narrow and piled up: Wire speed is too slow. You’re not putting enough heat into the base metal. The weld is sitting on top instead of sinking in. Turn up your wire speed.
If the bead is too wide and flat with lots of spatter: Wire speed is too fast. You’re dumping too much wire into the puddle and it’s creating a mess. Turn down your wire speed or increase your voltage to compensate.
Here’s the thing about voltage: it controls arc length and bead width. If your bead is too tall and narrow, you can either increase wire speed OR decrease voltage. If it’s too flat and wide, you can decrease wire speed OR increase voltage.
They work together. That’s why you set wire speed first based on material thickness, then adjust voltage to get the right transfer mode and bead profile.
How to Actually Dial It In
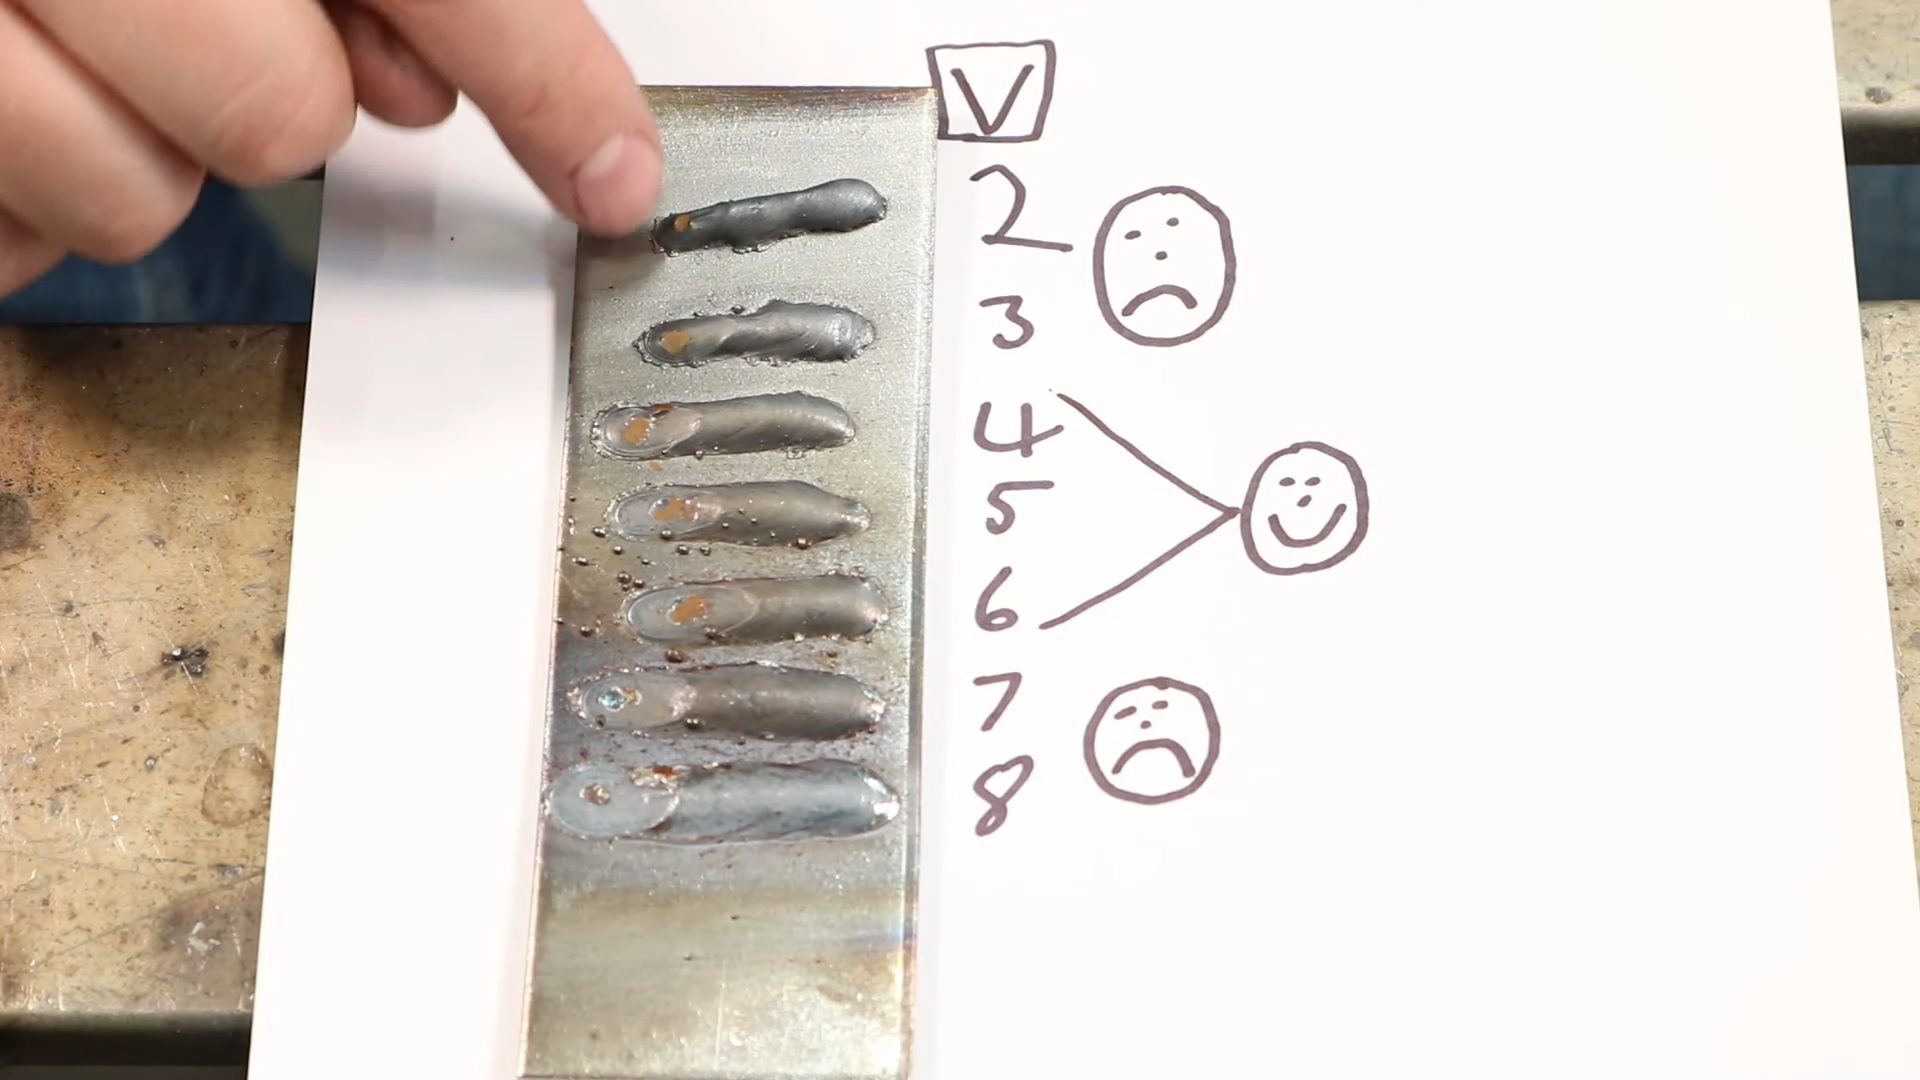
Here’s my process when I’m setting up for a new thickness or different material:
Step 1: Calculate wire speed using the formula. Material thickness in thousandths × wire diameter multiplier = wire speed in IPM.
Step 2: Set voltage really low. Like, way lower than you think you need. I’m talking 2 or 3 on a 1-10 scale if your machine has that.
Step 3: Run a test bead on scrap that’s the same thickness as what you’re welding. It’s going to sound terrible. The wire will be stubbing into the base metal, popping, making a mess. That’s expected.
Step 4: Increase voltage one notch. Run another test bead. Listen to the difference. Watch the bead profile.
Step 5: Keep increasing voltage one notch at a time until you hit that sweet spot where it sounds like bacon frying and the bead looks good.
Step 6: Don’t stop there. Keep going one or two notches higher so you know what “too hot” sounds like. Then dial it back to where it was good.
This whole process takes maybe 5-10 minutes on scrap metal. But now you KNOW your settings are dialed in. You’re not guessing.
And here’s the key: quench your test piece between welds if you’re doing them back-to-back. Dip it in water to cool it down. Otherwise the plate heats up and your later test welds aren’t accurate comparisons.
Common Wire Speed Problems (And How to Fix Them)
Problem: Burn-Back (Wire Melting to Contact Tip)
Cause: Wire speed is too slow for your voltage setting. The wire can’t keep up with how fast it’s melting.
Fix: Increase wire speed. Or decrease voltage if you’re already at the right wire speed for your material thickness.
Prevention: Start with the wire speed formula instead of guessing low.
Problem: Excessive Spatter Everywhere
Cause: Wire speed too fast, voltage too low, or dirty wire/contaminated material.
Fix: Decrease wire speed slightly. Or increase voltage to get a longer arc. Also check that your wire is clean and your base material isn’t rusty or painted.
Problem: No Penetration (Weld Sitting on Top)
Cause: Wire speed too slow = not enough heat getting into the base metal.
Fix: Increase wire speed. Flip your test piece over – you should see penetration on the backside if your settings are right.
Check: Make sure you’re not moving too fast. Travel speed affects penetration too.
Problem: Burning Through Thin Material
Cause: Wire speed too high for the material thickness.
Fix: Decrease wire speed. Increase travel speed. Take smaller “steps” if you’re doing stitch welds.
Tip: On really thin stuff (18 gauge auto body panels), you might need to drop down to .023 or .024 wire.
Problem: Bird’s Nest (Wire Tangling Behind the Gun)
Cause: This happens when the wire welds to the contact tip and the drive rolls keep feeding. Common with small diameter wire like .023 or .024.
Fix: Adjust your drive roll tension to allow a little slippage. Don’t crank it down super tight on small wire. If the wire fuses to the tip, the rolls should slip instead of kinking the wire.
Prevention: Don’t let the wire touch the workpiece before you’re ready to weld. That can cause it to arc back to the tip instantly.
Adjusting for Different Positions
The formula I gave you works great for flat and horizontal welding. But when you go vertical or overhead, you need to adjust.
Flat/horizontal: Use the standard formula.
Vertical uphill: The settings from the formula will be a little hot. Drop down to the settings for one thickness thinner. So if you’re welding 1/4″ vertical, use the settings for 3/16″.
Overhead: Similar deal – dial it back slightly and increase your travel speed so the puddle doesn’t drip on you.
Welding into corners: Increase wire speed slightly. This shortens the arc and makes it easier to get into tight spots without arcing against the sides.
The best practice is to dial in your settings in the same position you’re going to weld. If you’re doing vertical work, set it up on a vertical test piece.
Wire Speed for Different Materials
Mild Steel (Most Common)
This is what the formula is designed for. Mild steel is forgiving – you’ve got a pretty wide window where settings will work. Use the thickness × multiplier formula and you’ll be in the ballpark every time.
Stainless Steel
Stainless conducts heat differently than mild steel. Generally, you want to run about 10-15% lower wire speed than you would for the same thickness of mild steel. Otherwise it gets too hot and you burn through or warp the material.
Aluminum (MIG)
If you’re doing MIG aluminum (not TIG), you need higher wire speed than steel. The heat dissipates so fast in aluminum that you need more wire speed to get the same penetration. This is spray transfer instead of short circuit, so it sounds different – more of a hiss than a crackle.
Flux-Core (Gasless Wire)
Flux-core generally runs at slower wire speeds than solid wire. And you drag instead of push – completely opposite technique. Check your wire manufacturer’s recommendations because flux-core varies more than solid wire does.
The Wire Speed and Voltage Dance
Here’s the thing people get confused about: wire speed and voltage aren’t independent. They work together to create the right transfer mode.
Transfer mode is how the wire interacts with the base metal. In short circuit MIG (what most people do), the wire touches the base metal, creates resistance, heats up, melts, creates an arc, the arc gets longer until it can’t sustain itself, then the wire touches again and the process repeats.
This happens hundreds of times per second. That’s what creates that bacon-frying sound.
Wire speed controls how fast the wire feeds. Voltage controls how long the arc burns before it shorts out again.
If they’re balanced, you get smooth short circuit transfer. If they’re not balanced:
- High wire speed + low voltage: Wire stubs into the base metal, can’t burn back far enough, makes that awful popping sound
- Low wire speed + high voltage: Arc gets too long, excessive spatter, erratic welding
That’s why the process I showed you works – set wire speed based on material thickness, then adjust voltage until the transfer mode sounds right. You’re balancing them against each other.
Don’t Trust Your Machine’s Chart Blindly
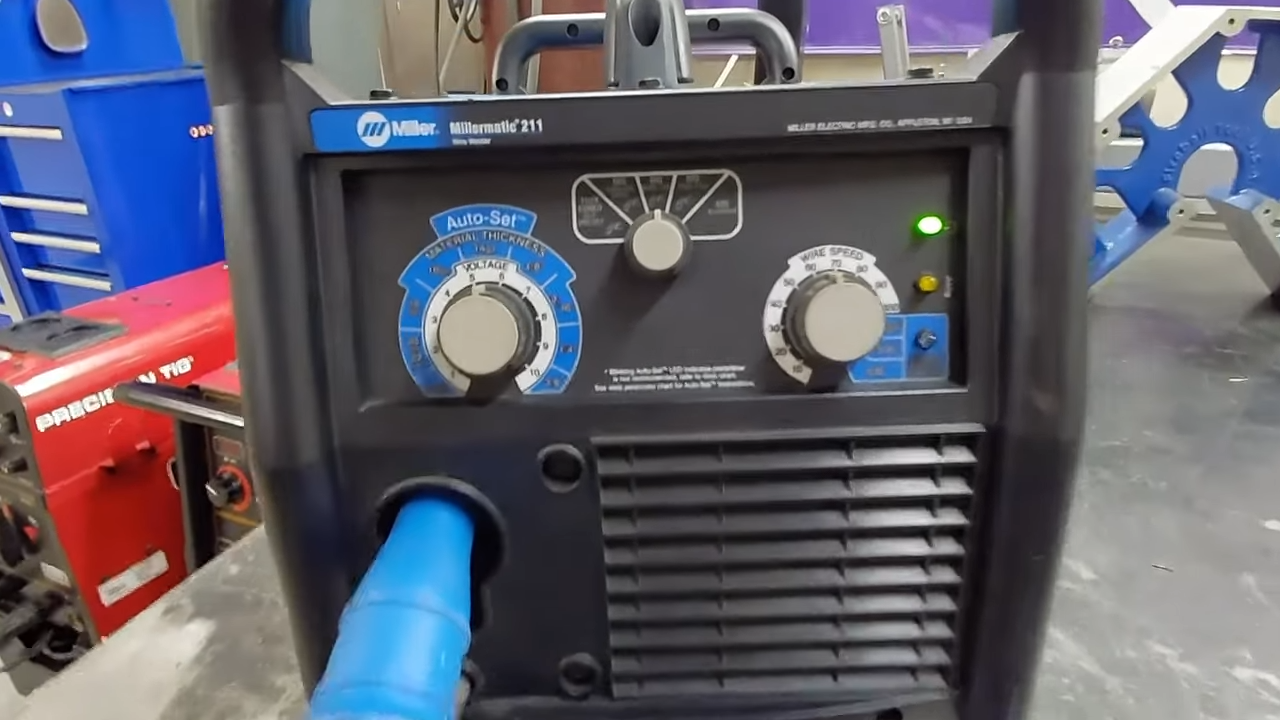
Most MIG welders have a chart on the inside door that gives you recommended settings. Use it as a starting point, but don’t assume it’s perfect for your setup.
Here’s why:
- Those charts are for ideal conditions – clean material, perfect wire, correct gas mix
- Your wire brand might run differently than what they tested
- Your gas mix might be different (C25 vs 100% CO2 vs tri-mix)
- Your stickout (how far the wire sticks out from the contact tip) affects everything
- The chart assumes you’re welding at a specific travel speed
I’ve tested the same thickness on different machines – a Miller, an ANDELI, a Lincoln – and they all needed slightly different settings even though the chart said the same thing.
Use the chart to get close. Then use your eyes and ears to dial it in for real.
Conclusion
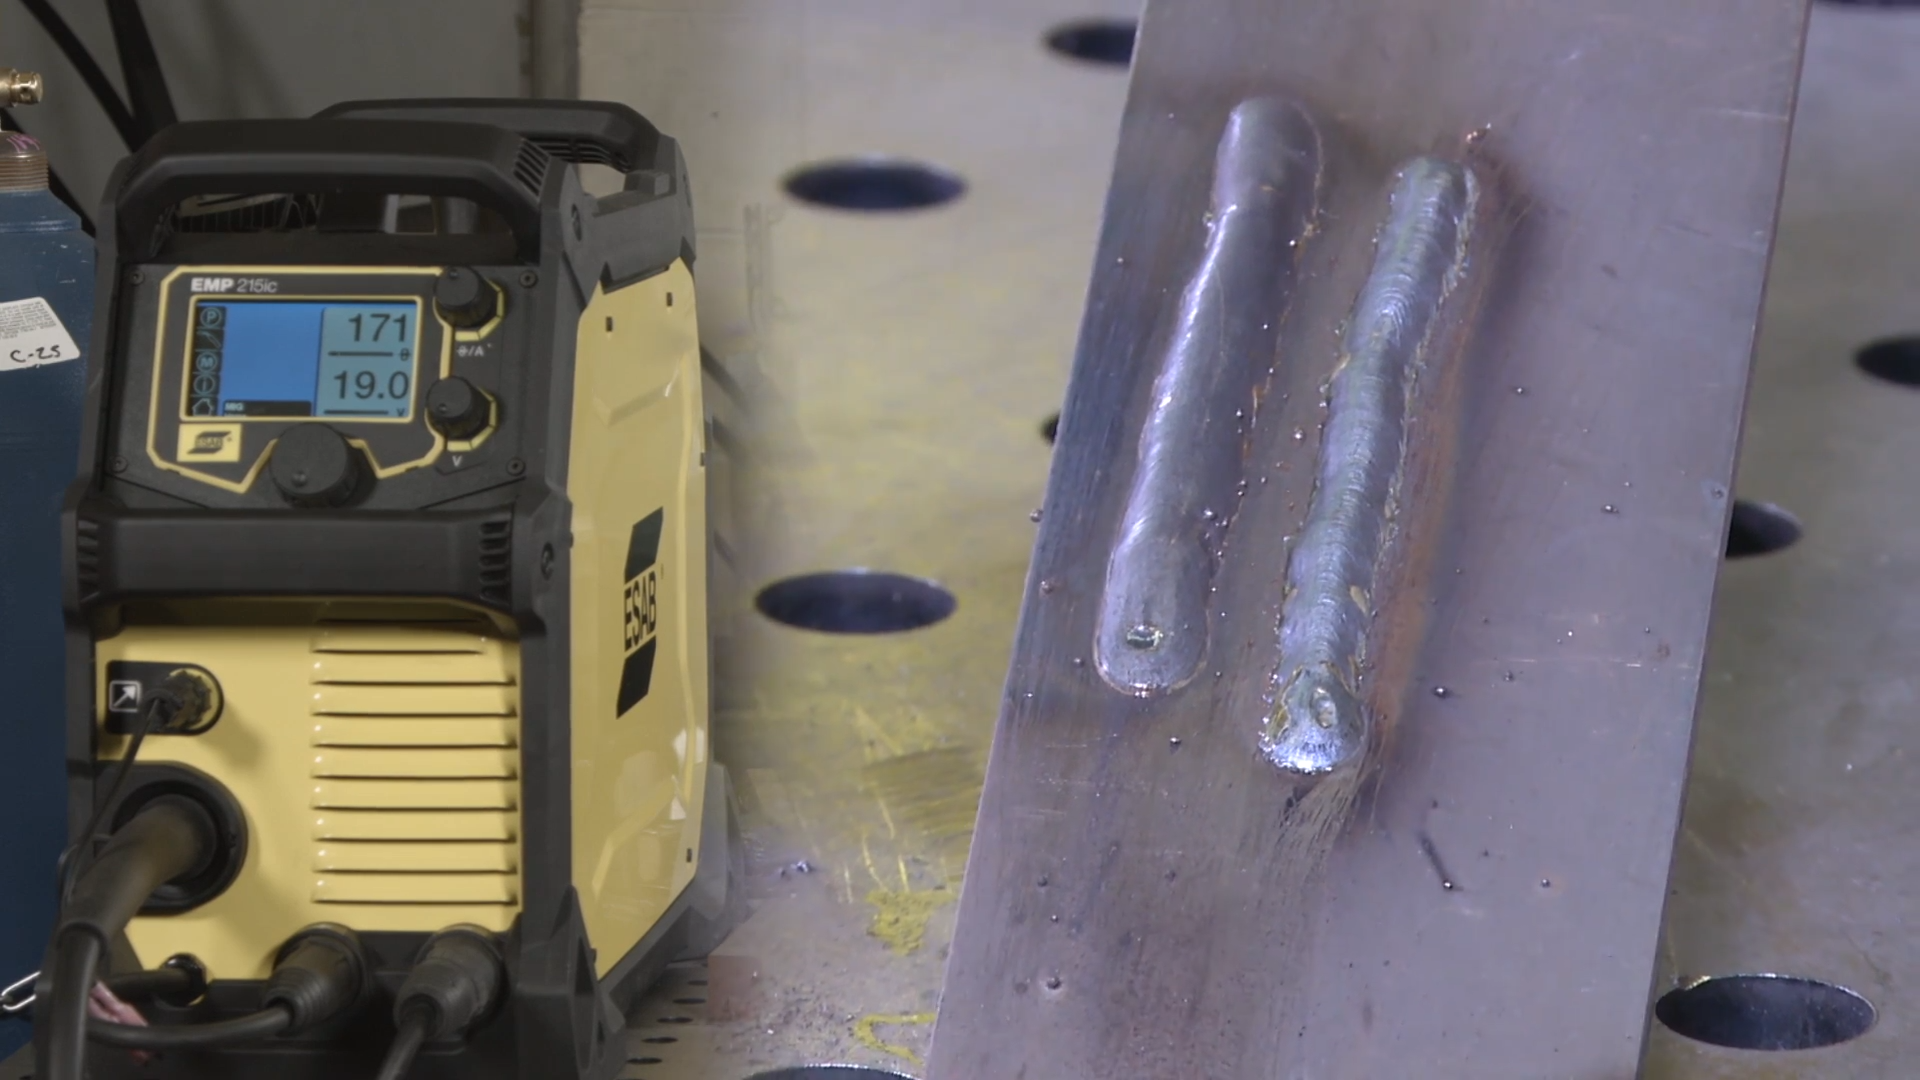
Wire speed doesn’t have to be complicated. Use the formula to get in the ballpark. Listen to the weld. Read the bead. Make small adjustments.
Here’s the recap:
- Calculate wire speed: Material thickness (thousandths) × wire diameter multiplier = IPM
- Set voltage low and work your way up on test welds
- Listen for that bacon-frying sizzle sound
- Check the bead profile – should be flat with good tie-in at the edges
- Flip your test piece – you should see penetration on the back
- Make small adjustments until it looks and sounds right
Practice on scrap first. Always. Don’t try to dial in settings on your actual workpiece. Take 10 minutes, run some test beads, get it dialed in, then start your real weld.
Ready to get started? Use our free MIG welding calculator to get your wire speed and voltage settings instantly.
Want more welding guides? Check out our TIG welding aluminum guide and stick welding calculator.
Frequently Asked Questions
How do I know what wire speed to use for MIG welding?
Use this simple formula: Material thickness (in thousandths of an inch) × wire diameter multiplier = wire speed in IPM. For example, welding 1/8″ steel (125 thousandths) with .030 wire (multiplier of 2) = 250 IPM. This gets you in the ballpark, then fine-tune based on how the weld sounds and looks.
What does MIG wire speed actually control?
Wire speed controls your welding amperage and heat input. Unlike TIG or stick welding where you set amps directly, MIG welders use wire speed to determine current. Higher wire speed = more heat. Lower wire speed = less heat. This is why wire speed is the most important setting on a MIG welder.
What happens if my MIG wire speed is too slow?
Wire speed that’s too slow causes burn-back (wire melting back to the contact tip), poor penetration, cold welds, and an erratic stuttering arc. You’ll hear intermittent popping instead of a smooth sizzle. The weld bead will sit on top of the base metal instead of sinking in properly.
What happens if my MIG wire speed is too fast?
Wire speed that’s too fast creates excessive spatter, pushes the torch away from the work, and can cause burn-through on thin material. You’ll hear aggressive crackling or a machine gun effect. The wire deposits faster than it can melt properly, creating a messy weld with lots of cleanup.
How do I adjust MIG wire speed while welding?
Start with your calculated wire speed based on material thickness. Make small adjustments (half turn at a time) on scrap metal between welds. Listen for a consistent bacon-frying sizzle sound. The weld should have a flat profile with good tie-in at the edges. Adjust up if the bead is too narrow, down if there’s excessive spatter.
What’s the relationship between wire speed and voltage in MIG welding?
Wire speed and voltage must work together. Wire speed controls heat/amperage, while voltage controls arc length and bead width. They need to be balanced – high wire speed needs higher voltage, low wire speed needs lower voltage. If they’re not proportional, you’ll get stubbing, excessive spatter, or an erratic arc.
How do I check my actual MIG wire speed?
Run the wire feed for exactly 6 seconds without welding (gas off, don’t touch metal). Cut and measure the wire length in inches, then add a zero to the end. That’s your speed in inches per minute (IPM). For example, if you get 25 inches in 6 seconds, your wire speed is 250 IPM.
Do MIG wire speed settings change for different positions?
Yes, position affects wire speed settings. Flat welding uses standard settings. Vertical and overhead positions typically need slightly higher wire speed to maintain a short arc and prevent the puddle from dripping. When welding into corners, increase wire speed to keep the arc tight and focused.
What should a properly set MIG weld sound like?
A properly set MIG weld sounds like bacon frying – a consistent, smooth sizzle or crackle. If you hear intermittent popping and stuttering, wire speed is too slow. If you hear aggressive machine-gun crackling with lots of noise, wire speed is too fast. The sound should be steady and even throughout the weld.
Why doesn’t my MIG wire speed chart match what actually works?
Wire speed charts are general starting points that don’t account for your specific machine, setup, wire brand, gas mix, or technique. Every welder behaves differently. Use charts to get close, then adjust based on what you see and hear. Real-world settings often differ from manufacturer charts by 10-20%.
Welding
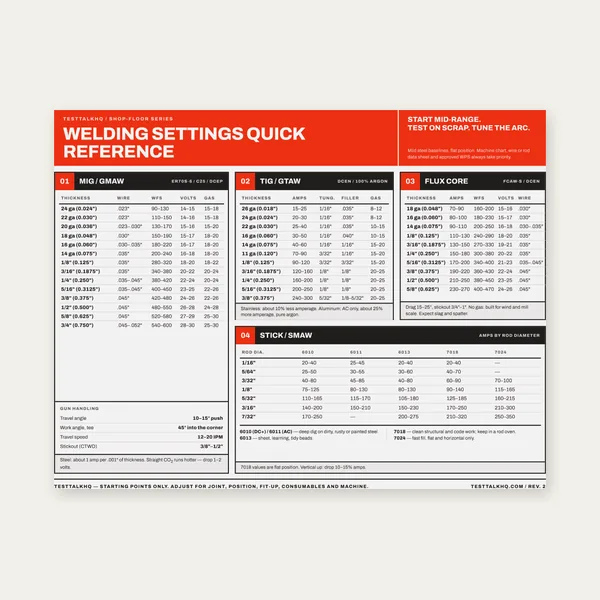
Welding Reference Card
One page. MIG, TIG, stick and flux core settings by thickness.
$3.99
Buy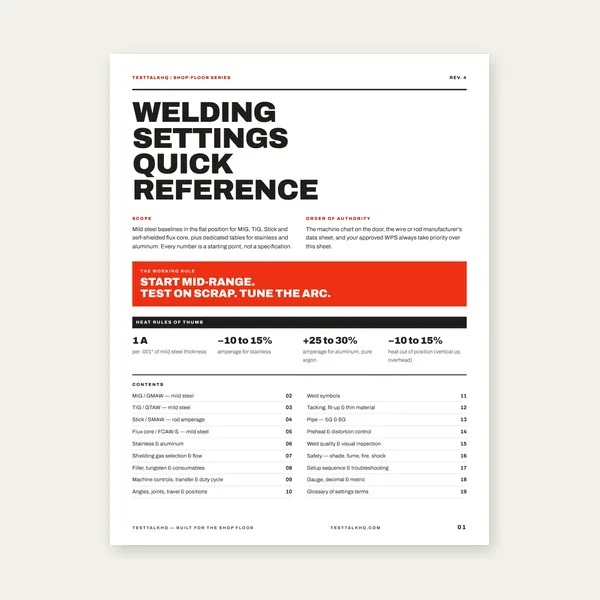
Complete Welding Settings Guide
19 pages. Four processes, stainless and aluminum, symbols and inspection.
$12.99
Buy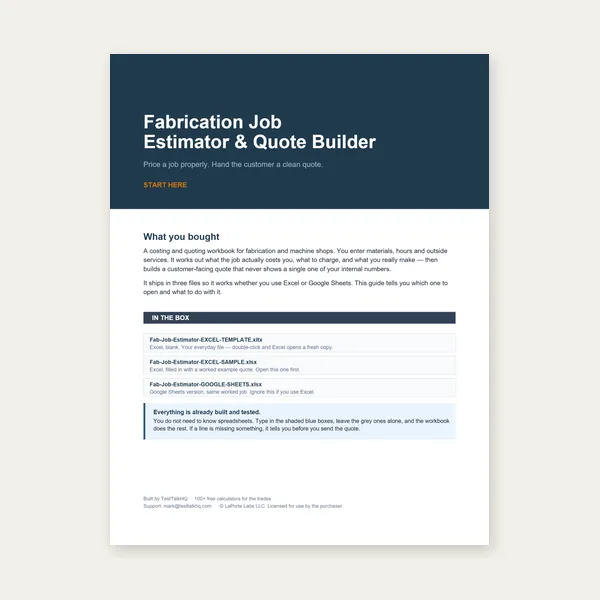
Welding Job Estimator
Price the job, then hand over a quote with no internal numbers.
Excel or Google Sheets. Best on a computer.
$29.00
Buy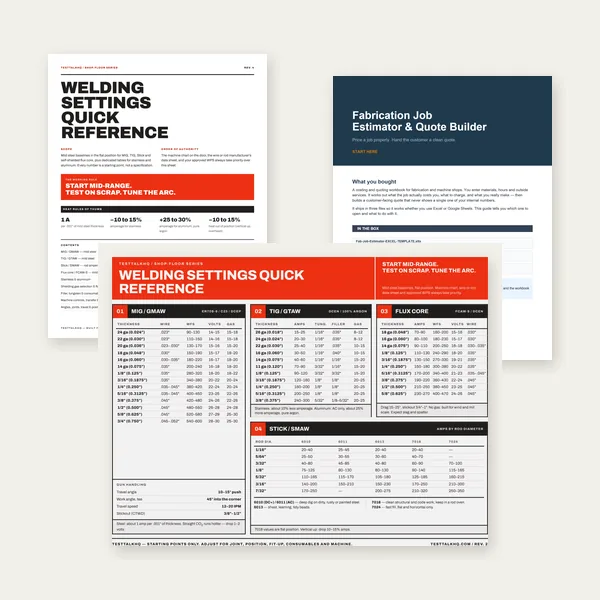
Welding Complete Bundle
Card, 19-page guide and the estimator workbook. All six files.
Excel or Google Sheets. Best on a computer.
$34.99
$45.98 if bought separately — save $10.99
BuyCheckout opens in a new tab.