
If you’ve ever shopped for a welder, you’ve seen duty cycle ratings like “60% @ 180A” on the spec sheet. But what does that actually mean for your welding? More importantly, how do you know what duty cycle you need?
Understanding duty cycle is critical because it determines how long you can weld before your machine forces you to take a break. Buy a welder with too low a duty cycle, and you’ll spend more time waiting for it to cool down than actually welding. Buy one with too high a duty cycle, and you’re paying for capability you’ll never use.
This guide breaks down everything you need to know about welding duty cycle—from how it’s calculated to choosing the right rating for your needs.
Use our Duty Cycle Calculator to instantly calculate weld time, cool-down periods, and verify whether a welder meets your needs.
Jump to what you need
What is Welding Duty Cycle?
Duty cycle is the percentage of a 10-minute period that a welder can operate at a specific amperage before it needs to cool down.
For example, a welder rated at 60% duty cycle @ 180A means:
- You can weld for 6 minutes at 180 amps
- Then you must wait 4 minutes for the machine to cool
- Total cycle time = 10 minutes
The duty cycle rating tells you two critical things:
- How long you can weld continuously (the percentage × 10 minutes)
- At what amperage that rating applies
This rating exists because welding generates tremendous heat inside the machine. The transformer, rectifiers, and other components heat up during operation. If they get too hot, they can be damaged or fail completely. The duty cycle rating is designed to prevent this damage by limiting how long the machine operates before requiring a cooldown period.
How Duty Cycle is Calculated
Duty cycle follows a simple formula based on a 10-minute standard used throughout the welding industry:
Duty Cycle % = (Welding Time ÷ 10 minutes) × 100
Here’s how different duty cycle ratings break down:
| Duty Cycle | Weld Time | Cool Time | Total Cycle |
|---|---|---|---|
| 20% | 2 minutes | 8 minutes | 10 minutes |
| 35% | 3.5 minutes | 6.5 minutes | 10 minutes |
| 60% | 6 minutes | 4 minutes | 10 minutes |
| 100% | 10 minutes | 0 minutes | 10 minutes |
Important: The duty cycle rating is always specified at a particular amperage. A welder might be rated “60% @ 160A” but have a different duty cycle at higher or lower amperages.
The 10-Minute Standard
In the United States, duty cycle is calculated based on a 10-minute period at 104°F (40°C) ambient temperature. This is the industry standard established by the National Electrical Manufacturers Association (NEMA).
Some countries use a 5-minute standard instead of 10 minutes, which can make comparing international welders confusing. Always check whether the rating uses a 5-minute or 10-minute cycle when comparing machines.
Top Welders and Accessories for Optimal Duty Cycle Performance
⭐ BEST VALUE
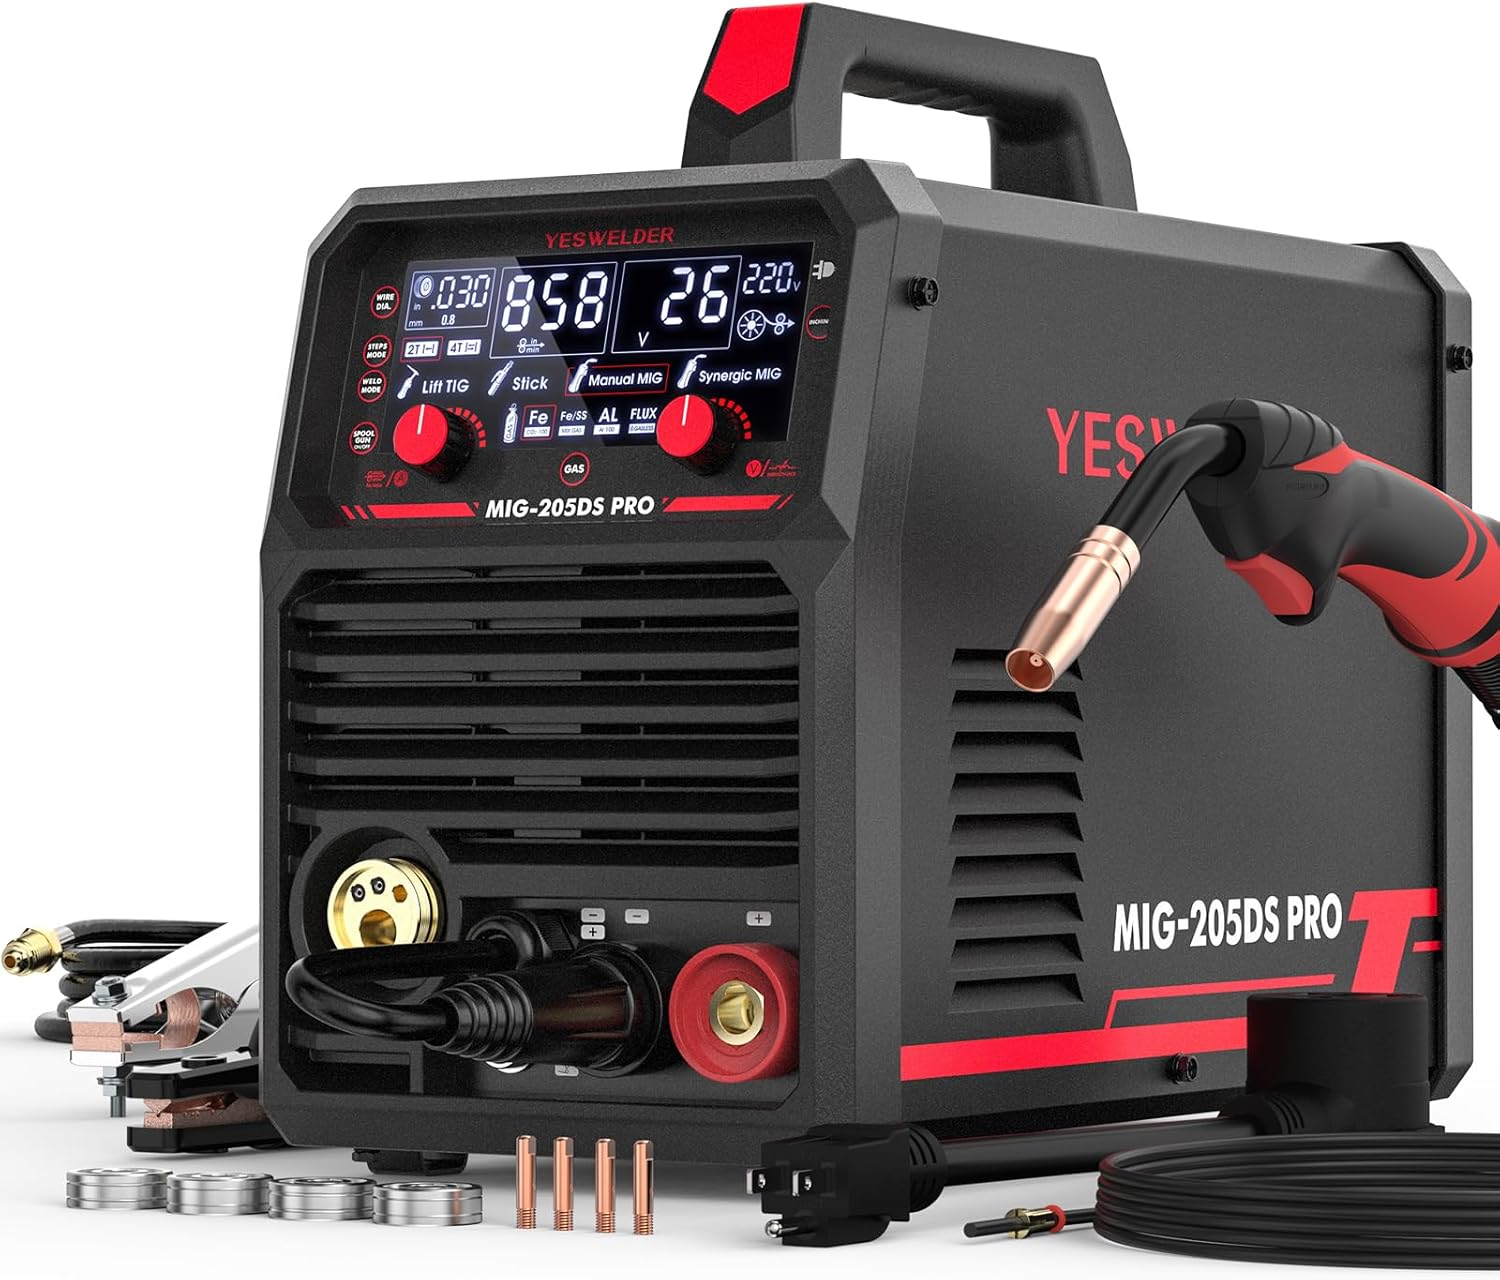
YesWelder 5-in-1 Multi-Process Welder
- 60% duty cycle at 150A – perfect for serious hobbyists and small shops
- 5-in-1 capability: MIG, TIG, Stick, Flux-Core, and Pulse modes
- Advanced cooling system extends duty cycle in hot environments
- Digital display shows real-time amperage and thermal status
- Excellent value combining professional features at prosumer pricing
Check Price on Amazon →
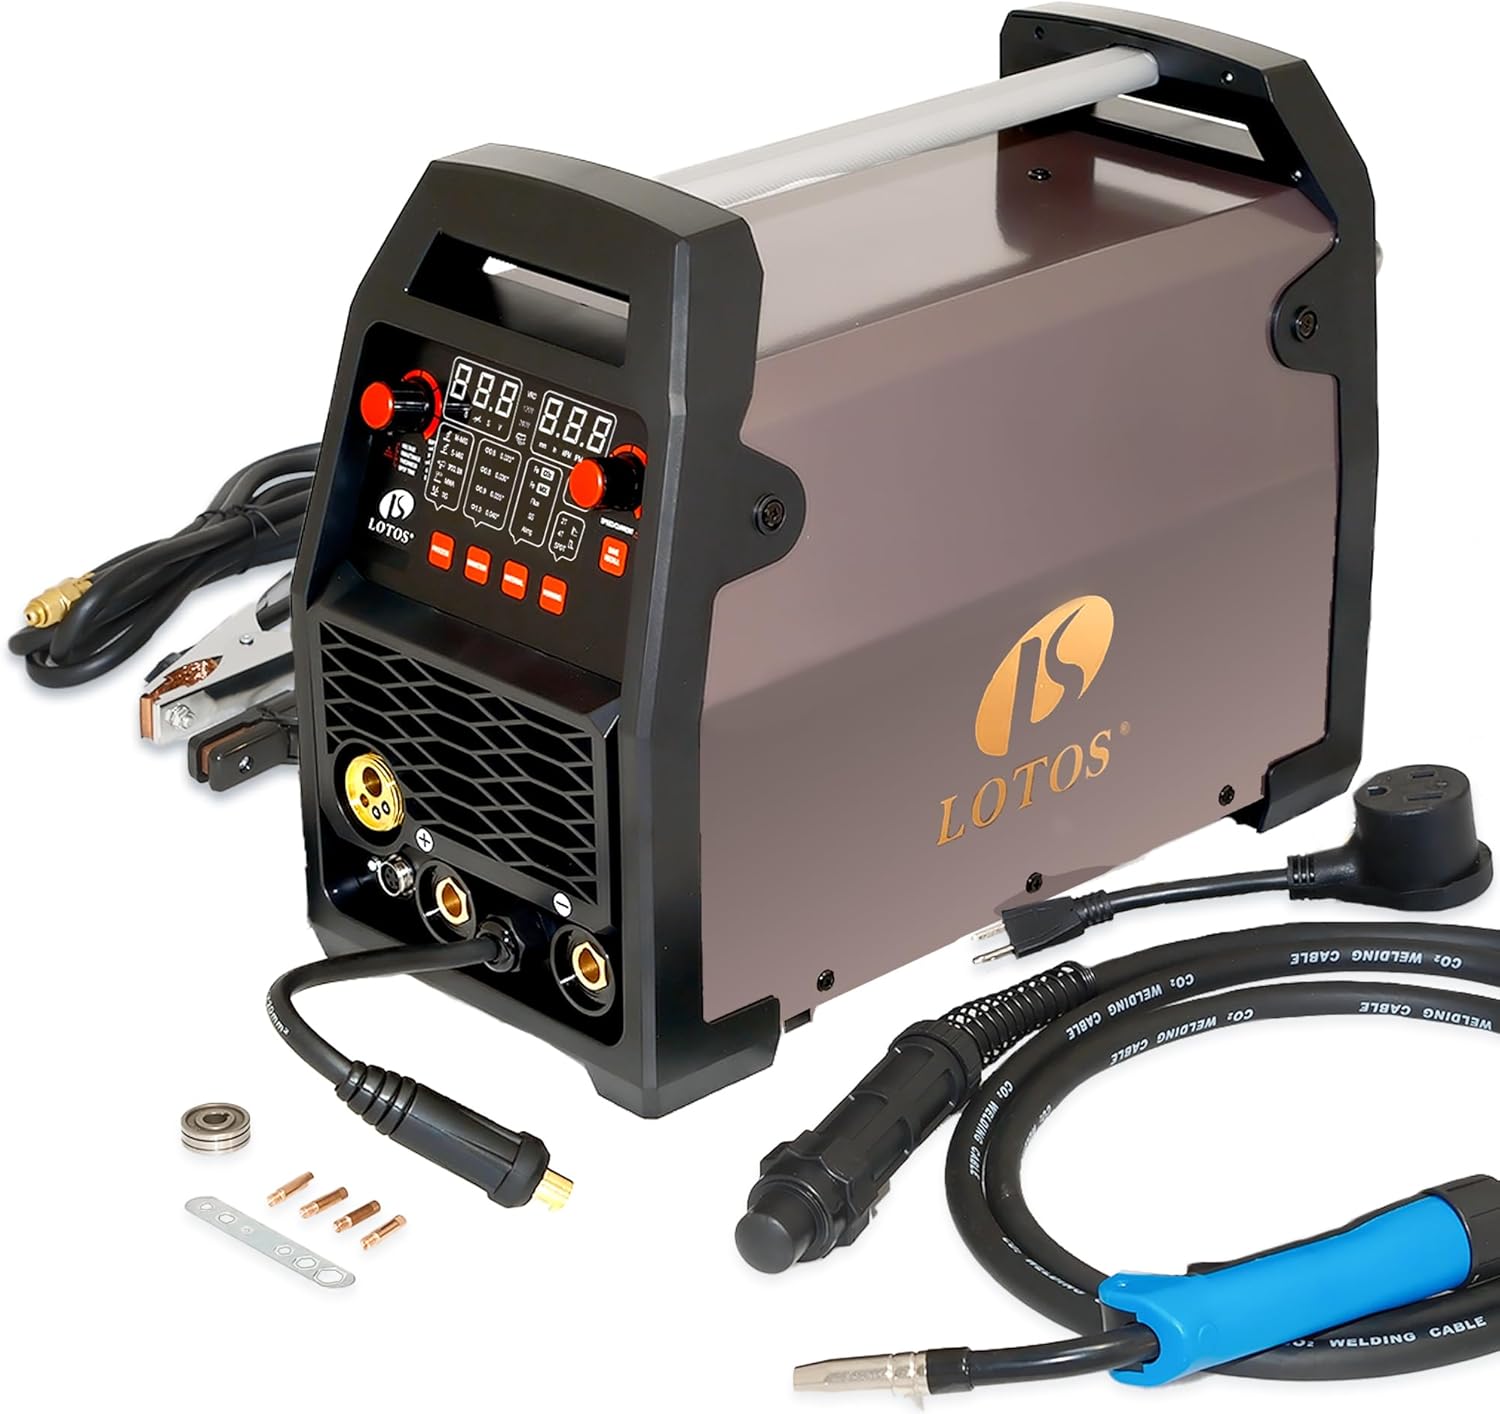
Lotus MIG 180 Dual Voltage Welder
- 60% duty cycle at 130A on 240V for extended welding sessions
- Dual voltage (110V/220V) provides flexibility for shop or field work
- Thermal overload protection with clear LED indicator
- Compact design with efficient fan cooling for better duty cycle
- Ideal for automotive restoration and light fabrication work
View on Amazon →
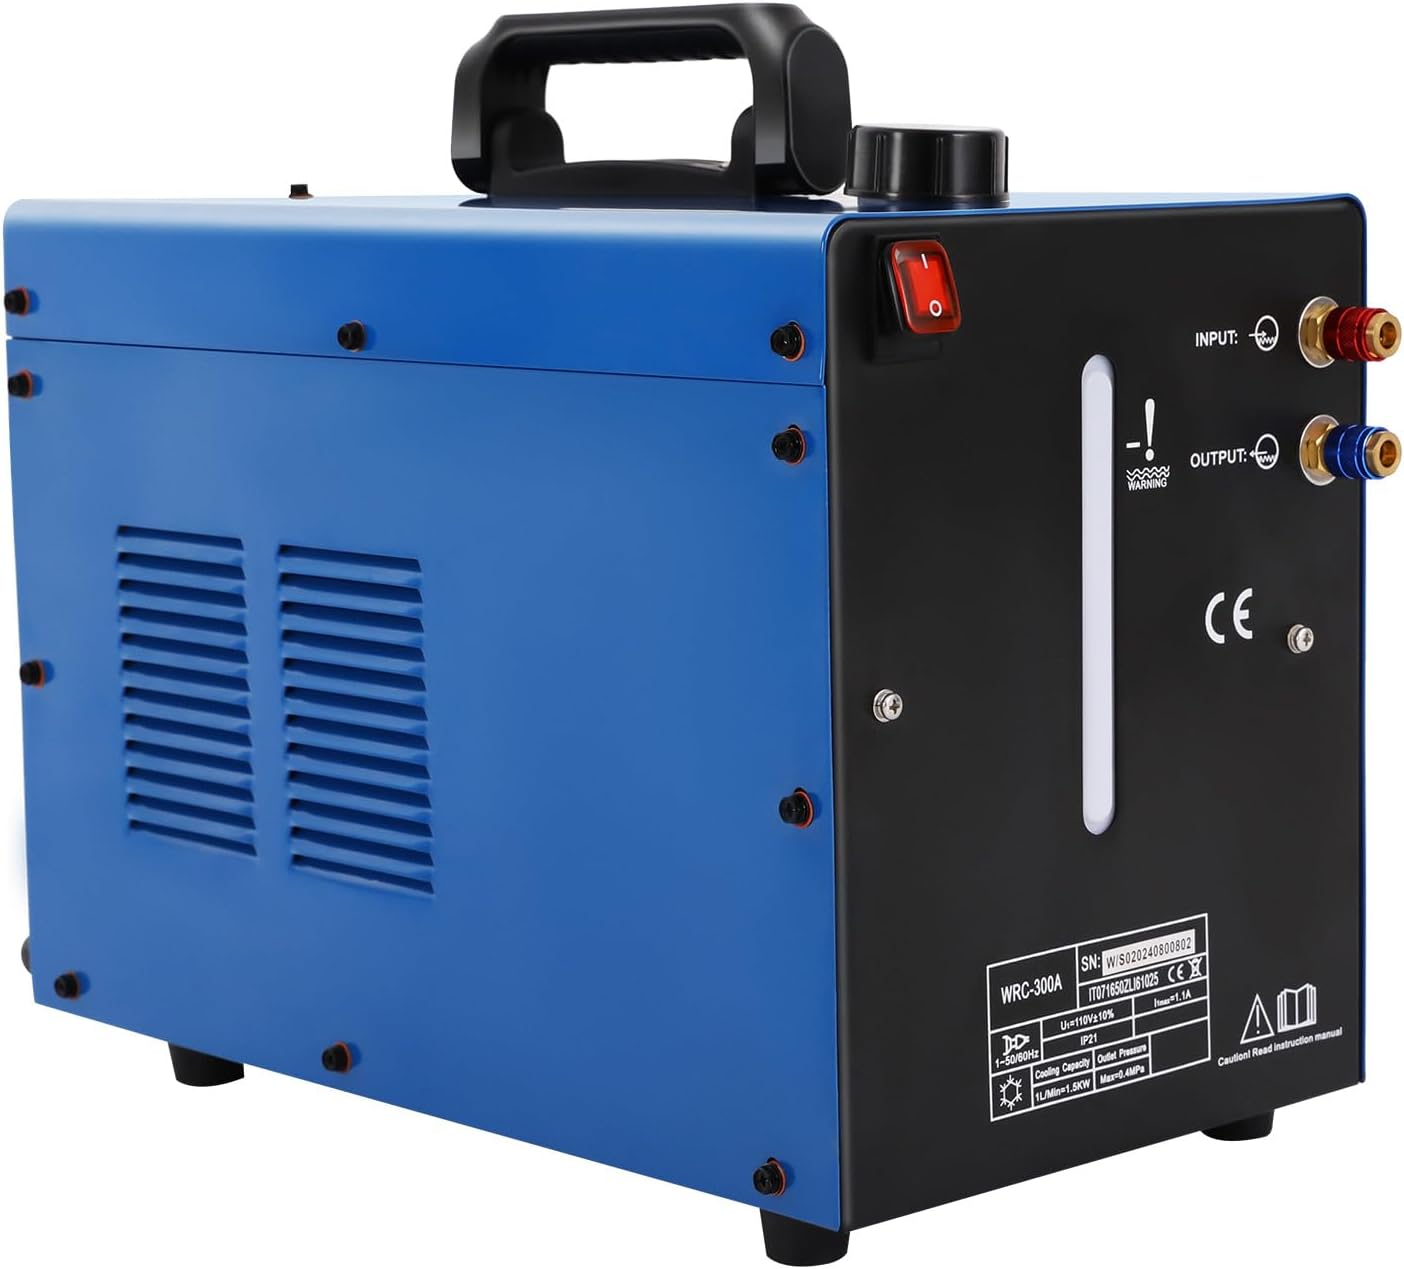
TIG Welding Water Cooler System
- Dramatically extends duty cycle for TIG welding on thick materials
- Keeps torch and cables cool during extended high-amperage sessions
- 3-liter tank capacity provides hours of continuous cooling
- Compatible with most TIG welders 200A and above
- Essential for welders pushing duty cycle limits on production work
View on Amazon →
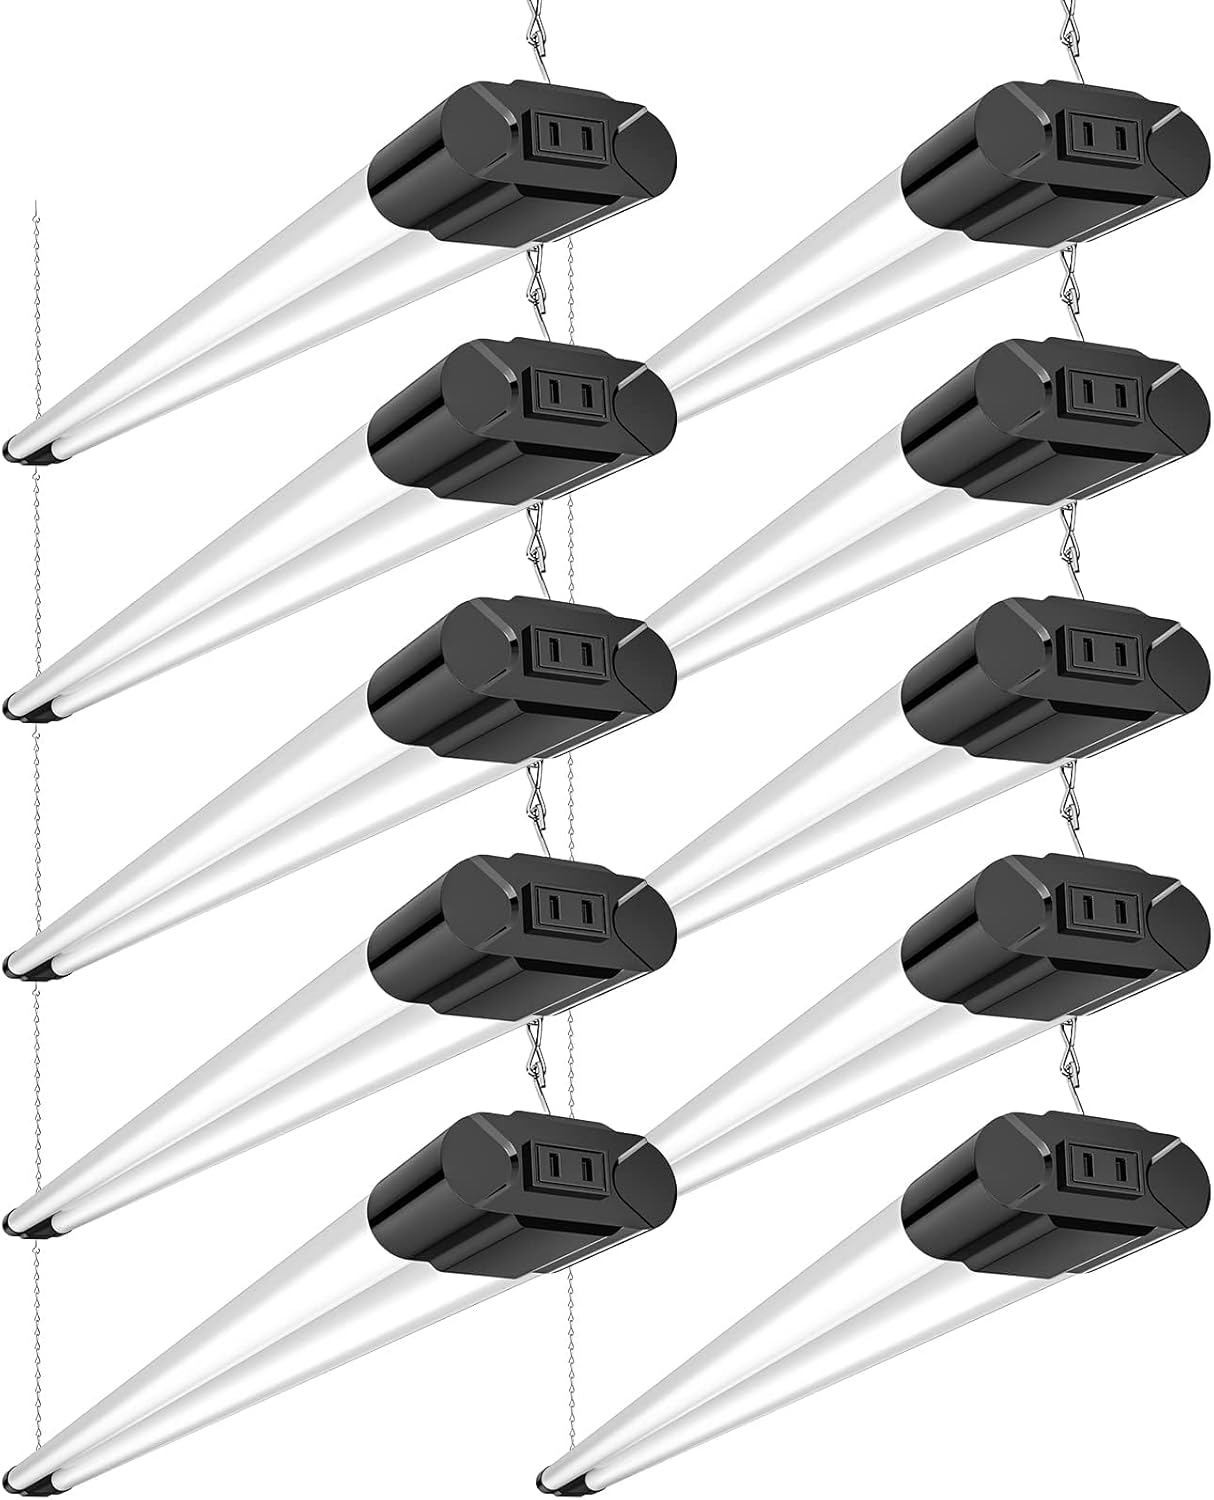
BBounder LED Overhead Shop Light
- Bright LED illumination helps you work efficiently during duty cycle breaks
- Linkable design covers entire welding area for setup and cleanup
- Energy-efficient operation won’t overload shop circuits with your welder
- 5000K daylight color temperature for accurate color matching
- Durable construction withstands harsh welding shop environments
View on Amazon →

Heavy-Duty Universal Welder Cover
- Protects welder from dust buildup that reduces cooling efficiency
- Keeps ventilation slots clear ensuring optimal duty cycle performance
- Water-resistant material for outdoor or jobsite storage
- Universal fit accommodates most MIG, TIG, and stick welders
- Extends machine lifespan by preventing corrosion and contamination
View on Amazon →
As an Amazon Associate, TestTalkHQ earns from qualifying purchases. These welders and accessories are selected for superior duty cycle performance and reliability.
Duty Cycle Ratings Explained: 20%, 60%, and 100%
Welders are typically categorized into three duty cycle classes based on their intended use:
20-35% Duty Cycle: Hobby/Entry-Level Welders
Weld time: 2-3.5 minutes out of every 10 minutes
Who it’s for:
- DIY homeowners
- Occasional fabricators
- Light-duty repairs
- Infrequent welding tasks
Real-world impact: At 20% duty cycle, you’re welding 2 minutes and cooling 8 minutes. For small projects like fixing a gate or welding a bracket, this is perfectly fine. You finish a weld, clean slag, reposition the part, and by then the machine is ready to go again.
But for anything requiring continuous welding—like building a trailer or welding structural steel—a 20% duty cycle becomes frustrating fast. You’ll spend more time watching a thermal overload light than actually welding.
Common examples:
- Harbor Freight Titanium 125 (20% @ 90A)
- Entry-level 110V MIG welders
- Budget stick welders under $400
60% Duty Cycle: Professional/Prosumer Welders
Weld time: 6 minutes out of every 10 minutes
Who it’s for:
- Serious hobbyists
- Small fabrication shops
- Professional welders doing varied work
- Agricultural and automotive repair
Real-world impact: This is the traditional “professional duty cycle” rating. At 60%, you can weld continuously for 6 minutes before needing a 4-minute break. For most shop work, this is more than adequate because you naturally pause to reposition, change electrodes, or clean the weld.
A 60% duty cycle welder can handle production work, but you’ll need to be mindful of your welding rhythm on longer jobs.
Common examples:
- Lincoln Electric Power MIG 180 (60% @ 115A)
- Miller Millermatic 211 (60% @ 115A)
- Mid-range TIG and stick welders ($800-1,500)
100% Duty Cycle: Industrial/Production Welders
Weld time: Continuous (no cooldown required)
Who it’s for:
- Production welding shops
- Industrial fabricators
- Welders running continuous beads
- High-volume structural work
Real-world impact: A 100% duty cycle welder never needs to cool down at its rated amperage. You can weld all day without stopping. This is essential for production environments where downtime equals lost money.
However, 100% duty cycle welders cost significantly more—often $2,000-$5,000+—and most welders don’t need this capability. Unless you’re doing true production work, a 60% duty cycle machine will serve you better and save you money.
Common examples:
- Miller Millermatic 252 (100% @ 200A)
- Lincoln Power Wave series
- High-end industrial TIG and multi-process machines
The Critical Relationship: Duty Cycle vs. Amperage
Here’s what most people miss: Duty cycle is NOT constant across all amperage settings. As amperage increases, duty cycle decreases. As amperage decreases, duty cycle increases.
A welder rated “60% @ 160A” might actually have:
- 100% duty cycle @ 90A (low amps = continuous welding)
- 60% duty cycle @ 160A (rated amperage)
- 35% duty cycle @ 200A (near maximum amperage)
- 20% duty cycle @ 240A (absolute maximum output)
Why This Happens
Higher amperage = more current flowing through the machine = more heat generated in transformers, rectifiers, and components = faster temperature rise = shorter duty cycle.
Lower amperage = less current = less heat = components stay cooler = longer duty cycle.
This is why manufacturers always specify duty cycle AT a specific amperage. The rating “60% @ 180A” tells you that at 180 amps, you can weld 6 out of every 10 minutes. But if you’re only welding at 90 amps, you might be able to weld continuously (100% duty cycle) because the machine stays much cooler.
Reading Duty Cycle Specifications
When you look at the back panel or spec sheet of a welder, you’ll typically see something like:
Example: Miller Millermatic 211
- 40 A / 100% Duty Cycle
- 115 A / 60% Duty Cycle
- 150 A / 30% Duty Cycle
This tells you:
- At 40 amps: Weld all day (100%)
- At 115 amps: 6 min on, 4 min off (60%)
- At 150 amps: 3 min on, 7 min off (30%)
Example: Lincoln Power MIG 210 MP
- 130 A / 60% Duty Cycle
- 90 A / 100% Duty Cycle
Always check the rated duty cycle at the amperage you’ll actually use. A welder advertised as “200 amp max output” might only have a 20% duty cycle at 200 amps, which means you can only weld for 2 minutes at full power before waiting 8 minutes.
How Welders Monitor and Enforce Duty Cycle
Your welder doesn’t have a stopwatch inside counting welding time. Instead, duty cycle is enforced through thermal protection circuits.
Thermal Overload Protection
Inside your welder is a thermal sensor (usually a thermostat or thermistor) that monitors the temperature of critical components—typically the transformer, power transistors, or circuit boards.
When the internal temperature reaches a preset threshold (usually around 194-212°F / 90-100°C), the thermal protection circuit activates and:
- Cuts power to the welding circuit — You can still trigger the gun, but no arc forms
- Keeps the cooling fan running — This is critical for cooling the internals
- Illuminates the thermal overload warning light — Usually a red or yellow LED
The machine will NOT weld again until the internal temperature drops below the safe threshold. This usually takes 4-10 minutes depending on ambient temperature and how hot the machine got.
What to Do When Thermal Overload Triggers
DO:
- Leave the machine ON — The fan needs to keep running to cool the internals
- Point a shop fan at the welder — Extra airflow speeds cooling (especially in hot climates)
- Wait for the thermal light to turn off — Don’t force it or keep triggering the gun
- Reduce your amperage — If you’re hitting thermal overload repeatedly, you’re working at too high an amperage for the duty cycle
DON’T:
- Turn the machine OFF immediately — This stops the cooling fan when it’s needed most
- Cover or block ventilation slots — Let air circulate freely
- Keep triggering the welding gun — This doesn’t help and may damage contactors
Pro tip from a coastal Texas welder: “On a hot summer day, you might hit thermal overload much faster than the rated duty cycle suggests. The duty cycle is rated at 104°F (40°C), but if your shop is 95°F and the welder is sitting in direct sunlight, it’ll overheat sooner. Always position an extra fan near your welder in hot weather.”
Factors That Affect Real-World Duty Cycle
The duty cycle on the spec sheet assumes ideal conditions. In reality, several factors can reduce (or occasionally increase) your actual duty cycle:
1. Ambient Temperature
Duty cycle ratings are based on 104°F (40°C) ambient temperature. If your shop is hotter than this—common in summer, especially in un-air-conditioned garages and outdoor welding—your duty cycle drops.
Example: A welder rated 60% @ 180A at 104°F might only achieve 40-45% duty cycle at 115°F.
Conversely, welding in a 60°F shop in winter can give you better-than-rated duty cycle performance.
2. Ventilation and Airflow
Welders cool themselves with internal fans that pull cool air through ventilation slots and exhaust hot air. If these vents are blocked or the welder is in a confined space with poor airflow, it will overheat faster.
Best practices:
- Keep at least 12″ of clearance around all vents
- Don’t stack materials on top of the welder
- Position the welder where room air can circulate
- Add a shop fan pointing at the welder on hot days
3. Dust and Dirt Buildup
Over time, metal dust, grinding dust, and shop debris accumulate inside the welder. This dust acts as insulation, trapping heat and reducing cooling efficiency.
A dusty welder will have a lower effective duty cycle than a clean one.
Maintenance tip: Once or twice a year, unplug the welder, remove the cover panels, and use compressed air to blow out dust from the interior. Focus on transformer fins, circuit boards, and fan blades. This simple maintenance can restore full duty cycle performance.
4. Voltage Supply
Some welders have different duty cycle ratings for single-phase vs. three-phase power, or for 120V vs. 240V operation.
Example: A multi-voltage welder might be:
- 60% @ 180A on 240V single-phase
- 100% @ 200A on 240V three-phase
Always check whether the duty cycle rating applies to the voltage you’re actually using. Three-phase power is more efficient and generates less heat, so duty cycle is typically higher.
5. Duty Cycle Ratings: Single Phase vs. Three Phase
Some manufacturers (especially on import welders) list the highest possible duty cycle—which may only be achievable with three-phase power that you don’t have.
Always verify: Is the duty cycle rating for single-phase or three-phase power?
If a welder lists “100% @ 300A” but requires 480V three-phase for that rating, and you’re running it on 240V single-phase, your actual duty cycle might be 60% @ 250A instead.
Reputable manufacturers like Miller, Lincoln, and Everlast clearly separate single-phase and three-phase ratings on their spec sheets.
Common Duty Cycle Ratings by Welder Type
Different welding processes and machine types typically fall into specific duty cycle ranges:
MIG Welders
Entry-level (110V/120V):
- 20-30% duty cycle at max output
- Often rated at amperage lower than max (e.g., “30% @ 90A” on a 140A machine)
- Fine for hobbyists, frustrating for production
Mid-range (240V prosumer):
- 40-60% duty cycle at rated output
- Usually 30-35% at maximum amperage
- Good for small shops and serious hobbyists
Professional (240V industrial):
- 60-100% duty cycle at rated output
- Heavy-duty transformers and cooling systems
- Designed for continuous operation
TIG Welders
Entry-level (150-200A):
- 35-60% duty cycle at max amperage
- TIG welding is typically slower, so lower duty cycle is more acceptable
Professional (200-300A):
- 60-100% duty cycle
- Designed for all-day welding
Industrial (300A+):
- 100% duty cycle across full amperage range
- Water-cooled torches for additional heat management
Stick Welders
Budget models:
- 20-35% duty cycle at max amperage
- Often 60% duty cycle at lower “rated” amperage
Professional models:
- 60% duty cycle at max amperage
- 100% duty cycle at 2/3 of max amperage
Heavy industrial:
- 100% duty cycle even at maximum output
- Built for structural and pipeline welding
Multi-Process Welders
Multi-process machines (MIG/TIG/Stick in one unit) often have different duty cycles for each process:
Example:
- MIG: 35% @ 140A
- TIG: 60% @ 200A
- Stick: 35% @ 150A
Why? Because each process generates different amounts of heat in different parts of the machine. TIG typically has higher duty cycles because arc power is lower at comparable amperages.
Choosing the Right Duty Cycle for Your Needs
Now that you understand duty cycle, here’s how to choose the right rating for your actual welding:
DIY/Home Hobbyist: 20-40% is Fine
If you:
- Weld occasionally on weekends
- Work on small projects (furniture, repairs, art)
- Take natural breaks to measure, position, and plan
- Aren’t welding for hours continuously
Then: 20-35% duty cycle is perfectly adequate and saves you $500-1,000 compared to higher-duty machines.
Recommended: Entry-level MIG welders like the Lincoln Handy MIG or Harbor Freight Titanium series.
Serious Hobbyist/Small Shop: 60% is the Sweet Spot
If you:
- Weld several hours at a time
- Build trailers, bumpers, or structural projects
- Do automotive restoration or farm repairs
- Want professional-quality equipment without industrial pricing
Then: 60% duty cycle is ideal. It gives you enough capacity for real work without paying for unused capability.
Recommended: Miller Millermatic 211, Lincoln Power MIG 210 MP, Everlast PowerMTS series.
Professional/Production: 60-100% Required
If you:
- Weld for a living
- Run continuous beads on production work
- Can’t afford downtime waiting for thermal overload to clear
- Need reliability for job site work
Then: 60% is the minimum, and 100% is worth the investment if you’re doing true production welding.
Recommended: Miller Millermatic 252, Lincoln Power MIG 260, high-end TIG machines with 100% duty cycle.
When to Spend Extra for Higher Duty Cycle
Higher duty cycle costs more. A 60% duty cycle welder might be $1,000 while a 100% duty cycle version is $2,500. When is it worth it?
Spend extra if:
- You’re frequently hitting thermal overload on your current machine
- Downtime costs you money (you’re billing by the hour)
- You’re welding structural steel where you can’t stop mid-weld
- You run long continuous beads (pipe welding, tank fabrication)
Don’t spend extra if:
- You naturally pause between welds anyway
- Your projects are small and intermittent
- Budget is tight and 60% meets your needs
- You’re buying your first welder (start with 60% and upgrade later if needed)
What Happens When You Exceed Duty Cycle
When you push past your welder’s duty cycle, the thermal protection system activates:
Immediate Effects
- Welding stops — The arc goes out, even if you’re holding the trigger
- Thermal overload light illuminates — Usually red or yellow LED on the front panel
- Fan keeps running — The machine stays powered to cool the internals
- 4-10 minute wait — How long depends on how hot it got and ambient temperature
Long-Term Effects
Repeatedly pushing past duty cycle causes:
Component degradation:
- Transformers overheat and insulation breaks down
- Capacitors fail from excessive heat cycling
- Solder joints crack from thermal expansion/contraction
- Circuit boards warp and traces lift
Shortened lifespan:
- A welder run at its duty cycle limit will last 10-15 years
- A welder constantly exceeding duty cycle might only last 3-5 years
Warranty issues:
- Most manufacturers void warranties for thermal damage caused by exceeding duty cycle
How to Avoid Thermal Overload
Strategy 1: Reduce Amperage
If you’re hitting thermal overload frequently, you’re probably welding at too high an amperage for your welder’s duty cycle.
Remember: Duty cycle increases as amperage decreases. If you’re running 180A at 30% duty cycle (3 min on, 7 min off), dropping to 140A might give you 60% duty cycle (6 min on, 4 min off).
Strategy 2: Plan Your Weld Sequence
Instead of welding continuously until thermal overload, structure your work:
- Weld section A for 3 minutes
- Move to grinding/cleanup while the welder cools (4 minutes)
- Return to welding section B (welder is now cool)
This “natural duty cycle” matches how most fabricators actually work.
Strategy 3: Use Multiple Welders
Some high-production shops keep two welders and alternate between them. While one is cooling, you weld with the other. This is cheaper than buying one 100% duty cycle machine.
Strategy 4: Improve Cooling
- Position a shop fan to blow air across the welder
- Keep vents clear and clean
- Work in a cooler environment when possible
- Clean interior dust buildup
Duty Cycle Myths and Common Mistakes
Myth #1: “100% Duty Cycle is Always Better”
Reality: 100% duty cycle costs significantly more and most welders don’t need it. A 60% duty cycle welder is perfect for 90% of shop applications. Don’t overspend for capability you’ll never use.
Myth #2: “I Can Ignore the Duty Cycle Rating”
Reality: You can exceed it occasionally without damage (the thermal protection prevents that), but habitually running past duty cycle degrades components and shortens machine life.
Myth #3: “Duty Cycle Doesn’t Matter for Hobbyists”
Reality: If you’re building a trailer or bumpers, even as a hobbyist, you WILL hit thermal overload on a 20% duty cycle welder. It’s frustrating. The $300 price difference to jump to 60% duty cycle is worth it.
Myth #4: “Higher Amperage is More Important Than Duty Cycle”
Reality: A 200A welder with 20% duty cycle is less useful than a 180A welder with 60% duty cycle for most work. Duty cycle affects how long you can actually use the amperage you have.
Common Mistake #1: Buying Based on Max Amperage Alone
The trap: “This 200A welder is only $500!”
The fine print: 20% duty cycle @ 140A, 10% at 200A
Reality: You can only use that 200A for 1 minute out of every 10 minutes. For real work, it’s effectively a 140A welder.
Common Mistake #2: Not Checking Single-Phase vs. Three-Phase Ratings
Some import welders advertise impressive duty cycles that only apply to three-phase power. If you’re running single-phase (like 99% of home shops), your actual duty cycle is lower.
Always verify: Does this duty cycle rating apply to the power I actually have?
Common Mistake #3: Turning the Welder Off During Thermal Overload
When thermal overload triggers, many people instinctively shut the machine off. Don’t do this.
The cooling fan needs to keep running to bring the temperature back down. Shutting off the machine stops the fan and prolongs the cooldown period.
Correct response: Leave it on, let the fan run, wait for the thermal light to go out.
Duty Cycle Calculator: Find Your Exact Weld Time
Want to calculate exactly how long you can weld with your machine? Use our free Duty Cycle Calculator to find:
- Actual weld time in minutes
- Required cool-down time
- How duty cycle changes with different amperage settings
- Whether a specific welder meets your needs
Just enter your welder’s duty cycle rating and amperage, and the calculator instantly shows you the breakdown.
Frequently Asked Questions
What does 60% duty cycle mean?
60% duty cycle means you can weld for 6 minutes out of every 10-minute period at the specified amperage. After 6 minutes of welding, you must allow the machine to cool for 4 minutes before welding again. The duty cycle is always specified at a particular amperage—for example, “60% @ 180A.”
Can I weld continuously with a 60% duty cycle welder?
No, not at the rated amperage. A 60% duty cycle welder requires a 4-minute cooldown after every 6 minutes of welding. However, if you reduce your amperage significantly (often to 50-60% of the rated amperage), many welders can achieve 100% duty cycle and weld continuously.
What’s the difference between 60% and 100% duty cycle?
A 60% duty cycle welder can weld for 6 minutes and must cool for 4 minutes (out of every 10-minute period). A 100% duty cycle welder can weld continuously without any cooldown period. The price difference is usually $1,000-2,000 or more, with 100% duty cycle machines designed for industrial and production welding.
How do I calculate duty cycle?
Duty cycle is calculated as: (Welding Time ÷ 10 minutes) × 100. For example, if you can weld for 6 minutes out of every 10 minutes, that’s (6 ÷ 10) × 100 = 60% duty cycle. Use our Duty Cycle Calculator for instant calculations.
Does duty cycle matter for TIG welding?
Yes, but TIG welding typically requires lower amperages for longer periods, which actually works well with lower duty cycles. A TIG welder with 60% duty cycle at 200A might have 100% duty cycle at 120A—perfect for most TIG applications. The slower nature of TIG welding also means you naturally take breaks between passes.
What duty cycle do I need for home use?
For occasional home projects, repairs, and hobby welding, a 20-35% duty cycle is usually adequate. For serious fabrication, building trailers, or extended welding sessions, invest in a 60% duty cycle welder. The $300-500 price difference is worth it to avoid constant thermal overload interruptions.
Why does my welder shut off after a few minutes?
Your welder is hitting its thermal overload protection, which means you’ve exceeded the duty cycle. This happens when the internal components reach their maximum safe temperature. The welder will automatically stop welding but keep the cooling fan running. Wait for the thermal overload light to turn off (usually 4-10 minutes) before welding again.
Is higher duty cycle always better?
Not necessarily. Higher duty cycle welders cost significantly more—often $1,000-2,000 extra for 100% vs. 60% duty cycle. Unless you’re doing production welding or running continuous long beads, a 60% duty cycle welder is perfect and saves you money. Don’t overpay for capability you won’t use.
What happens if I exceed the duty cycle?
The thermal protection circuit will activate and stop the welding process. The machine won’t be damaged because the thermal protection prevents overheating. However, you’ll need to wait 4-10 minutes for the machine to cool down before you can weld again. Repeatedly exceeding duty cycle can shorten the machine’s lifespan over time.
Does temperature affect duty cycle?
Yes, significantly. Duty cycle ratings are based on 104°F (40°C) ambient temperature. If you’re welding in a hot shop in summer (90-100°F or higher), you’ll hit thermal overload faster than the rated duty cycle suggests. Cold weather (60-70°F) can actually improve duty cycle performance because the machine stays cooler.
Conclusion: Choose Duty Cycle Based on Real Use
Duty cycle isn’t a spec to obsess over—but it’s also not one to ignore. Here’s the bottom line:
- For occasional DIY work: 20-35% duty cycle saves you money and works fine
- For serious fabrication: 60% duty cycle is the sweet spot of capability and value
- For production welding: 100% duty cycle is worth the investment
The best way to choose? Think about your longest welding sessions. If you’re welding continuously for 10+ minutes without natural breaks, you need 60-100% duty cycle. If you naturally pause to reposition, measure, or plan your next move, a lower duty cycle is perfectly adequate.
And remember: As amperage decreases, duty cycle increases. Most welders spend 80% of their time at 50-70% of their machine’s maximum amperage—where duty cycle is much higher than the rated spec.
Use our Duty Cycle Calculator to find exactly how long you can weld with your current machine or the one you’re considering buying.
Ready to upgrade? Check out our recommendations:
- Best hobby welder: Lincoln Handy MIG (20% duty cycle, perfect for weekend projects)
- Best value: Miller Millermatic 211 (60% duty cycle, handles serious work)
- Best professional: Lincoln Power MIG 260 (100% duty cycle, built for production)
Have questions about duty cycle? Drop a comment below or reach out—we’re here to help!
When calculated weld/cool times look right but the machine still trips early — hot shops, cord sag, dirty vents, amp-line confusion, or multi-pass heat — diagnose with Duty Cycle Troubleshooting.
Welding
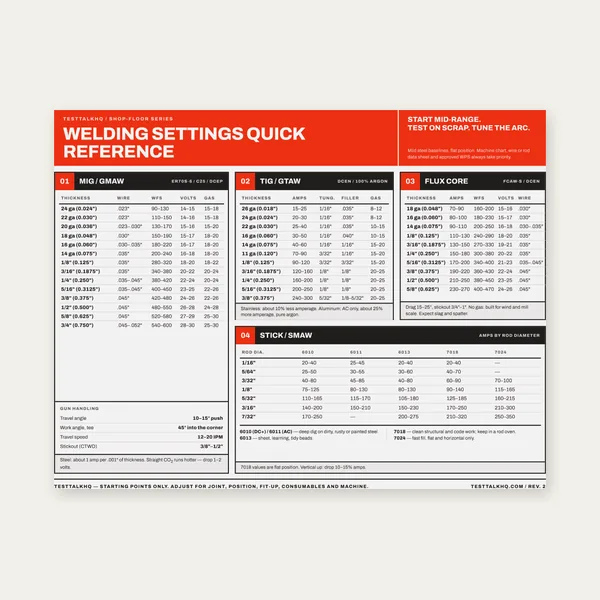
Welding Reference Card
One page. MIG, TIG, stick and flux core settings by thickness.
$3.99
Buy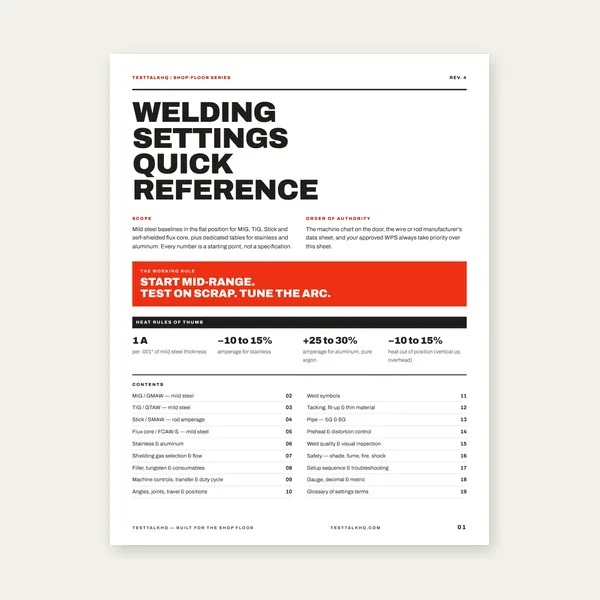
Complete Welding Settings Guide
19 pages. Four processes, stainless and aluminum, symbols and inspection.
$12.99
Buy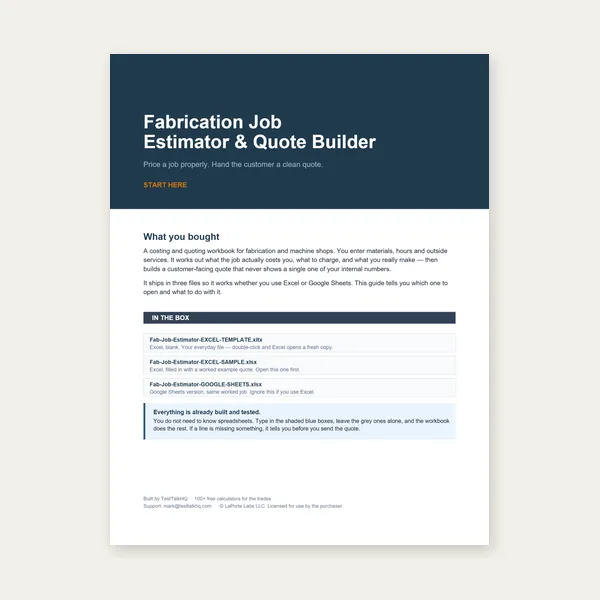
Welding Job Estimator
Price the job, then hand over a quote with no internal numbers.
Excel or Google Sheets. Best on a computer.
$29.00
Buy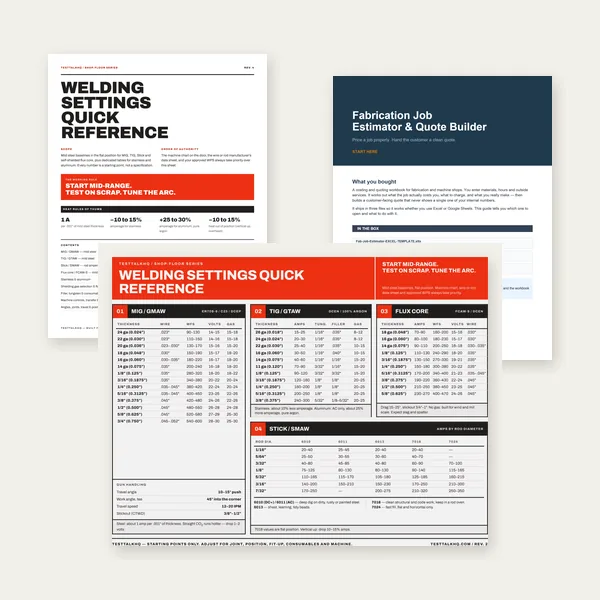
Welding Complete Bundle
Card, 19-page guide and the estimator workbook. All six files.
Excel or Google Sheets. Best on a computer.
$34.99
$45.98 if bought separately — save $10.99
BuyCheckout opens in a new tab.