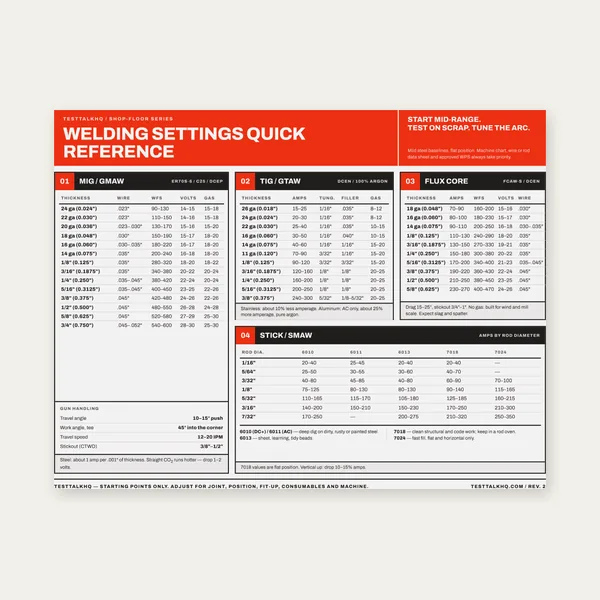
Welding Reference Card
One page. MIG, TIG, stick and flux core settings by thickness.
$3.99
BuyExpulsion, undersize nuggets, electrode mushrooming, sheet gap, and batch-to-batch strength drift when the current, time, and force already matched the calculator
This is field diagnosis of resistance spot weld defects — not a settings tutorial. Set starting current, weld time, and electrode force with the Spot Welding Calculator. Learn nugget formation, peel-test acceptance, and tip maintenance in the Spot Welding Guide. This page picks up where "the numbers were right but the welds still failed."

Use this when the calculator current/time/force were in range but the peel test, nugget size, or batch consistency failed. The three spot-weld variables interact — fixing one wrong can undo another, so split the defect first.
| Symptom | What it usually means | First fix | Next tool |
|---|---|---|---|
| Expulsion (sparks, splatter) | Too much current/time or too little force | Lower current or time; raise electrode force | Spot Welding Calculator |
| Small / no nugget (weak) | Too little current/time or too much force | Raise current/time; verify force not excessive | Spot Welding Guide |
| Weld strength drifting down over run | Electrode tips mushrooming — current density falling | Dress or replace tips; check cooling water | Spot Welding Guide |
| Cold or missing welds, poor fit | Sheet gap shunting current / robbing force | Close the gap; clamp; check part flatness | Spot Welding Calculator |
| Random pass/fail across batch | Coating, surface, or shunting variation | Clean/consistent prep; increase weld spacing | Spot Welding Guide |
What it looks like: Sparks and molten metal ejected at the weld, a crater or hole, surface splatter around the spot, and often a weld that's actually weaker despite looking violent. Voids and cracks form as expelled metal leaves the nugget short.
Likely causes: Current or weld time above what the stack-up needs; electrode force too low to contain the molten nugget; contaminated or oily surfaces raising localized resistance; or too-fast squeeze time so full force isn't reached before current flows.
Fixes: Lower current or shorten weld time in small steps, and/or raise electrode force so the molten pool stays contained. Confirm proper squeeze time (full force before weld current). Re-derive a balanced current/time/force starting point on the Spot Welding Calculator, then fine-tune on coupons.
What it looks like: Peel test shows a tiny button or an interfacial (shear-plane) failure instead of a button that tears a hole from one sheet. Welds look fine on the surface but pop apart. Nugget diameter below the typical 4√t to 5√t target for the sheet thickness.
Likely causes: Too little current or weld time to grow the nugget; too much force lowering contact resistance so less heat is generated; excessive electrode tip diameter spreading current density too thin; or heavy shunting to a nearby weld/edge.
Fixes: Increase current and/or weld time; verify force isn't set so high it suppresses heat; use the correct tip face diameter; increase spacing from edges and adjacent welds. Rebuild balanced parameters on the calculator and validate nugget size per the Spot Welding Guide peel-test method.
Button vs interfacial: a real spot weld pulls a slug/hole from one sheet in a peel test. Shear-plane failure = undersize nugget.
Nugget & Peel TestWhat it looks like: First welds pass, then strength quietly declines over dozens or hundreds of spots. Tip faces are visibly flattened/spread (mushroomed), sometimes pitted or alloyed with a sticking part. Nuggets shrink even though the machine settings never changed.
Likely causes: As the copper tip face spreads, the contact area grows and current density (A/mm²) drops, so the same machine current makes a smaller, cooler nugget. Accelerated by inadequate electrode cooling water, excessive force, overheating, and pickup/alloying with zinc-coated steel.
Fixes: Dress the tips to the correct face diameter on a schedule (tip dressing), replace worn caps, and verify cooling-water flow and temperature. Track welds-per-dress and increase current only as a temporary bridge — the real fix is restoring tip geometry, not fighting it with more amps. The Spot Welding Guide covers tip maintenance intervals.
What it looks like: Cold or missing welds where parts don't sit tight, inconsistent nuggets along a flange, or expulsion at the first contact point when electrode force closes a gap suddenly. A feeler gauge slips between sheets before welding.
Likely causes: A gap means electrode force is consumed bending the sheets together instead of forging the nugget, and contact resistance/current path shift unpredictably. Poor part flatness, springback, weld distortion pulling flanges apart, and insufficient clamping all create gaps. Large gaps also change the effective stack-up the calculator assumed.
Fixes: Close the gap with clamps or fixtures before welding, check part flatness and trim/de-burr flanges, sequence welds to control distortion, and re-verify force at the joint (not just machine setting). Feeler-gauge the fit-up; if the gap is unavoidable, recompute with the real stack condition on the calculator.
What it looks like: Random pass/fail across nominally identical parts with the same settings. No clear trend like mushrooming; some spots strong, some weak, seemingly at random.
Likely causes: Variable surface condition (oil, oxide, inconsistent zinc coating weight), shunting when weld spacing is too tight (current diverts through an adjacent weld), fluctuating line voltage or air/water pressure, and inconsistent fit-up part to part. Coated steels especially raise and vary contact resistance.
Fixes: Standardize surface prep and cleaning, increase weld-to-weld and edge spacing to cut shunting, stabilize supply (voltage, air, cooling water), and add periodic peel-test sampling to catch drift early. Consistent inputs are what let the calculator settings produce repeatable nuggets; the guide covers spacing and coating effects.
Article 3 SKIPPED because there is no genuine choose-A-vs-B decision. Resistance spot welding is a single process tuned by current, time, and force, then diagnosed by nugget/peel results. There is no meaningful "method A vs method B" fork the way there is for, say, groove vs fillet joints — so a decision article would be artificial. Parameter setup lives on the calculator, technique and acceptance criteria live in the guide, and defect diagnosis lives here.
Spot Welding Calculator → Spot Welding Guide → Welding Hub →
One page. MIG, TIG, stick and flux core settings by thickness.
$3.99
Buy
19 pages. Four processes, stainless and aluminum, symbols and inspection.
$12.99
Buy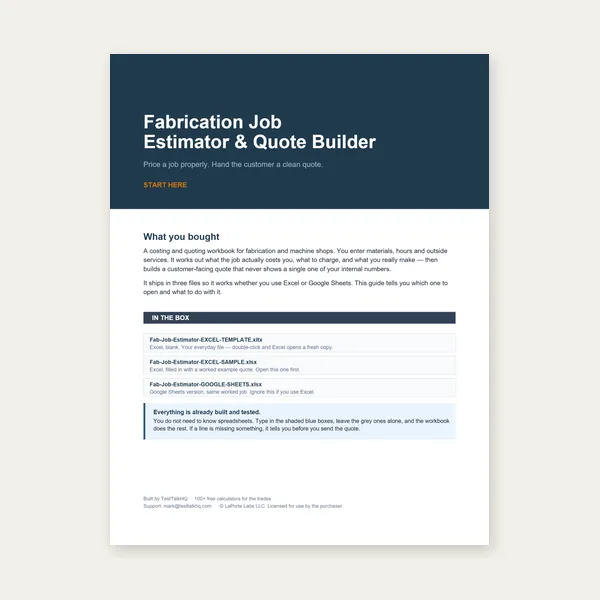
Price the job, then hand over a quote with no internal numbers.
Excel or Google Sheets. Best on a computer.
$29.00
Buy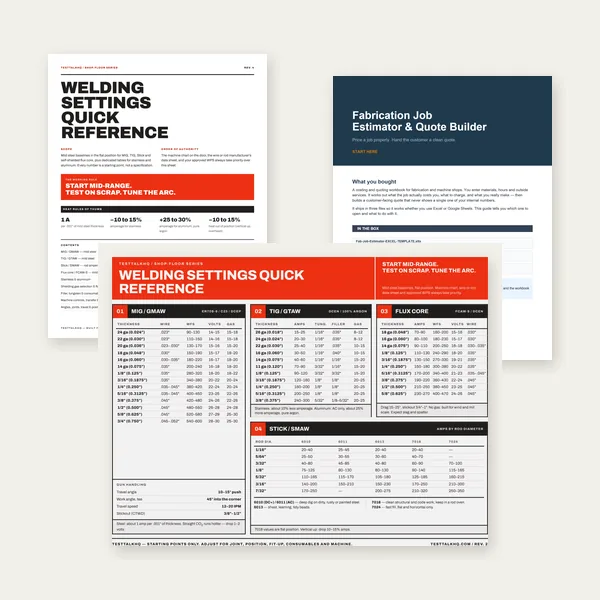
Card, 19-page guide and the estimator workbook. All six files.
Excel or Google Sheets. Best on a computer.
$34.99
$45.98 if bought separately — save $10.99
BuyCheckout opens in a new tab.
Five CSV catalog picks with verified images — protection at the machine plus measuring tools to check nugget size, tip diameter, and fit-up gap
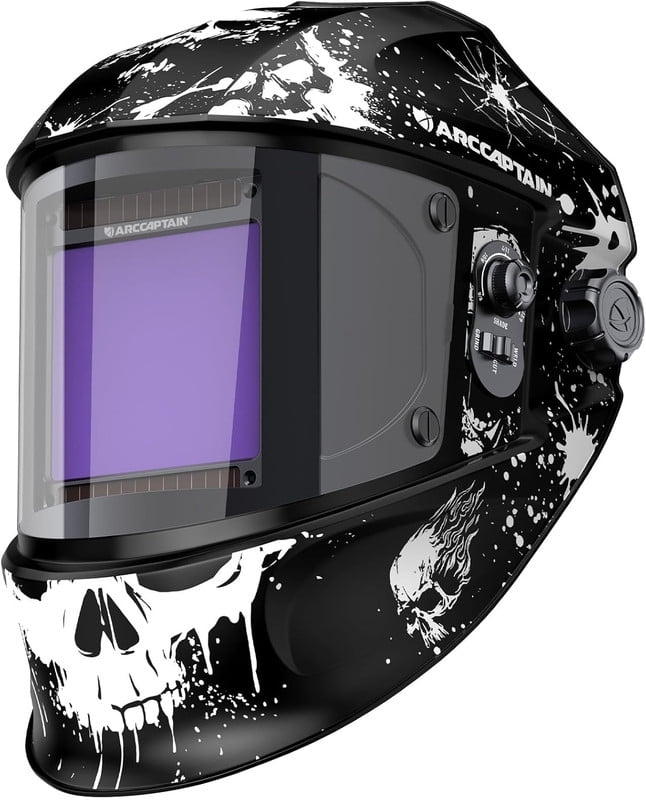
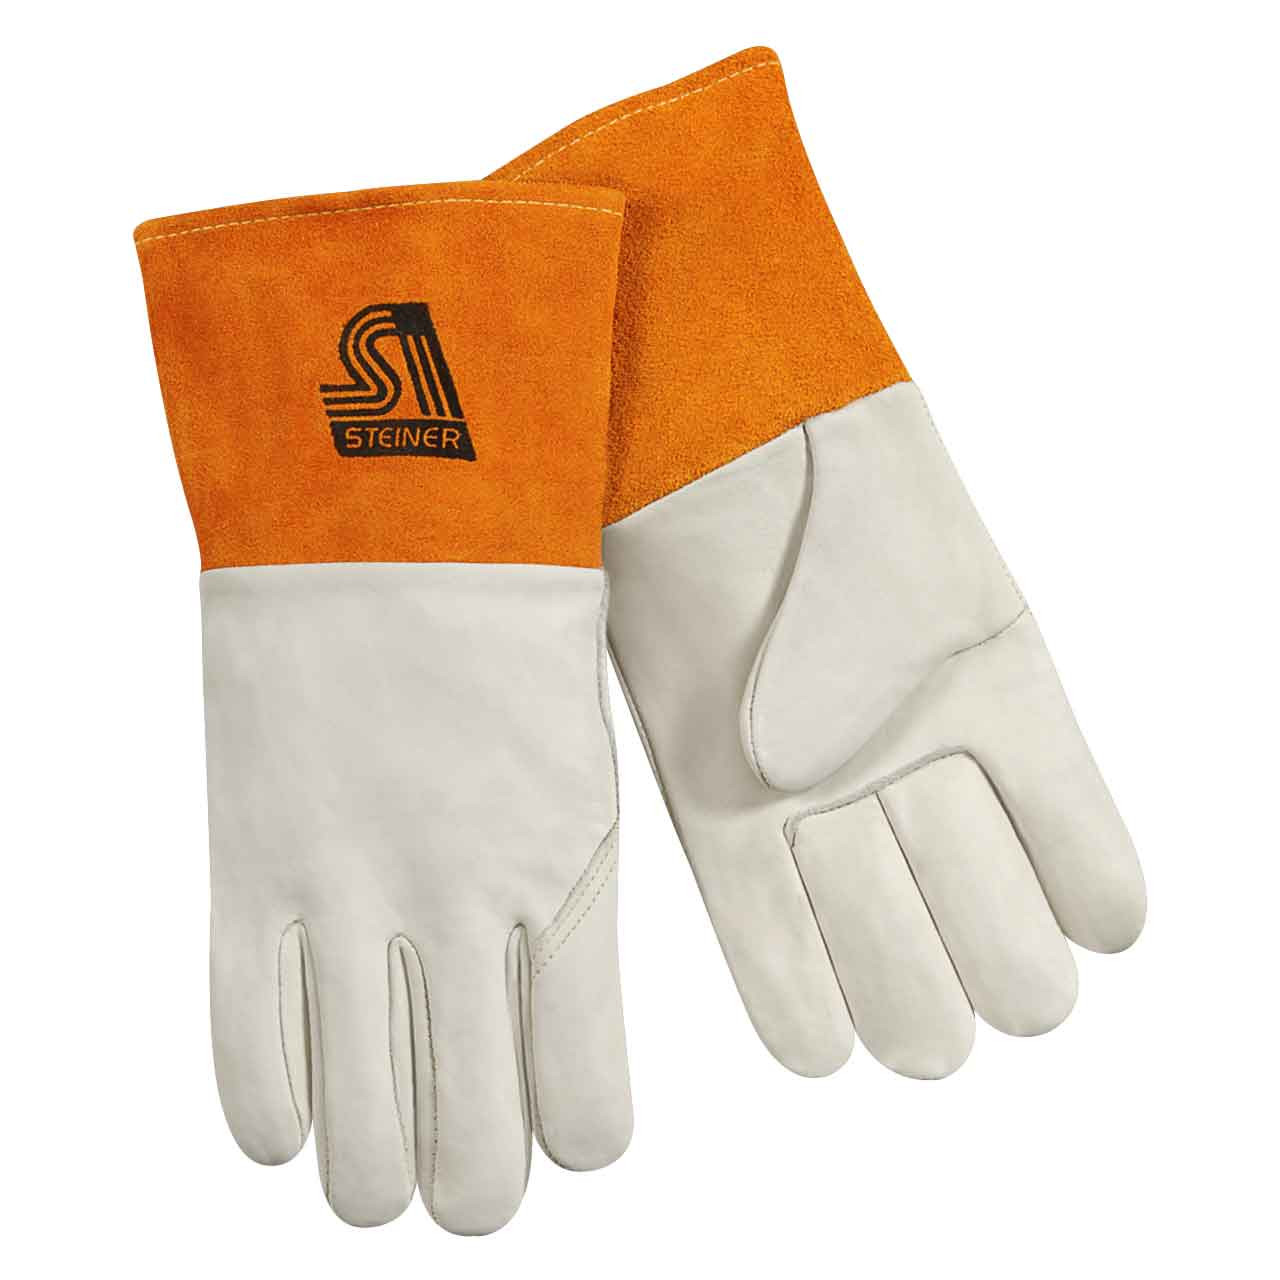
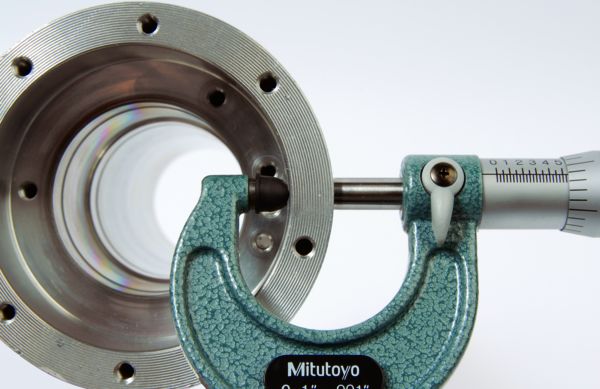
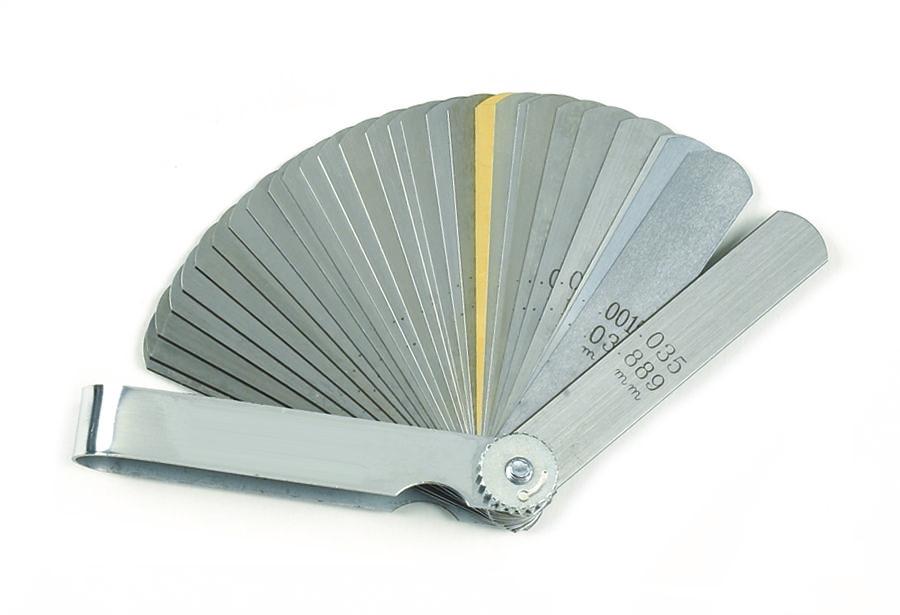
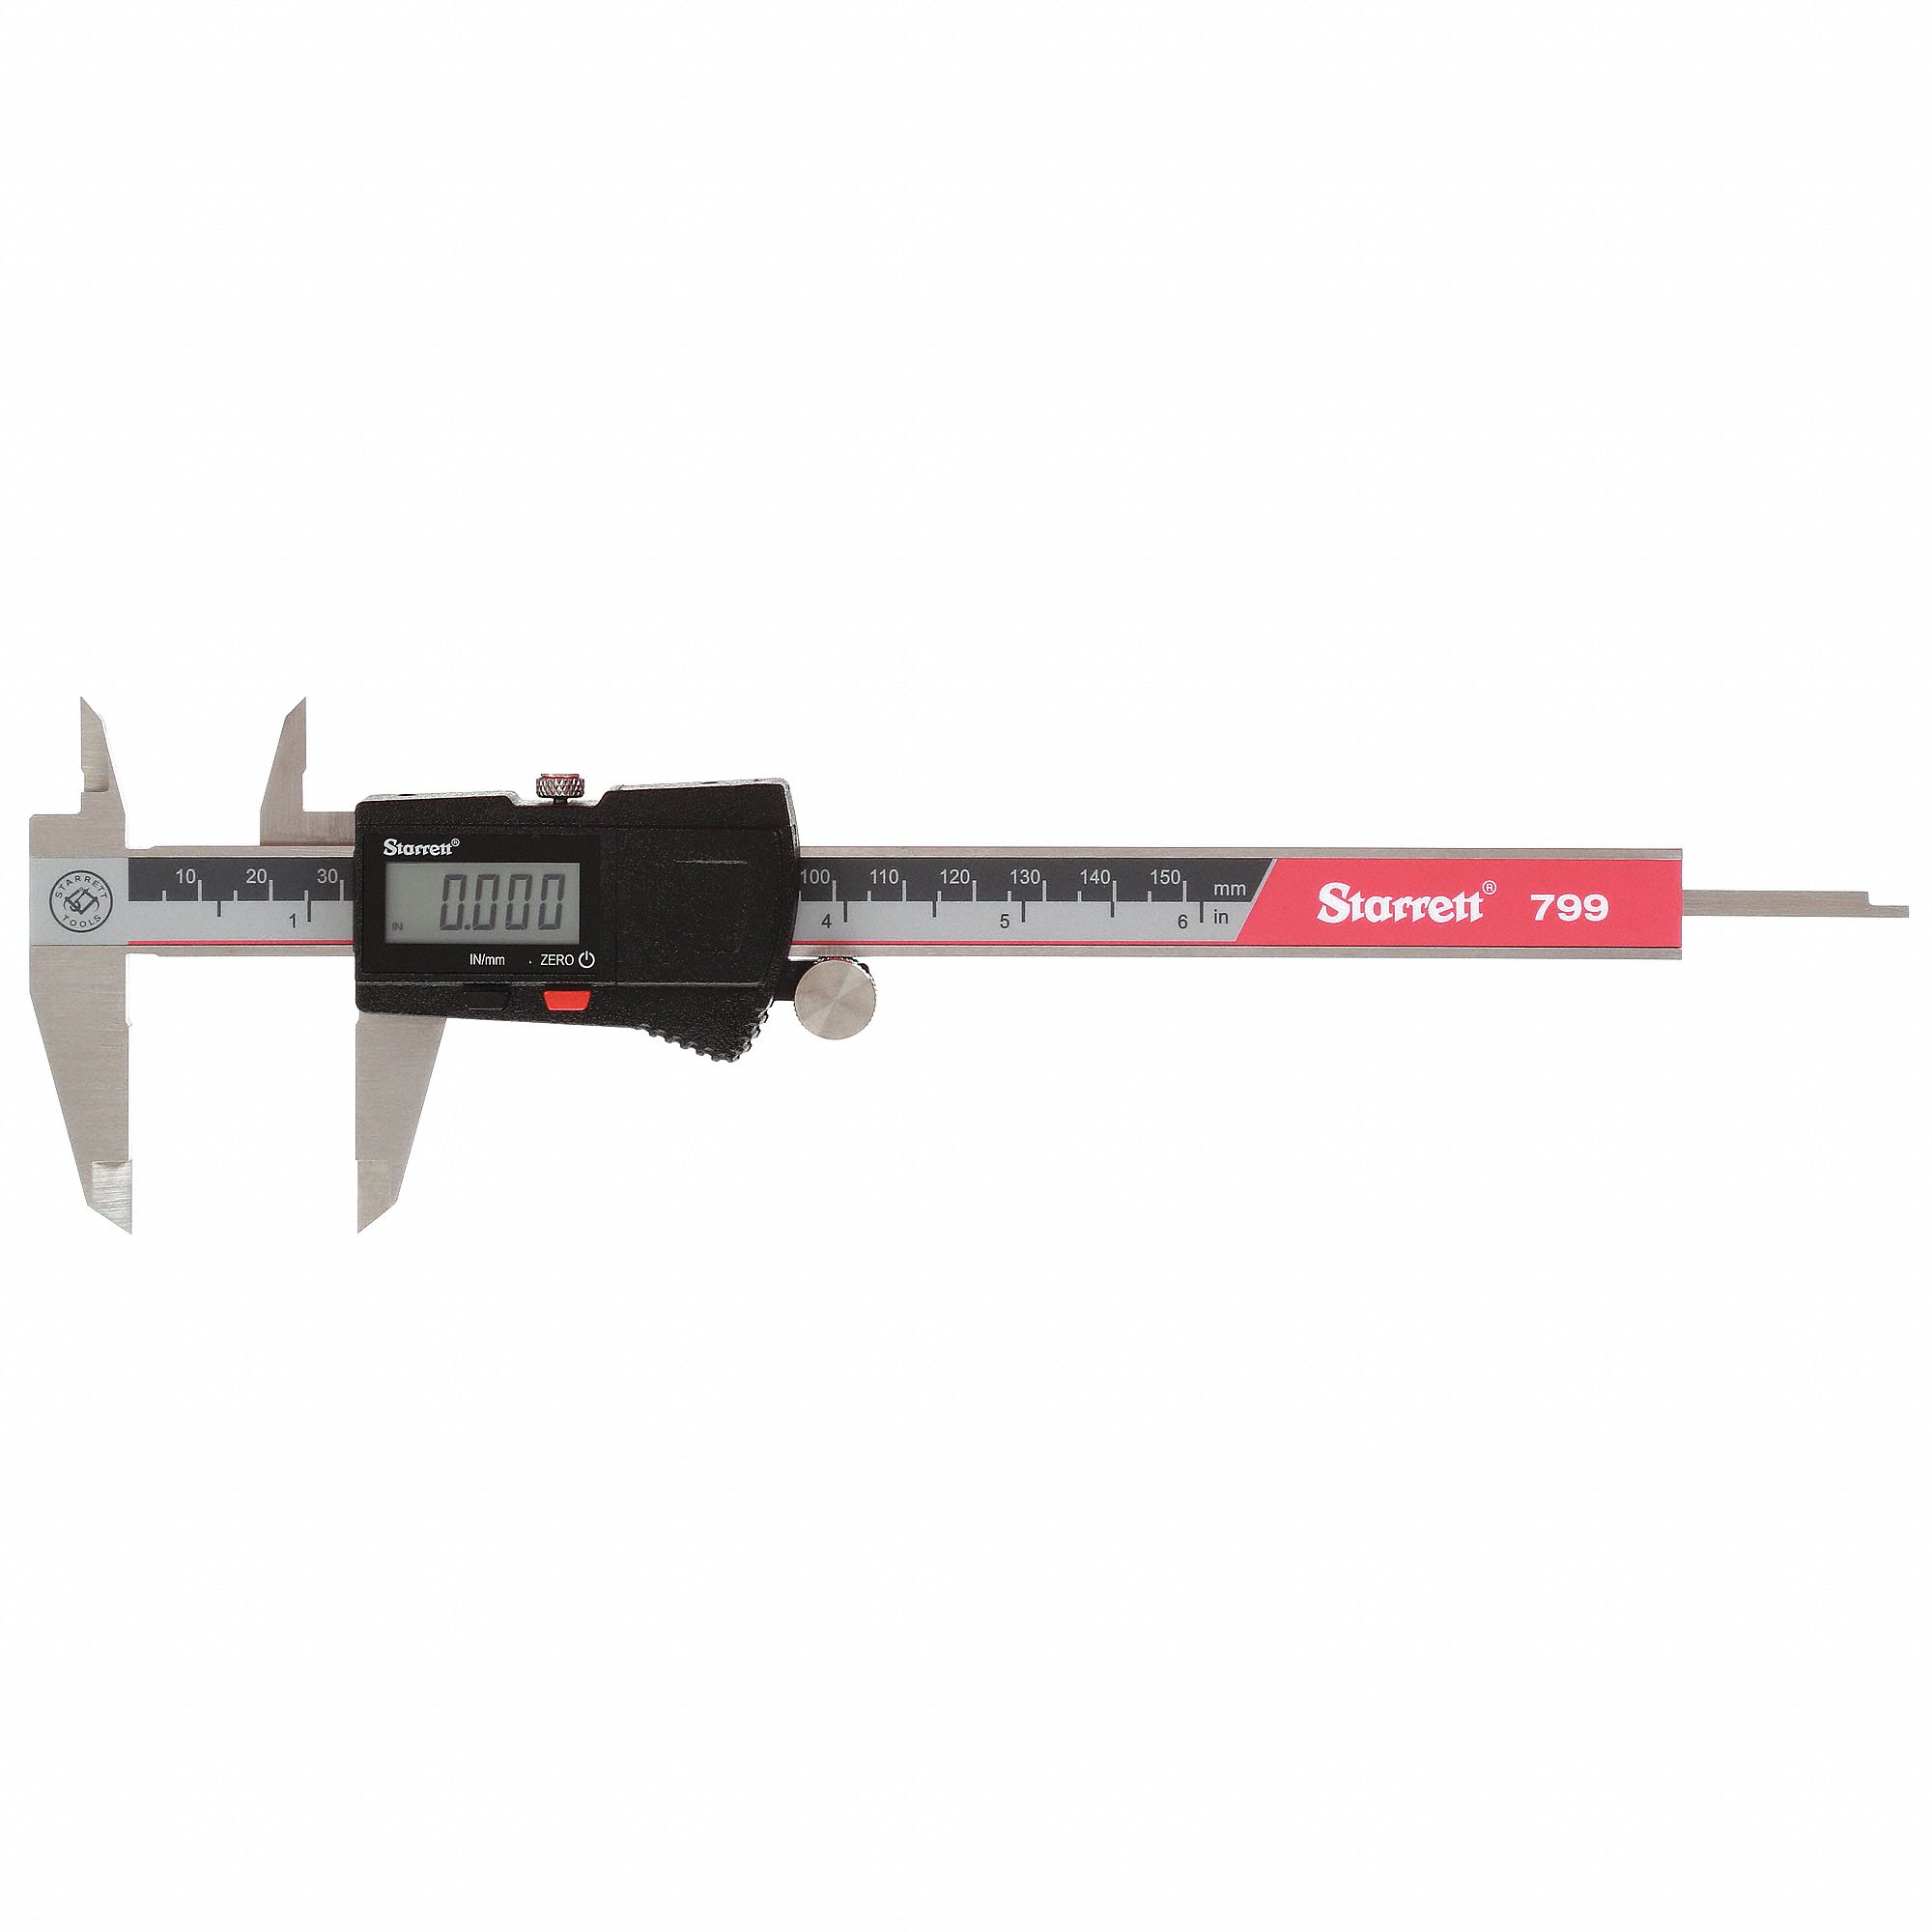
As an Amazon Associate, TestTalkHQ earns from qualifying purchases. All five cards are sourced only from the affiliate CSV with verified product images. Catalog gap flagged by name: no dedicated spot-welder tip dresser or weld-force gauge SKU currently exists in the CSV.
That's expulsion: too much current or weld time, or too little electrode force. Lower the heat first, then confirm force is high enough to contain the molten nugget. Check for oil/contamination and adequate squeeze time.
Insufficient nugget. A good weld pulls a button/hole from one sheet in a peel test; interfacial (shear-plane) failure means the nugget is undersize. Increase current/time, verify force isn't excessive, and check tip diameter and shunting.
Electrode mushrooming. The tip face spreads, current density falls, and nuggets shrink at the same machine setting. Dress or replace the tips on a schedule and verify cooling water.
Feeler-gauge the fit-up before welding. A gap steals electrode force and shifts the current path, causing cold or inconsistent welds. Clamp/fixture the joint closed rather than adding current.
Because spot welding isn't an A-vs-B choice — it's one process tuned by current, time, and force and judged by nugget/peel tests. Setup lives on the calculator, technique in the guide, and defect diagnosis here.