Knurling Troubleshooting
Diagnose doubled patterns, shallow smears, thin-wall crush, pattern walk, and wheel chatter when the Knurling Calculator already gave you a starting diameter
Not another form-knurl how-to. Pair this with the Knurling Calculator when the OD math looks right and the wheels still tear, walk, or smear. For bump vs scissor, form vs cut, and setup basics, use the Knurling Guide. This page stays on field diagnosis.

Knurling Problems Quick Answer
Use this when the calculator starting OD was followed but the pattern still doubles, smears, walks, or crushes the work — especially on manual lathe form knurling.
| Problem | What it usually means | First fix | Next tool |
|---|---|---|---|
| Doubled or torn diamond pattern | Wrong TPI entered; turned to finished OD not starting OD; circumference error; inch/metric pitch mix | Re-measure OD; confirm wheel TPI; turn to calculator starting diameter | Knurling Calculator |
| Shallow, smeared, or shiny knurl | Worn wheels; hesitating infeed on stainless; dry wheels; RPM too high | Fresh wheels; steady infeed with lube; drop spindle speed | Cutting Speed Troubleshooting |
| Oval work, thin-wall crush | Bump tool on delicate stock; no tailstock; excessive infeed | Switch to scissor holder; support with tailstock; lighter passes | Knurling Guide |
| Pattern walks or spirals | Tool not square to axis; center height wrong; feed too slow | Indicate tool square; set on centerline; increase feed | Lathe Turning Calculator |
| Chatter, wheel chip, gouge | Engagement crash; long overhang; RPM too high for diameter | Roll in gradually; shorten overhang; recalc surface speed | Cutting Speed Troubleshooting |
1. Doubled or Torn Pattern When Calculator OD Was Used
What it looks like: Two overlapping diamond sets, torn peaks, or a pattern that looks “one pitch too fine” or “one pitch too coarse.” You turned to the number the calculator printed and still failed on the first roll.
Likely causes: Wrong TPI entered — wheel stamp says 16 TPI but you typed 14 or a metric pitch. Turned to finished OD instead of starting OD (form knurl grows diameter; if you already hit final size, the wheels cannot track). Circumference measurement error — string-wrap or caliper reading off by a few thou changes pitch match. Inch/metric pitch mix — 0.8 mm pitch wheel treated as 20 TPI or vice versa.
Fixes: Read the wheel face stamp and re-enter TPI in the Knurling Calculator. Turn the blank to the starting diameter, not the finished grip size. Wrap masking tape around the OD, mark circumference, divide by π — compare to caliper OD. If pitch still fights, try the calculator’s alternate starting diameter before blaming the wheels.
2. Shallow, Smeared, or Polished-Looking Knurl
What it looks like: Diamonds visible but shallow; material looks burnished or dragged instead of formed; peaks rounded; finger grip feels slick. Often worse on 300-series stainless or after a second re-roll attempt.
Likely causes: Worn or chipped knurl wheels — teeth rounded so they smear instead of displace. Hesitating infeed on work-hardening stock — pause mid-roll lets stainless work-harden and resist the next bite. Dry wheels — no cutting fluid or wrong lube for the alloy. RPM too high — heat and skidding instead of controlled forming.
Fixes: Replace or dress wheels when peaks look flat under light. One steady infeed pass — do not pump the cross-slide on stainless. Use appropriate cutting fluid (Tap Magic or equivalent shop lube; see disclaimer — not in affiliate CSV). Drop spindle speed using the Cutting Speed Troubleshooting page as a sanity check for surface speed vs diameter.
RPM feels “fine for turning”? Form knurling often wants slower than your finish-turning habit.
Cutting Speed Troubleshooting3. Oval Work, Thin-Wall Crush, or Bell-Mouth
What it looks like: OD goes egg-shaped after knurling; thin tube collapses or bell-mouths at the end; long slender parts spring away from the tool. Pattern may look fine locally but the part fails roundness check.
Likely causes: Bump (single-wheel) tool on thin or unsupported stock — radial force pushes the work off center. No tailstock on a long piece — cantilever deflects under knurl load. Excessive infeed — scissor or bump forced in too fast for wall thickness.
Fixes: Move to a scissor-type holder that balances side force (see products and Knurling Guide for bump vs scissor). Support with tailstock center or steady rest on length-to-diameter ratios that would chatter in turning. Lighten infeed and make multiple passes — form knurl still displaces material; thin walls need gentler engagement.
4. Pattern Walk, Spiral, or “Barber Pole” Track
What it looks like: Diamond rows drift at an angle around the OD; pattern spirals like a barber pole; pitch seems to creep over multiple revolutions. Distinct from doubled pitch — here one pitch is consistent but not aligned to the axis.
Likely causes: Knurl tool not square to the spindle axis — side load steers the wheels. Center height wrong — tool above or below center changes effective pitch and tracking. Feed too slow relative to spindle — wheels skid between engagements and walk helically.
Fixes: Indicate the holder against the chuck face or a test bar; square the knurl axis to the part. Set cutter center on the spindle centerline — use a center height gauge or dial indicator in the tool post. Increase feed per rev into the range your holder and wheel TPI expect; walking often clears when feed is not creeping. Confirm blank OD still matches calculator starting diameter — walk plus doubling sometimes means both alignment and pitch are off.
5. Chatter, Wheel Chip, or Engagement Crash
What it looks like: Violent vibration on roll-in; knurl wheel tooth chips; gouge at start or end of knurl; loud bang when the wheels first touch. Part may show flat spots or torn valleys.
Likely causes: Engagement crash — wheels slammed into OD at full infeed instead of gradual roll-in. Overhang — tool extended too far from the turret; stick-out flexes under spike load. RPM too high for diameter — same surface speed habit as turning can be too fast for forming contact.
Fixes: Roll in with compound or cross-feed while spindle runs — let wheels climb onto the OD, not plunge. Shorten overhang; mount holder in the closest turret station. Drop RPM and verify surface speed with the Lathe Turning Calculator / cutting-speed habits. Inspect wheels after any chip — a damaged tooth will repeat the gouge every revolution.
Decision: Bump vs Scissor, Form vs Cut — Already in the Knurling Guide
Choosing bump vs scissor, form vs cut knurl, and holder style for your stock is covered in the main guide — not duplicated here. Use it when thin-wall crush or tool choice is the real fork, not OD math.
Recommended Tools for Knurling Diagnosis
Five CSV catalog picks — measure OD honestly, square the tool, and support delicate work when form knurling on a manual lathe

Scissor-Type Lathe Knurling Tool Holder
- Balanced side force for thin-wall work
- Reduces oval crush vs single-wheel bump
- Manual lathe form knurling
- Lathe Tools catalog

Starrett Electronic Slide Caliper
- Verify starting vs finished diameter
- Catch thou-level OD errors before roll-in
- Digital readout for shop consistency
- Measuring Tools catalog
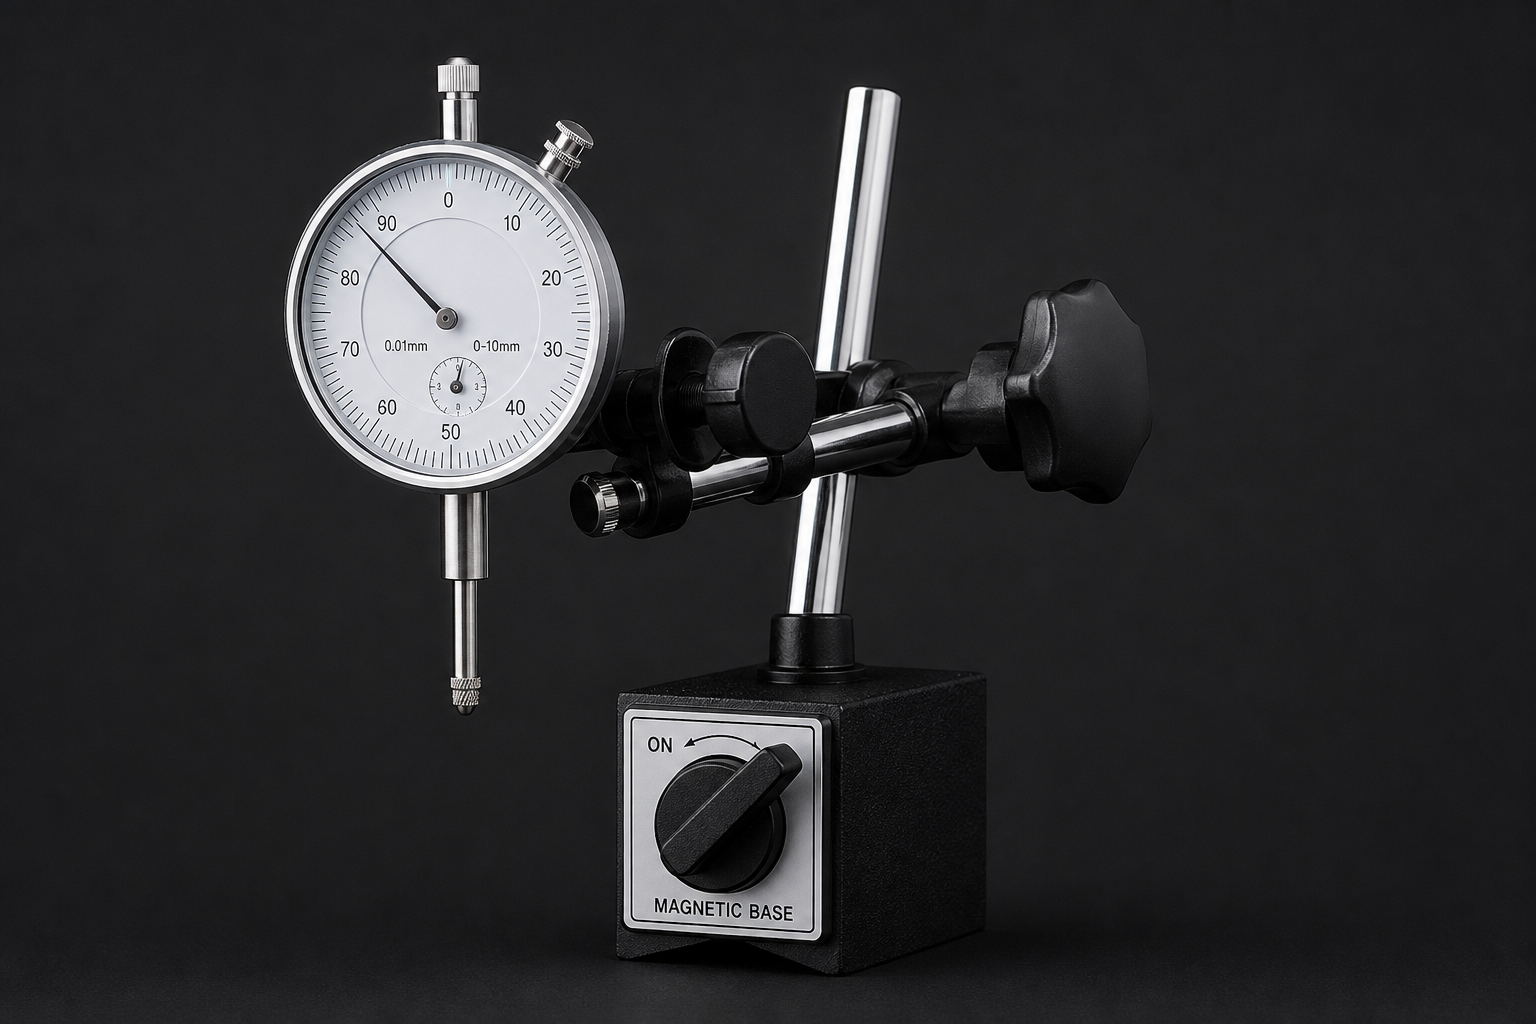
Dial Indicator Set — Magnetic Base
- Square knurl holder to spindle axis
- Check center height and walk causes
- Mag base for lathe bed setup
- Measuring Tools catalog

Lathe Grooving/Parting Tool Holder MGEHR1212-3
- Groove relief before knurl land
- Clean shoulder for wheel roll-in
- 12 mm shank QC/toolpost use
- Lathe Tools catalog

OSCARBIDE Boring Bar Set
- Prep internal bores before external knurl
- Rigidity for paired lathe ops
- Carbide bars for small IDs
- Lathe Tools catalog
As an Amazon Associate, TestTalkHQ earns from qualifying purchases. All five cards are sourced only from the affiliate CSV. Catalog gaps flagged by name: Tap Magic cutting fluid, dedicated knurl wheels (only holder in CSV), transfer punch set, micrometers.
Frequently Asked Questions
The calculator gave a starting OD — why is my pattern still doubled?
Most often wrong TPI entry, turned to finished OD instead of starting OD, or a small circumference/OD measurement error. Re-read the wheel stamp and mic at the knurl zone.
Can I re-knurl over a smeared first pass?
Usually a bad idea on stainless — work hardening makes the second pass worse. Return to calculator starting diameter on fresh material or face off and re-turn.
Why does my thin tube oval only on bump knurling?
Bump tools apply asymmetric radial force. Scissor holders balance side load; add tailstock support on slender parts.
Pattern walks — feed or speed first?
Square the tool and set center height first, then adjust feed. Walking with correct alignment often means feed was too slow or OD drifted off starting size.
Is this the same as the Knurling Guide?
No. The guide covers setup, bump vs scissor, and form vs cut. This page diagnoses failures when the calculated starting diameter already looked correct.