Thread Pitch & Engagement Troubleshooting
Diagnose cross-threads, stripped holes under load, bolts that bottom out early, engagement math that disagrees with the shop floor, and mismatched pitch on unknown parts
Shared companion for both the Thread Pitch Calculator and the Thread Engagement Length Calculator. Formula theory lives in the Thread Pitch & Engagement Guide. Tables live on the Thread Pitch Chart. This page stays on diagnosis when the numbers look fine and the joint still fails.

Thread Failures Quick Answer
Use this when a fastener will not start cleanly, a hole strips under load despite “adequate” engagement, a bolt bottoms before clamp-up, or field results refuse to match the calculator.
| Problem | What it usually means | First fix | Next tool |
|---|---|---|---|
| Won’t thread / cross-threads | Wrong pitch (metric↔inch, coarse↔fine), damaged start, cocked entry | Stop; gauge pitch; start by hand square to the hole | Pitch Calculator / Chart |
| Strips under load | Soft parent material, short engagement, wrong class/fit, over-torque | Measure actual engaged length; check material; insert if soft | Engagement Calculator |
| Bottoms before full engagement | Shallow blind hole, long bolt, chips at bottom | Measure hole depth vs bolt shank; clear chips; longer tap depth | Guide |
| Calc ≠ shop result | Tolerance stack, hardness assumption, incomplete threads counted | Verify class of fit and actual material; discount tap chamfer | Engagement Calculator |
| Unknown / legacy pitch | Assumed standard series without gauging | Measure Ø + pitch gauge; prove with known fastener by hand | Pitch Chart |
Tools That Help Diagnose Thread Failures
Five picks from the TestTalkHQ affiliate catalog — measure pitch, retap, control torque, and reduce galling. Catalog gap: no dedicated thread pitch gauge SKU in the CSV yet.

Starrett Electronic Slide Caliper 0–6in EC799A
- Measure major diameter and multi-crest pitch length in the field
- Confirms whether an unknown hole is inch or metric before you force a fastener
- Also checks engagement depth on protruding studs

Hi-Spec 39 Piece SAE & Metric Tap and Die Set
- Chase damaged starts and retap after a cross-thread event
- Covers common UNC/UNF and metric coarse sizes in one kit
- Use after you confirm pitch — never to “force” a mismatch

Permatex Anti-Seize Lubricant 1/2 Pint
- Cuts stainless-on-stainless and aluminum galling risk
- Helps fasteners run to full engagement without false torque spikes
- Reduce dry torque when the joint is coated — match the published condition

CDI 2503MFRPH 1/2-Inch Drive Torque Wrench
- Apply final clamp after engagement is verified by hand
- Over-torque is a common strip mode even with “enough” thread depth
- Store backed off to the lowest setting
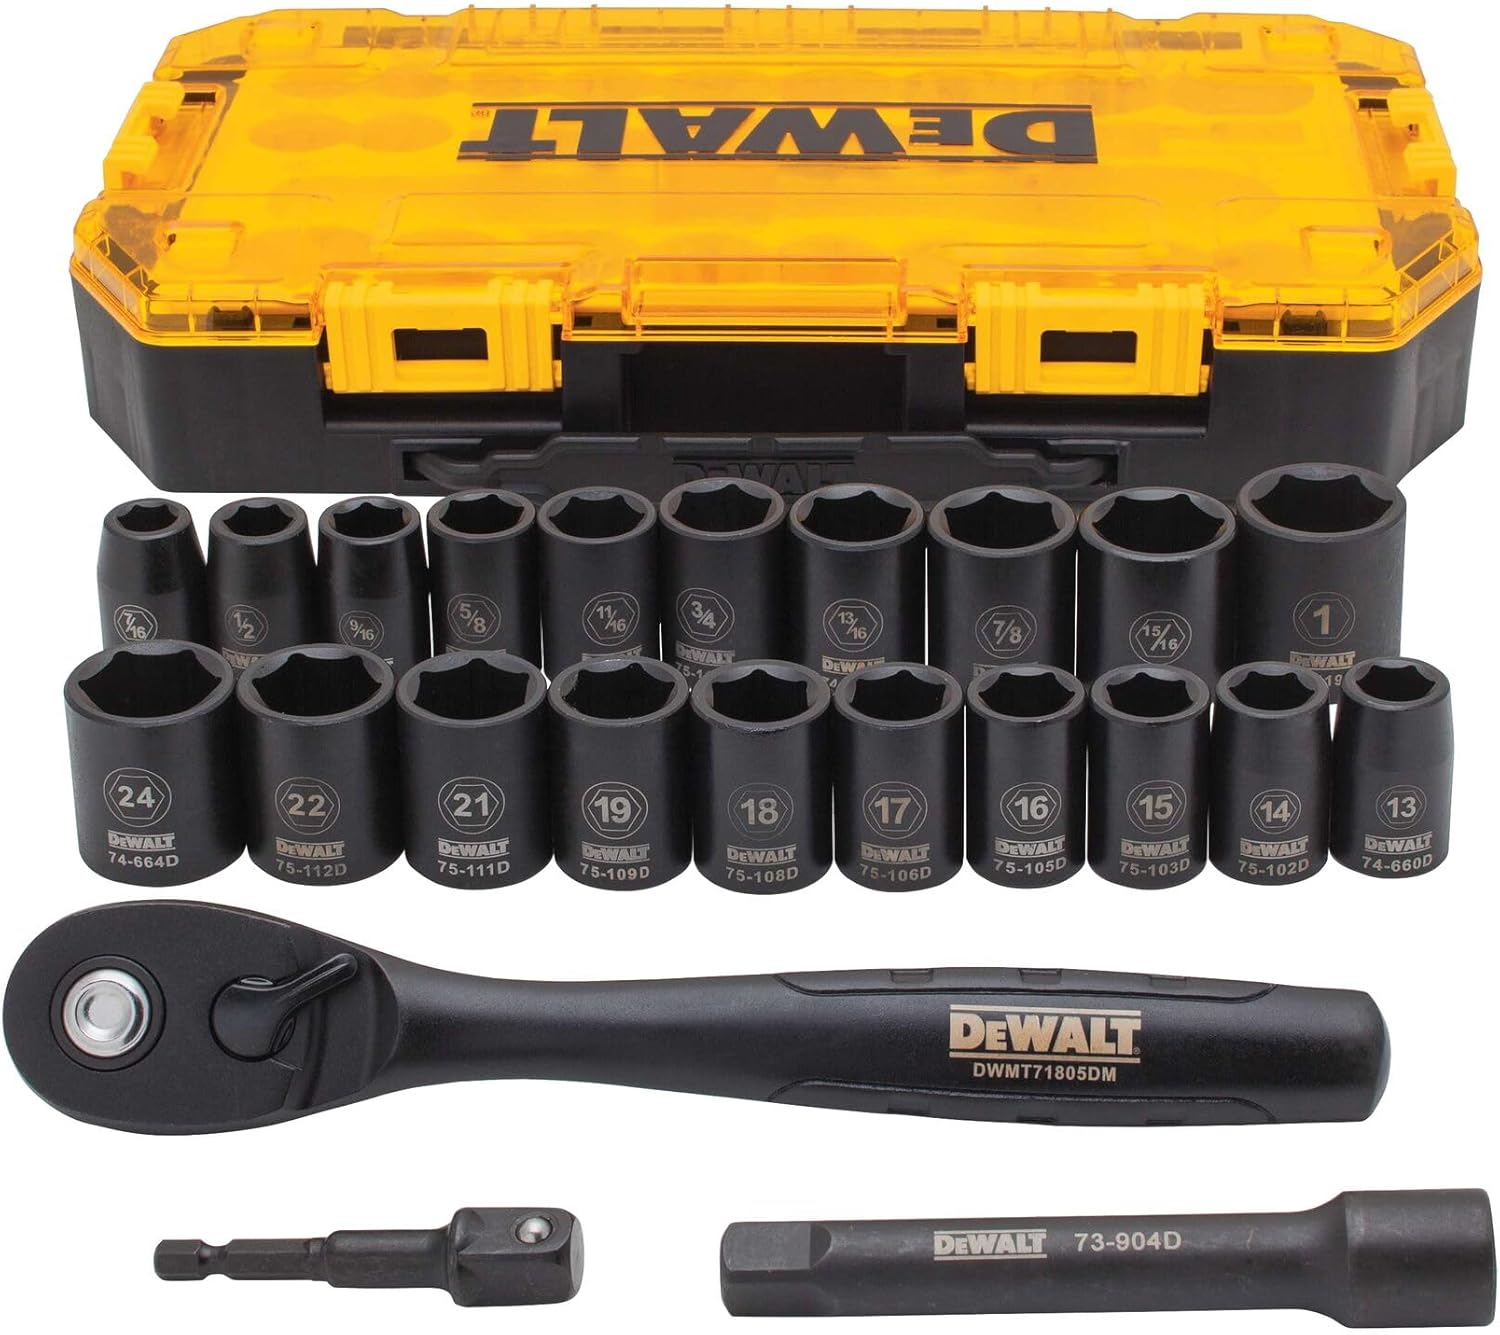
DEWALT Impact Socket Set Metric/SAE 1/2in Drive
- Correct hex fit reduces rounding while diagnosing stuck fasteners
- Metric and SAE coverage for mixed shops
- Pair with a click wrench for the final pass — not an impact into soft aluminum
As an Amazon Associate, TestTalkHQ earns from qualifying purchases. Always match thread system and engagement to the drawing — tools do not fix a wrong pitch.
1. Bolt or Screw Won’t Thread In — Cross-Threads on Start
What it looks like: The fastener binds after a turn or two, climbs crooked, or “feels almost right” then locks hard. Forcing it with a wrench ruins both the bolt and the tapped hole.
Why it happens: Threads only mate when diameter, pitch, and form match. Near-size combinations (M6×1.0 vs 1/4-28, 1/2-13 vs 1/2-20, UNC vs metric) can start and then destroy the first threads.
Likely causes checklist:
- Metric vs imperial confusion — hardware bin mixed, unmarked bolts treated as “close enough.”
- Coarse vs fine mismatch — 1/2-13 into a 1/2-20 hole (or M8×1.25 into M8×1.0). Same diameter, wrong pitch.
- Damaged first threads — dropped bolt, paint/corrosion in the hole start, nicked crest from prior force.
- Misalignment on start — cocked entry on a hard-to-reach flange; side load cuts a new false path.
Fixes:
- Back out immediately. Chase the hole and bolt with the correct tap/die only after pitch is confirmed.
- Identify series with the Thread Pitch Chart or Pitch Calculator — do not guess from diameter alone.
- Start every fastener by hand, square to the hole, for at least two full turns before any wrench.
2. Thread Strips Out Under Load Despite “Adequate” Calculated Engagement
What it looks like: Engagement length met the 1.5× (or calculator) minimum. Under service load — or final torque — the parent threads shear and the bolt spins.
Why the calculator can be “right” and the joint still fails: Engagement math assumes material shear strength, thread class, and that every counted pitch is a full-form thread carrying load.
Likely causes:
- Wrong material strength assumption — steel-on-steel table used for aluminum, cast iron, or plastic parent material.
- Insufficient depth for the real load — static rule of thumb applied to vibration, impact, or high clamp demand.
- Wrong thread class / fit — loose class reduces shear area; plating and paint further cut engagement.
- Over-torque after assembly — preload exceeds parent shear even when length looks fine on paper.
Fixes:
- Re-run the Thread Engagement Length Calculator with the actual parent material and load type — then add margin for dynamic service.
- In soft materials, go to 2×–3× diameter or install a steel insert (Helicoil / solid) before the next strip.
- Match torque to grade and friction condition with the Bolt Torque Calculator — do not “make up” clamp with a longer wrench.
3. Bolt Bottoms Out Before Reaching Full Engagement
What it looks like: The head never seats, or it seats while the joint is still loose. In blind holes the fastener can “feel tight” against the hole bottom with only a few threads engaged.
Likely causes:
- Hole not deep enough — tap depth equals theoretical engagement with no allowance for tap chamfer (incomplete tip threads).
- Wrong bolt length — shank/thread length longer than usable tapped depth.
- Chip / debris in a blind hole — swarf packs the bottom and steals usable depth.
Fixes:
- Measure hole depth and bolt thread length separately. Add 2–3 pitches beyond design engagement for blind holes (see the guide’s blind-hole section).
- Blow out chips; use a bottoming tap for the last pass when the design requires full form to the floor.
- Select a shorter bolt or deepen the tap — do not rely on the head “almost” seating.
4. Engagement Length Calculation Doesn’t Match Real-World Results
What it looks like: Calculator or 1.5× rule says you are fine. Pull test, service load, or strip torque says otherwise — or a joint that “should fail” holds.
Common stack-up issues:
- Thread class tolerance — external/internal class combinations change contact area versus the idealized model.
- Hardness / shear assumption — published psi for “aluminum” varies widely by alloy and temper.
- Counting incomplete threads — tap entry taper and bolt end chamfer are not full shear contributors.
- Plating, paint, or sealant — reduce effective engagement and change friction at the same time.
Fixes: Measure actual engaged full-form threads after assembly. Re-run the engagement calculator with conservative material values. For critical joints, validate with a pull or strip test on a scrap coupon of the same material and tap process — not on the theory alone.
5. Mismatched Pitch Between Mating Parts — Identifying Unknown / Legacy Threads
What it looks like: A housing, imported machine, or decades-old fixture has a tapped hole with no callout. The “standard” fastener from the bin almost works.
Process (do this in order):
- Measure major diameter with a caliper — narrows the candidate sizes.
- Measure pitch (gauge or multi-crest / TPI count) — separates UNC/UNF/metric fine/coarse.
- Confirm on the chart; prove with a known fastener by hand only.
- If damaged, chase with the confirmed size — never “try” the next bin size with a wrench.
Tap Drill Size vs Thread Engagement — Related, Not the Same
Tap drill sets the hole diameter before tapping — it controls percent of thread and tap torque. Engagement length is how much axial thread is carrying shear after assembly. A perfect tap-drill size with three engaged pitches in soft aluminum still strips. A deep engagement in a hole drilled too large (weak % thread) also fails.
Use the Tap Drill Size Calculator when cutting or repairing the hole. Use the engagement calculator when checking clamp capacity. Use this troubleshooting page when either number looked fine and the joint still failed.
Coarse vs Fine — Decision Already Covered
Choosing UNC vs UNF (or metric coarse vs fine) is a real tradeoff — coarse starts easier and forgives dirty/damaged holes; fine packs more tensile area and resists vibration better on thin walls. That fork is already written in the Thread Pitch & Engagement Guide (Imperial vs Metric / UNC / UNF sections and the fine-thread vibration FAQ). No separate decision article was built for this family — cross-link the guide instead of duplicating it.
Open Coarse vs Fine in the Guide →Frequently Asked Questions
Can I fix a cross-threaded hole by just running a tap through it?
Only after you confirm the original pitch and diameter. Blind re-tapping with the wrong series enlarges the damage. Gauge first, then chase or helicoil.
Why did my aluminum hole strip at “1.5× diameter” engagement?
1.5× is a steel-on-steel starting point. Aluminum usually needs 2×–3× or a steel insert — re-run the engagement calculator with aluminum shear assumptions.
The bolt bottoms and the joint still leaks / rattles — what next?
You likely have incomplete engagement (shallow blind hole or chips). Measure depth, clear debris, and add tap depth for chamfer. Engagement length ≠ bolt overall length.
Is this the same problem as a wrong tap drill?
No. Wrong tap drill weakens % thread from day one. Wrong engagement is about how much length is sharing load. Diagnose both; tools are separate.
Where do I look up TPI or metric pitch quickly?
Thread Pitch Chart for tables; Pitch Calculator for interactive checks.